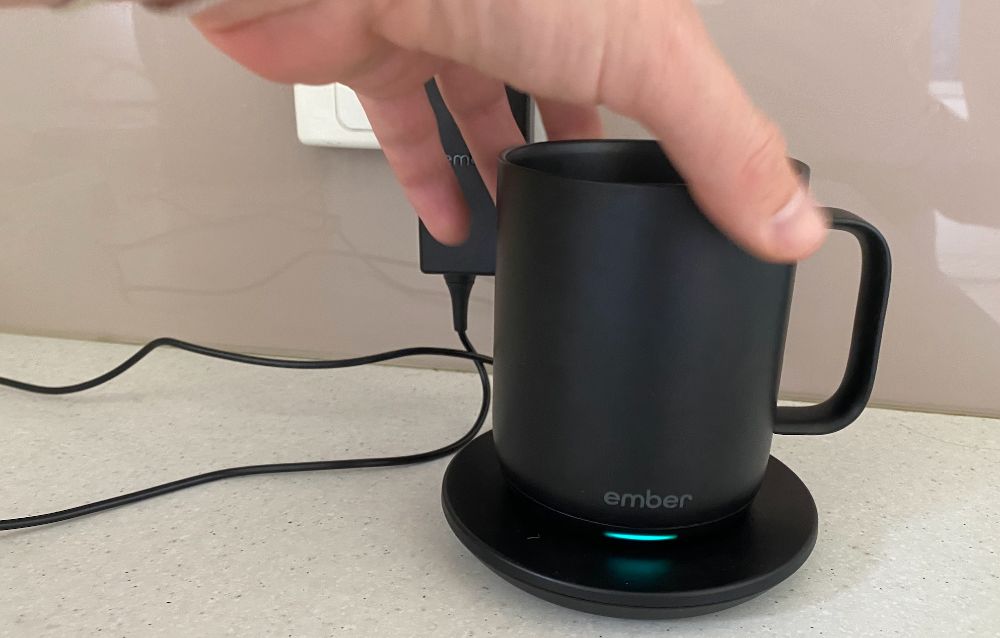
There’s nothing worse than brewing yourself a fresh pot of joe only to reach for your Ember Mug and realize that it has been charging and is now flat!
Most users leave their mugs to charge overnight, but you may wake up and find that your mug still has no battery. Your Ember Mug should only take 2-3 hours to charge – so if you're finding it's still flat after hours on the charger then you've likely got something going wrong.
There are a variety of reasons your Ember Mug might stop charging.
Some of the fixes are really simple and easy (and free) while other problems are harder to fix.
If you want to learn how to fix an Ember Mug that isn't charging, you've come to the right place. This comprehensive list will guide you through 8 simple steps that will help you fix your mug in no time.
How To Know If Your Ember Mug Is Charging
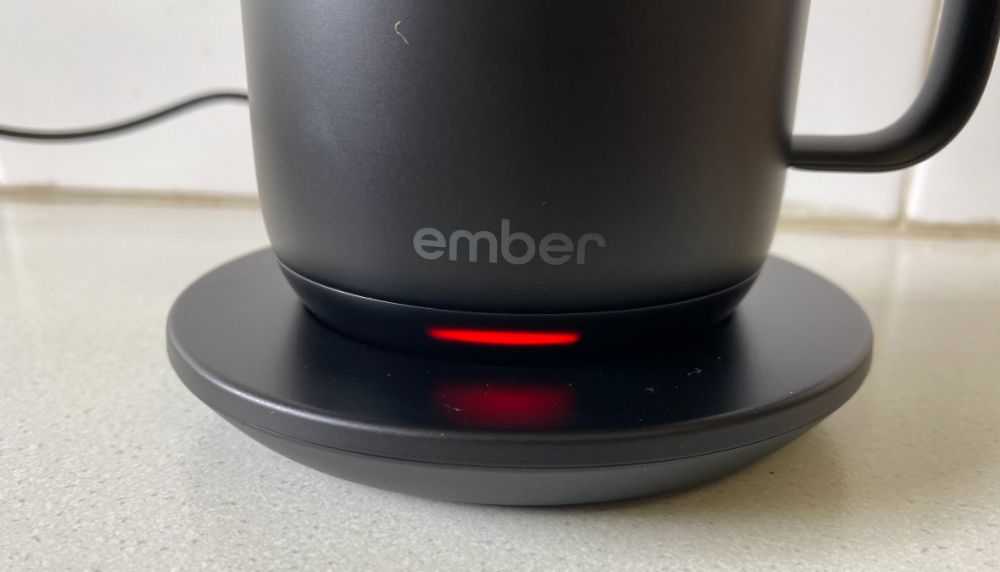
Before you go through these troubleshooting steps it's a good idea to know exactly how to identify whether or not your Ember Mug is charging.
There are 2 main ways you can do this. We cover these in detail on our article about how to know if your Ember Mug is charging but below are the basics:
- Red LED Light – When you place your Ember Mug on the charger the LED light should turn red. This indicates that the mug is charging. If you don't see a red right you can assume it isn't charging.
- Using the app – If you have your Ember Mug paired to the app you can see if it's charging through the app. Open the app and click on the settings cog at the top right. If you see a grey lightning bolt next to the battery level this means it is charging. If you do not see this lightning bolt then your mug isn't charging.
Make sure you've followed the steps on how to charge an Ember Mug and make sure you haven't missed anything. If you think you've done everything right then check out our troubleshooting guide below to identify any problems you might be having.
1. Make Sure Charging Coaster Is Connected To Power and Plugged In Properly
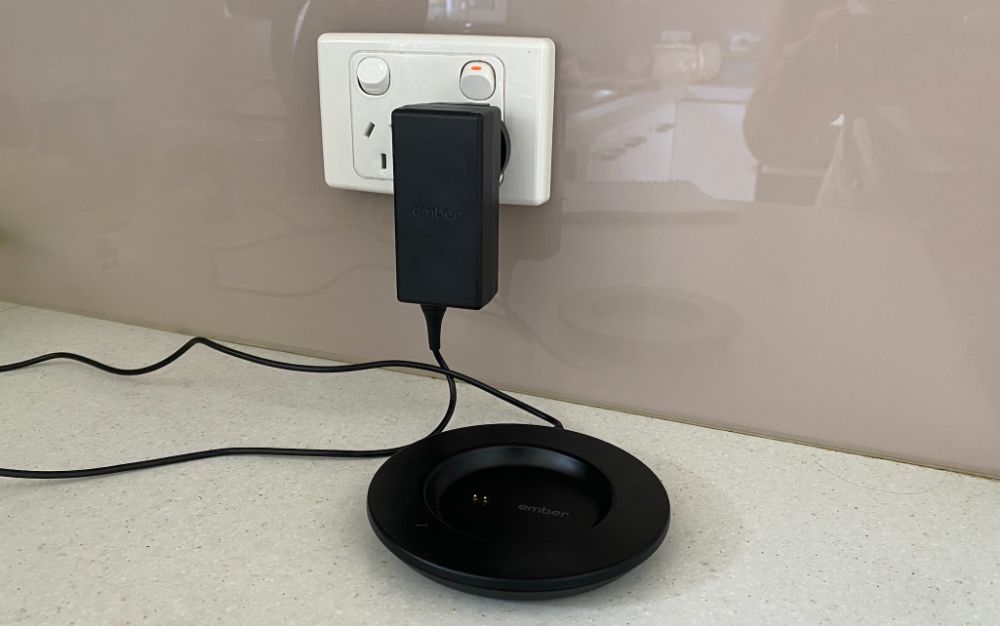
Before you try any of the other solutions to fix an Ember Mug that isn’t charging, it’s important to ensure that you’ve followed the basic steps on how to charge your Ember Mug.
If you have followed these four steps correctly and your mug still isn't charging, then you can move on to our simple problem shooting guide.
You'll need to check the Ember Mug charging coaster first. This is the only way to charge your mug, so it's essential to ensure that the problem is not with the coaster itself.
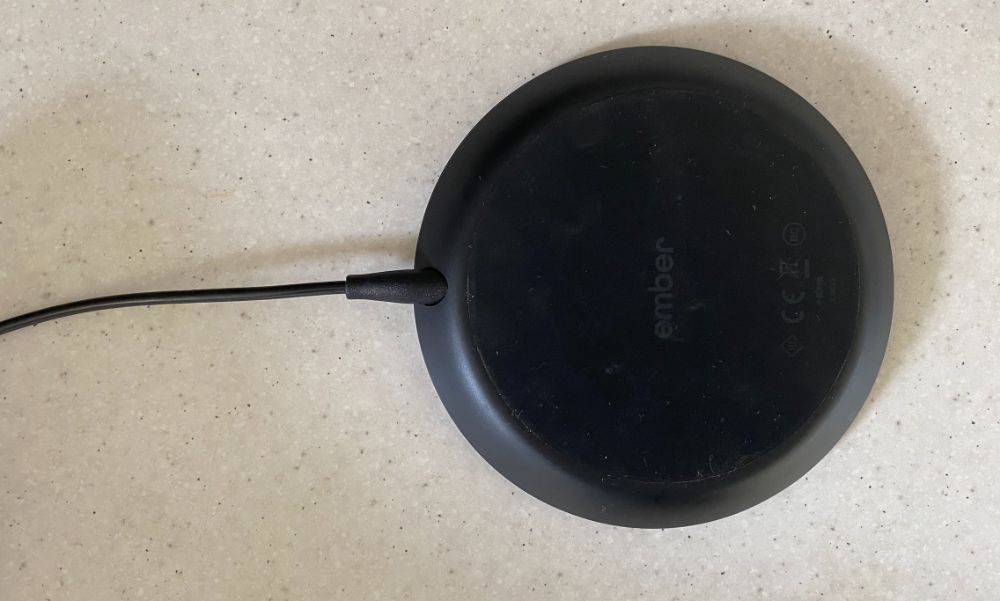
The charging cable can often fall out or become too loose, which cuts off the coaster's power source. You really need to use the Ember Mug wall plug – you can't use an alternative one. This is because the Ember Mug Coaster has a very specific voltage, amps and watts.
If the cable is loose or has come unplugged, you can plug it back in to solve your problem.
Once you’ve reconnected the coaster to the power supply, you should be able to charge your Ember Mug successfully!
2. Check If Charging Coaster Is Broken
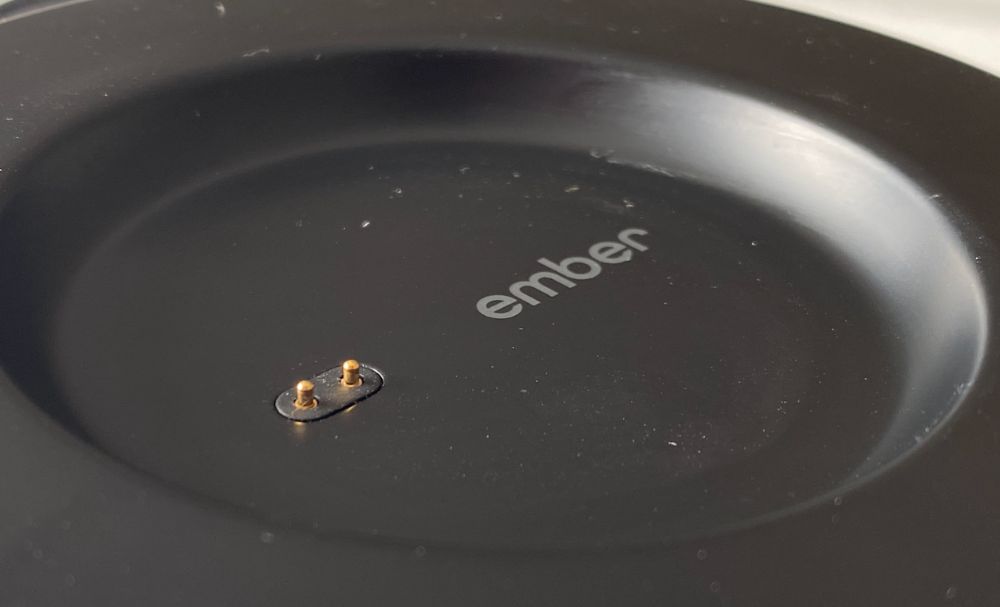
Another common problem that may stop your Ember Mug from charging is the charging coaster.
The Ember Mug charging coaster has two small prongs on the coaster. These prongs fit together with the gold rings at the bottom of the Ember Mug. They will produce an electrical charging current when you set your mug onto the coaster.
If you have placed your Ember Mug onto the charger and it isn’t charging, this may be a sign that the charger coaster is broken.
This commonly happens because the charging prongs on the coaster become stuck in a flattened position. You’ll notice this problem if you can no longer see the prongs jutting out from the base of the coaster. You can use the video below for a visual reference.
Suppose the pins on your charging coaster are stuck, and you're waiting for repairs. In that case, you can use the tutorial video below for an easy workaround in the meantime!
3. Soft Reset The Ember Mug
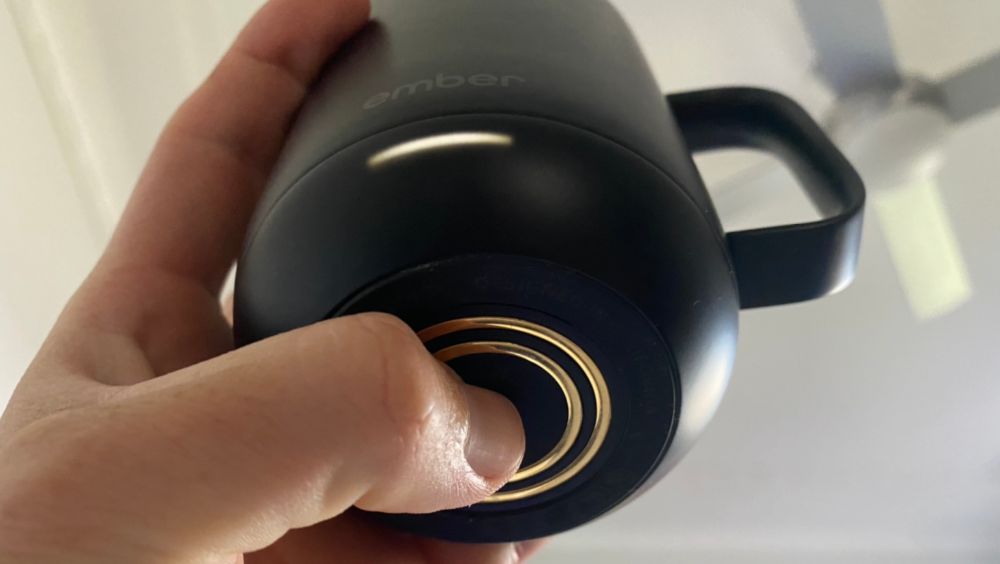
Once you've checked both the charging coaster power and prongs, you can move on to a soft reset to solve your issue.
A soft reset is a simple way of completely turning your Ember Mug off and rebooting its power. Here are some simple instructions on how to perform a soft reset:
- Locate and press the power switch at the base of your Ember Mug
- Hold the power switch down for around 3 to 5 seconds, or until the mug turns off
- Ensure that your Ember Mug has powered down by checking that the LED light has turned off
- Once you’ve made sure that the mug has fully switched off, you can press and hold the power switch again
- Keep holding the power switch until the LED light comes back on
- Place your Ember Mug back onto the charging coaster to see if it charges
4. Hard Reset Your Ember Mug
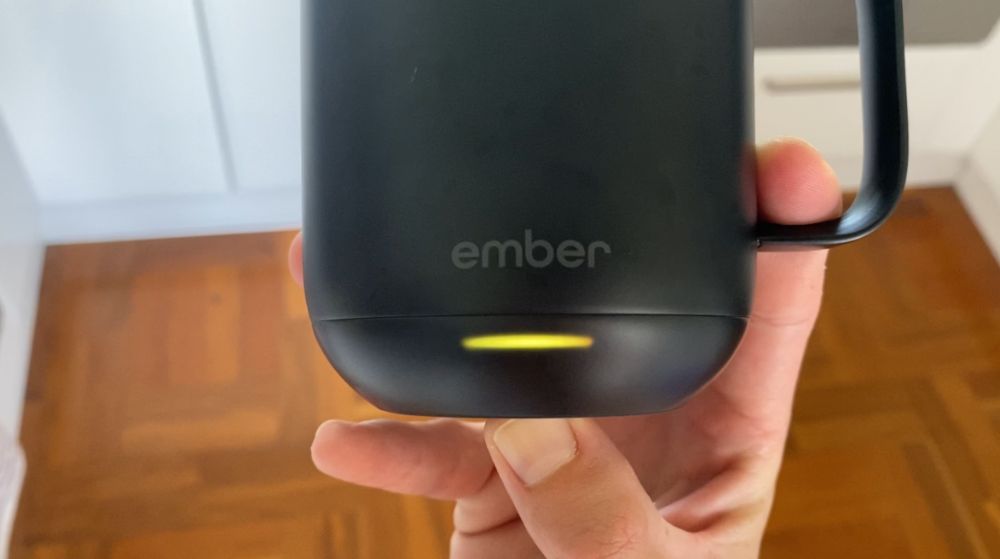
Sometimes switching your Ember Mug off and on can do the trick as a short-term solution. But if you're still having trouble with an Ember Mug that won't charge, you may have to try a hard reset.
A hard reset will completely reset your Ember Mug to its factory settings. This should counteract any software problems you encounter. Hard resets should usually do the trick if the problem is software-related.
Here’s how to hard reset your Ember Mug:
- Locate the power switch at the bottom of your Ember Mug
- Hold the button down for at least 10 seconds
- Wait until the LED light at the bottom of your mug begins to flash. The colors will change and flash blue then yellow and then red
- Once the LED light flashes red, you can stop pressing the power switch
- After a few seconds, the LED light should change to a bright white color
- Place your Ember Mug back onto the charging coaster to see if it charges
Click here for a full guide to resetting your Ember Mug (with images)
NOTE: You'll now need to repair your Ember Mug to the app if you want to change settings like the temperature or LED light color.
If you need to reset your Ember Travel Mug, you will need to locate the hole at the bottom of your mug.
Using a paper clip, insert one end into the hole and press until you hear a click.
After clicking, your Ember Travel Mug should display the word ‘Reset’ on the display panel.
5. Make Sure The Base Of Your Ember Mug Isn’t Wet
Because your Ember Mug works off electricity, you should ensure that the bottom of your mug is completely dry before putting it onto the charging coaster.
The prongs on the coaster’s base may malfunction if they are wet, and it can cause your Ember Mug to stop working altogether.
6. Contact Ember Customer Support
If you feel like you’ve tried everything, you may need to call a professional!
When your Ember Mug isn't charging and none of the other fixes have worked for you, it may be time to contact customer support. You can find Ember's customer support contact details on their website.
You can contact Ember through their Support Bar, text, email, or Facebook Messenger.
Alternatively, if you are still experiencing problems with an Ember Mug that won’t heat up, check out this guide for step-by-step instructions on how to fix it.
7. Fix The Ember Coaster Yourself
Taking your Ember Mug in for repairs can be expensive. And it doesn't guarantee that they will fix your mug! If you're in a pinch, you can always try fixing your Ember coaster yourself using the instructions in this video:
8. Purchase A New Charger
Of course, spending more money is the last thing you want to do! But it may be the only way to get your Ember Mug to charge again and it's cheaper than buying a brand new Ember Mug yourself.
You can purchase new Ember chargers from Ember’s website, through Amazon, and at several other retailers.
See the latest price of the Ember Charging Coaster at Amazon
Conclusion
Fixing an Ember Mug that isn’t charging may be as simple as plugging in the charging coaster or doing a soft reset.
However, if the problem is more advanced, you may need to contact Ember customer support for further instructions.
Here are the 8 most common ways to fix an ember mug that won’t charge:
- Check the charging coaster is plugged in
- Check the charging coaster prongs
- Soft reset
- Hard reset
- Make sure the base of your Ember Mug isn’t wet
- Contact customer support
- Fix your Ember Mug yourself
- Purchase a new charger

