I’ll be the first to admit that I don’t keep up with cleaning my Stanley Cup nearly as well or as often as I should.
And while it’s normally no big deal, I have had issues with mold growing under my lid gasket a couple of times and an occasional funky smell.
But luckily, it’s actually pretty easy to clean mold and remove bad smells from a Stanley Cup.
To clean mold from a Stanley Cup, fill it with boiling water, soak for about five minutes, then wash as normal with dish soap and water.
To remove mold from your Stanley Cup’s lid, remove the gasket and soak it, the lid, and the straw in a 50/50 mixture of distilled white vinegar and hot water for about half an hour. After soaking, scrub all surfaces with a paste made of baking soda and water.
The same method can be used to get rid of bad smells in your Stanley Cup. Or if you’re feeling a bit lazy, water bottle cleaning tablets do a pretty good job as well.
Even though it’s easy to remove mold and odors from a Stanley Cup, prevention is still your best bet.
Make sure you’re cleaning your Stanley properly after every use (or two), especially if you’re drinking anything other than water. And don’t forget to pay special attention to the lid and gasket every time you clean it.
Does Mold Grow In Stanley Cups?
Because Stanley Cups are made of non-porous food-grade stainless steel, they’re fairly resistant to mold and mildew — which is much more likely to grow on porous, organic surfaces.
So as long as you’re washing your Stanley as thoroughly and as often as you should, you should have no issues with mold or mildew growing on your tumbler’s body.
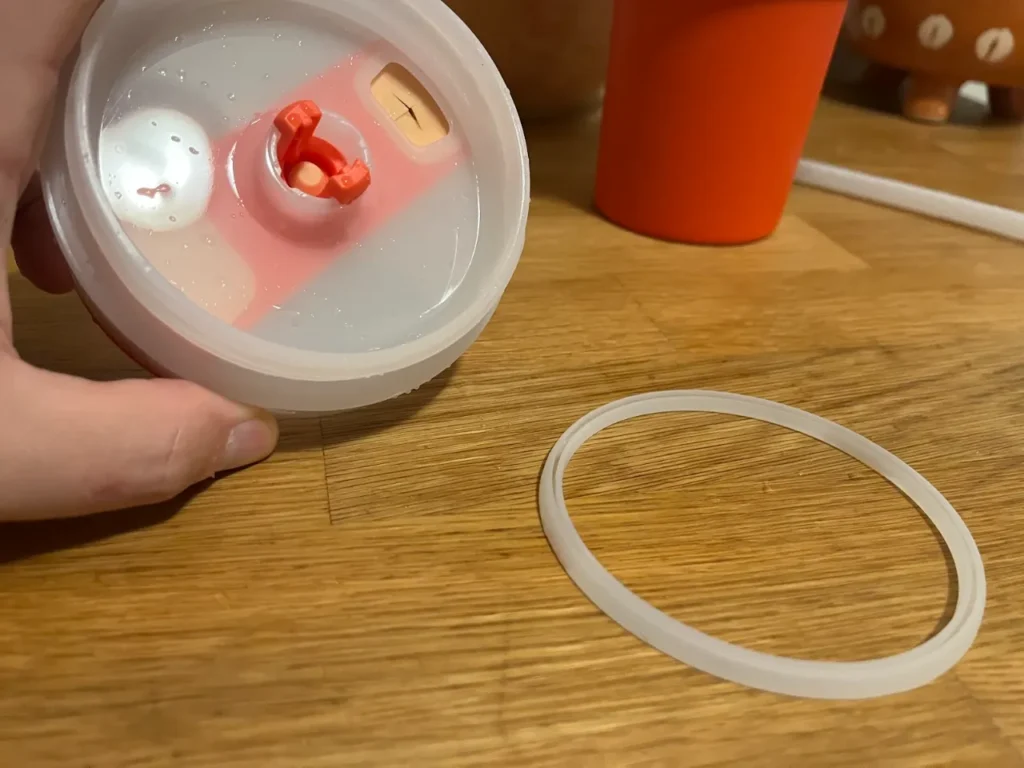
The lid, unfortunately, is a completely different story.
Stanley lids have a thin rubber gasket, meant to keep water from leaking out from between the lid.
While it’s necessary to seal your tumbler, it also provides mold and mildew a perfect spot to grow and hide.
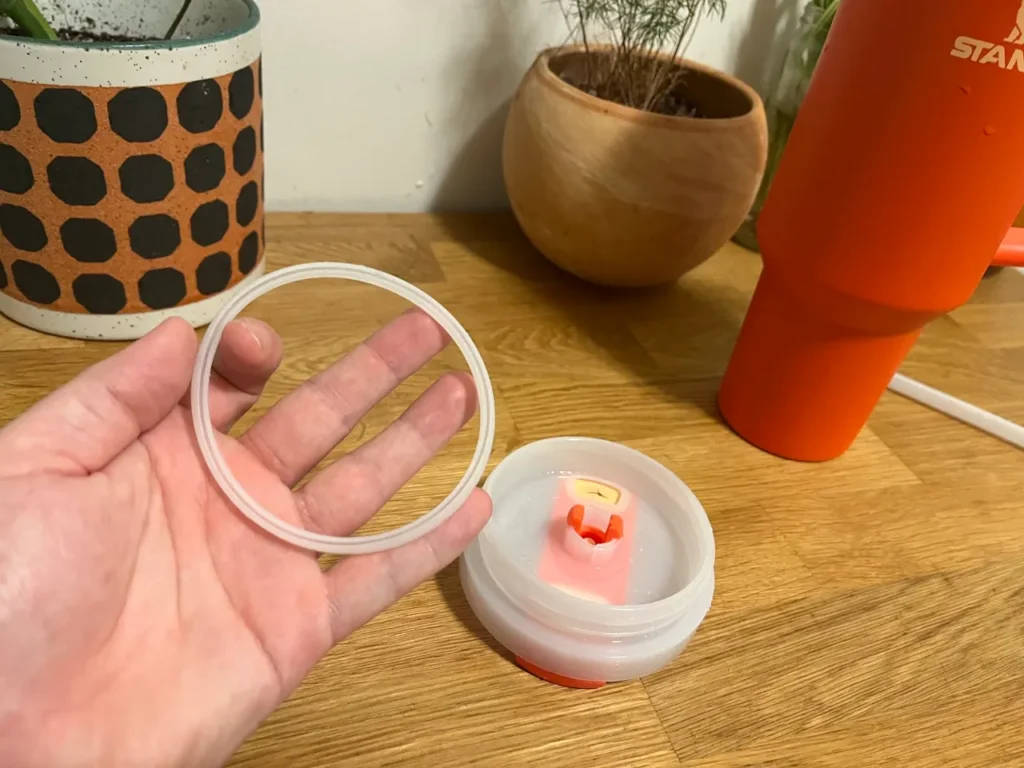
No matter how well you maintain your Stanley, if you’re not paying enough attention to the lid and gasket, you may already have mold or mildew growing inside.
How To Tell If Mold Is Growing In Your Stanley Cup
When we think of mold and mildew, it’s usually big nasty dark green or black spots that are pretty hard to miss. But mold and mildew can actually be a lot more subtle.
Unfortunately, this means that if you’re not paying enough attention, you could end up drinking from a moldy tumbler for days or weeks without even realizing it.
While a quick scan of your tumbler and lid will be enough to find any horrible mold infestations, it’s better to not wait nearly so long
A few easy ways to spot mold or mildew early are to:
- Give your wet Stanley Cup a swipe or two with a finger. If it feels slippery or slimy, there’s a good chance that mildew is to blame. Make sure to check the interior walls of your tumbler, the threads of the lid, and the underside of the lid — where mold is most likely to grow.
- Give your Stanley Cup a smell test. A faint earthy scent is usually one of the first signs that mold or mildew are growing in your tumbler.
- Remove the gasket and look for dark spots on the lid and gasket itself.
- Pay attention to how your water tastes. Mold and mildew are often to blame for bad or weird tastes. And even if not, it’s still a good indication that a deeper clean is in order.
How To Clean Mold From Your Stanley Cup
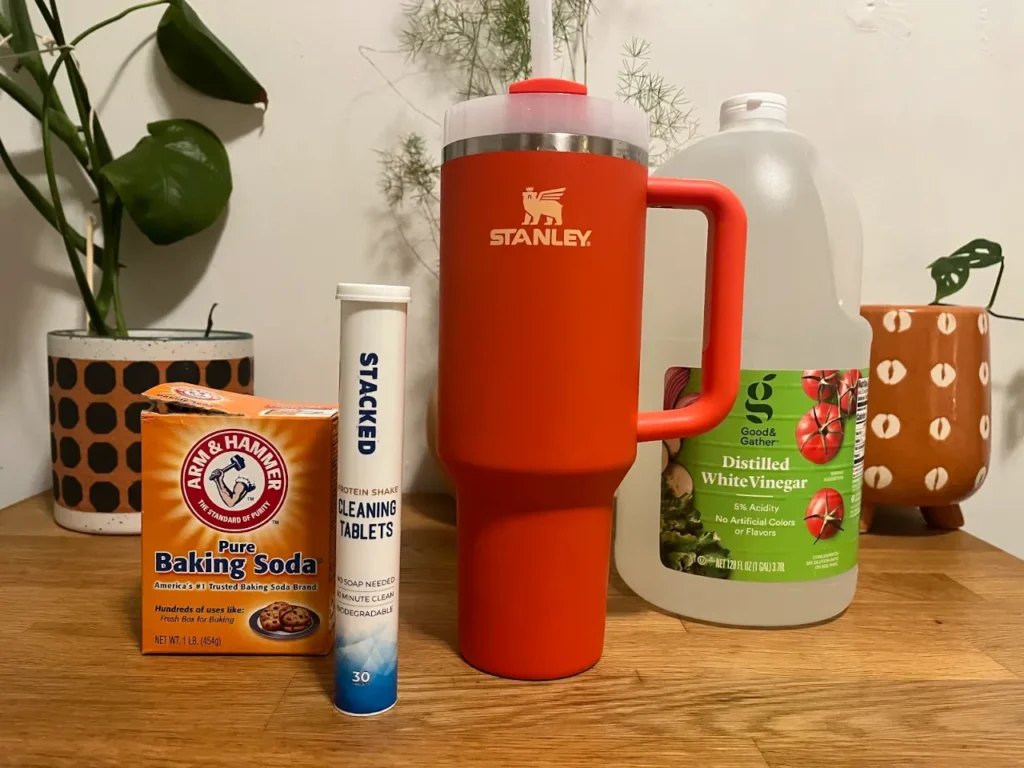
If you suspect that your Stanley is growing mold, it’s really important that you remove it before drinking from it again — not only because it’s gross, but because certain types of mold can actually make you pretty sick.
To kill mold in your Stanley Cup:
1. Bring some water to a boil in a pot, not directly in your Stanley Cup.
2. Carefully pour the boiling water into your Stanley, all the way up to the brim.
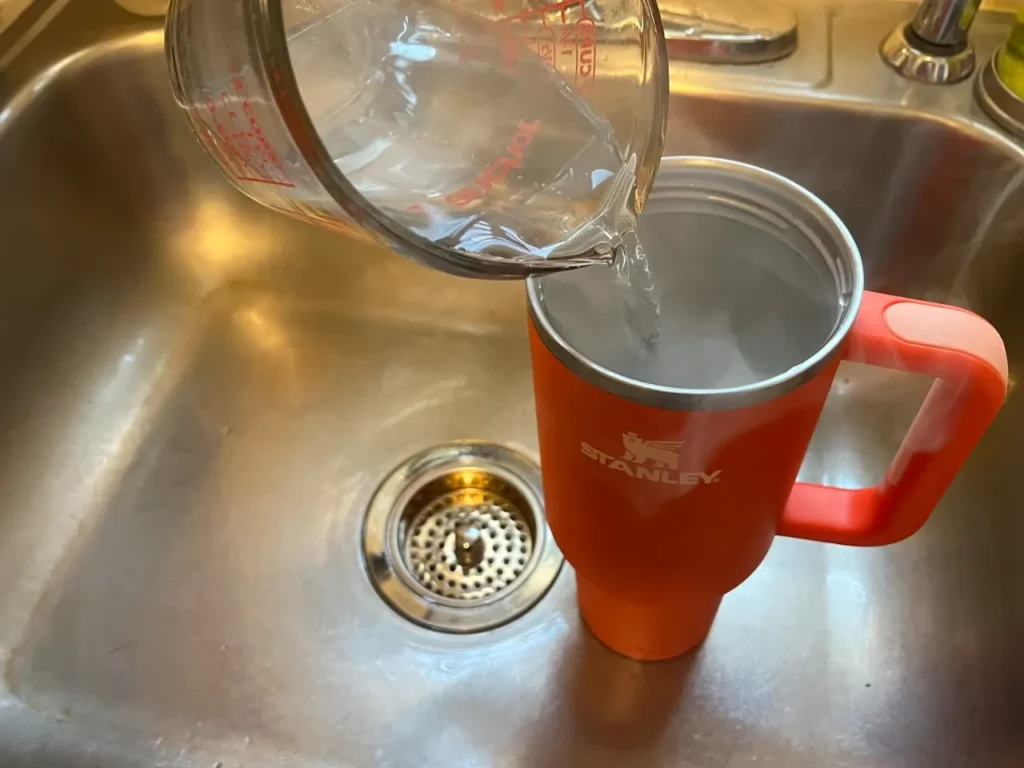
3. Wait for five to ten minutes.
4. Wash your Stanley as normal.
This method works super well because boiling water is really effective at killing mold and mildew, and washing it afterward easily removes any that managed to survive.
Because the lid and straw are made of plastic, it’s not the best idea to expose them to boiling water. Instead, use distilled white vinegar and baking soda, which are potent and effective antifungal cleaners.
- Fill a large bowl with a 50/50 mixture of hot water and distilled white vinegar.
- Remove your lid gasket, and place it, your lid, and straw in the vinegar to soak. If they’re trying to float to the top, place a heavy bowl or plate on top of them to keep them fully submerged.
- Wait a half hour or so.
- While your lid and straw soak, prepare a paste of baking soda and water, aiming for a toothpaste-like consistency — adding more water if it’s too thick and more baking soda if it’s too runny.
- Scrub your baking soda paste on all surfaces of your lid, straw, and gasket. You’ll want to pick up a straw brush to adequately clean the interior of the straw.
- Let rest for about ten minutes.
- Rinse and wash as normal.
If you don’t want to use boiling water, or it wasn’t as effective as you’d like, you can use the same process to clean your tumbler as well.
How To Remove Bad Smells From Your Stanley Cup
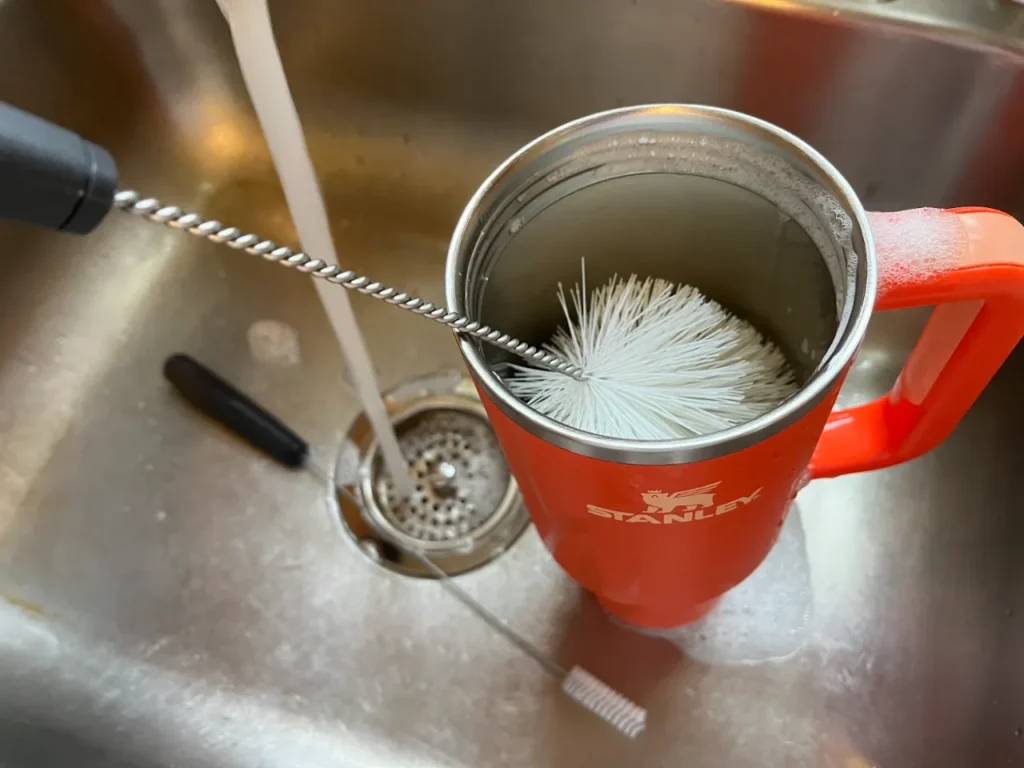
While mold is one of the most common reasons your Stanley Cup may be smelling a little ripe, there are a number of other factors that could be to blame.
Leftover drink residue (especially if you were drinking something with a strong smell, like herbal tea) and bacteria breeding in leftover moisture are the two most common.
Regardless of the cause, you have a couple of solid options to get rid of the stink (and bad taste that usually accompanies it).
Simply following the process above to remove mold and mildew will also get rid of most bad smells.
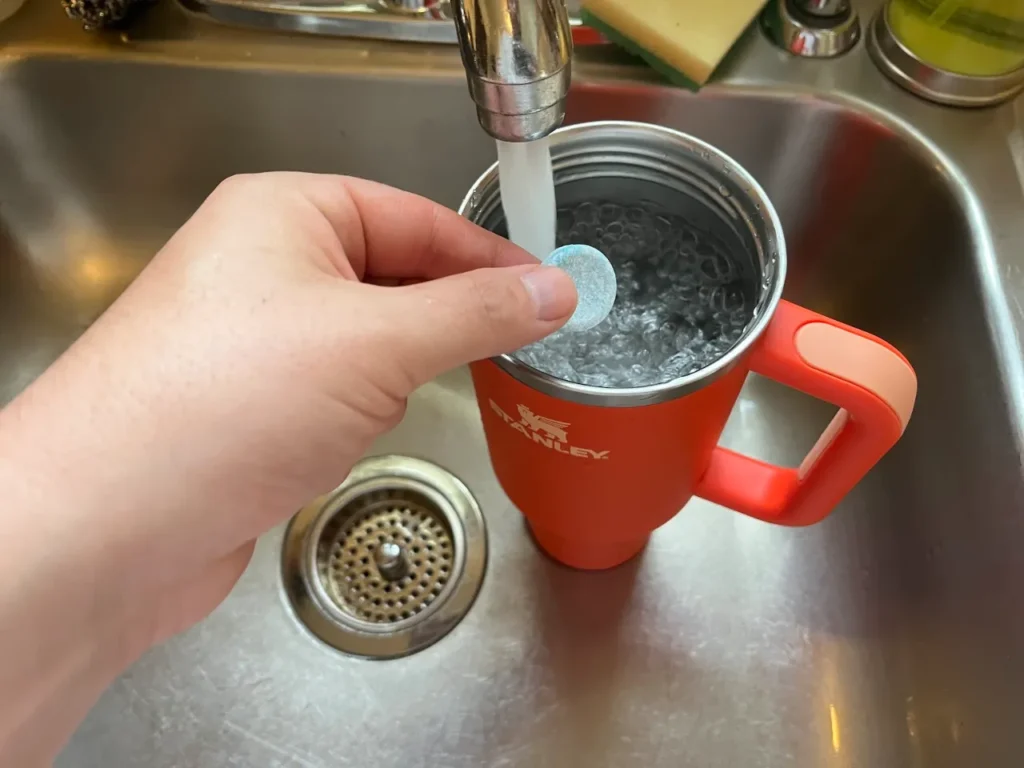
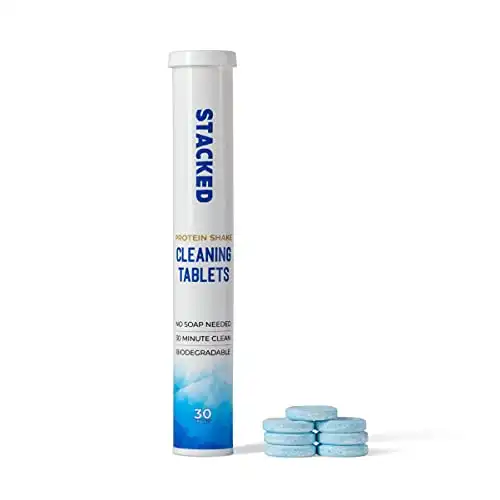
Or if you’re feeling a bit lazier, water bottle cleaning tablets are a fast and easy way to get rid of most stubborn odors. Bottle Bright tablets work great. Or Stacked Water Bottle Cleaning Tablets work nearly just as well for less than half the price.
Convenient and easy to use bottle cleaning tablets. Works to remove stains on stainless steel and plastic water bottles.
Contains a combination of baking soda, citric acide, peppermint oil and more for a deep clean.


