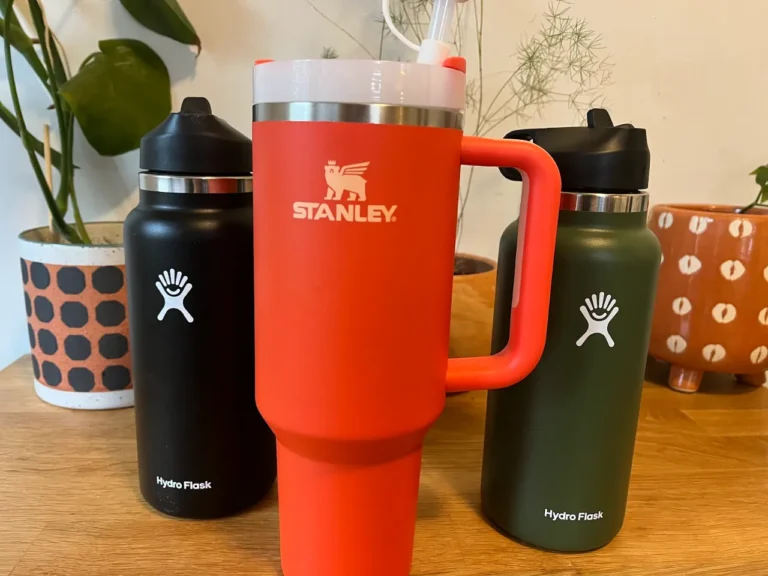
I’ve been guilty on more than one occasion of just rinsing out my Stanley Cup and sticking it on a dish rack to dry until morning. Or worse, leaving old coffee or smoothie in it in the car only to find it super funky a few days later.
But regular, thorough cleanings are important to keep your water tasting great and to prevent mold, mildew, and bacteria from growing inside and potentially making you sick.
So what exactly is the right way to clean a Stanley Cup?
To properly clean a Stanley Cup, take off the lid and remove the straw, rinse out its contents under hot running water, scrub all surfaces with hot soapy water, rinse away all soap, and let it air dry fully before reassembling. Pay particular attention to the straw and the underside of the lid.
If your Stanley Cup is particularly nasty, before washing it, fill it with boiling water for about ten minutes and soak the lid and straw in 50/50 diluted distilled white vinegar for 20 to 30 minutes to kill mold and mildew and loosen stuck-on drink and soap residue.
If you’re feeling lazy, Stanley Cups are top rack dishwasher safe, though many dishwashers aren’t actually tall enough for them to stand upright on the top shelf — so it may still require some hand washing regardless.
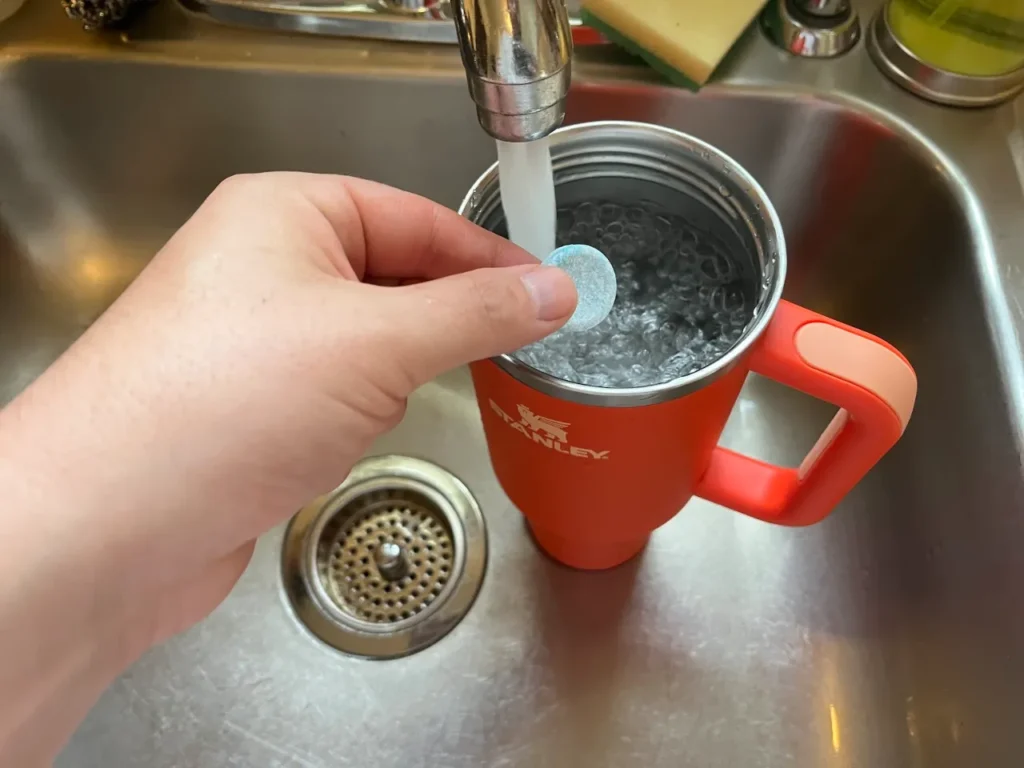
Bottle cleaning tablets also make an easy alternative to routine cleanings. Just be sure you’re still scrubbing with soap and water at least once a week.
Step 1: Rinse Out Your Stanley Cup
Give your Stanley Cup a good rinse under hot running water. Don’t forget to give the lid and straw a rinse as well.
If you only drink water from your Stanley, are pretty consistent with cleaning it, and haven’t noticed any weird tastes or bad smells, feel free to skip ahead to step 3.
If your Stanley Cup is starting to get a little funky and you have a half hour or so to spare, I’d recommend moving on to step 2 instead.
Step 2: Remove Bad Tastes, Odors, Mold, Mildew, And Stubborn Residue (If Needed)
If your Stanley is particularly nasty, a deeper clean is in order. And to be honest, it’s probably a good idea to throw this step into your cleaning routine every month or two regardless as a preventative measure.
A few of the most common signs that this step may be needed are that:
- Your straw, underside of your lid, or interior walls of your Stanley feel slimy when wet.
- Your bottle has a weird odor, even after washing. An earthy smell really shouldn’t be ignored, as it’s often the first sign of mold or mildew.
- Your drinks sometimes develop a strange taste.
- You have coffee residue, caked-on smoothie, or any other stubborn drink remnants in your Stanley.
- There’s visible mold in your Stanley. Make sure to check the underside of the lid, under the lid gasket, and on the threads, where mold is most likely to grow.
Boiling water is a great catch-all solution (don’t worry, it won’t harm your Stanley Cup). It kills mold and mildew that may be growing even if you can’t see them yet, loosens stuck on drink and soap residue, and can even help get rid of weird tastes and bad odors.
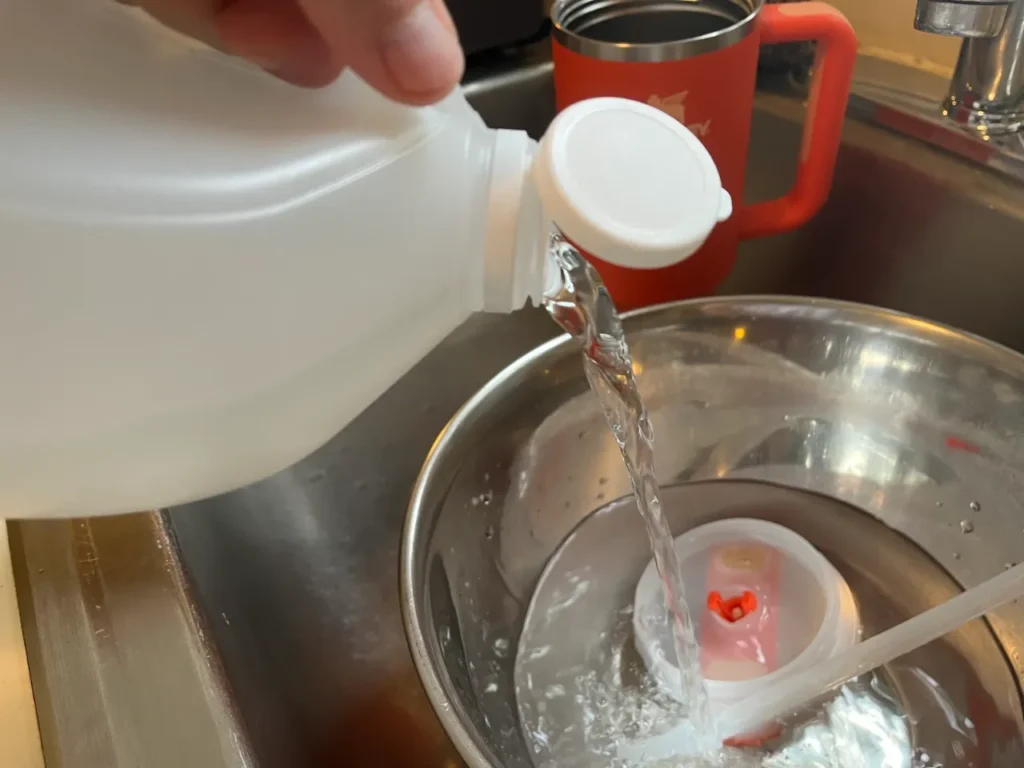
Distilled white vinegar, which is a potent natural antifungal cleaner, is a bit more gentle on the plastic lid and straw compared to something like bleach and does nearly just as good a job.
- Remove your Stanley Cup’s lid and straw and place them in a large bowl full of 50/50 hot water and diluted white vinegar. If they try to float to the top, you may need to place a heavy bowl or plate on top of them to keep them fully submerged.
- Soak for 20 to 30 minutes.
- While your lid and straw soak, bring a pot of water to a rolling boil.
- Carefully pour the boiling water into your Stanley Cup, all the way to the brim.
- Let sit for about 10 minutes.
- Dump your Stanley (be careful, the water may still be really hot) and rinse off your lid and straw under running water.
Step 3: Scrub With Dish Soap
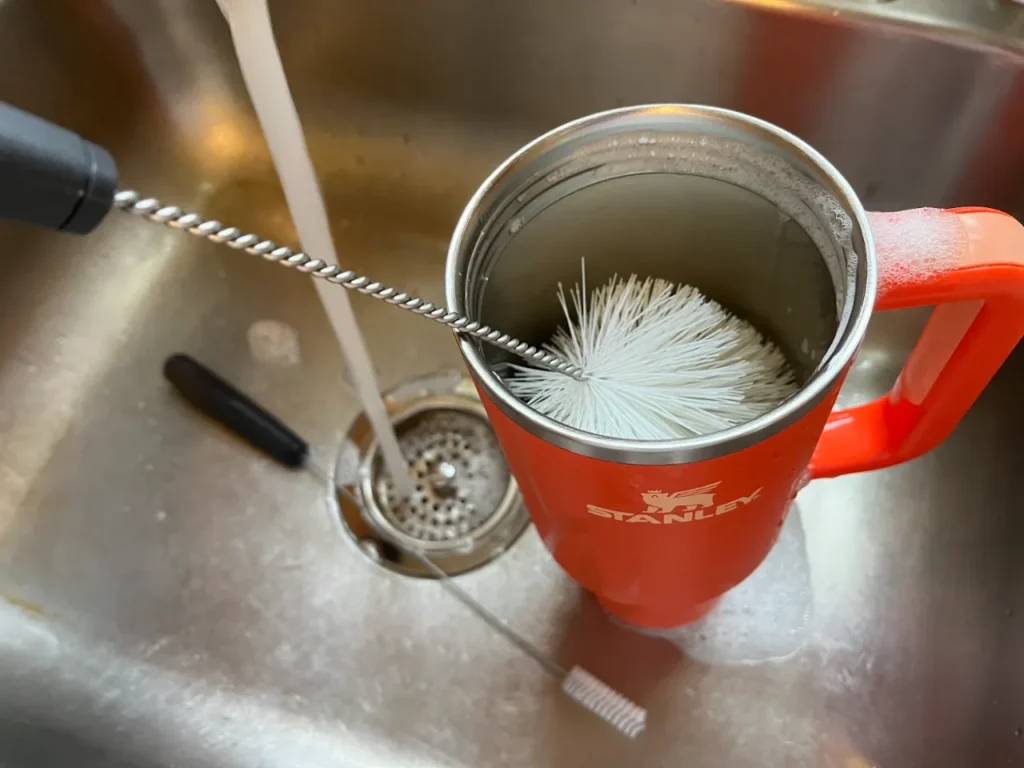
After rinsing or soaking, it’s time to give your Stanley a thorough scrub with hot water and dish soap or, if you’d prefer something more natural, baking soda and dish soap.
A bottle brush or sponge will work just fine, so choose whichever you prefer.
I usually use this bottle brush set from Amazon because my hands are a little too big to comfortably reach the very bottom of my Stanley with a sponge (though my partner has no problem), it includes a straw brush which I need anyway, and it can be used to wash my water bottles as well.
Step 4: Thoroughly Clean The Lid And Straw
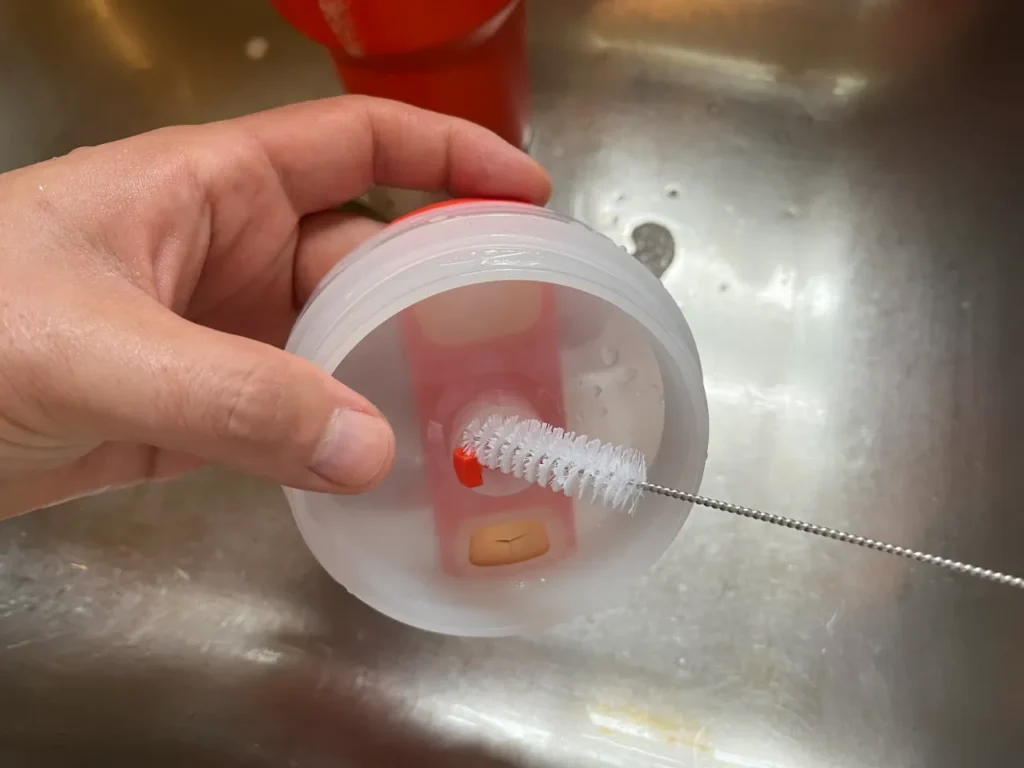
The lid and straw are the parts of your Stanley Cup that are most likely to have issues with mold, mildew, stuck-on drink residue, and residual soap, because of all the small spaces and crevices that can trap and hide moisture.
Using a straw brush, hot water, and dish soap, thoroughly scrub all surfaces of your lid and straw.
And while I know it’s a bit of a pain, it’s also a good idea to remove your lid gasket and wash it and the area beneath it at least every couple of months. If you ignore it for too long, you may be surprised how nasty it can get behind the gasket.
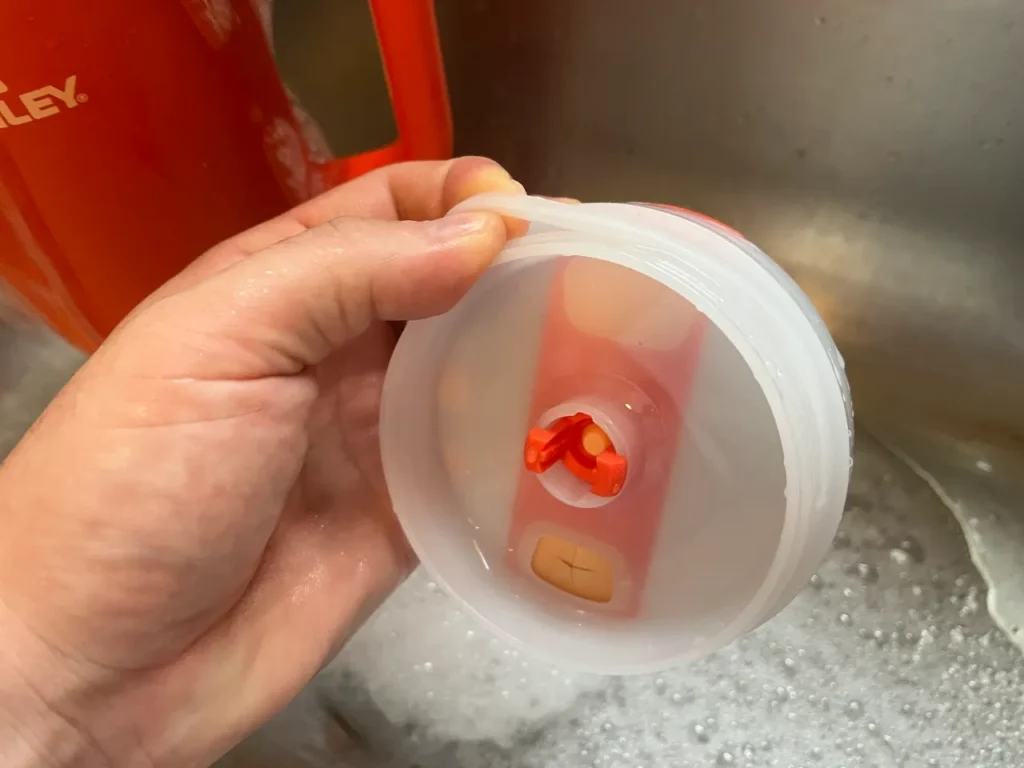
To remove the gasket, slide a fingernail or butter knife under one edge and gently pry it loose, slowly circling the radius of the gasket until it pops free.
Step 5: Rinse And Air-Dry
After you’re confident that you’ve thoroughly scrubbed all surfaces of your Stanley, rinse away any remaining soap or cleaner under hot running water.
Air dry your Stanley upside-down on a drying rack at a slight angle to allow more airflow inside.
If you’re in a hurry, you can simply dry the exterior of your Stanley with a clean hand towel and fill it up as normal. The little bit of remaining water won’t harm anything, unless you put the lid on and store it.