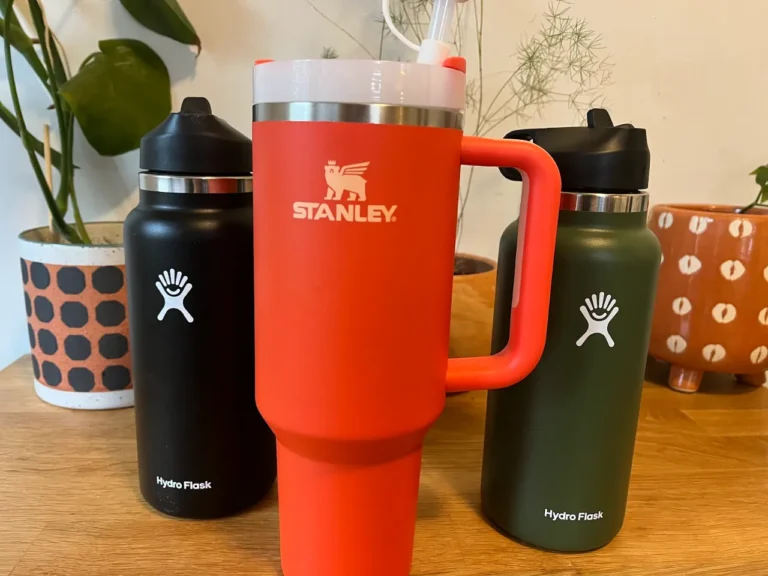
While Stanley Cups can easily last for years, if not decades, certain parts will eventually wear out, get damaged, or otherwise need to be replaced — especially if you’re not caring for them quite as well as you should.
The lid gasket is usually the first part of a Stanley Cup to start acting up, so being able to identify the exact issue and know how to fix it could save a few headaches.
The most common problems people have with their Stanley Cup’s gaskets are that mold or other debris have found their way beneath the gasket, the gasket has become unseated, the gasket is too loose, or the gasket is starting to break down.
Luckily, removing and cleaning the gasket is a simple fix for mold and debris, Stanley Cup gaskets are really easy to reset, and, if your gasket is starting to show signs of aging, they’re cheap and easy to replace.
Below are the five most common issues people have with their Stanley Cup’s gaskets, how to figure out exactly which is causing your problem, and what you should do about it.
1. You Have Mold Growing Under Your Gasket
Your Stanley Cup’s lid gasket is needed to seal the space between your lid and tumbler. But one unfortunate side effect is that the space behind the gasket gives mold a really convenient place to hide and grow.
You should check and clean beneath your gasket at least once every few weeks.
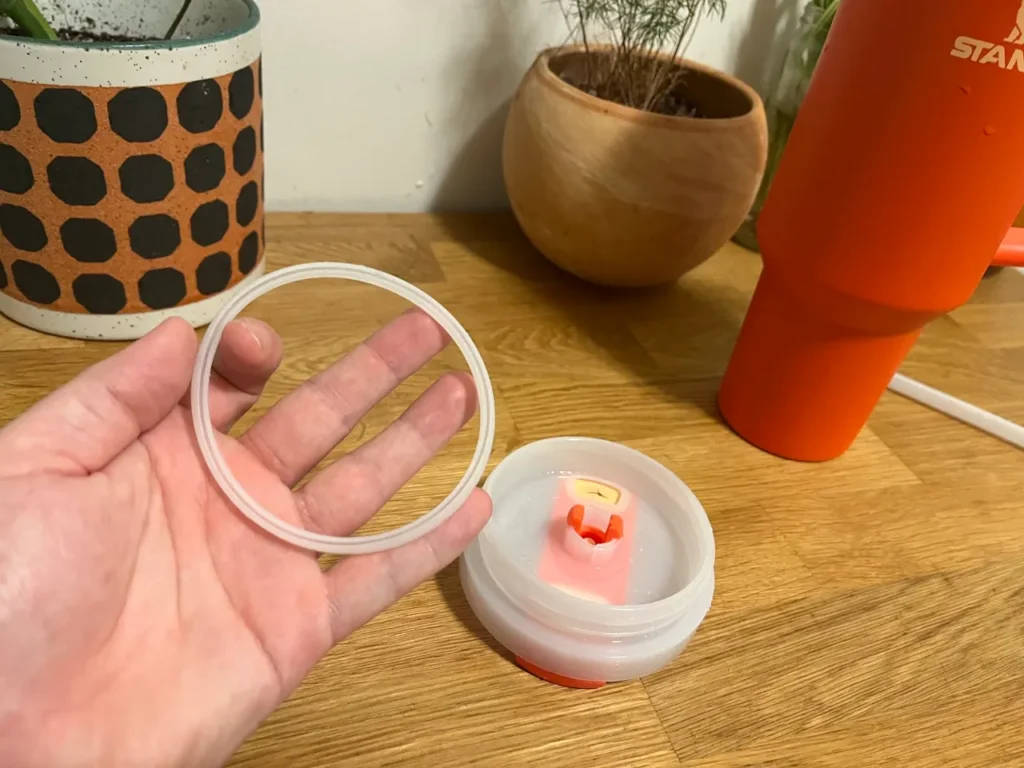
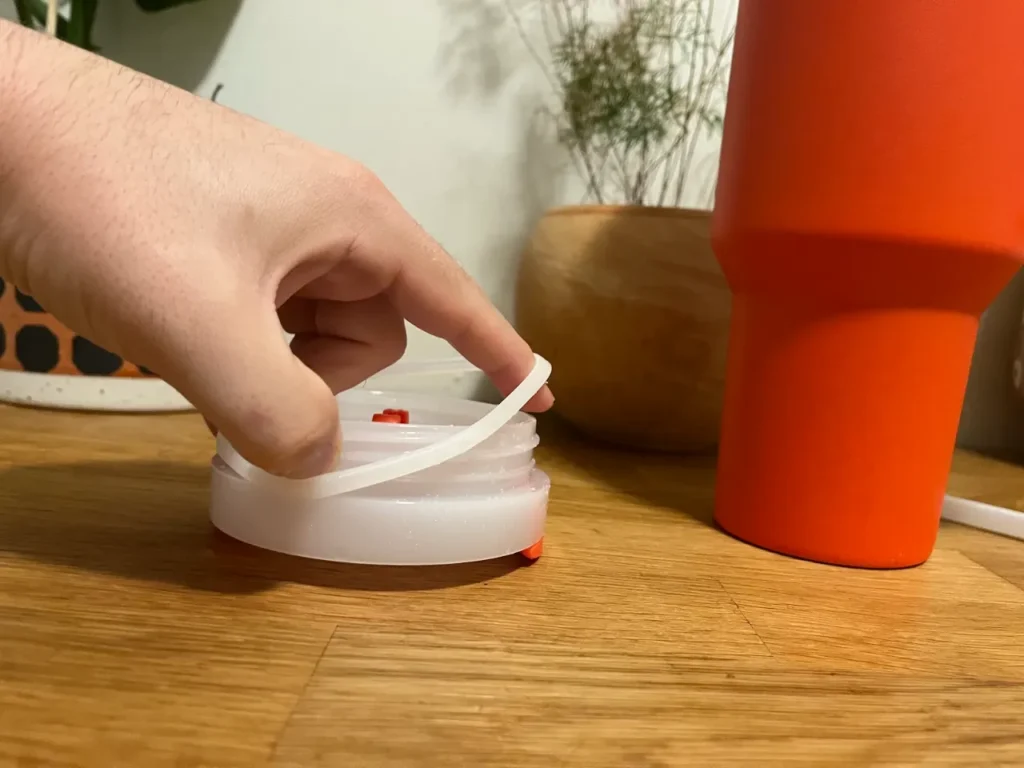
To remove your lid gasket:
- Take off your Stanley Cup’s lid and locate the gasket. It’s the thin rubbery band just above the threads.
- Slide a finger beneath it and gently pull the gasket away from its seat, running your finger in a circle around the lid.
- If you’re having trouble getting a finger beneath it, use a butter knife or any other dull, flat object to get it started.
If you happen to find mold under your lid gasket (or anywhere else in your Stanley), it’s super important to thoroughly clean and remove it before drinking from it again.
Check out my complete guide on killing and removing mold from a Stanley Cup to learn how.
2. You Have Debris Under Your Gasket
Mold isn’t the only thing that can sneak its way under your gasket. Dirt, sand, grime, and all sorts of other debris can find their way beneath it and cause problems as well.
But the good news is, it’s an easy fix as long as your gasket isn’t damaged.
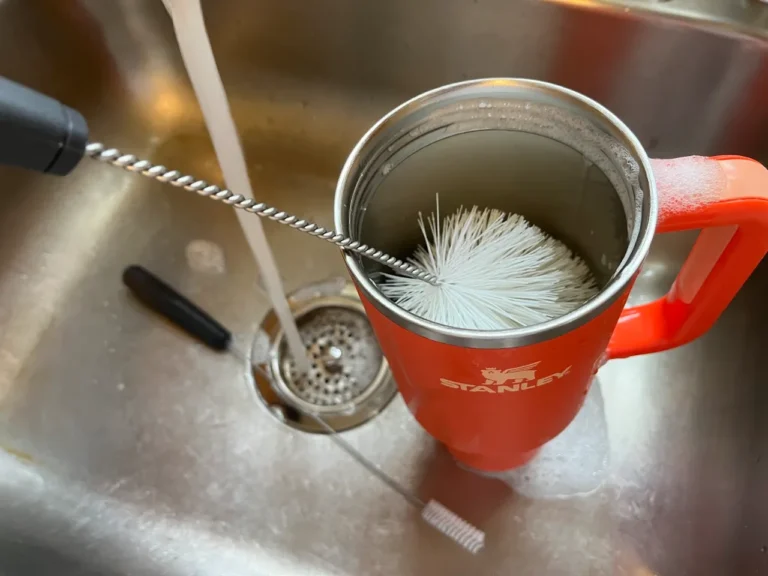
Simply remove the gasket, rinse any debris from beneath it, give your Stanley a wash for good measure, then reassemble your lid.
3. Your Gasket Is Out Of Place
While there are plenty of reasons your Stanley Cup could be leaking (including the fact that Stanley Cups aren’t fully leak-proof), water leaking from between your lid and tumbler is almost always related to the gasket.
If you’re lucky, it could mean that your lid gasket has simply popped or slid out of place.
To find out, remove your lid, locate the gasket just above the threads, and ensure that it’s flat and laying smooth against the largest lip.
If it only comes out of place every now and then, it probably just happened during cleaning.
But if it becomes a recurring issue, your gasket may be too loose or starting to wear out — but more on that below.
4. Your Gasket Is Too Loose
A loose-fitting gasket can also cause leaks from between your lid and tumbler.
Oftentimes it’s a sign that your gasket is starting to age, you’re being too rough with it when you remove it, or, if you’ve ever replaced it, the new gasket wasn’t the correct size.
But no matter the cause, you can’t really fix it. You’ll just need to replace your gasket (with a proper fit this time).
5. Your Gasket Is Starting To Break Down
As gaskets age, they eventually start to break down and need to be replaced — which often leads to more leakage and a loose-fitting gasket.
To check your gasket for signs of aging, remove it and:
- Look for small cracks or splits forming.
- Gently stretch it to make sure it still has some elasticity and immediately snaps back into shape.
- Test if it’s beginning to dry rot by rubbing and rolling it between two fingers and looking for any small pieces of rubber that crumble off.
If you notice any of the above, it’s probably time for a new gasket.
Best Replacement Stanley Cup Gaskets
If you need to replace your Stanley Cup’s gasket, the good news is that it’s really easy and relatively inexpensive to do.
While Stanley, for whatever reason, doesn’t actually sell replacement gaskets on their site, you can always contact them directly to order a replacement.
If you’d rather not go through the hassle, LastyBands sells their own three pack for just a few bucks each.
But honestly, I usually just take the easy (and admittedly wasteful) route of replacing the entire lid.
H2.0 Flowstate Lids only cost ten bucks or there are a bunch of great alternatives if you want to mix things up.