While a few drips, drops, and minor leaks are to be expected from Stanley Cups, excessive leaking usually means that something is wrong.
It really shouldn’t be leaving those trails of ice water running down your arm every time you take a drink.
But what exactly causes Stanley Cups to leak?
Stanley Adventure Quenchers are known to have problems with water leaking or splashing from the straw hole and, while it was mostly fixed with the release of the Stanley Quencher H2.0 Flowstate Tumbler, they’re still just leak-resistant rather than actually fully leak-proof.
But if your Stanley Cup is leaking excessively, there are a few common problems that may be to blame:
- Your lid gasket is out of place, damaged, or has debris under it.
- Your lid’s threads have been damaged by cross threading or overtightening.
- Your lid’s splash guard is damaged or out of place.
- The rotating cover on your lid is loose or damaged.
The good news is, most of the reasons Stanley Cups leak are relatively easy to diagnose and pretty cheap to fix — at least as long as you know what to look for.
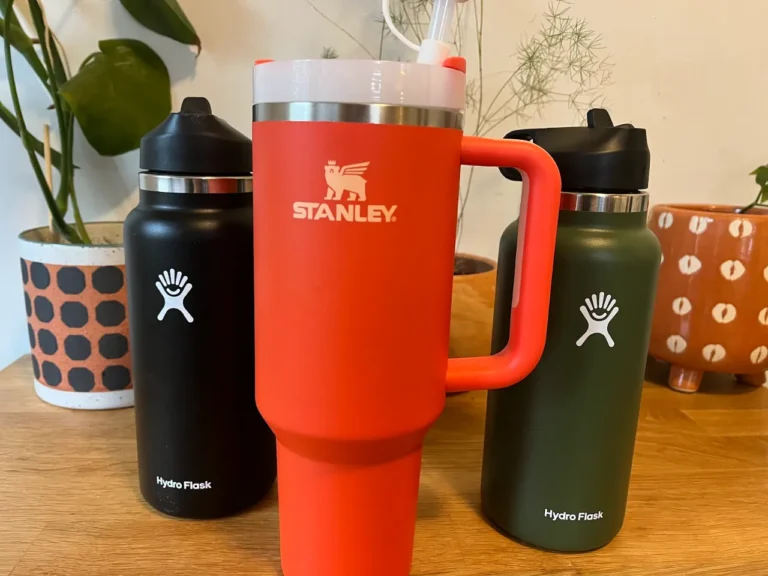
1. Stanley Adventure Quencher’s Aren’t Leak Proof
When people have issues with their Stanley Cup leaking, it’s often because they’re using an older, leak-prone model.
The original Stanley Adventure Quencher, which is the Stanley Cup that first went viral on TikTok, became so popular in large part because it offered a super convenient way to stay hydrated, came in a bunch of cool and unique colors, and kept drinks cold for pretty much the entire day.
But the one major complaint many users had was that they had a tendency to leak. A LOT.
It should come as no surprise though. The straw hole in the lid is nothing more than a circular, centimeter-wide opening. No seal. No guard. Nothing.
If you have an Adventure Quencher, chances are you’ve learned the hard way that accidentally knocking it over usually leads to water pouring out. And driving over speed bumps with a full tumbler often means water splashing out of the lid onto your center console.
Not ideal.
The good news is, you have a couple of easy options to fix it.
You can pick up a Stanley spill stopper, which essentially plugs your Stanley Cup’s straw hole and turns the sip slot into a watertight port for your straw.
Or better yet, the new Stanley Flowstate lids are also compatible with Adventure Quenchers, meaning you can just replace the lid and have most of the benefits of a newer Stanley Cup — including being much more resistant to leaks and splashes.
2. Stanley Quencher H2.0 Flowstate Tumblers Aren’t Completely Leak Proof Either
After Stanley’s Adventure Quenchers went viral and sold out pretty much everywhere nationwide, they used it as an opportunity to level up their already amazing tumblers.
One of the biggest upgrades was the new and improved H2.0 Flowstate Lid, which included a silicone splash guard meant to reduce leakage.
And while it helped quite a bit, Flowstate lids still aren’t completely leak-proof. Leak-resistant is probably a better description.
You won’t really have to worry about water splashing out while carrying your Stanley or driving over speed bumps, but tipping your Stanley will still lead to a slow leak and sticking it in a bag is still completely off limits.
While they’re more than leak-resistant enough for the way most people use their Stanleys, if you want your tumbler to be truly leak-proof, your best option is to replace your lid with a watertight alternative — like one of Jmoe USA’s Leak-Proof Tumbler Lids.
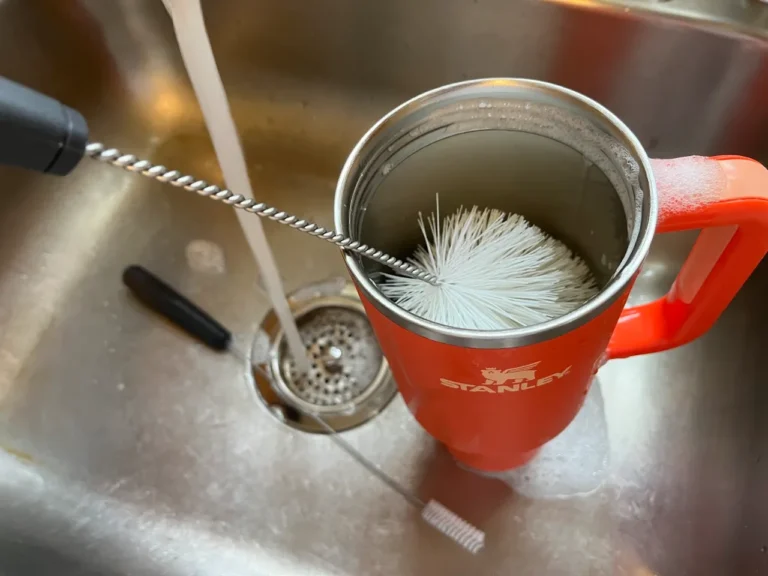
3. There’s A Problem With Your Gasket
If your Stanley Cup is leaking from between the lid and tumbler, it often means that there’s a problem with your lid gasket. Usually it’s managed to slide out of place, is starting to dry rot, or has gotten mold or some other debris beneath it.
To check, remove your Stanley’s lid and inspect the rubber gasket just above the threads.
- If it’s not sitting flush against the large upper lip, simply slide it back into place.
- If you notice any gunk, residue, or debris beneath or around it, remove it and give your gasket and lid a thorough cleaning.
- Slide a finger beneath your gasket and give it a light pull. It should feel rubbery and snap right back into place. If it doesn’t return to its original shape immediately or has small slits or cuts along its length when stretched, it’s probably time to replace it.
4. Your Lid’s Threads Are Damaged
Because Stanley lids are made of relatively soft plastic, cross threading or over tightening the lid may damage the threads.
To check if that’s your problem, remove your lid and look for sections of the threads that look uneven or gouged. Run a finger along the threads and feel for any sections that feel rough or choppy.
Unfortunately, if your lid is damaged, you’ll just need to replace it.
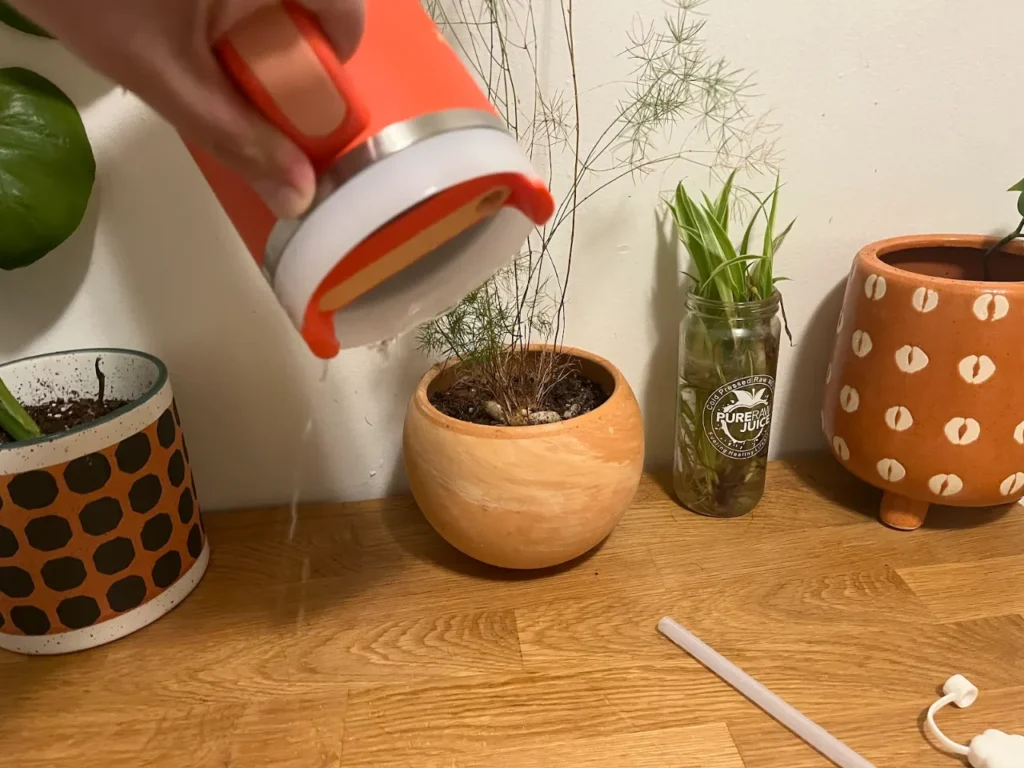
5. Your Lid’s Splash Guard Is Out Of Place
Stanley H2.0 Flowstate lids have a silicone splash guard that runs across the middle of the lid, which can lead to some Adventure-Quencher-levels of leakage when out of place.
I’ve managed to accidentally pop mine out of place a few times while cleaning my lid and didn’t actually notice until ice cold water was running down my arm later in the day.

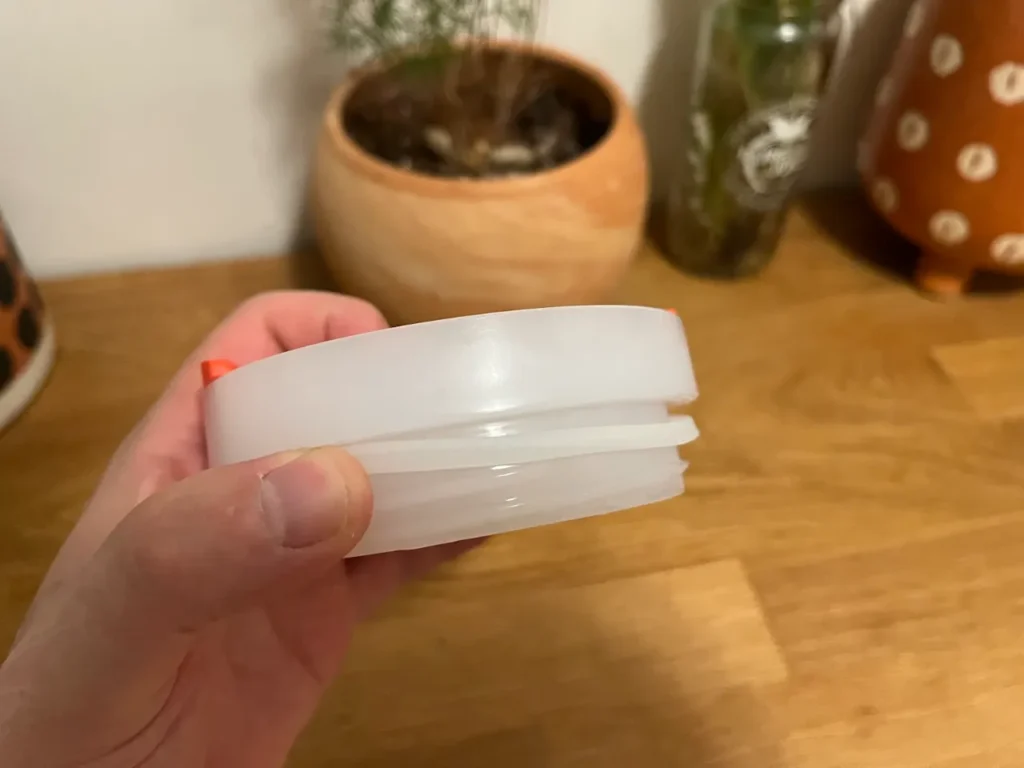
Your lid’s splash guard should sit flush with its flaps BETWEEN the rotating cover and opaque body of your lid.
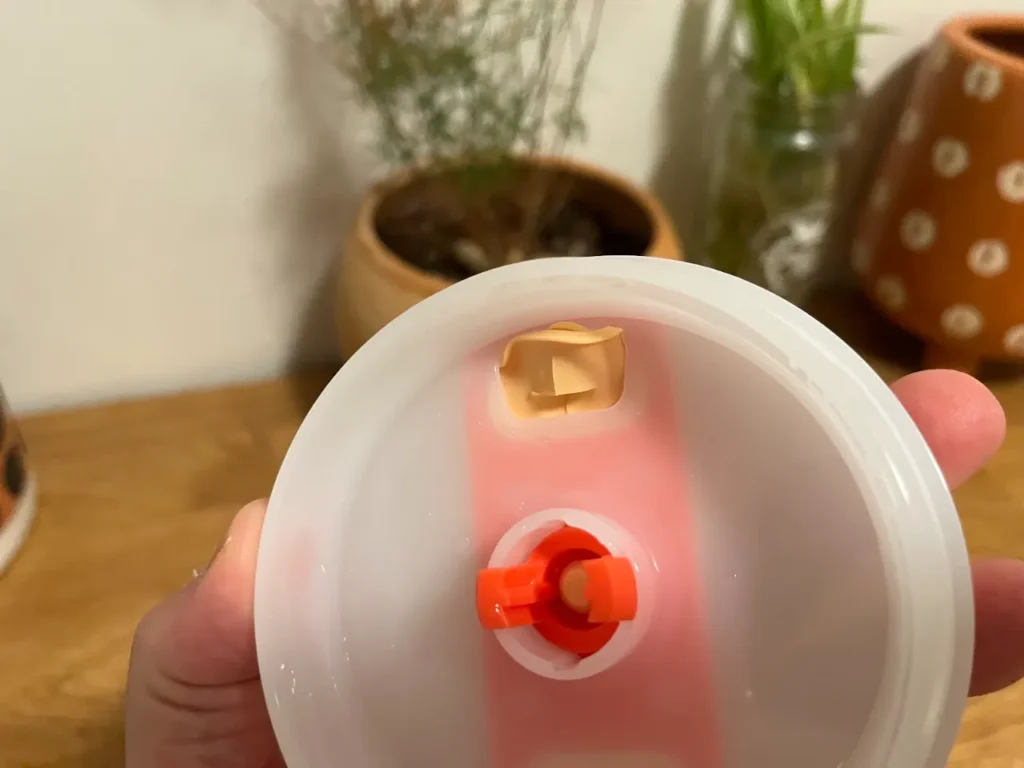
If it’s bunching up on the underside of your lid, it’s usually because you’re inserting your straw with a bit too much force.
Gently apply pressure to the exposed edges until it pops back into place.
If you have visible flaps on the top of your lid, it’s often because you removed the straw too quickly or at an odd angle, catching and pulling the splash guard out of place.
To fix it, gently fold the flaps underneath and slide them back into their slot.
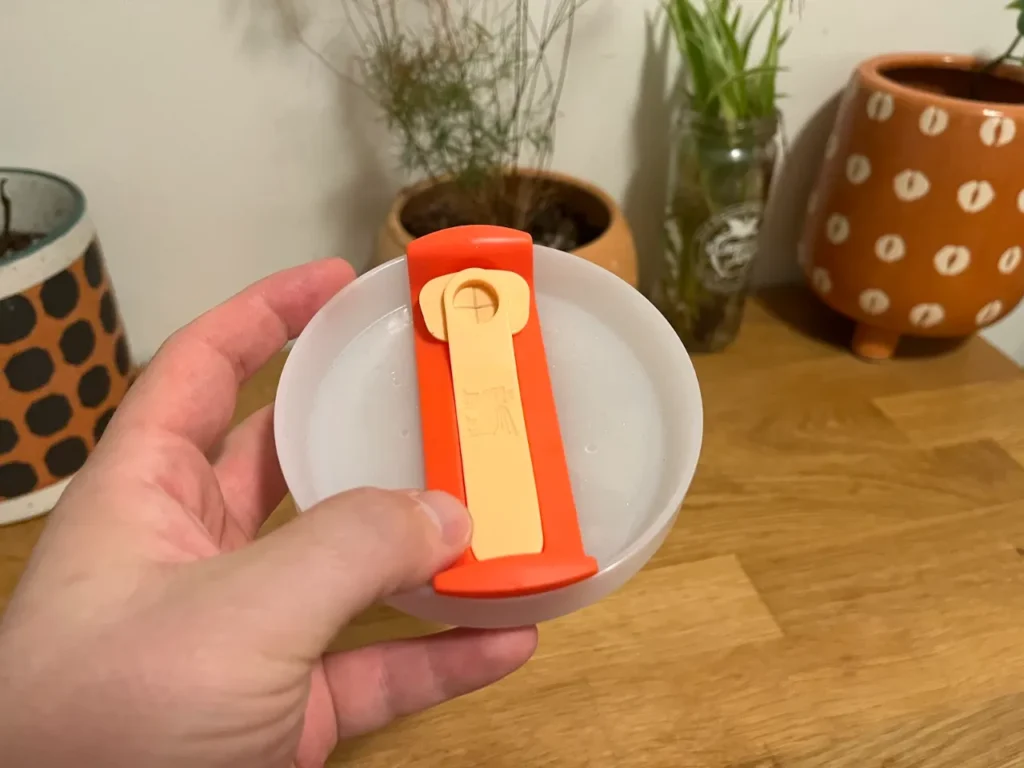
6. Your Splash Guard Is Damaged
If you’re consistently rough or careless when inserting and removing your straw, the Splash Guard may eventually tear or stretch out.
If your Stanley is leaking around the straw, inspect the splash guard for damage. You may need to remove it fully to get a good look.
The bad news is, Stanley doesn’t sell replacement splash guards. You’ll just have to replace the entire lid if yours is damaged.
7. Your Lid’s Rotating Cover Is Damaged
And finally, if the rotating cover on your Stanley Cup’s lid loosens or is otherwise damaged, it may not be able to seal the sip slot as well as it should.
The rotating cover should sit flush against your lid and it shouldn’t spin easily unless you squeeze the tabs on either end.
Again, you’ll just have to buy a new lid if yours is damaged.