Even though Stanley Cups are pretty easy to maintain, I’m not always the best at cleaning mine as well as or as often as I should. Every now and then, I manage to procrastinate just long enough for my cup to start tasting a little funky.
But luckily for me, removing those bad tastes is actually pretty easy.
To remove bad tastes from your Stanley Cup, fill it with boiling water for about ten minutes, clean the lid and straw with vinegar and baking soda, then wash as normal with hot water, dish soap, and a bottle brush. This method is super effective at removing bad tastes caused by mold, mildew, residual soap, and drink residue.
I’ve gotten into a better routine lately of cleaning my Stanley Cup with water bottle cleaning tablets every couple of days and going for a deeper clean every week or two.
I’ve been able to stick to it because it takes so much less time and effort. And I haven’t had any nasty tastes in my Stanley since.
Why Does My Stanley Cup Have A Weird Taste?
Because Stanley Cups are made of high-quality food-grade stainless steel, you shouldn’t really have to worry about them absorbing bad tastes or weird smells like with most plastic bottles.
Which means that nearly every case of a gross taste in a Stanley Cup is nothing more than a sign that you’re not cleaning it thoroughly enough or often enough.
It’s normally for one (or two) of three reasons:
- You’re not cleaning your Stanley well enough to remove all of whatever you were drinking. Over time, those little bits of coffee, tea, or smoothie left behind can build up in your straw or on the walls of your cup in the form of a tough-to-remove residue — that will eventually start to taste pretty awful.
- You’re not rinsing your Stanley Cup well enough to remove all the soap, which leaves behind a thin film that can leach into your drink.
- You’re neglecting your Stanley’s cleaning so bad that mold and mildew are starting to grow inside. Oftentimes, you’ll notice a weird earthy taste or smell long before the mold becomes visible.
The main exception is when your Stanley has a weird metallic taste, which either means that your cup is starting to corrode or your body is just sensitive to the stainless steel.
If it’s the former, throw it out and replace it. You may be able to remove the taste temporarily, but it’ll return soon and your cup will be much more likely to leach unwanted metals into your drink.
The latter may sound kind of strange, but a bunch of folks on TikTok are having similar problems.
If that seems to be the case for you, just give it to someone who doesn’t have the same issue (the tumbler is still perfectly fine) and try swapping to a high-quality plastic bottle instead.
How To Get Bad Tastes Out Of A Stanley Cup
As long as it’s not a weird metallic taste, you can use this method to remove bad tastes from your Stanley Cup with ease.
All you’ll need is some boiling water, distilled white vinegar, baking soda, and a bottle brush set.
Step 1: Fill Your Stanley With Boiling Water
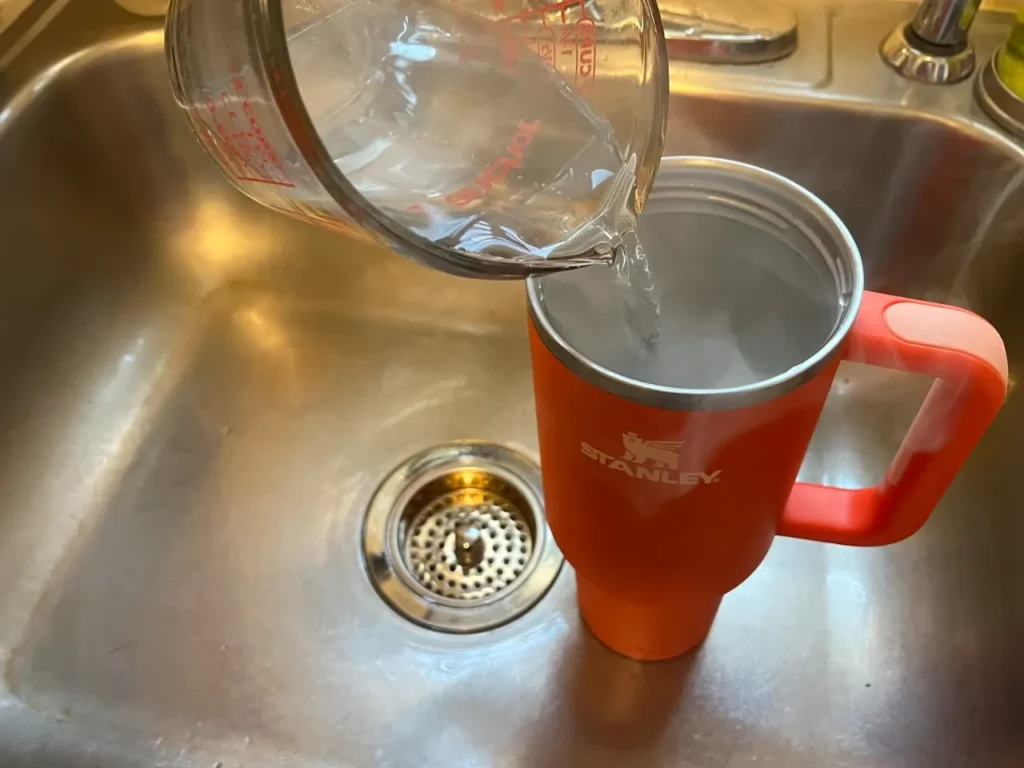
Prepare a pot of boiling water and pour it into your Stanley Cup, all the way to the brim.
Let the boiling water sit in your cup for about ten minutes to loosen any drink or soap residue and kill any mold or mildew inside.
Just make sure you’re not boiling the water directly in your Stanley Cup. While Stanley Cups can handle boiling water with no problem, bringing water to a boil IN them is very likely to damage the paint, vacuum seal, or both.
Step 2: Deep Clean The Lid And Straw
While waiting for the boiling water to do its job, clean the lid and straw using distilled white vinegar and baking soda — both potent natural antifungal cleaners.
- Submerge your Stanley’s lid and straw in a large bowl of 50/50 hot water and distilled white vinegar. You may need to place a heavy plate or bowl on top of them to prevent them from floating to the top.
- Let soak for about 20 to 30 minutes (or even overnight for really bad tastes).
- Prepare a mixture of baking soda and water, aiming for a toothpaste-like consistency. Equal parts water and baking soda usually does the trick.
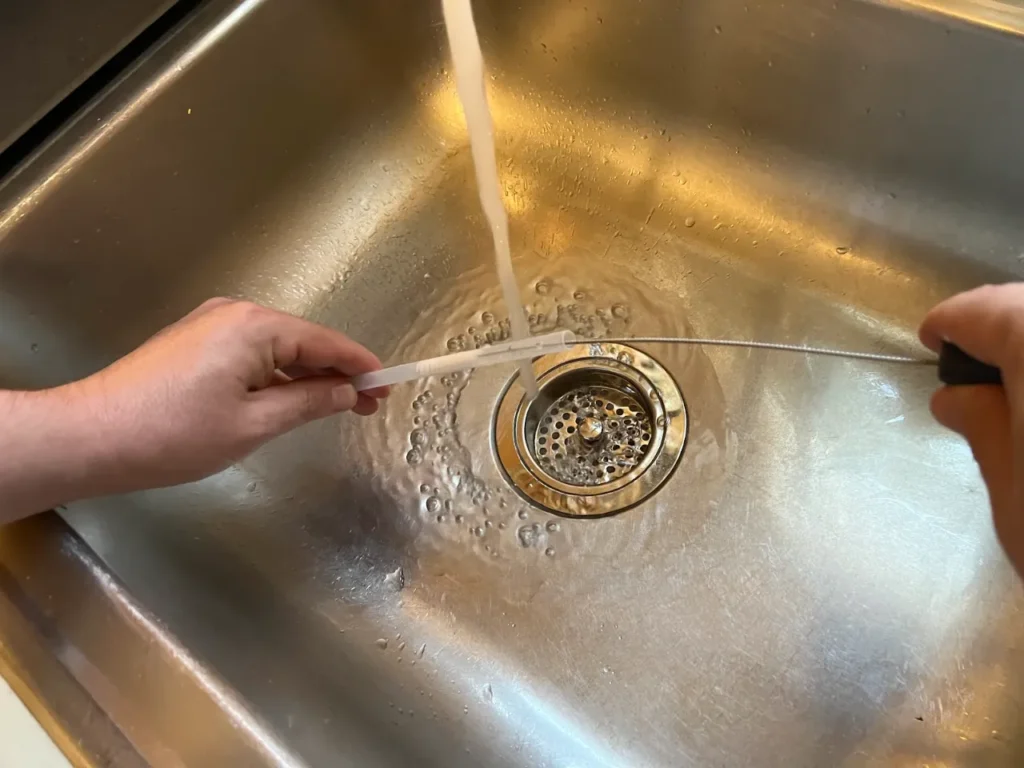
- Remove your lid and straw from the diluted vinegar and, without rinsing, scrub the baking soda paste on all surfaces using a small bottle brush and straw brush. Make sure you’re scrubbing the inside of the straw and all cracks and crevices under the lid, where mold and mildew are most likely to hide.
- Let sit for about twenty minutes.
- Rinse off the baking soda paste under running water.
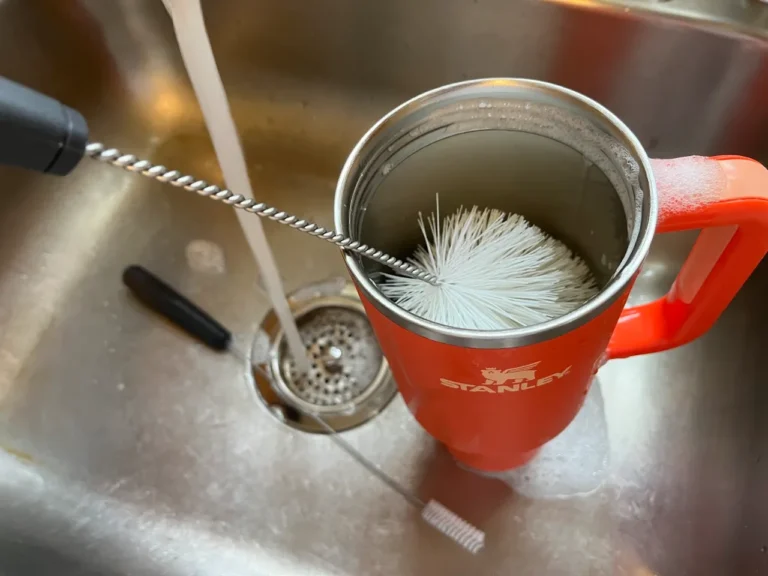
Step 3: Give Your Stanley A Proper Cleaning
Give your cup, lid, and straw a regular cleaning using hot water, dish soap, and a bottle brush or sponge.
Check out my complete guide on properly cleaning your Stanley Cup for more info.
Step 4: What To Do If It Doesn’t Work
If you’ve followed the steps above and still have a bad taste in your Stanley, you may just need to repeat steps 1 through 3 a second time.
If it still doesn’t help, the taste may have been absorbed by your straw and/or lid and could be too stubborn to remove. You may just need to replace the lid or replace the straw.