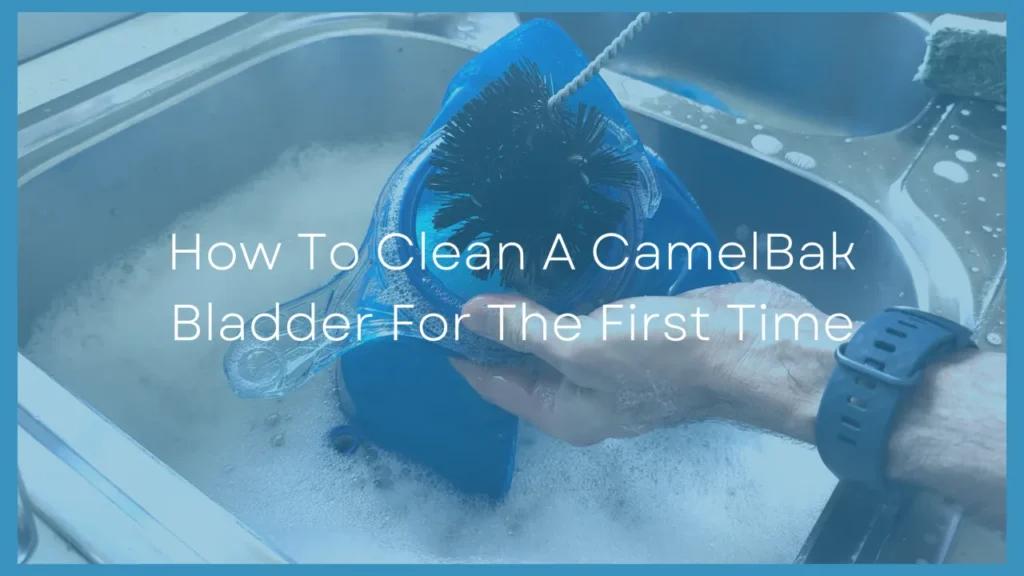
One of the most important things to do before using a new CamelBak is to give it a thorough cleaning.
Washing your bladder will remove any contaminants from manufacturing or warehouse storage and remove that weird plastic taste that many new reservoirs have. It’s well worth the effort so your first use of the bladder doesn’t taste disgusting.
To clean a CamelBak bladder for the first time:
- Remove the plastic taste by soaking your bladder with fresh squeezed lemon juice for about 20 minutes.
- Rinse the bladder then soak for another 20 minutes with cleaning tablets, vinegar, baking soda, or heavily diluted bleach.
- Scrub the interior of the bladder and delivery tube with hot water and a mild dish soap.
- Rinse thoroughly.
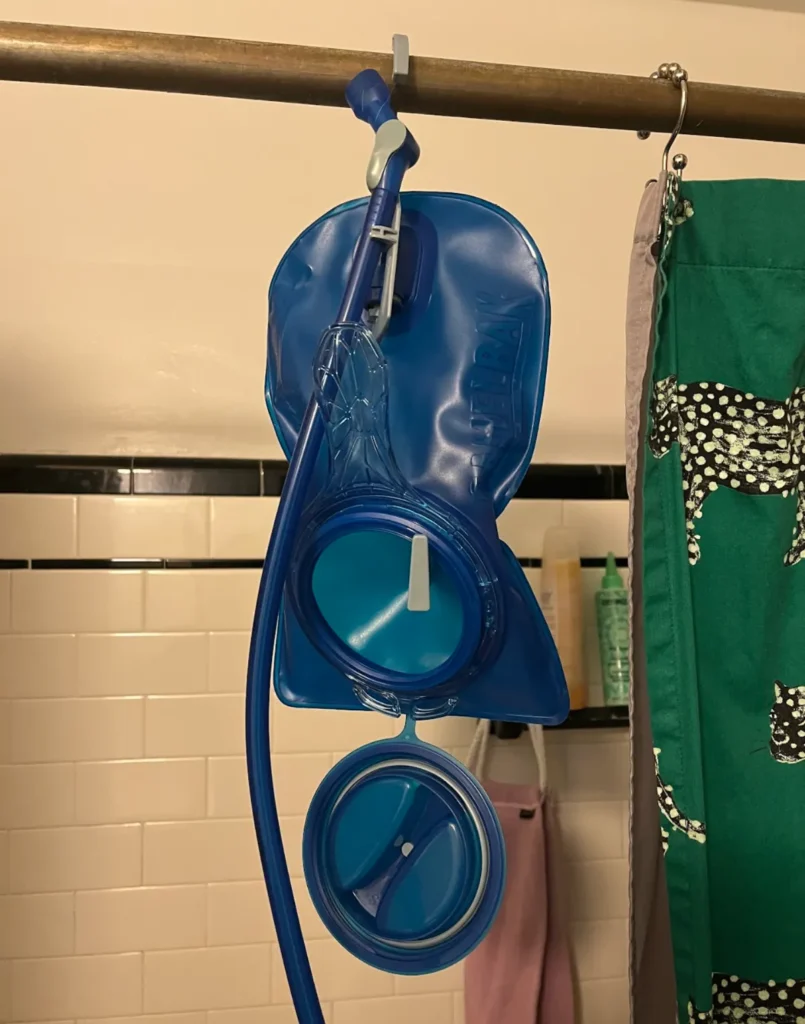
- Dry the bladder completely by hanging on a reservoir hanger.
A CamelBak cleaning kit and some extra cleaning tablets will make your first cleaning and every cleaning thereafter much faster and much easier.
While there’s a good chance that using a brand new CamelBak without washing it won’t actually make you sick, why take the risk?
If you know how to wash it and have the right equipment, it should be a quick and painless process.
Step 1: Get The Right Supplies
Setting yourself up with the right supplies to clean your CamelBak will ensure that your bladder is as clean as possible and will save you tons of time both now and in the future.
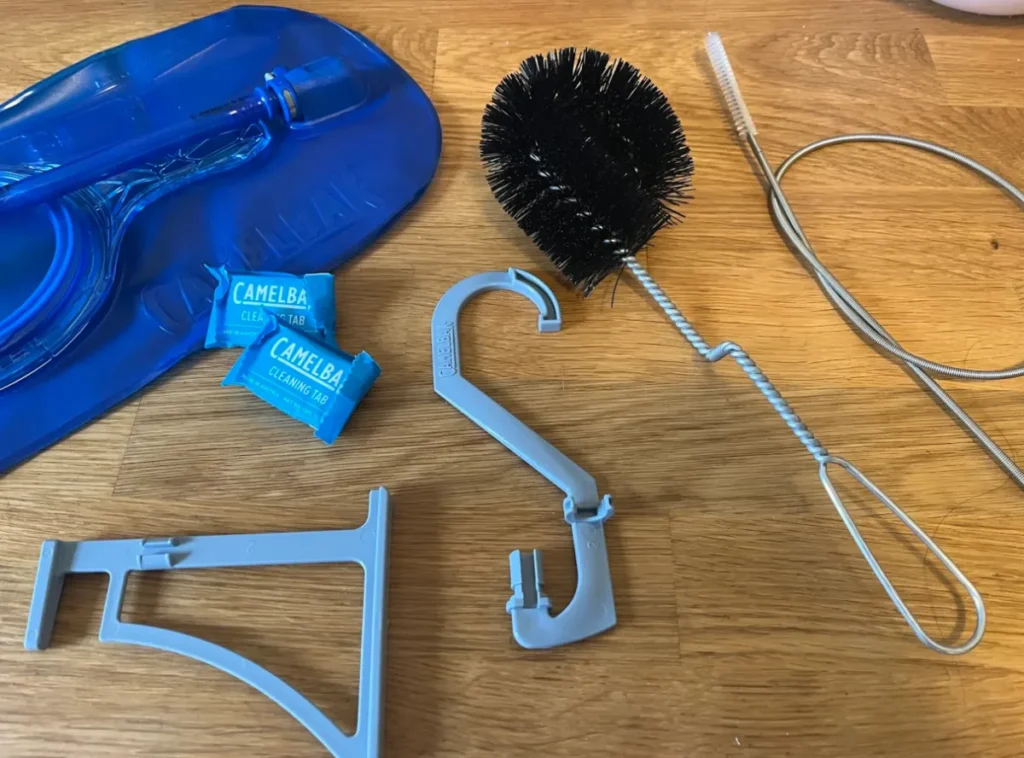
A CamelBak cleaning kit is the one CamelBak accessory that I consider mandatory (check out my in depth review).
It includes a reservoir brush to scrub all those hard-to-reach places in your bladder, a tube cleaning brush to properly clean your delivery tube, a couple CamelBak cleaning tablets, and a reservoir hanger to help fully dry your bladder.
While it’s true you can clean the tube without a tube brush, twist and bend the reservoir to scrub its corners through the fill hole, and make your own CamelBak dryer out of a wire hanger, none are nearly as easy or effective as just investing about 20 bucks in a cleaning kit.
The only other thing I’d recommend picking up is an extra pack or two of cleaning tablets, since the cleaning kit only comes with two.
I prefer CamelBak’s own cleaning tabs because they work great, but there are other less expensive options that work nearly just as well. Check out my full review on CamelBak cleaning tabs to help make a more informed decision.
Step 2: Remove The Plastic Taste
A common complaint with new CamelBak bladders is that they often have a strange plastic or chemical taste. I definitely experienced this the first time using a CamelBak and honestly it was disgusting. I ended up discarding all the water.
It’s nothing harmful, but far from pleasant.
If the taste doesn’t really bother you, you can skip ahead. It usually goes away on its own after a few uses and washes anyway.
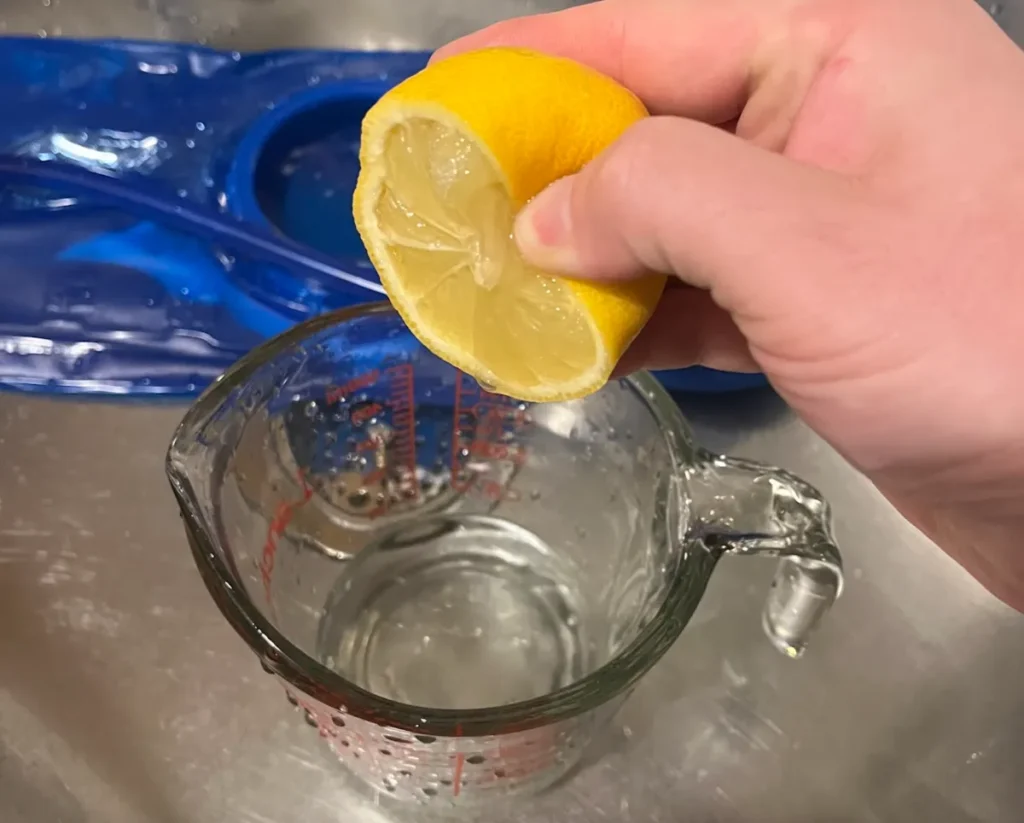
But if you want it gone sooner, it’s not really that hard to remove. The best way is with a quick soak in fresh squeezed lemon juice.
- Fill your bladder with about ¼ cup of lemon juice per liter of water that your reservoir holds and the rest of the way with hot water.
- Squeeze out any excess air and seal the reservoir.
- Hold the bladder over the sink and squeeze the bite valve until water begins to flow through.
- Shake then let soak for at least 20 minutes.
- Dump the contents of your bladder and rinse it out with warm running water.
If you don’t have any lemons on hand, there are a few other methods you can try.
Step 3: Soak In Cleaning Tablets
Once you’ve removed the plastic taste from your bladder, it’s time to soak it with cleaning tablets or your cleaner of choice — baking soda, diluted bleach, or distilled white vinegar all work well enough.
- Fill your bladder as full as possible with hot water.
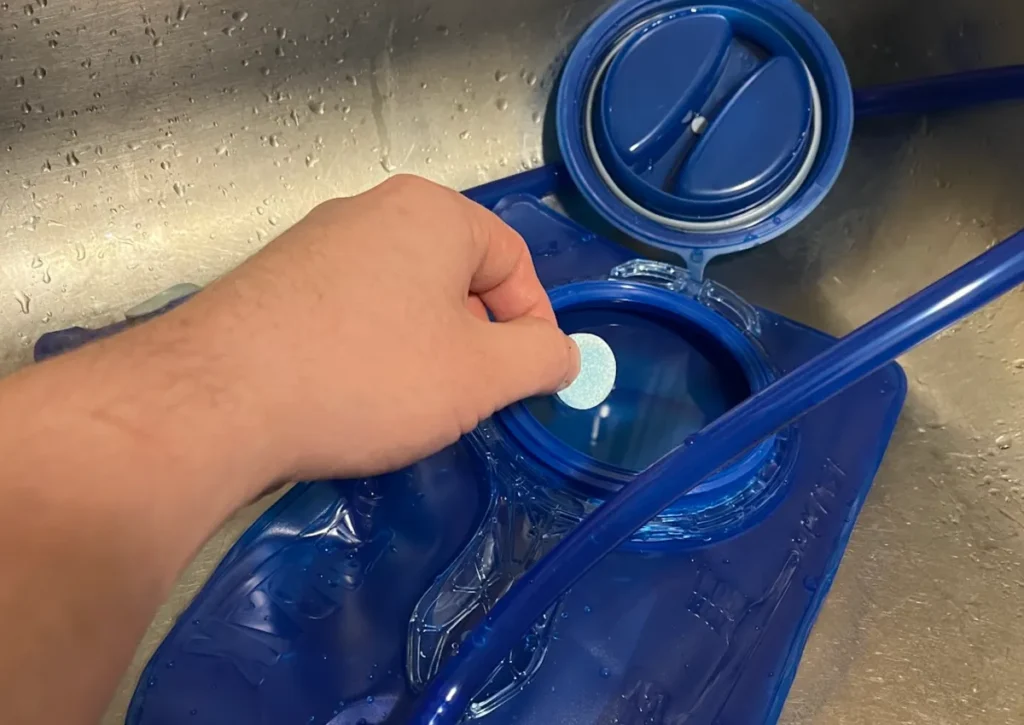
- Drop in a cleaning tablet (or two if you have a 3 liter reservoir).
- Squeeze out any excess air, seal the bladder, and give it a few shakes.
- Hold the bladder over the sink and squeeze the bite valve until water starts to flow through.
- Let soak for about 20 minutes.
- Dump the contents of your bladder.
Step 4: Scrub Your Bladder With Dish Soap

This is where that CamelBak cleaning kit really comes in handy.
- Add a squirt of mild dish soap and a bit of hot water to the inside of your reservoir.
- Scrub all interior surfaces with a reservoir brush and the interior of the tube with a tube cleaning brush.
- Remove the mouthpiece and gently massage it between soapy fingers.
- Rinse away any remaining detergent under warm running water.
Step 5: Dry Completely (or Freeze)
Before you store your bladder, it’s really important that you dry it completely. If you leave any moisture trapped inside, you run the risk of your bladder growing mold or mildew that could make you pretty sick.
If you bought a CamelBak cleaning kit, the reservoir hanger makes this really easy — just shake out as much water as possible and hang the bladder overnight.
You can also store your bladder in the freezer. Freezing temperatures drastically slow the growth of mold and bacteria so you won’t need to worry about drying your reservoir out before storing it.