Storing a CamelBak bladder properly can help extend its life and prevent mold and bacteria from growing inside.
If you just stick your bladder in the closet or the trunk of your car between uses, you're going to see a lot of mold growth in your CamelBak and you’ll probably be in the market for a new one sooner rather than later.
So how exactly are you supposed to store a CamelBak bladder?
The 2 best ways to store you CamelBak bladder are to either completely dry it and store it laying flat in a drawer, cupboard or plastic container away from direct sunlight and high temperatures. Or for short term storage between uses the freezer is a great place to store your CamelBak if you don't have time to clean/dry it.
As long as you take the time to store your CamelBak bladder correctly, it can be stored almost indefinitely and your CamelBak is then going to last a long time.
Dry It Completely And Store
The best way to store your CamelBak long term is to completely dry it (and I mean completely) and then store it somewhere safe and away from the elements that will deteriorate it over time.
Storing a wet or dirty bladder will lead to bacteria and mold growing inside your CamelBak, which could ruin your bladder or make you sick the next time you use it.
Step One: Clean The Bladder Thoroughly
Giving your bladder a quick clean with CamelBak cleaning tablets before storing it for a few days, or even a couple of weeks, is perfectly fine.
But if you’re going to store it for any longer, it’s best to give your bladder a proper deep clean first.
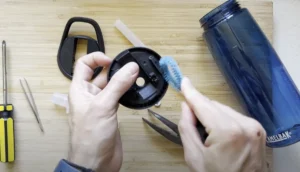
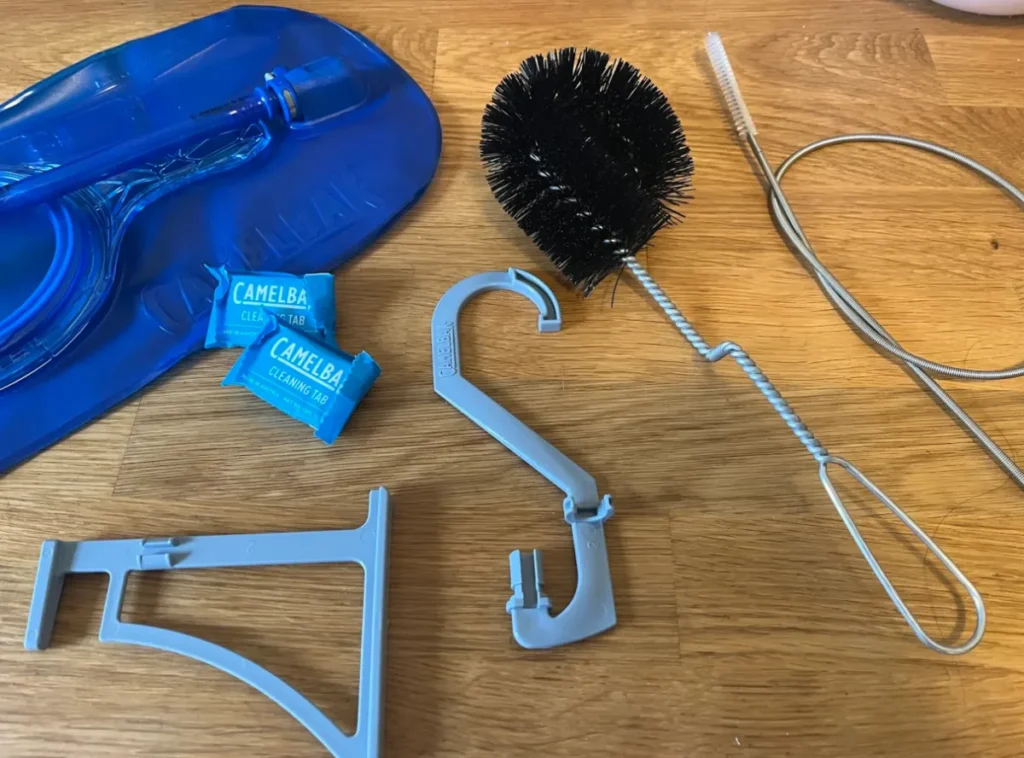
I personally like to use the CamelBak Crux Cleaning Kit as it comes with a large brush for the inside of your bladder plus a long straw brush for the tube.
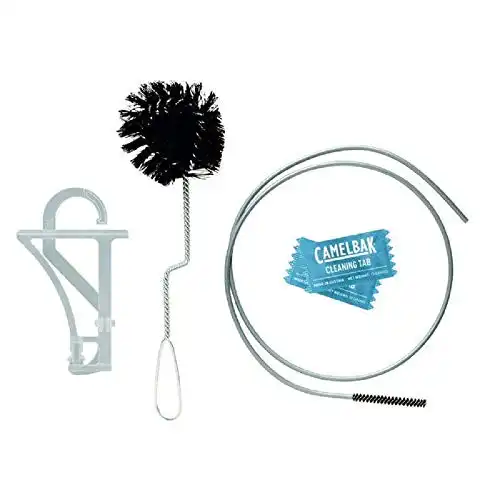
Features a large brush for the reservoir and a extra long straw brush to clean the drinking tube plus CamelBak cleaning tabs which will help clean away any scum. After cleaning use the reservoir drying kit to easily hang your bladder and get it completely dry.
A must have for CamelBak bladder owners.
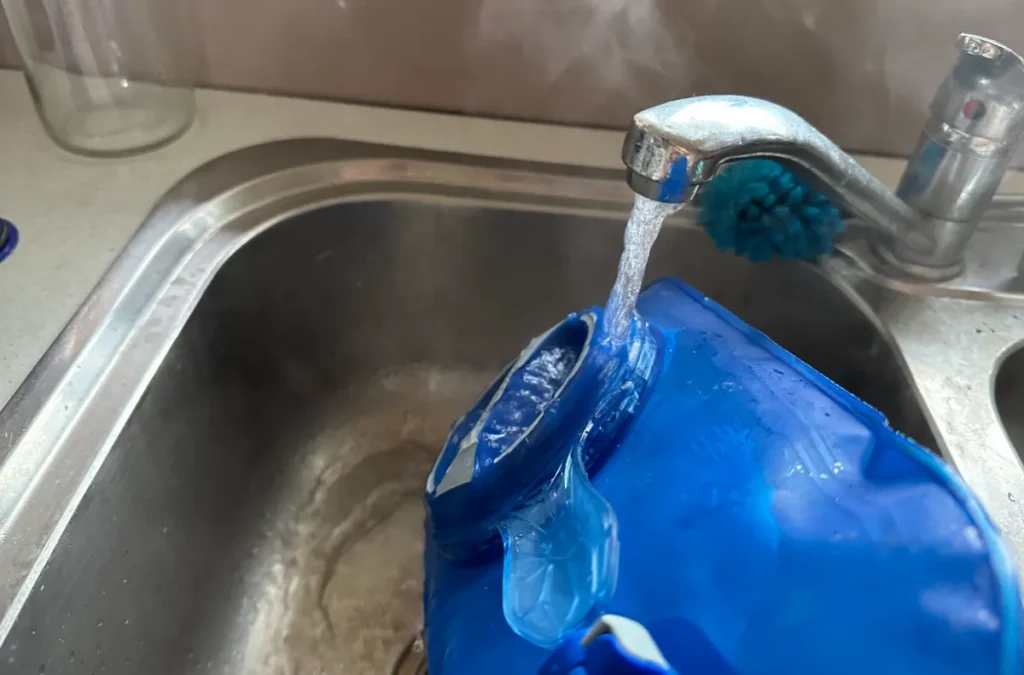
If you fear your CamelBak has mold then you want to give it a proper clean by soaking it in a mixture of vinegar and water for around an hour or overnight if it's particularly nasty. Then scrub with baking soda and rinse.
If it's in quite good condition then warm soapy water should do the trick.
Step Two: Let The Bladder Dry Completely
Even more important than cleaning your bladder before storing it is letting it fully dry.
CamelBak bladders have a tendency to trap water in hard to reach places and this can foster mold and mildew growth so it's really REALLY important you dry your bladder completely before storage. Especially before long term storage.
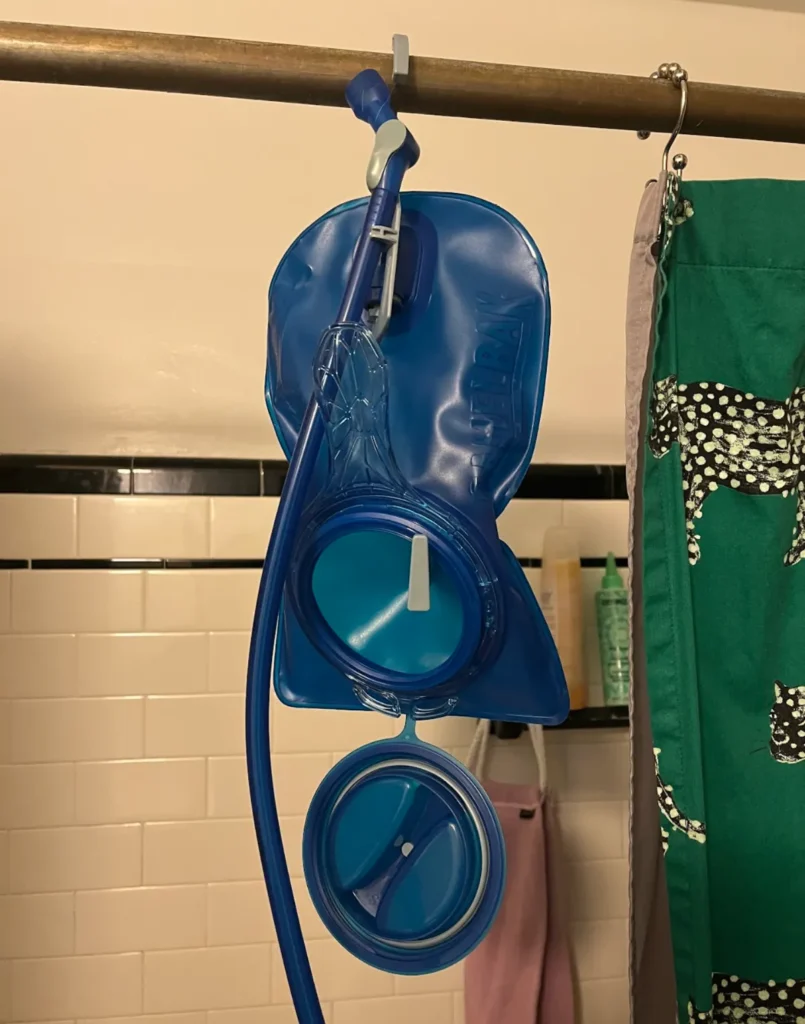
This is very difficult to do without some sort of assistance of a bladder dryer, hanger or some sort of cloth that can wick the water away. I've got a full guide on how to perfectly dry your CamelBak bladder before storage but below are a few of the simplest suggestions.
The fastest and most consistent way is to use a CamelBak dryer, like this one by RiVern, that circulates air through your bladder, drying it fully in minutes. I personally love this option as it also dries the CamelBak drinking tube which can be one of the hardest parts of the bladder to dry.
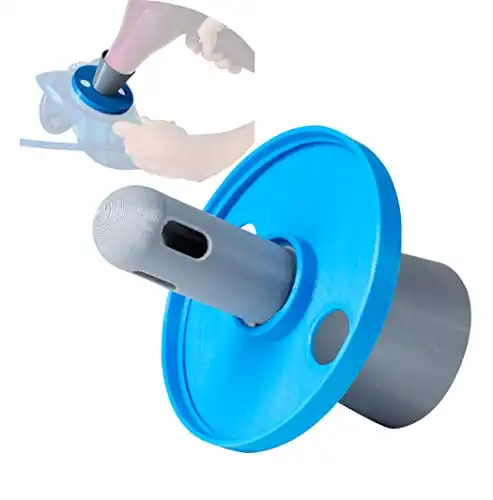
Save all the hassle and difficulty of trying to dry your hydration bladder and hose and avoid mold altogether with this drying kit.
Quickly dry your bladder and drinking tube in just 10 minutes. Attach to your hairdryer and use the cool air setting to use. Simple and easy.
A reservoir hanger works well too, it just takes longer. Hanging overnight usually does the trick, but you can speed up the time quite a bit by sticking a U’Be dryer inside as it hangs.
Check out my list of the best dryers for CamelBak bladders.
Step Three: Choose A Good Location
Now that your bladder is clean and dry, it’s time to find a good spot to keep it.
Choose somewhere out of direct sunlight, in cool or moderate temperatures. Sunlight and heat will age your bladder and are best avoided, especially for long term storage.
You want to make sure the bladder isn't scrunched up as this can damage it over time and you also want to make sure there isn't anything particularly heavy or sharp on top of it as this can also damage it.
Lay the bladder out flat and keep it sealed IF (and only if) you know the bladder is completely dry. Otherwise leave it with the lid open so air can circulate inside it.
If you have a Fusion bladder with a TRU Zip zipper it's a good idea to store this with the top closed as it may lose its shape if left open.
Store It In The Freezer
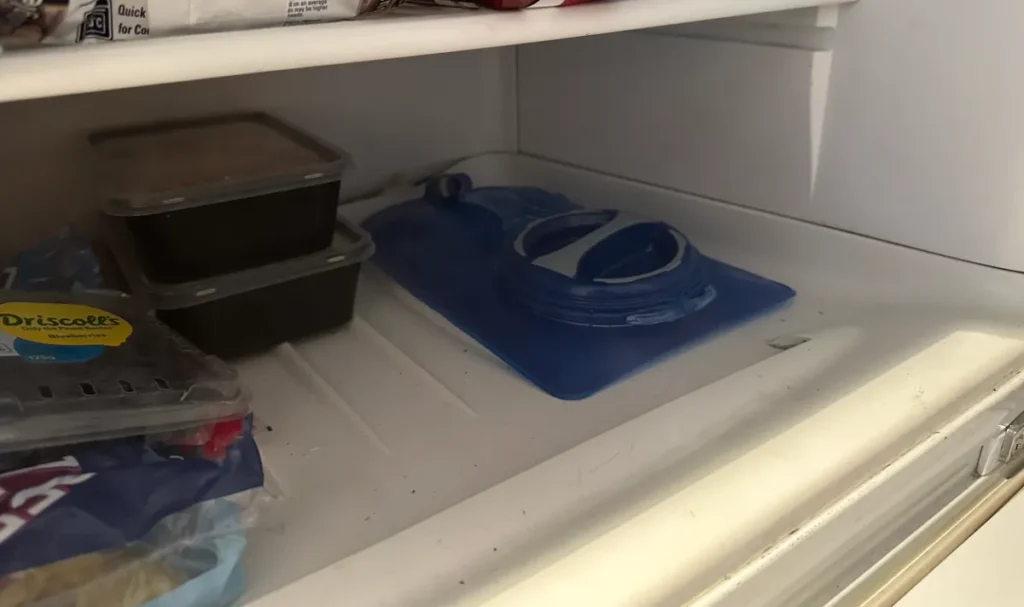
The easiest way to store a CamelBak bladder is to keep it in the freezer between uses.
In freezing temperatures, the growth of mold and bacteria are greatly slowed, meaning you don’t really have to worry about deep cleaning your bladder or letting it dry completely before storing it.
This is the best storage location if you're using your bladder frequently and want to store it between uses without completely drying it.
You don’t necessarily need to dry your bladder before freezing it, since mold isn’t a concern, but it’s a good idea to at least dry the threads of the lid to prevent it from freezing shut.
But if you don’t, it’s not that big of a deal. Running the cap under some warm water will loosen it enough to open pretty easily.
Also make sure you detach the delivery tube from the bladder. If you leave it connected, the QuickLink port could get damaged as ice expands inside.
The tube can be kept separate in the freezer or cleaned, dried, and stored elsewhere. Learn how to clean the CamelBak tube and how to dry the CamelBak tube properly.
Your bladder can be frozen empty or half full of water to make a large chunk of ice that will help keep your water cold longer the next time you use your CamelBak.
Just be sure not to overfill the bladder (so the ice has plenty of room to expand) and leave a pocket of air inside (so the cap doesn’t freeze to the chunk of ice).