So you just got your first CamelBak and are stoked to fill it up and hop on your bike or hit the trail.
But before you dive in headfirst, there are a few quick things you should do first (don’t worry, they won’t take too long).
Before using a new CamelBak for the first time, there are a few things you should do. First, try on and adjust the pack to make sure it fits comfortably. Once you’re sure it’s a good fit, fill it with water, check for leaks, and make sure everything’s working correctly. Then wash the bladder thoroughly and, if it has a plasticy smell or taste, soak with lemon juice to remove it.
To make your life much easier when it comes time to clean your CamelBak, order a reservoir cleaning kit that contains a soft-bristled brush, tube cleaning brush, some CamelBak cleaning tablets, and a reservoir hanger as soon as possible.
Setting up and testing your new CamelBak should only take about half an hour or so, but to me it’s more than worth it to make sure the pack’s a good fit and everything is working properly.
A little extra effort now could save a lot more frustration down the line.
These are the first five things you should do every time you get a new CamelBak.
1. Make Sure It Fits
The very first thing you should do when you get a new CamelBak is to make sure the pack fits comfortably.
Your initial fitting should be with an empty bladder, before you remove any tags. After all, if it doesn’t fit you’ll want to exchange it, and most retailers won’t accept a used, tagless hydration system for return.
Naturally, we all have our own preferences for what’s comfortable and what’s not, but there are a few general guidelines everyone can follow.
- Before putting on your CamelBak, loosen the shoulder straps so you can slide the pack on easily. Unlike casual bookbags, a CamelBak’s straps will need to be loosened then pulled tight each time you wear it to get the right fit.
- Adjust the sternal strap to rest just above your abdomen, near the bottom of your sternum. If your pack has a waist strap, align that around the top of your hips. Adjusting these cross-straps to the right location will help distribute the weight of your pack more evenly across your body.
- Jostle the pack around a bit to make sure it stays in place. A few jumping jacks or a quick sprint should tell you if the pack is snug and fits securely.
- If you’re confident that it fits, remove the tags, fill the reservoir, and try it on with the bladder filled, just to be sure.
2. Check For Leaks And Make Sure Everything Works
CamelBak’s quality control is great, but nothing’s perfect.
Before you take your CamelBak out for its first use, you’ll want to make sure it’s working and nothing’s leaking. After all, water running down your back all day or a mouthpiece that you can’t sip through can be serious buzzkills.
Fill up your CamelBak and dry off any water that splashed onto the exterior of your bladder or pack.
Turn it upside down, give it a few shakes, press on it to apply some pressure, put it on and move around a bit, then check for leaks by looking for any water on the exterior of the bladder, especially near the tube.
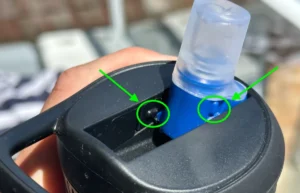
NOTE: The lid can be notoriously difficult to get on properly and the thread easily gets misaligned. If this happens and the lid is leaking undo it and spin it backwards until you hear a click then tighten it. This should ensure the thread is the right way around.
Take a few sips to make sure the mouthpiece and bite valve are working as they should. You'll need to apply a little pressure to drink, but you shouldn’t have to strain.
If your bite valve doesn't open at all then learn how to fix a closed CamelBak bite valve.
3. Buy The Right Cleaning Supplies To Make Your Life Easier
I strongly recommend ordering your cleaning supplies as soon as possible so you’re not left scrambling, trying to figure out how to clean your CamelBak without the right tools for the job when it comes time.
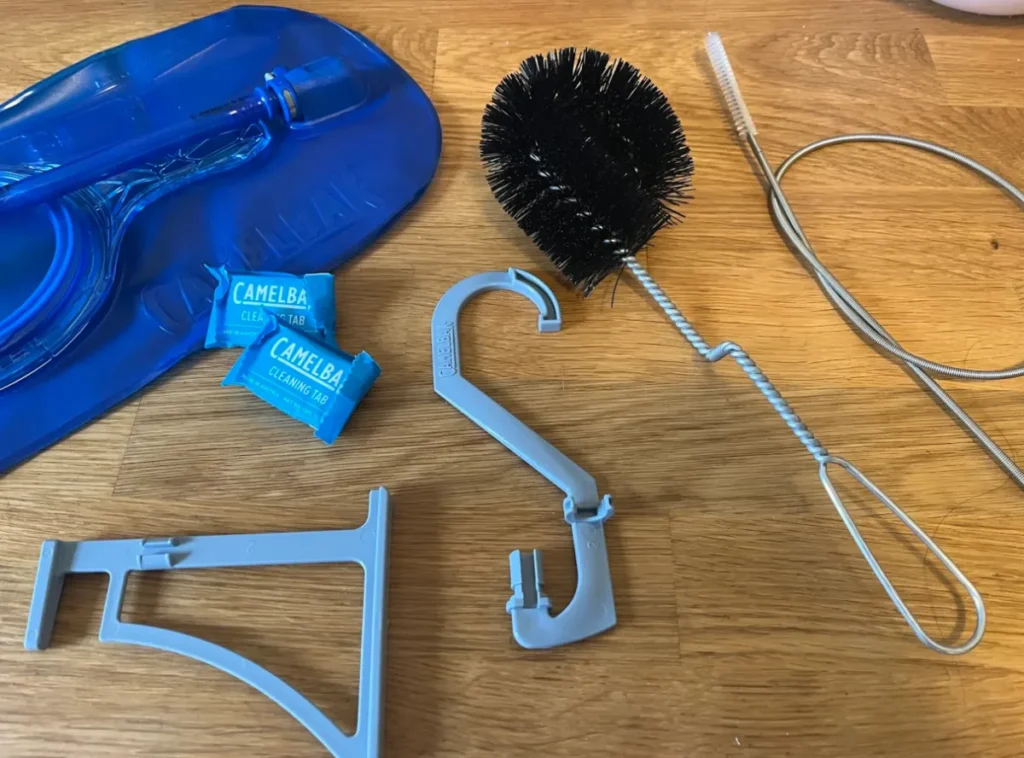
A CamelBak cleaning kit has everything you need to make cleaning a breeze — a soft-bristled reservoir brush, tube cleaning brush, cleaning tablets, and a reservoir hanger.
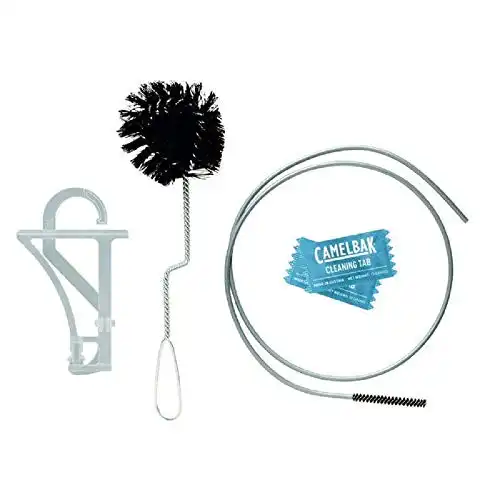
Features a large brush for the reservoir and a extra long straw brush to clean the drinking tube plus CamelBak cleaning tabs which will help clean away any scum. After cleaning use the reservoir drying kit to easily hang your bladder and get it completely dry.
A must have for CamelBak bladder owners.
If you opt for the cleaning kit, you’ll want to grab an extra pack or two of cleaning tablets as well. The kit only comes with two included.
If you want to buy a different brand then check out my article on the best cleaning tablets for CamelBak bladders.
If you’d rather use things you already have on hand:
- a sponge or dishcloth will work in place of the reservoir brush
- this trick will clean the tube without a tube brush
- many common household cleaners are okay to use in place of the tablets — like vinegar, baking soda, or bleach
But to me, a tube cleaning brush is the most essential. It makes cleaning your CamelBak considerably easier and only costs a few bucks anyway.
4. Remove That Plasticy Taste And Smell
The first time I used my CamelBak I noticed it had a weird plasticy taste and smell – especially as the day went on. It really ruins the drinking experience as it feels like you're drinking chemicals.
If your CamelBak has a plasticy taste or smell, don’t worry, it’s not harmful (but it’s certainly not very pleasant either).
And luckily, it’s not actually that hard to get rid of.
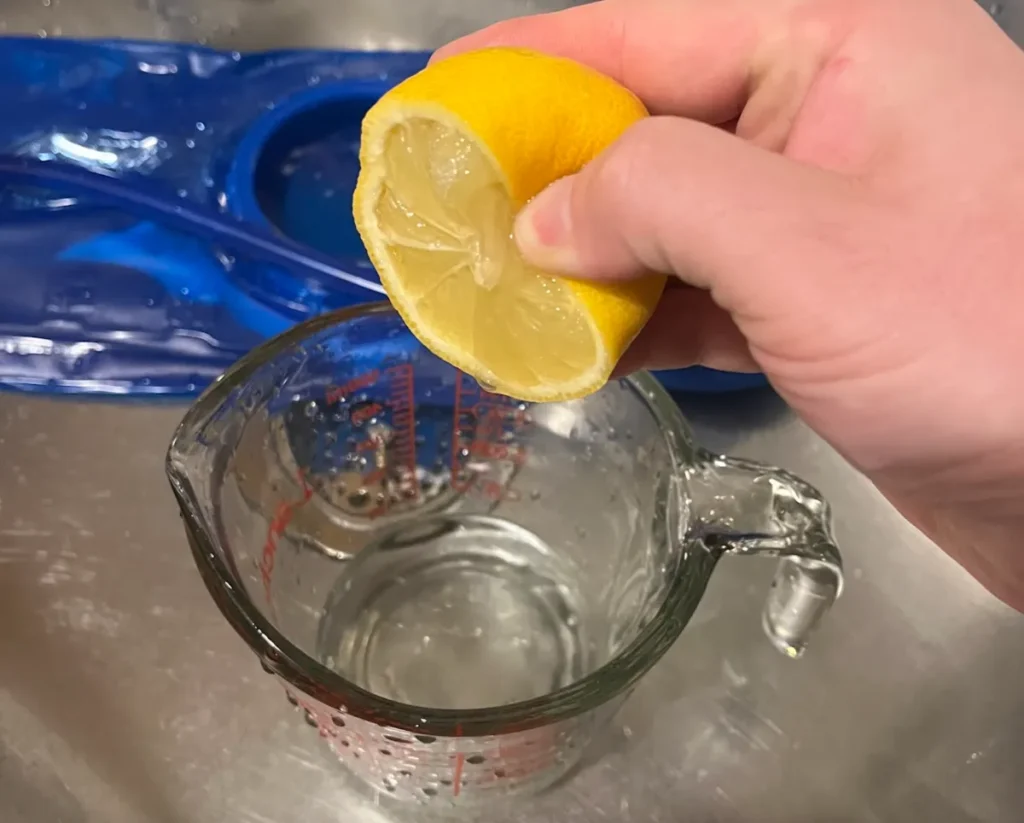
- Fill your CamelBak with hot water and about ¼ cup of fresh squeezed lemon juice per liter of water, leaving as little air in the bladder as possible.
- Give the reservoir a few vigorous shakes.
- Hold the reservoir over the sink and squeeze the bite valve until water begins to flow through. This ensures that the lemon juice contacts the entire system.
- Soak for 20 or 30 minutes.
- Wash and dry your CamelBak as normal.
5. Wash It Thoroughly
Before drinking from your CamelBak, it’s also a good idea to give it a proper cleaning first. If you don’t, the chances of anything bad actually happening are incredibly low — but why take the risk?
It’s always a good habit to wash any new food or drinkware before its first use.
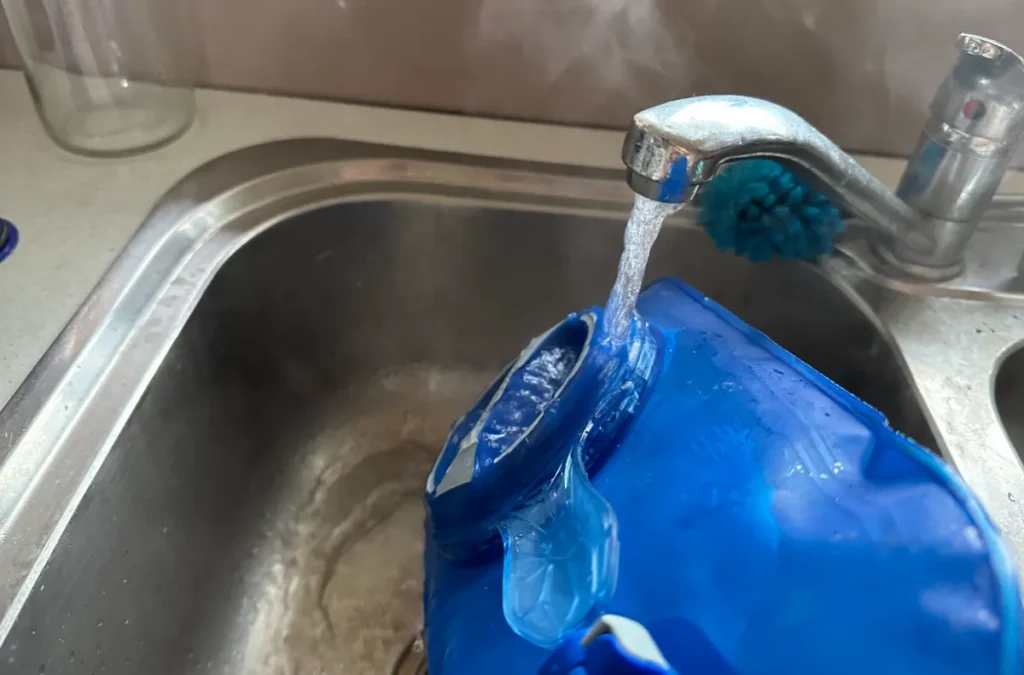
- Rinse out the reservoir with hot running water.
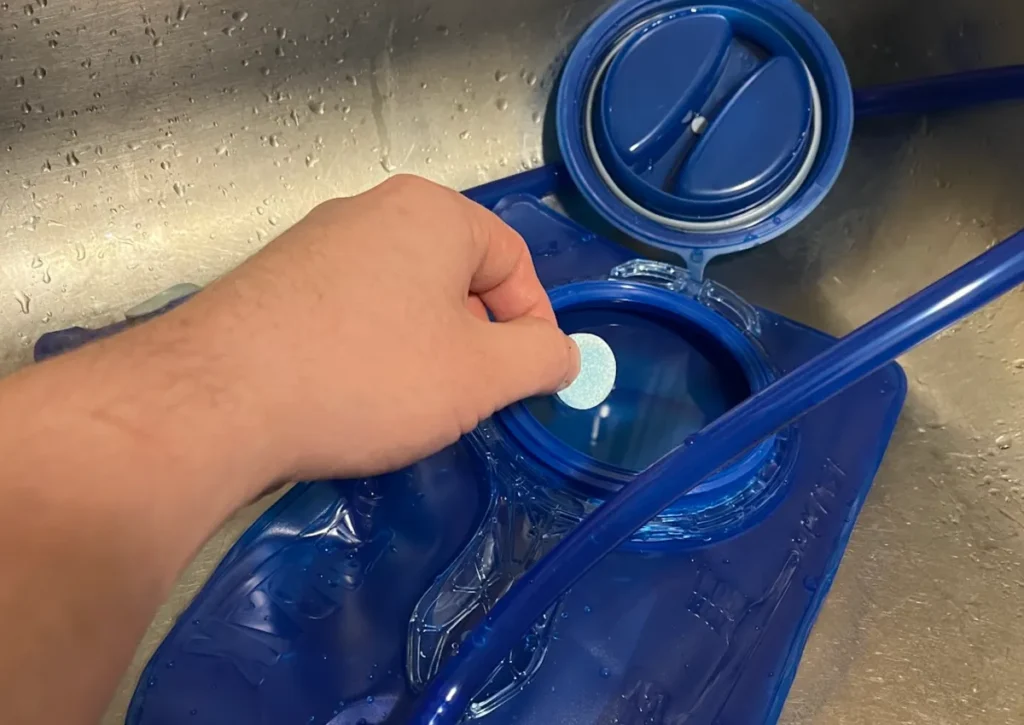
- Fill with hot water, add a CamelBak cleaning tablet, and squeeze the bite valve to let water flow through and contact the entire system.
- Soak for 20 minutes.
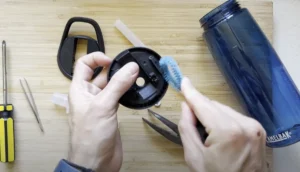
- Scrub the reservoir with a soft-bristled brush, the tube with a tube cleaning brush, and the bite valve by hand.
- Rinse away any remaining soap under hot running water.
- Air dry on a reservoir hanger.
- Don’t store or reassemble until the entire system is completely dry to prevent mold and mildew.