Coolers are designed to stay cold and to keep ice frozen for an extended period of time. However, how well you pack and use your cooler can make a HUGE difference to how long it will stay cold for.
Just throwing some ice in a cooler might be better than leaving the ice in a non insulated bucket, but if you do the right things you can keep things cold much much longer.
Following a few simple steps will extend the life of the ice in your cooler allowing your cooler to stay cold for longer.
This will save you money on ice and will mean you don't have to worry about drinks being warm or food spoiling because it warmed up too quickly.
The good news is, these tips are really easy to do and you can use multiple techniques in combination with each other to get some extremely cold retention from your coolers.
Below are my 20 best tips to help your cool stay cold the absolute longest possible time:
1. Use a Good Cooler
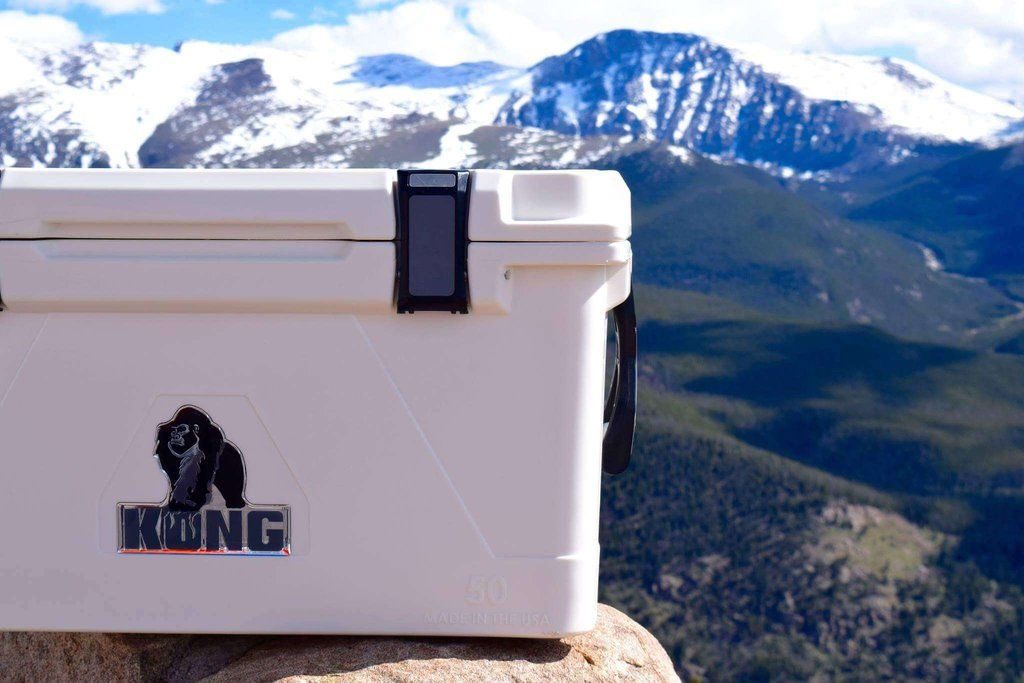
Hands-down one of the best ways to keep a cooler cold the longest is to start with a really good cooler in the first place.
A high-quality cooler can keep ice frozen for days and even weeks at a time.
Comparing this to a cheap cooler that might only hold ice for one day if you're lucky and you can see just how good a high-end cooler is at keeping things cold.
When I looked at the best coolers for ice retention I found even differences among high end coolers. The best coolers could keep ice for 10-14+ days while good coolers kept ice 5-7 days and cheap coolers only last 1-2 days.
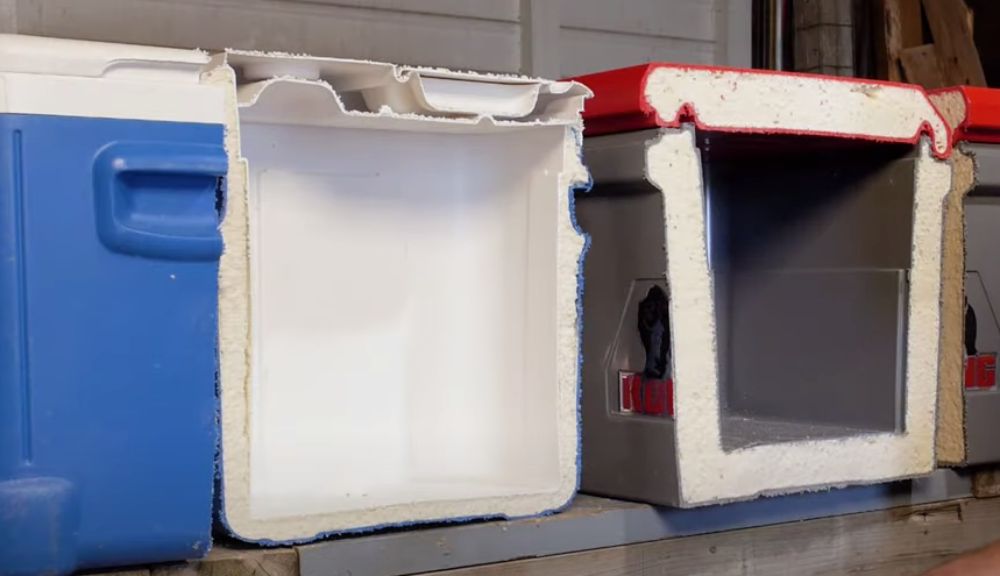
Kong Coolers was the best cooler at keeping ice the longest. Below you can see the difference in insulation between a Kong cooler and a regular cooler.
The Kong Cooler is on the right and the regular cooler is on the left. The regular cooler doesn't even have any insulation in the lid at all!
2. Pre-Chill Your Cooler
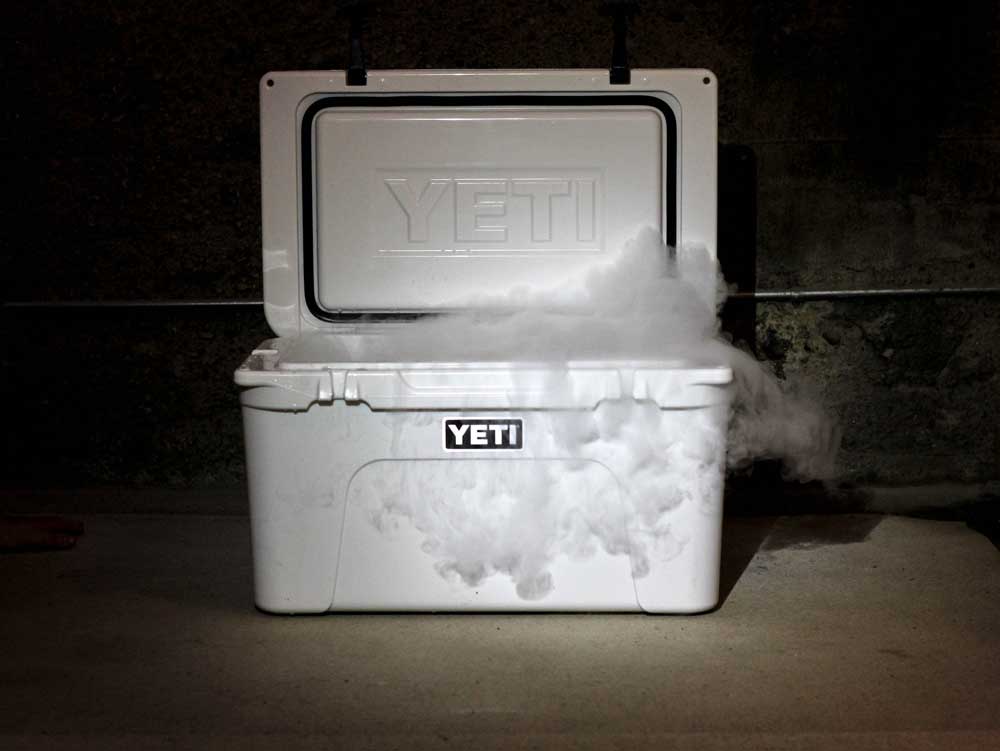
When is the next best things you can do to keep your cooler cold for as long as possible is to pre-chill your cooler.
Coolers contain thick insulation and when kept in a warm area this insulation can absorb a lot of heat.
Putting ice into a warm cooler will cause all of that heat to melt your ice extremely quickly. This is the #1 reason people complain ice melts quickly in their Yeti or other high end cooler – they failed to pre-chill it.
Pre-chilling your cooler is extremely easy. Simply fill it with a sacrificial bag of ice or some frozen water bottles and leave overnight.
The ice will bring down the temperature of your insulation and when it comes time to loading your cooler everything inside your cooler will stay colder much much longer.
For the absolute best results either place your cooler inside a walk in freezer or use dry ice to pre-chill your cooler. Click here to learn exactly how to pre-chill a cooler.
3. Use As Much Ice as Possible
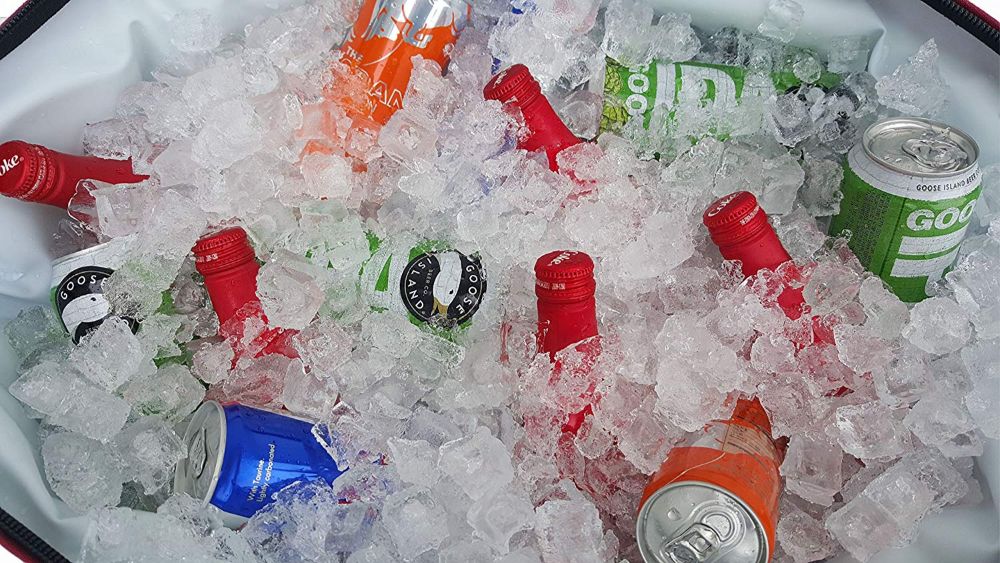
The more ice you use in your cooler the colder your cooler is going to stay for longer.
The more ice you can use the better. Yeah do you recommend a 2:1 ice to food ratio.
I have personally found this a bit excessive and it doesn't leave much room in my cooler for my food and drinks. Instead I use a 1:1 ice to food ratio.
If you're just using a little bit of ice then it's going to melt quickly and everything will get warm in your cooler. But if you use a lot of ice then often your cooler can stay cold for days at a time.
4. Use Larger Blocks of Ice
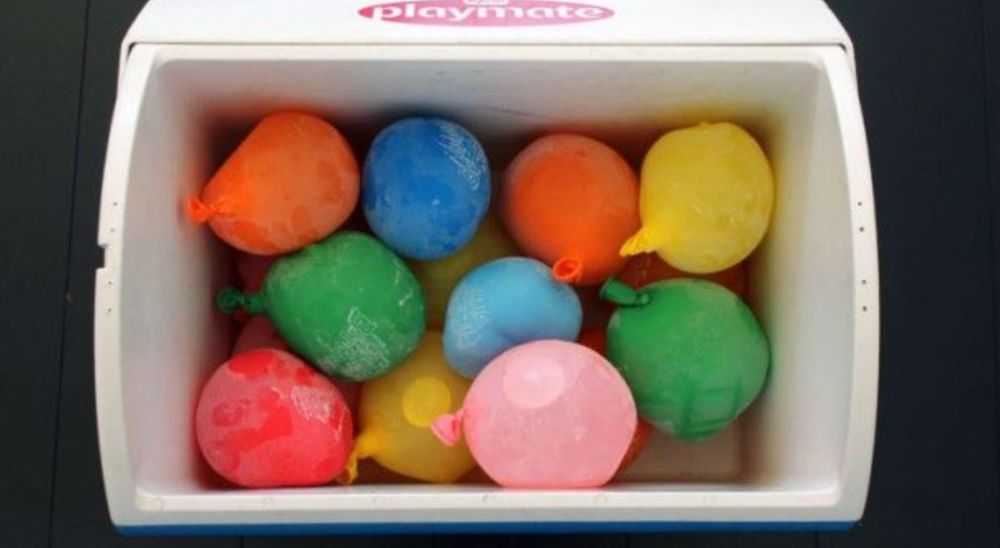
Larger blocks of ice melt slower and stakeholder longer then smaller blocks of ice or crushed ice.
This is because they have less surface area and so less of the ice is exposed to the outside heat.
You can make larger blocks of ice at home quite easily using something like an ice cream container. Simply fill it up with water and put it in the freezer to freeze.
Balloons are also a great way to make large ice bricks. Because they are round they stay frozen longer than any other shaped ice brick and they have the added benefit that they don't leak everywhere as they melt.
Usually you'll want to use a few large ice bricks in your cooler in combination with smaller loose ice that can fill in the small gaps.
5. Supplement With Ice Packs
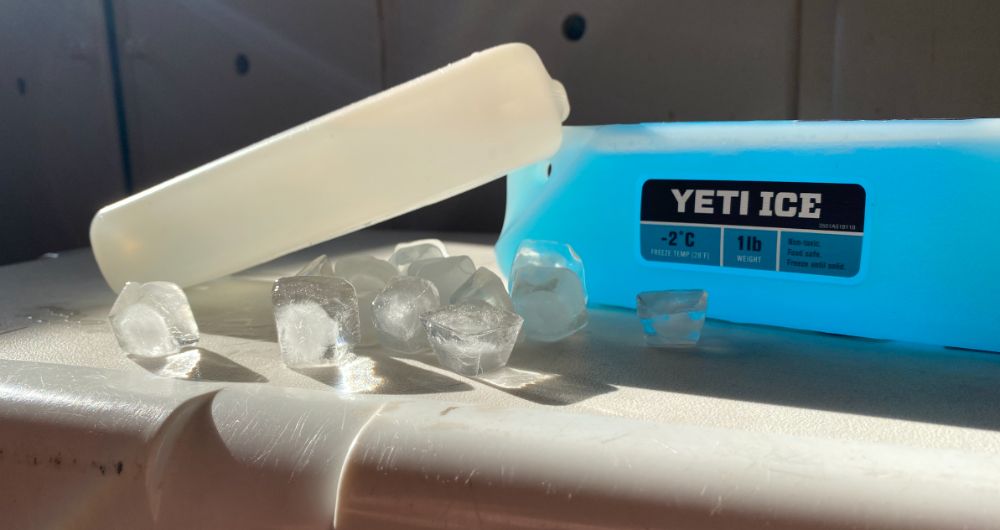
Ice packs can be a great addition to your cooler to not only keep ice longer but to also keep your cooler colder.
Ice packs a design to melt at a temperature lower than regular ice. As ice packs melt they actually get colder which helps to both keep your cooler cold and keep your regular ice frozen for longer.
There are lots of different brands of ice pack that you can use. I haven't seen the huge performance differences between big brands like Yeti Ice and less I know brands like Cooler Shock.
They all seem to work in a similar way. You can use them instead of loose ice so you don't have any issues with your food getting wet, or you can use them to supplement loose ice.
6. Add Insulation To Your Cooler
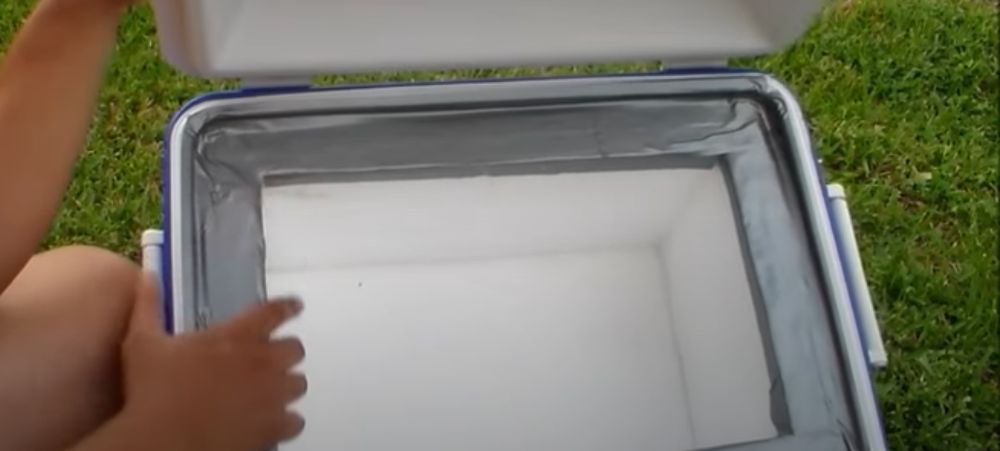
If you've got a cheap cooler rather than going out and buying an expensive cooler like Yeti you can improve the performance of your cheap cooler by adding insulation.
There are multiple different ways you can add insulation to your cooler.
Cheaper coolers don't have any insulation in the lids so you can you spray foam to fill them up.
You can also use Styrofoam or polyurethane foam as insulation on the inside of your cooler or you can use reflectix aluminum sided insulation.
Click here to learn the different ways you can insulate your cooler so it holds ice longer.
7. Keep Your Cooler Closed
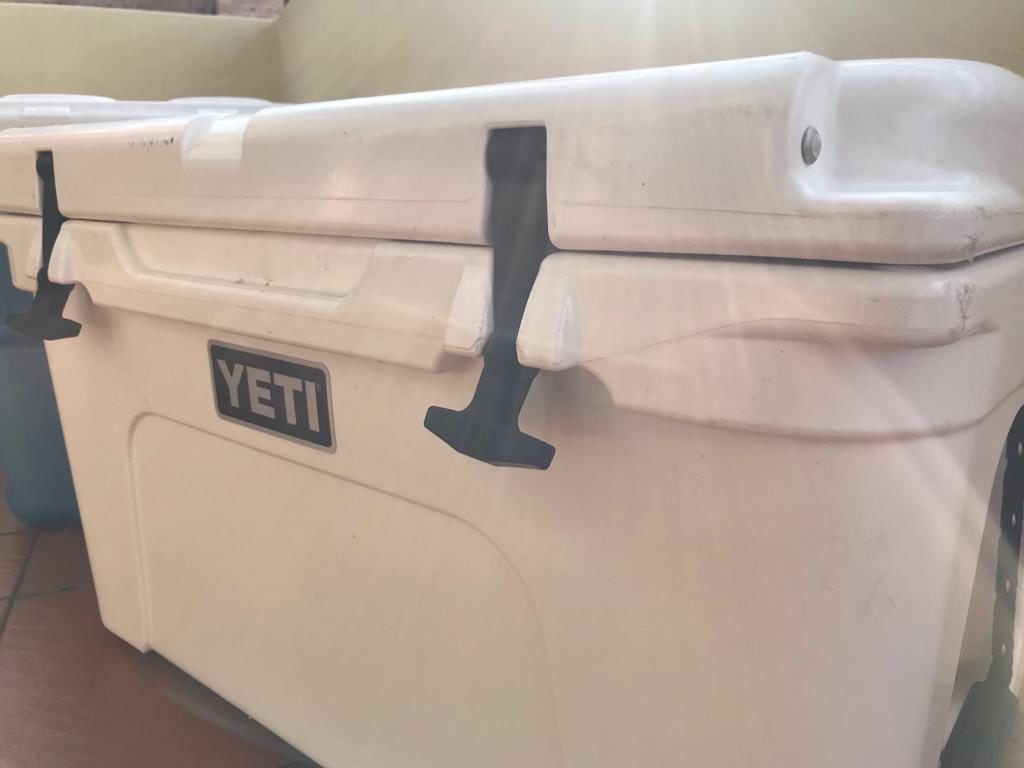
Every time you open your cooler you let in hot air from the outside to replace the cold air that's in the cooler. This is going to make your ice melt faster and your cooler warm up quicker.
If you want to keep your cooler colder for longer then keep the lid closed at all times unless you absolutely must open it.
Don't open your cooler to check on the ice or to see if your items are still cold or frozen. This will just speed up the melting process.
Trust in your cooler and its ability to keep things cold and only open it when you need to.
8. Pre-Chill or Pre-Freeze Your Items
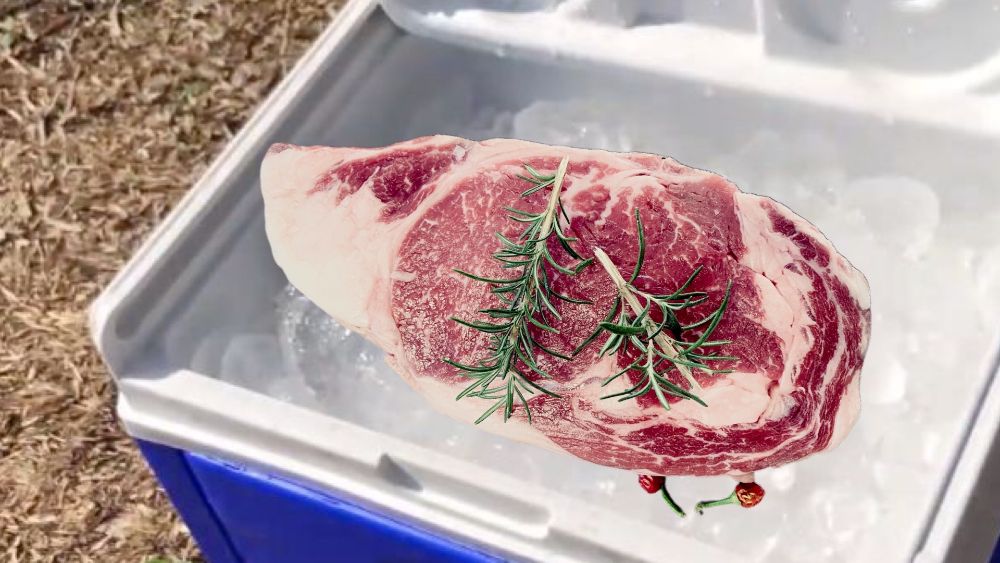
If you take a cooler filled with ice and add in warm food or room temperature drinks then this is going to add a lot of heat into your cooler.
The ice will quickly chill with your drinks or food but as a result a lot of your ice will melt.
Overall your cooler will warm up quicker and won't stay cold for as long.
Where possible you want to pre-chill or pre-freeze any items you put in your cooler.
This way ice doesn't have to be used up in order to bring down the temperature of your items. Your pre-chilled or pre-frozen items actually help your cooler stay cold for longer.
9. Add a Layer of Foam On Top
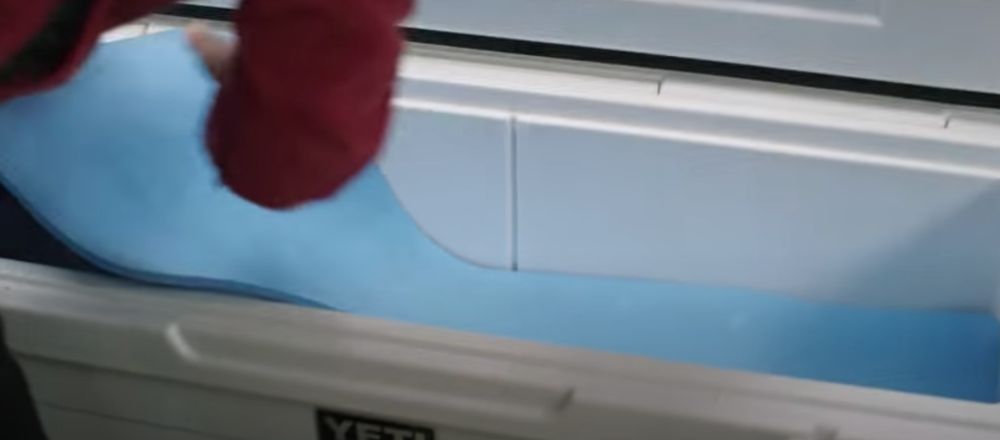
Interestingly, something that makes ice melt faster in a cooler is a lot of empty air space.
If you're feeling up a cooler and you don't have enough items to keep it completely full then it's a good idea to add a layer of foam on top of your ice.
This will protect it from the warmer air inside the cooler and will allow your items to stay cold for longer.
You can buy a cheap yoga mat and cut it to size or get some foam from your local hardware store. If you're really stuck you can also use cardboard or towels to achieve a similar thing.
Even if your cooler is completely full when you're packing at it can't be good to have a layer of foam anyway.
As your cooler starts to empty and the ice starts to melt your cooler will no longer be completely full and the foam will help everything stay cold for longer.
10. Drain The Water as You Go
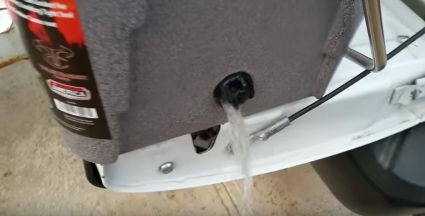
This seems very counterintuitive but it actually works.
Do you think it would make sense to keep cold water in your cooler as the water is colder than the surrounding air.
However, water is much denser than air and can transfer heat much easier leading to faster ice melt.
It's recommended that you drain the water as your starts to melt.
However, while this will lead to your ice lasting longer it can lead to an overall warmer cooler. So if you're trying to keep a lot of items cold then you may still want to leave the water in.
11. Minimize Free Air Space
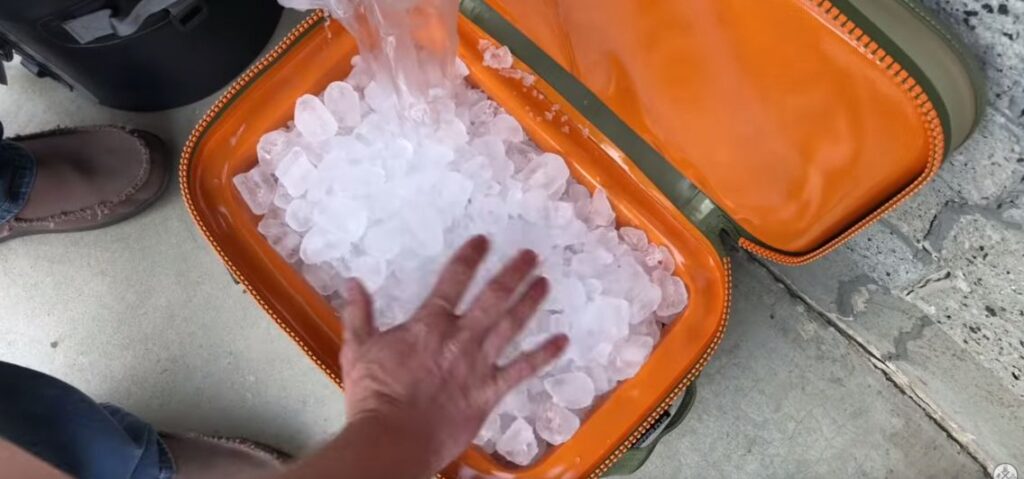
Free air space inside your cooler will lead to the ice melting much faster than if your cooler is completely packed full.
I first realize this when I was looking at the best coolers for ice retention.
When using the same amount of ice in each cooler a smaller cooler with less air space performs way way better than a large cooler.
Even though they had the same amount of ice the cooler with less air space stayed colder for longer.
To minimize air space your first want to make sure you're using an appropriately sized cooler. You don't want to use a cooler that is too big.
Ideally you want to fill your cooler completely to the top with ice but if you don't have enough ice then using towels, cardboard or foam to reduce air space can also be helpful.
12. Keep Your Cooler Out Of Direct Sunlight

The insulation in coolers is designed to stop the transfer of heat. But you also want to minimize how much heat energy your cooler is exposed to.
If you're leaving your cooler in direct sunlight then it's going to get a lot of heat energy from the sun.
Some of this heat energy will get into your cooler melting the ice and warming up your cooler.
Keeping your cooler in a cool shady spot out of direct sunlight will lead to longer lasting ice.
13. Line Your Cooler With Aluminum
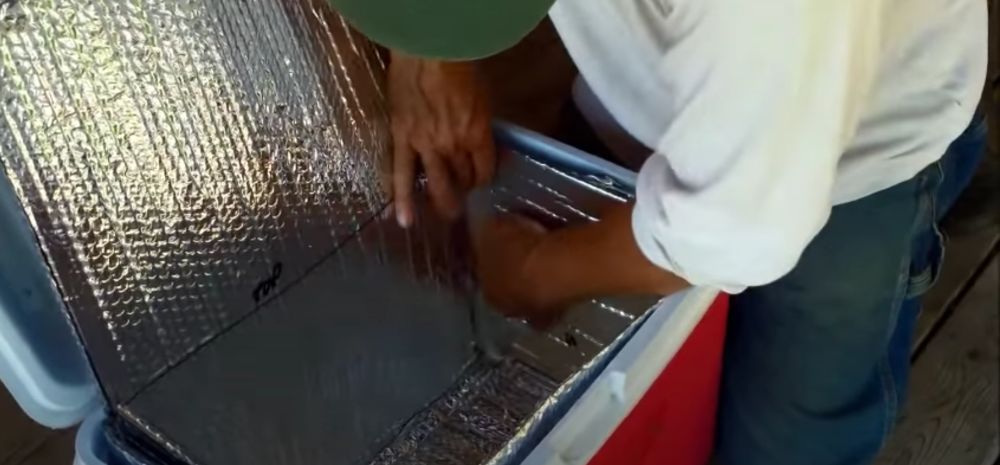
There are actually multiple different ways heat can get into your cooler warming it up.
Coolers are designed to stop heat transfer through conduction and convection however, they aren't designed to stop heat radiation energy from getting into your cooler.
Aluminum is an excellent material at reflecting away heat radiation. This is why aluminum foil is so great at keeping food hot when you don't have a thermos.
Lining the inside of your cooler with aluminum will reflect away heat radiation from the outside and help your ice stay cold longer.
14. Keep Your Cooler Away From Hot Surfaces
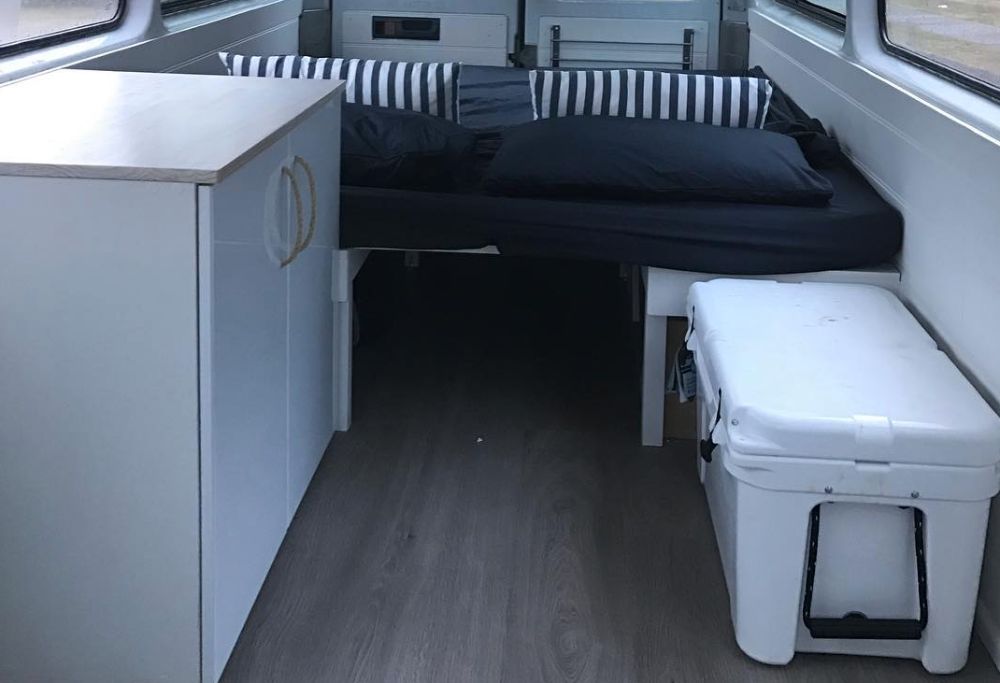
If you place your cooler on a hot surface then the ice will melt faster and your cooler will warm up quicker.
Hot concrete as well as the back tray of a truck that is exposed to direct sunlight and hot to touch are bad places to keep a cooler.
The warm surface will radiate heat which will be absorbed by your cooler warming up your ice.
So try to keep your cooler in the shade and away from surfaces that are warm or hot to touch.
15. Bury Your Cooler In The Ground
This is an effective method for keeping your cool a cold or longer when at the beach or when camping.
Well the surface of the ground may be hot the ground is a natural insulator and the further you dig down the colder it will be.
Partially burying your cooler in the ground can take advantage of this natural insulation and help your cooler stay colder longer.
Usually you want to bury it about 2/3 into the ground. This way it's deep enough to enjoy the natural insulation of the ground but not so deep that your cooler is going to fill up with dirt or sand every time you open it.
16. Put Reflectix Over Your Cooler
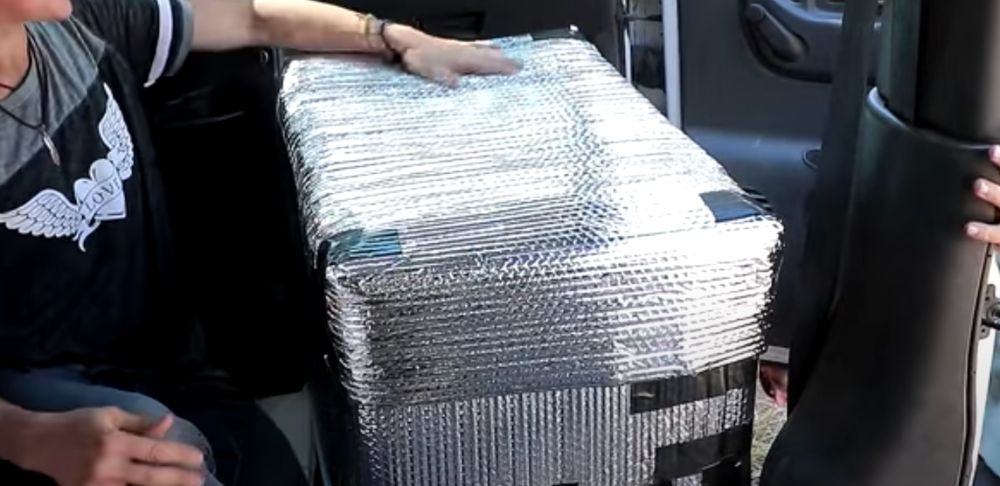
If your cooler is going to be in direct sunlight and you can't really avoid that then making a cooler cover from aluminum reflectix can help keep your cooler cold for longer.
The below video shows you exactly how to make a cooler cover from reflectix bubble wrap. It's really simple to do and it actually works really well.
You can also make it so that you can still open your cooler while the cover is on.
17. Cover Your Cooler In a Wet Towel
Before they were fridges people used to use evaporative cooling in order to keep things cold.
When something is wet and the wind blows over it some of the water turns into gas. This process actually has a cooling effect.
This is why when you get out of the pool or the beach on a windy day it feels cold against your skin.
You can use the same principle in order to keep your cooler colder.
By placing a wet towel over your cooler and keeping your cooler in a shady and windy spot the towel will become cold from the wind. This coldness will help to insulate your cooler and keep the inside colder for longer.
18. Start With Colder Ice
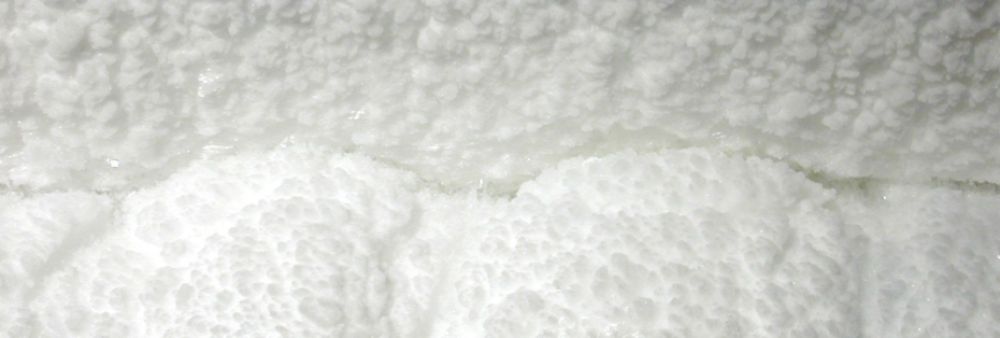
Not all ice is created equal and interestingly some ice is actually colder than others.
While ice may freeze at 32°F (0°C) it can actually get much colder than this.
Your freezer at home is usually set to 0°F (-18°C) and if you leave your ice in your freezer at home it will go down to this temperature.
Both 32°F (0°C) ice and 0°F (-18°C) ice look exactly identical to each other because they are both frozen solid. But one type of ice will last much longer than the other.
0°F (-18°C) ice needs to warm up a lot more before it will start melting and turning into water.
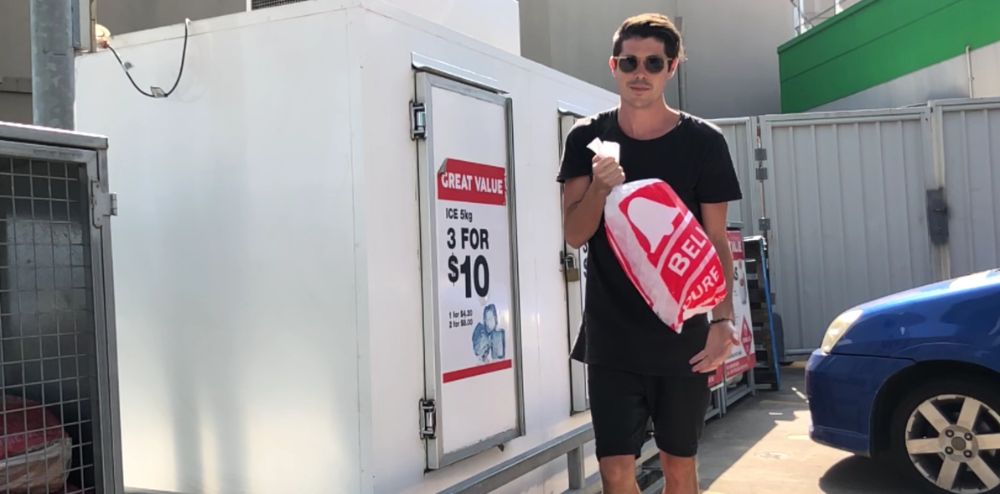
Ice that you get from a local service station is often what people refer to as “warm ice”. It's not as cold as the ice in your freezer at home and thus it is closer to melting.
Ice that has been in contact with dry ice is even colder again. Though this isn't something that is readily available unless you have access to dry ice.
Ideally turn your freezer down as low as possible and make your own large ice blocks in your freezer. Give them a minimum of 24 to 48 hours to get down to the lowest temperature before adding them into your cooler.
19. Add Salt To Your Cooler
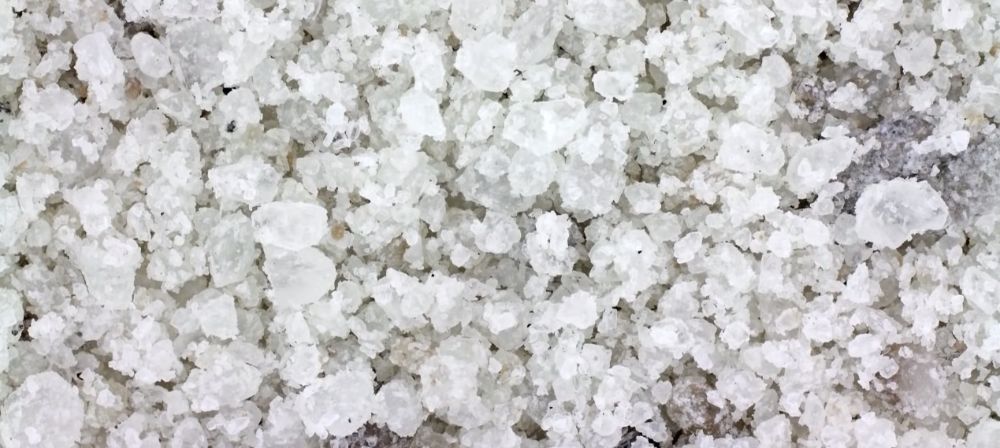
If you want your cooler to get much much colder, for example cold enough to keep ice cream frozen in your cooler, then adding salt into your cooler can drastically lower the temperature.
Adding a good portion of salt onto the ice in your cooler will do two different things to lower the temperature.
Firstly, salt water has a lower melting temperature than regular water so it will cause your ice to melt faster.
As ice melts and turns from a solid into a liquid it actually gets colder in the process. Because the salt is forcing the ice to melt faster than it would usually it can become significantly colder.
Also, as salt dissolves in water it uses energy which makes the water colder.
The combination of the salt forcing the ice to melt quickly and the salt requiring energy to dissolve into the water means your cooler can become extremely cold quite quickly.
It may not stay cold as long as a cooler just filled with regular ice but it will definitely get down to a colder temperature.
20. Use Dry Ice
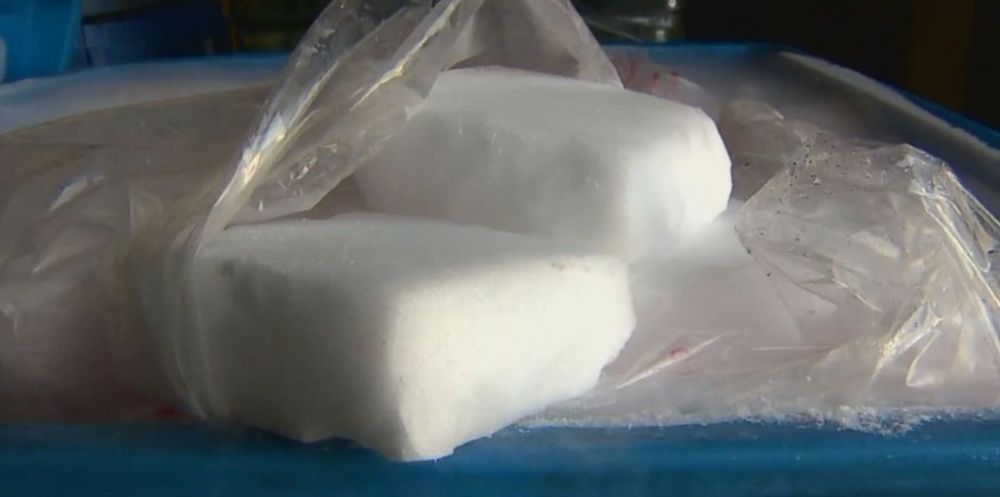
Dry ice is made of frozen carbon dioxide which is -109ºF (-78ºC). Placing dry ice in your cooler will make it extremely cold and is a great way to keep things frozen in your cooler.
If you're trying to keep meat frozen in your cooler then dry ice can be a great solution or if you're trying to keep ice cream frozen in your cooler it can work really well also.
You can also combine dry ice with regular ice. Once the dry ice sublimates and disappears into gas you'll still have regular ice left over to keep your cooler cold.
This regular ice will also be SUPER cold because of the dry ice so it'll last even longer than ice from your freezer.
You'll just want to make sure you're using a dry ice compatible cooler as dry ice is so cold it can damage some types of coolers.
Using a Combination of These Techniques Can Keep a Cooler Cold For Longer Than It Would Otherwise
You don't just have to use one of these above techniques to keep your cooler colder for longer you can use multiple in combination with each other.
Start with a good cooler, pre-chill your cooler, use large blocks of ice combined with smaller blocks so there is no air space, cover it with foam and even use dry ice to keep things super cold as well.
Keep your cooler in the shade and away from hot surfaces while making sure you only open it when you absolutely have to.
As you can see the combination of all of these items will work better than using just one by itself.
I wish you the best in your next adventure and I know that using these tips you will have the coolest coldest cooler out there. You'll still have ice when all of your friends coolers have warmed up.
They'll be coming to you for cold beers or you'll be enjoying your cold beers while you watch them drink the warm ones. Haha

