Pre-chilling a cooler is a great way to make the ice last for longer than it would otherwise.
Coolers that haven’t been pre-chilled, especially if they have thick insulation and have been left in hot areas, can melt your ice really quickly. This is the exact opposite of what you want to do.
Pre-chilling your cooler is easy, takes very little effort and can give you much better ice retention. But how do you pre-chill a cooler?
Well there are a few different ways to pre-chill your cooler and you can pick the one that best suits you.
Why You Should Pre-Chill Your Cooler In The First Place?

While you might think that a cooler doesn’t need any preparation, just throw ice and drinks in and off you go, this is not actually the case.
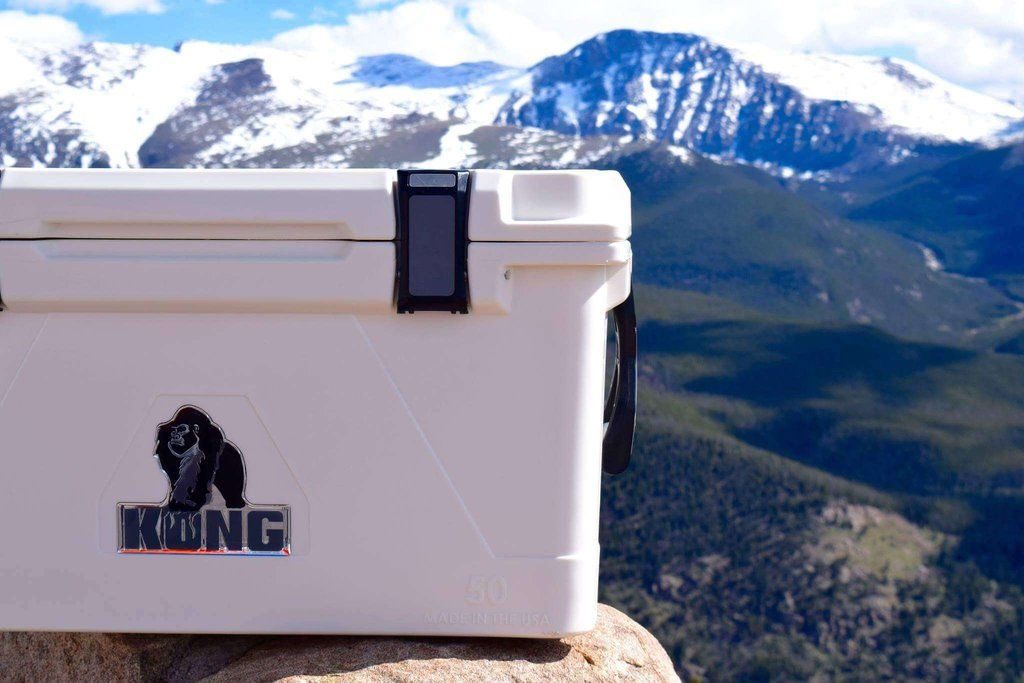
Especially with the newer more expensive coolers like Yeti and similar brands, that have thick insulation, pre-chilling is a must.
See, while the thick insulation is great at stopping heat getting into your cooler that same insulation can actually absorb a lot of heat over time when not in use.
This is especially true when being kept in a hot room or area like a warm garage or the trunk of a car on a hot summers day.
The insulation is made of polyurethane and millions, if not billions of tiny air bubbles. The outside air heats these up and when you put ice in your cooler that heat is immediately transferred to the ice melting it.
Pre-chilling your cooler overnight or a day before using it allows you to take all that heat out of the insulation. That way when you put your ice in, the insulation doesn’t melt the ice and does it’s job to keep out heat and keep your ice frozen.
Do You Need To Pre-Chill Cheap Coolers?
Failing to pre-chill your cooler is the main reason ice sometimes melts quickly in a high-end cooler. But what about cheaper coolers?
Do you need to pre-chill cheap coolers?
Personally I would say no. Cheaper coolers have much thinner insulation that is less dense and retains less heat energy.
Pre-chilling them does work and will cause them to keep ice a bit longer. But the reward you get for pre-chilling is small and hardly worth it.
Compare that to something like a Yeti and pre-chilling a Yeti cooler absolutely gives a huge boost in performance. Sometimes even making your ice last days longer.
So you can pre-chill a cheaper cooler. It won’t hurt it and it’ll give a small boost in performance, but it most cases it’s more effort than it’s worth.
How To Pre-Chill a Cooler
So how do you pre-chill a cooler and what method of pre-chilling gives the best results?
Below I’ll outline 5 different ways to pre-chill your cooler. I’ve ranked them from easiest to hardest but also from least effective to most effective.
So depending on how much effort you want to put in you can boost your ice retention by using some of the harder strategies. Or you can go the easy route and still get great performance out of your cooler.
1. Store Your Cooler In The Cold
The easiest way to pre-chill a cooler without having to fill it with any ice is to simply place it in a cold room or cold area.
If you’re in the mountains or the snow then leaving it outside overnight is a great way to pre-chill it.
But chances are you’ll be using your cooler in the heat of spring or summer and snow will be nowhere to be found.
In this case find the coolest room in your house and put your cooler in there and leave it open so air can reach the inside and outside of the cooler.
Eventually your cooler will cool down to the temperature of the room. The colder the room the better the result.
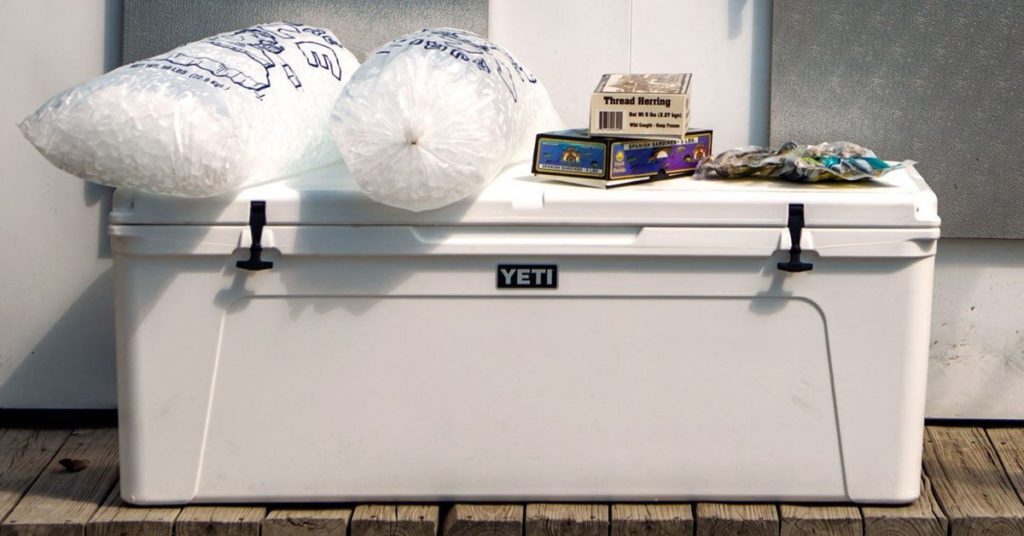
2. Use a Sacrificial Bag of Ice
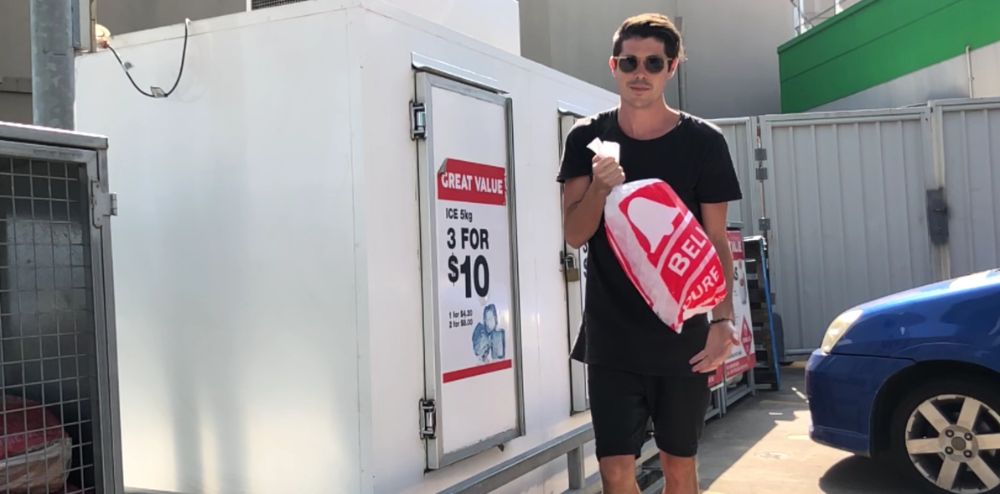
One of the easiest and most common ways to pre-chill a cooler is to use a sacrificial bag of ice.
The day before you plan on loading up your cooler go out to the store or local gas station and buy a bag or ice. Get multiple bags if you’ve got a really big cooler.
I personally like to leave the ice inside the plastic bags but you can take them out of you want.
Shut your cooler and leave overnight and the ice will pre-chill your cooler.
I try to prop the ice up against the walls of the cooler as much as possible so it’s touching the walls as this cools the insulation down faster and better.
When it comes time to load up your cooler take the bags out (with the ice left in them) and drain the water out of your cooler.
You can now use the leftover ice in your cooler and add more ice or discard the leftover ice and start with colder fresher ice.
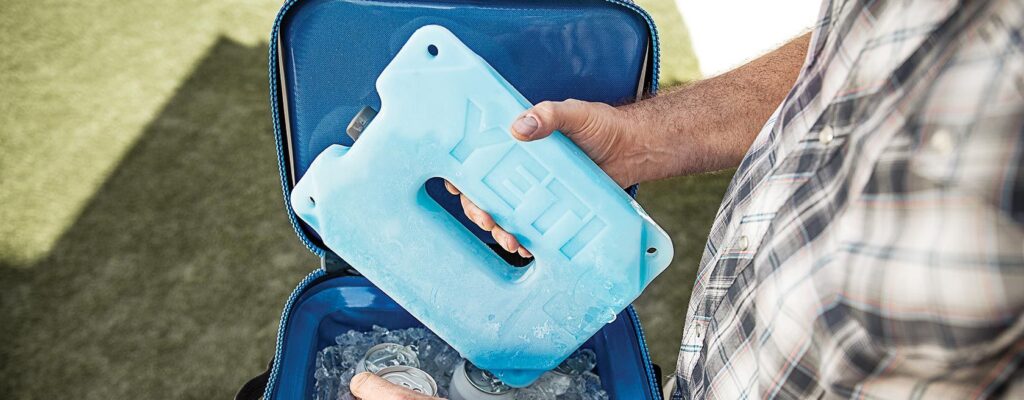
3. Use Frozen Milk Jugs, Frozen Water Bottles or Ice Packs
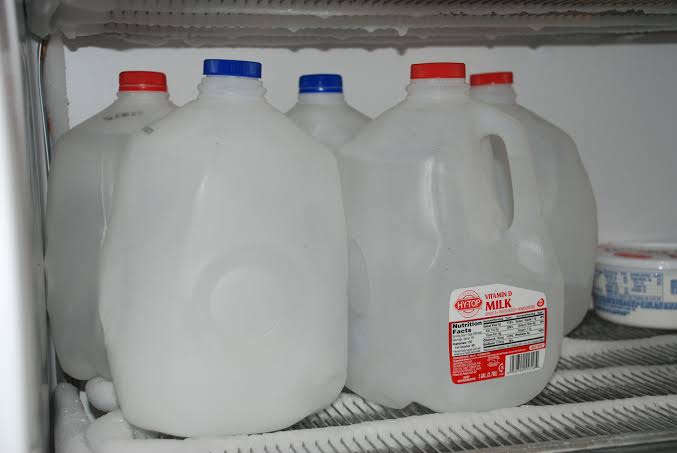
This strategy uses the same idea and premise as the sacrificial bag of ice, but it’s cheaper to implement.
Fill up milk jugs or water bottles with water or get some ice packs and put in your freezer until completely frozen.
Then the night before you plan on loading your cooler throw these frozen bottles or ice packs in your cooler to pre-chill it. Again stack them against the wall when possible to improve the pre-chilling process.
When you’re done take them out and put them back in the freezer for another day and then load up your cooler with fresh ice.
You can check out my Yeti Ice brick review if you’re looking for some ice packs on the Engel 32 and 20 ice packs are also great.
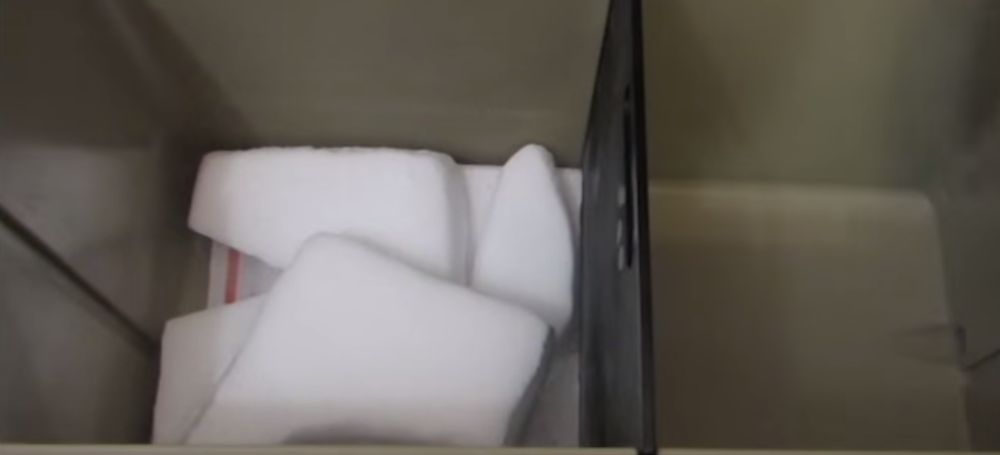
4. Put In a Walk-In-Freezer
If you’ve got the luxury of having a walk in freezer or fridge this is a much more effective way to pre-chill your cooler.
Place your cooler in the walk in freezer and open the lid of your cooler. The cold air will cool the insulation from the inside and the outside making it extremely cold all the way through.
The good thing about a walk in freezer is that it’s usually set to 0ºF (-18ºC) so it’ll boost the performance of your cooler massively by effectively turning the insulation into extra ice.
The outside hot air will first have to warm up the insulation in the cooler before it even gets a chance at melting your ice.
5. Use Dry Ice
If you want to take the extra step and super-chill your cooler then dry ice is a great option.
At -109.3ºF (-78.5ºC) it is WAAAY colder than a freezer and way colder than regular ice and it’ll do a great job of cooling down the insulation in your cooler.
Again you’ll want to stack the dry ice so it’s touching the walls of your cooler as much as possible to get the best effect.
Leave the dry ice overnight but make sure it can air out as the gas from dry ice can be dangerous if it isn’t well ventilated.
When it’s time to load your cooler you can discard the dry ice or leave it in your cooler.
It’ll sublimate into gas but until it does it’ll work to cool down your regular ice, making it even colder, which means it’ll last even longer.
Pre-Chill Overnight or For As Long As You Can
Pre-chilling a cooler takes time.
Insulation is specifically designed so heat struggles to move through it. This also means that cold won’t move through it quickly so you’ll need to give it some time to do it’s thing.
Leaving your cooler at least overnight is recommended, if you can leave it a full day then that works great too.
Anything over an entire day is probably overkill.
If you’re short on time just pre-chill your cooler for as long as you can. A little bit of pre-chilling is better than nothing.
If you’re looking for a cooler that’ll keep ice for a long as possible check out one of my articles below or subscribe to my YouTube channel where I do ice rests and reviews.