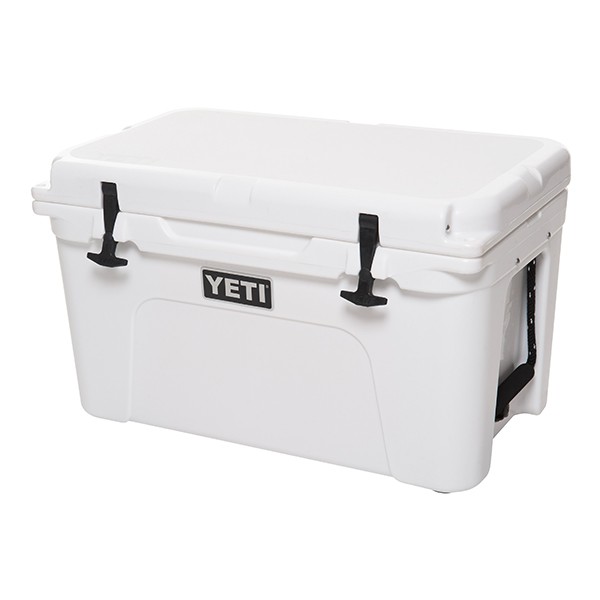
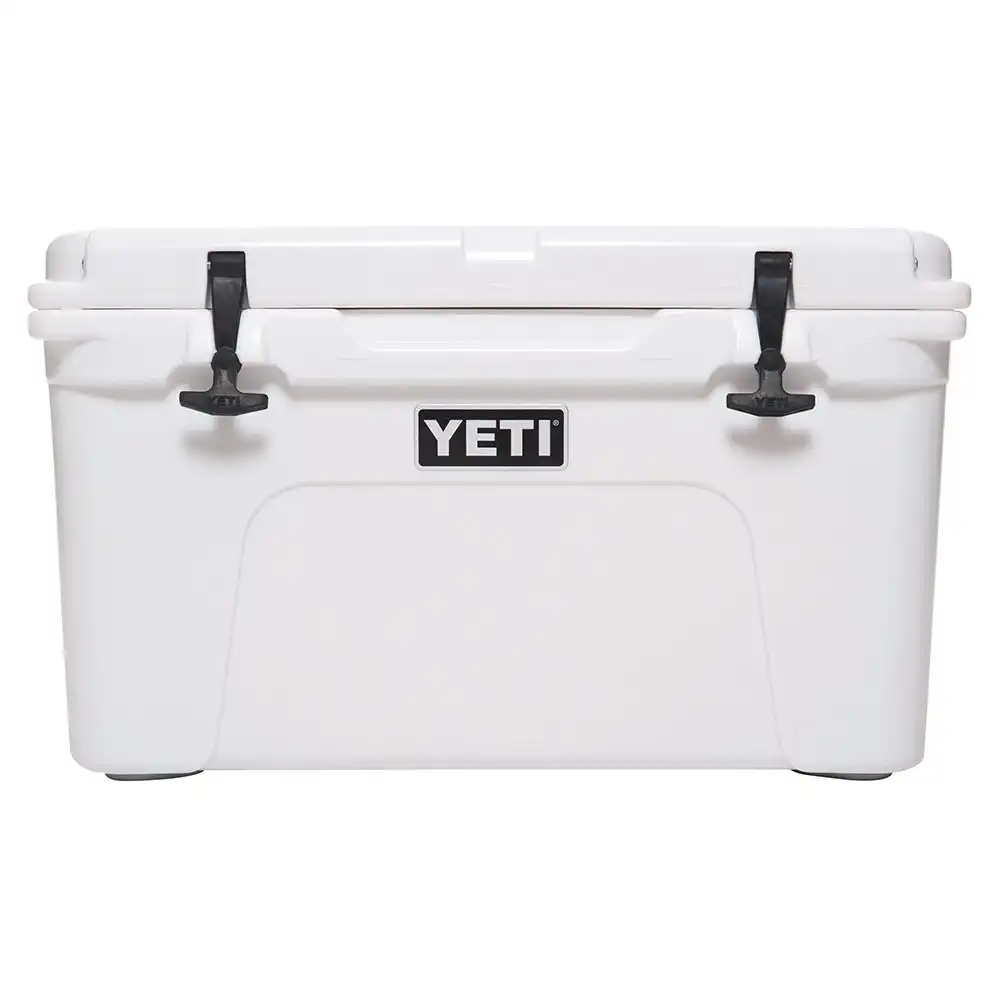
When it comes to getting maximum ice retention out of your Yeti cooler one of the best things you can do is pre-chill the cooler.
Yeti coolers are packed with 2-3 inches of thick polyurethane insulation which can build up significant amounts of heat over time if left out in the sun or left in a hot room or car.
This heat will cause ice to melt quickly in your Yeti. The solution to this is to pre-chill your Yeti. This can often give you days extra of ice retention.
But how do you pre-chill at Yeti?
Well there isn't just one way to do it there are actually a few different techniques you can use to successfully pre-chill your Yeti and get it ready to hold ice for days.
Yeti are the leaders in the high-end cooler market for a reason. Their coolers are extremely high-quality and can hold ice for 3-7+ days at time. Nearly indestructible these coolers are backed by a 5-year warranty and are still my #1 recommendation at the best cooler brand on the market.
Why Pre-Chill a Yeti In The First Place

Yeti coolers have thick polyurethane insulation that is full of millions or billions of tiny air bubbles.
This insulation is great at stopping heat transfer, but over time it can also accumulate a lot of heat energy.
This is especially true if your Yeti cooler has been sitting in the sun, in a hot garage or in a hot car for an extended period of time.
When you fill up a hot Yeti cooler with cold ice the heat energy that is stored in the insulation will melt the ice quickly. This is why sometimes ice melts really quickly in a Yeti cooler.
My dad recently brought home a bunch of blueberries and used ice and coolers to keep them cold.
But he made the mistake of leaving the Yeti cooler empty in the hot sun in the car for a full 1-2 days prior. On the way home all the ice in the Yeti melted whereas ice in the cheaper Coleman cooler didn't completely melt.
This is why you need to pre-chill your Yeti cooler. Otherwise it won't hold ice well and your ice will melt faster than it would in a cheap cooler.
So now that we know why it's important how exactly do you pre-chill a Yeti cooler?
1. Use a Sacrificial Bag of Ice

Once of the easiest ways to pre-chill a Yeti cooler is to buy a 5 pound bag of ice and throw it in your Yeti cooler overnight and let the ice cool down the insulation for you.
This is how I pre-chilled my Yeti when I did my 10-Day ice test video which I'll link down below.
When it comes to loading your Yeti you can either discard the entire bag of ice (which is what I did) and then refill with fresh colder ice, or you can simply drain the water out and then leave whatever ice is left in your Yeti and throw more ice on top.
Both work completely fine.
2. Use Frozen Milk Jugs, Frozen Water Bottles or Ice Packs
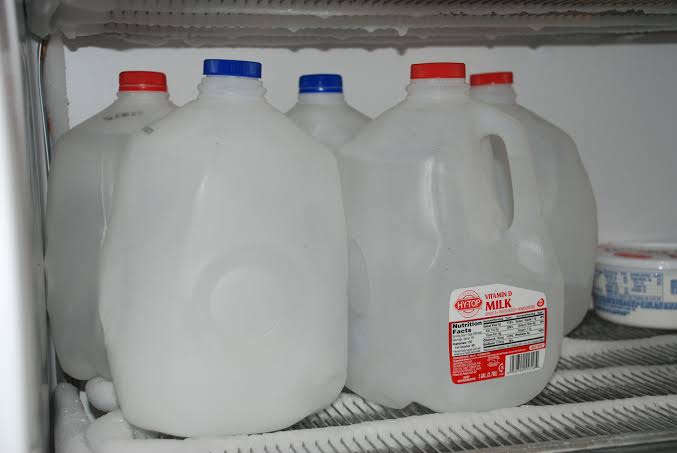
If the idea of buying ice just to “waste it” cooling down your cooler seems a bit excessive to you and you want to save some money then the same result can be achieved at home with frozen milk jugs, frozen water bottles or ice packs.
Fill up some empty milk jugs or water bottles with water, or get some ice packs, and throw them in your freezer until completely frozen.
When you're trying to pre-chill your Yeti cooler place a couple of them inside your cooler and leave overnight just like you would with the sacrificial bag of ice.
The larger quantity of ice you use the better it's going to pre-chill your Yeti cooler, especially if you've got a large sized cooler.
After your cooler is pre-chilled you can put them back in the freezer for use another day and fill up your cooler with fresh ice or fresh frozen milk jugs, frozen water bottles or ice packs.
3. Put In a Walk-In-Freezer

This is one of the quickest and best ways to pre-chill your Yeti cooler.
If you've got the luxury of having access to a walk in fridge or walk in freezer then throw your Yeti cooler in there for a day before you plan on using it.
Make sure to open up the lid and keep it open so the cold air of the freezer can reach both the inside and outside of the cooler giving your maximum cooling capabilities.
Then when you're ready for your adventure take your cooler out for the freezer and begin loading it.
This works better than just loading ice in your Yeti because it effectively makes your Yeti it's own ice brick and it's going to take a lot of heat to warm up the insulation, let alone the ice inside your cooler.
4. Use Dry Ice
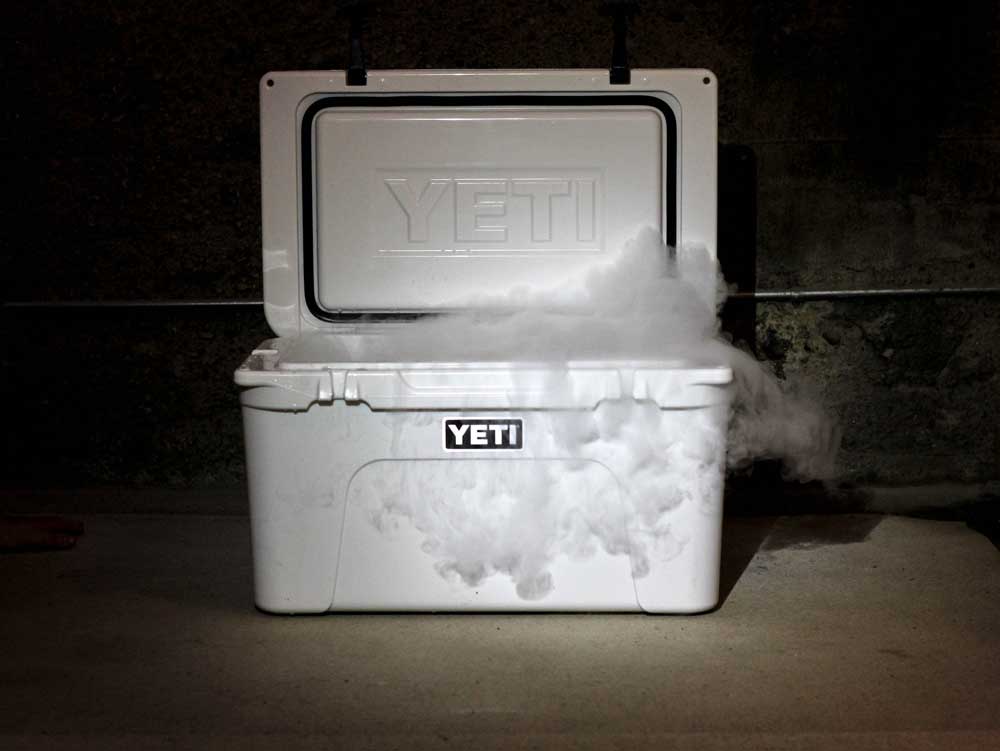
Dry ice is another super effective way to pre-chill your Yeti and yes Yeti coolers are dry ice compatible.
Dry ice is much colder than regular ice at -109.3ºF (-78.5ºC) so not only will it pre-chill the insulation in your Yeti cooler but it'll also make the insulation colder than ice.
This means when it's time to load up your cooler not only will the insulation stop heat from melting your ice but the insulation of your Yeti cooler will actually actively make your ice colder, meaning it will last longer.
Once pre-chilled overnight you can either discard the dry ice, or better yet put your ice on top of the remaining dry ice.
The dry ice will sublimate into gas but while it's in there it'll make your regular ice even colder, meaning it'll last even longer even once the dry ice is gone.
5. Store Your Cooler In A Cool Place

If you don't have access to any ice or any way of taking the heat out of your Yeti cooler the best thing you can do is to store your cooler in a cool place.
You want to keep it out of direct sunlight and ideally in a room that doesn't get extremely hot.
The cooler will eventually match the temperature of the room it is in.
Having it in a cool room isn't as good as pre-chilling it, but at least you're not starting out with a hot cooler.
Pre-Chill Overnight or For As Long As You Can
The insulation used in Yeti coolers is designed specifically to stop heat transferring quickly through the walls of the cooler.
But when pre-chilling this means that pre-chilling the cooler also takes time.
It takes time for the ice to permeate through the insulation and cool it all down.
So you'll want to pre-chill your Yeti cooler overnight, or for a full day to get the best results.
If you're short on time then just pre-chill it for last long as you can.
See the latest prices of Yeti coolers at Yeti.com
(or compare to prices of Yeti coolers at Amazon)
