I usually clean my family’s Contigo bottles every day but I’ve realized that this isn’t enough to get rid of all the hidden grime that can cause smells or allow mold to grow.
Contigo bottles have the notorious problem of mold growing in their lids but it can also grow within your bottle if you aren’t diligent enough.
Every now and then this means you need to take the time to completely deep clean your Contigo bottles and treat them for mold. But with Contigo bottles this can be quite difficult to do due to the lid design.
So, what’s the best way to deep clean your Contigo bottle?
To deep clean a Contigo bottle, wash it well in hot water and dish soap, and then soak it in white vinegar and water. You can use baking soda for stubborn stains and odors.
You also need to make sure you dismantle the lid, and remove hidden grime with a micro bottle brush and q-tip. Clean and soak the parts in hot water and dish soap, and then soak them in white vinegar and water to sanitize and kill any remaining mold.
Deep cleaning a Contigo bottle is a multi-step process and dismantling the lid is the most complex step. You should deep clean your Contigo bottle every few months.
Things You’ll Need
Below is a list of cleaning materials you’ll need (you may need to buy some of them):
- Dish soap (I find that bottle cleaning tablets aren’t as effective for a deep clean).
- Soft-bristled bottle brush. I use this 3-in-1 bottle brush set from Amazon for my bottle cleanings.
- Baking soda (optional).
- White vinegar.
- Micro bottle or straw brush (I bought this Munchkin Drinking Straw Cleaner Set from Amazon a while back, and love it because it has 4 different-sized small brushes that are perfect for cleaning the spout and straw in my kid’s Contigo autospout bottle).
- Antibacterial wipes.
- Q-tips.
You’ll also need some tools to take apart the lid:
- Triangle screwdriver set (this should include a 1.8mm triangular screwdriver – I recommend this set from Amazon)
- Small flathead screwdriver
- Butter knife
- Thin-nosed pliers.
- Tweezers or nail scissors.
- Elastic band.
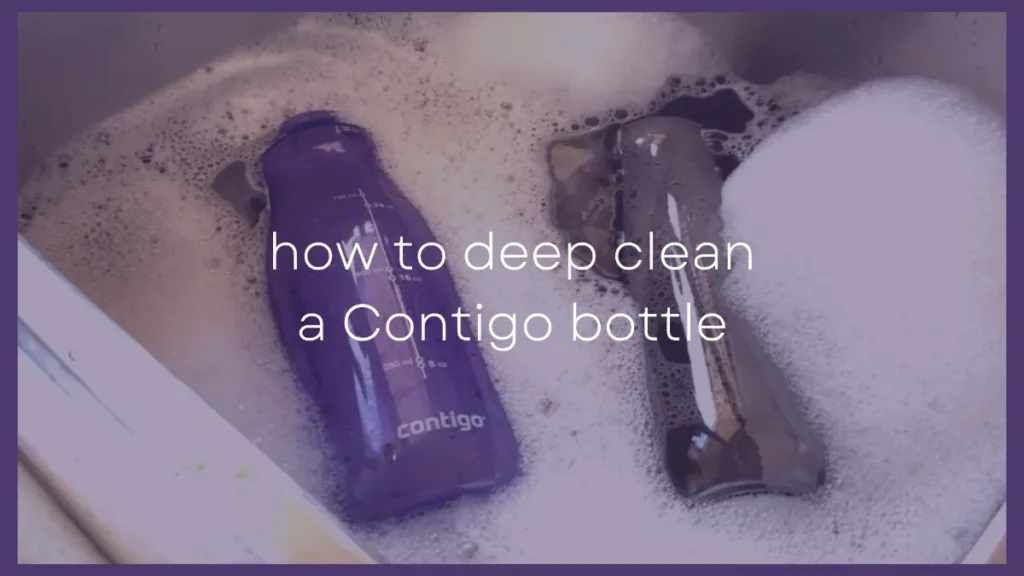
How To Deep Clean a Contigo Bottle
Here’s how to deep clean your Contigo bottle and lid:
Wash the Bottle Thoroughly
This is the easiest step, and here’s how I normally deep clean my Contigo bottle:
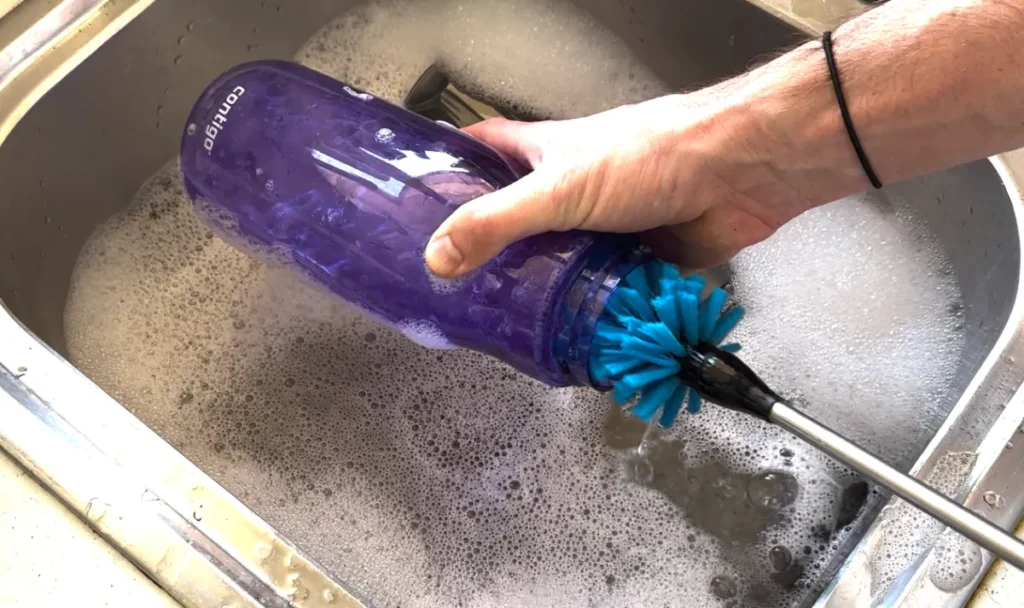
1. Remove the lid, empty the bottle and give it a good rinse.
2. Fill a sink with hot water and dish soap and soak the bottle for 20 minutes if it’s a bit crusty or sticky from smoothes, coffee, tea or other drinks.
3. Give the bottle a good clean with the bottle brush.
4. Rinse it and check if there are still stains or if it still smells (I use my Contigo for juice and smoothies so this happens to me a lot).
5. If so, empty the sink, fill it with hot water, and add a tablespoon of baking soda. Soak the bottle for half an hour and then scrub it.
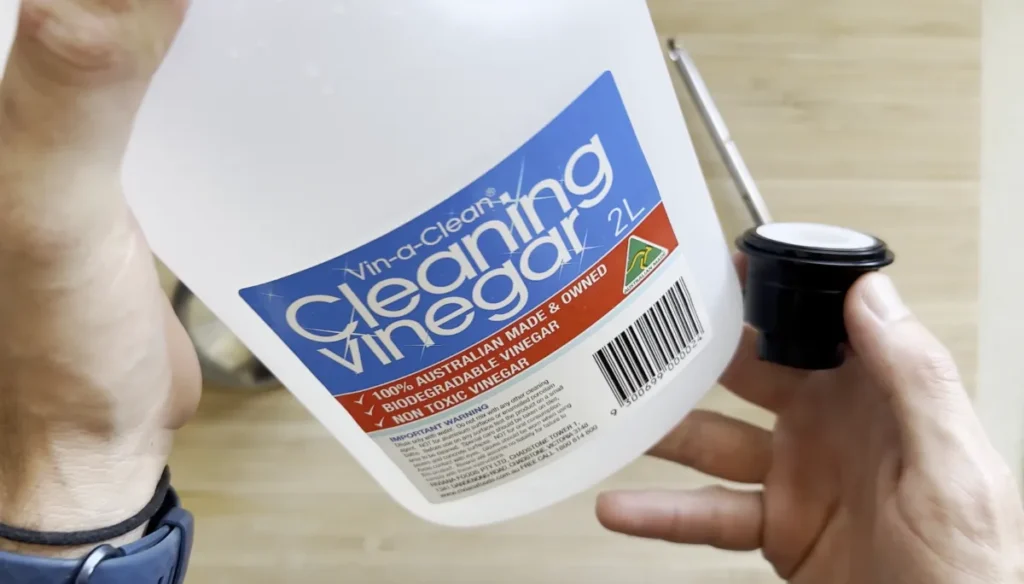
6. Rinse the bottle and soak it in equal parts white vinegar and water (I recommend this even if your bottle wasn’t stained or smelly because it helps kill any remaining bacteria).
Vinegar is a natural mold killer and it’ll get rid of any hidden mold in your water bottle.
Not sure if you have mold. There are some common signs of mold in water bottles that you should look out for. But my attitude is always better safe than sorry. If I’m doing a deep clean then I’ll soak the bottle just in case.
Some Contigo bottles are dishwasher safe but you can only put them on the top rack, which I find doesn’t clean as well as a thorough handwash.
Also, while the lids are dishwasher safe putting the through the dishwasher will NOT full clean all the hard to reach places and it also won’t remove any hidden mold.
To do that you’ll need to dismantle and pull apart your lids.
Dismantle Your Contigo Lid
I must admit that I hate taking apart a Contigo bottle lid, but it’s the only way to do a proper deep clean.
The lid is where most of the grime, mold and other nasties linger because you can’t get to it with a normal clean.
Contigo lids are pretty durable but be careful with the small parts and don’t use too much force.
How you dismantle the lid depends on the Contigo bottle you have. I’ve done a full step-by-step guide on how to take apart Contigo lids but here is a simple run down for the most common and popular lid types:
Contigo Autoseal Lid
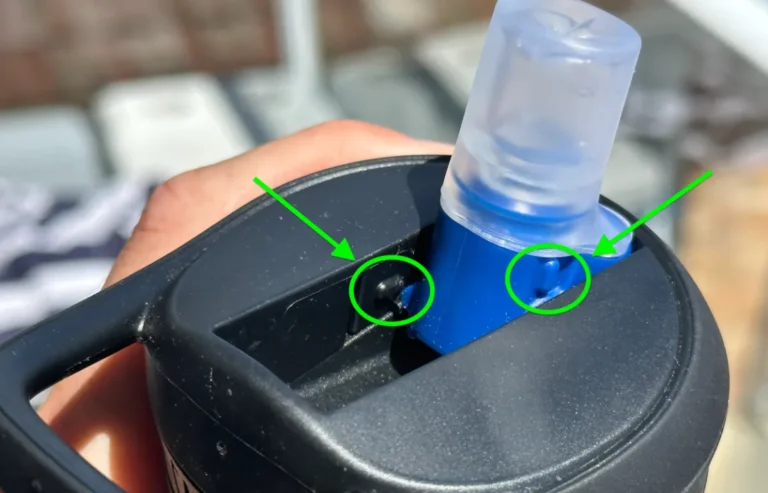
1. Push the “press to clean” tab as far as it can go, and attach it to the piece behind it with the elastic band.
2. Take off the 4 tiny screws on the plastic area that looks like an “X” and remove the washers from the empty holes.
3. Remove the rubber gasket on the inner lid.
4. Find the spring, gently pry off its tiny seal, and remove the spring itself.
5. Remove the part that was below the spring. The easiest way is to pull out the section on the lid’s outer rim.
Contigo Autoseal Chug Lid
This is THE WORST of the Contigo lids to pull apart. I highly recommend getting a new lid instead of trying to pull this apart.
You can get Nalgene replacement lids for Contigo bottles which are a good option (CamelBak lids fit too). Unfortunately, Contigo don’t sell replacement lids.
However, if you’re determined here’s one way to pull apart and clean the Contigo Autospout Chug lid.
1. Turn the lid upside down and remove the square-shaped soft rubber piece. This is part of the spout; you can manually pull it out of the lid or with your pliers.
2. Remove the hard outer spout by wiggling it around and dislodging the 2 tabs holding it in place. A flathead screwdriver is the best tool for this.
3. Remove the washers from the spout.
4. Separate the spout by opening the horizontal seam with your flathead screwdriver.
Kid’s Contigo Straw Lid and Adult Autospout Straw Lid
This one I didn’t find too difficult but it is a bit time consuming.
1. Open the spout and detach the straw.
2. Unscrew the 2 triangle screws.
3. Get the top and bottom lid sections apart off by loosening it from the 2 little plastic tabs on either side of it.
4. Take out the push button mechanism
5. Turn the lid upside down and push the flexible rubber spout through the hard casing.
6. Pull out the air valve
7. Remove the rubber gasket
8. Separate the soft rubber spout into 2 pieces (it should pull apart easily).
9. Pull apart the hard plastic part of the drinking spout using a small flathead screwdriver on the tabs
Contigo ThermaLock Lid
Contigo ThermaLock lids have a loose stopper and a lid covering it, which is attached to the bottle:
1. Pry off the stopper’s gasket.
2. Use pliers to unscrew the 4 metal screws on the hard plastic bit that attaches the lid to the bottle.
Contigo Autopop Lid
I find that cleaning my Contigo autopop bottle is easy because the lid is simple.
All you need to do is flip the lid upside down and pry off the soft rubber covering over the convex piece. A flathead screwdriver is great for this job.
Deep Clean The Lid
Now you can really get into the lid’s nooks and crannies. I normally give all the parts a quick clean with an antibac wipe, and then get started with the deep cleaning:
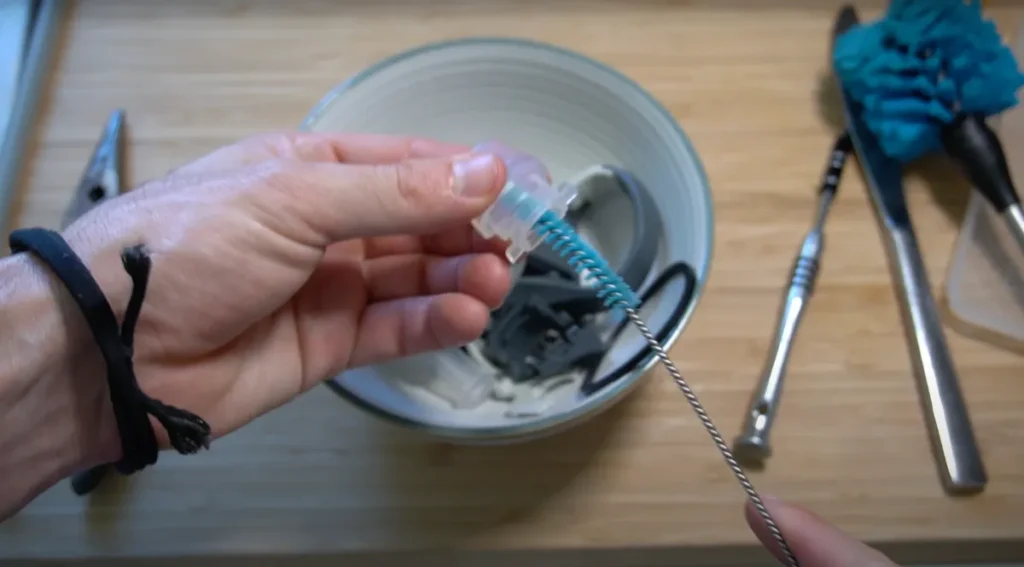
1. If your bottle has a straw or rubber spout, use your micro bottle cleaning brush to clean inside.
2. Use a q-tip to clean the lid’s inside seams and holes (you’d be amazed at the gunk you get out).
3. Fill a plastic container with hot water and dish soap, submerge all the parts, and soak them for 20 minutes. Then, clean each part with a soft cloth. I find this tedious but worth it.
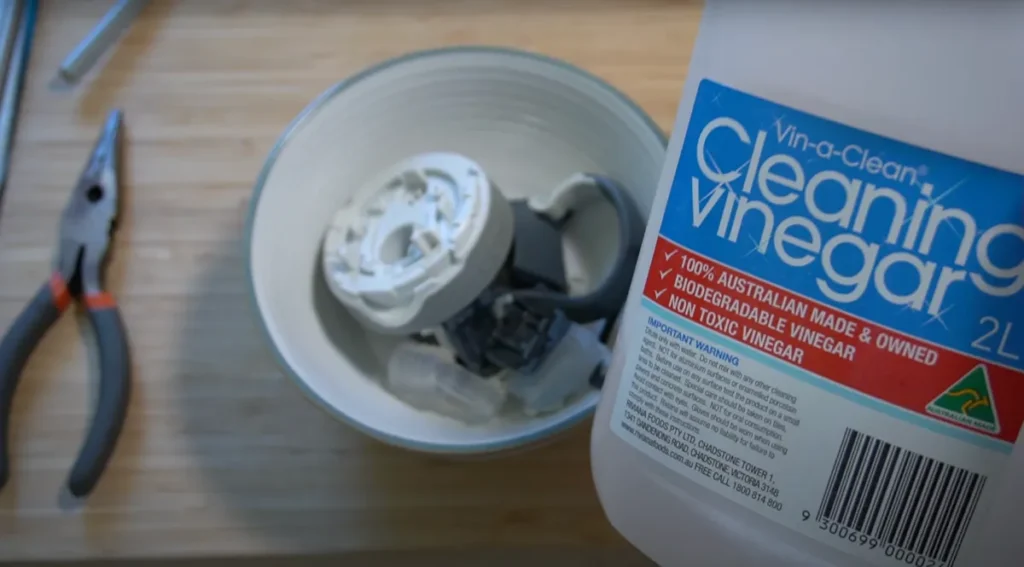
4. I don’t like the idea of my kids drinking from bacteria-ridden lids, so I usually soak the lid parts in white vinegar after cleaning them. This helps sanitize everything and also removes lingering odors.
You can also add some baking soda for extra odor removal.
5. Rinse the parts, allow them to air dry completely (this is important), and put the lid back together.