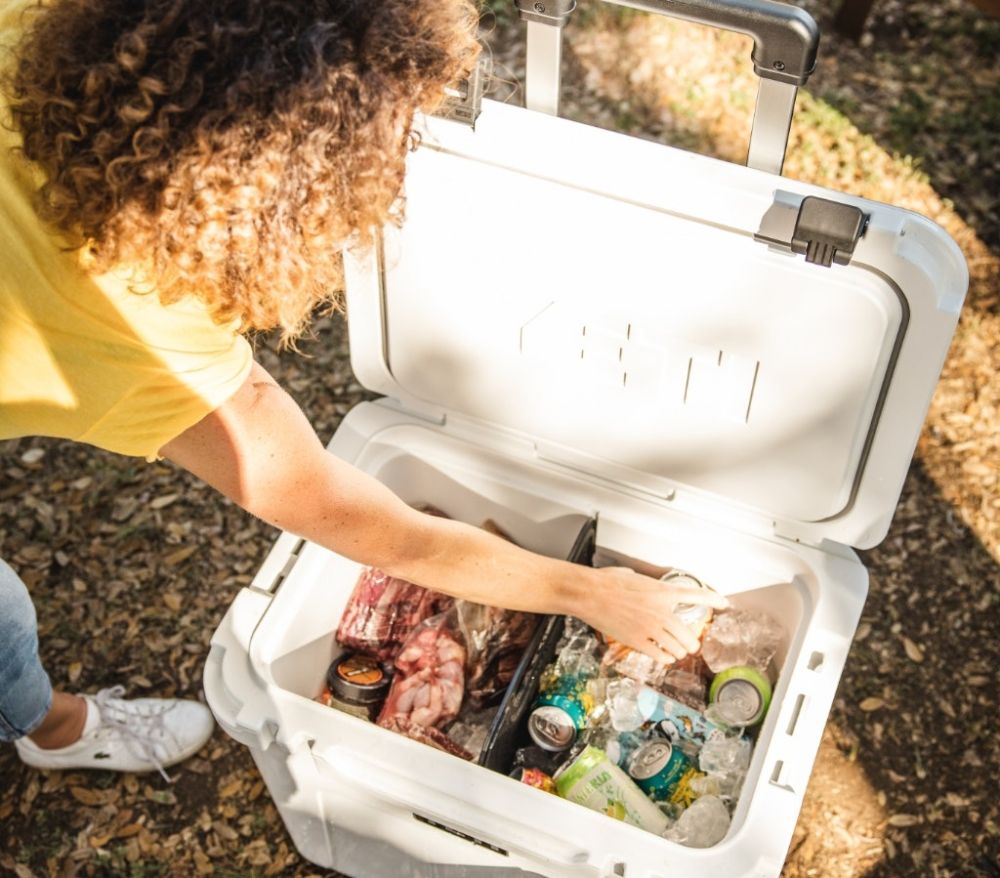
Have you ever tried to close the lid of your cooler only to realize it’s already filled to the brim, and you haven’t even finished packing? I know I have, so I went ahead and researched the best cooler organizational ideas so I could pack like a pro.
Genius cooler organization ideas include using a cutting board that doubles as a divider, adding a dry goods tray, and a DIY cup holder. A storage bag or serving tray can be attached using the lid of the cooler.
Here are some awesome cooler organizer ideas that you can use on any budget.
1. Cutting Board Divider
This is one of the easiest and cheapest ways to organize your cooler efficiently. The cutting board serves two purposes, it will act as a divider between items and can be used to cut food.
The great thing about this idea is that you can do this on any budget, as cutting boards are available in any size or budget from lots of stores across the US.
Most high end coolers like Yeti have cutting boards you can purchase or some even come with one for free. I’ve even see this cool divider with a built in ice pack that fits into Yeti coolers and I thought that was a genius idea.
Or, using a cardboard template with the correct measures, you can use an electric saw to trim the edges of a cutting board to your desired size.
2. Dry Goods or Cooler Tray
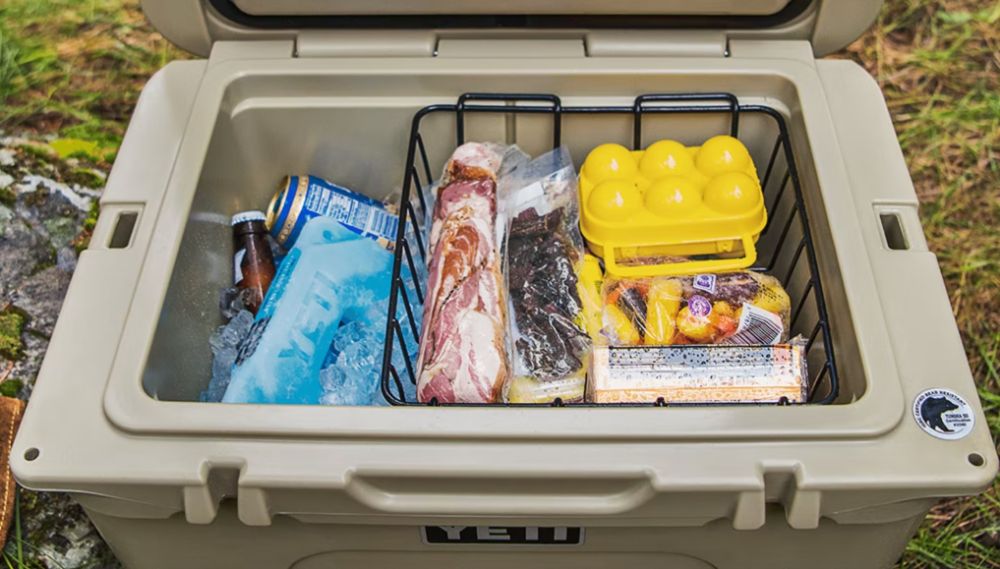
Adding a tray for your dry goods or just a way to separate your items is an excellent way of keeping your cooler organized, making it much easier to pack. If you have a Yeti cooler, there are trays available that are compatible with your cooler.
If you don’t own a Yeti cooler, you can make your own dry goods tray using the instructions in the video below.
There are actually a variety of different dry tray ideas on YouTube so it’s worth having a look around and choosing the best design for your cooler.
A tray is a good way of keeping your dry goods from getting wet in the cooler.
3. Store Eggs In a Plastic Bottle

If you’re low on space in your cooler or worried about eggs breaking or your egg carton getting soggy then you can save a lot of space and have easy scrambled eggs or omelets by simply putting the eggs into an old water bottle.
I suggest one with a wide mouth (otherwise the eggs can be tricky to get in) and it’s a good idea to mark the sides of the bottle so you know roughly how many eggs you’ll be using.
Just make sure to completely wash out the bottle first as if it contained a flavored drink before you put the eggs in there then sometimes that can affect the flavor of the eggs.
If you’re really worried about the flavor being altered then a glass bottle is an even better option that plastic. Or nowadays powdered eggs actually don’t taste too bad and can be good for camping.
If you want to take whole eggs and not pre-crack them then check out the best ways to pack eggs in your cooler for some helpful tips on how to do this.
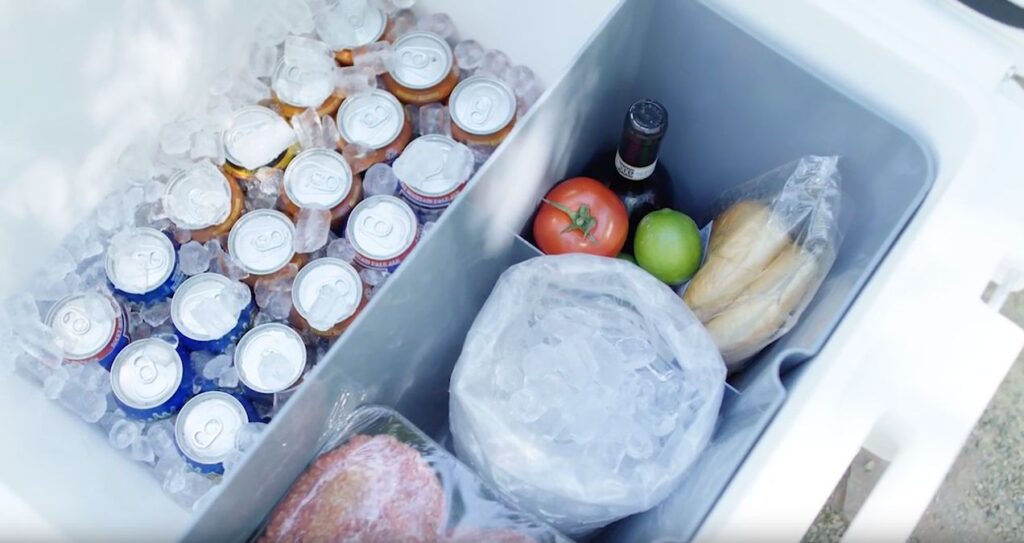
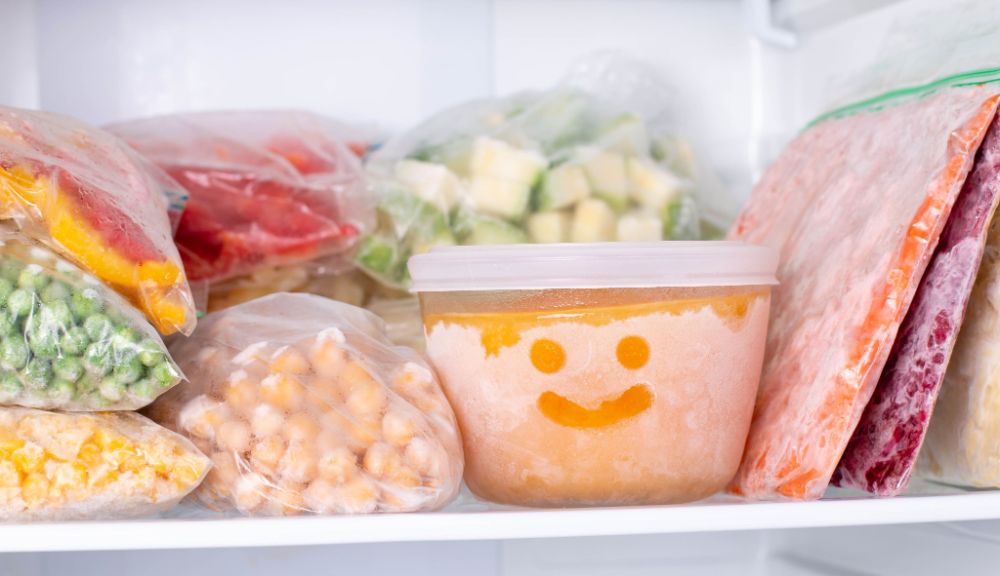
4. Add A Layer Of Foam, Reflectix or Ice Sheets To Separate Frozen Goods From Cold Goods and Act As A Second Lid

Every time you open your cooler you allow warm air into the cooler that will melt your ice and warm up your food and drinks.
Adding a layer of foam, reflectix or even a layer of plastic ice sheets can be a great way of separating the frozen goods at the bottom of your cooler with the items on top that don’t need to remain frozen.
This creates an air barrier that will keep the coldest items at the bottom of your cooler separate from everything else and will allow you to keep drinks, butter, cheese and anything else you need to access regularly above it.
It’s a great way to split a cooler in 2 and keep food frozen in your cooler for longer. The best thing is a layer of foam, ice sheets or reflectix is pretty cheap.
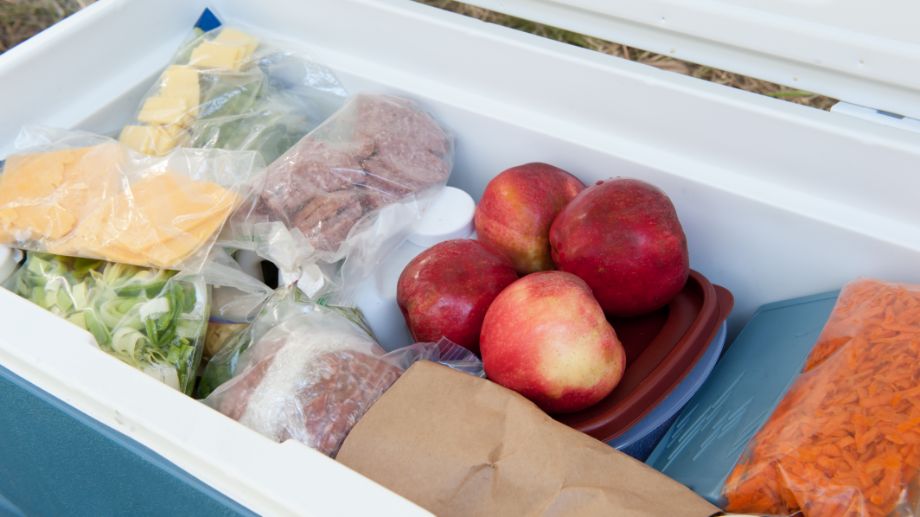
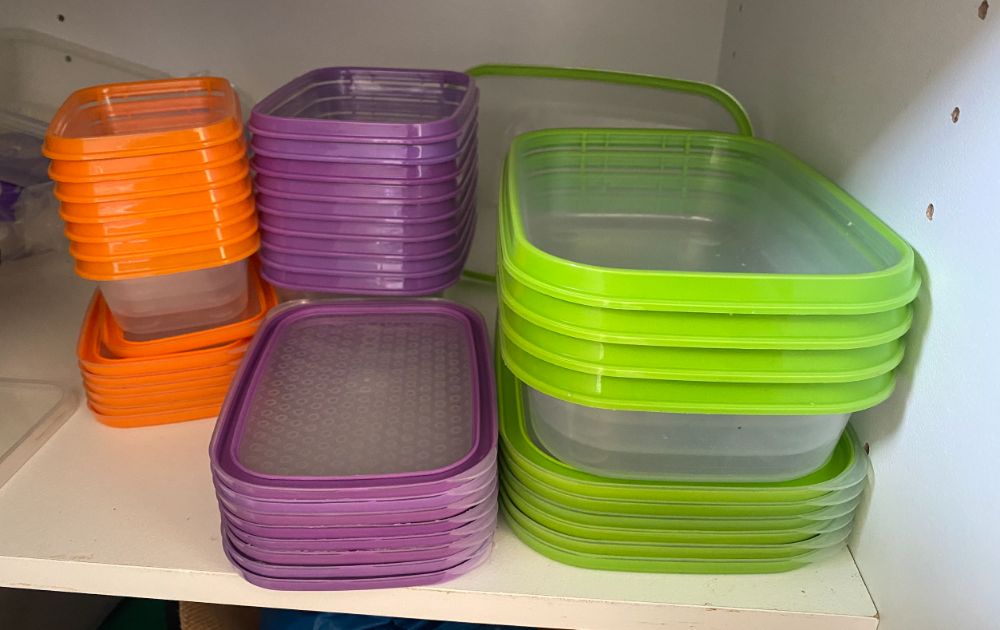
5. Use Waterproof Tupperware Containers To Keep Dry Goods Dry
Often you have items you want to keep cold but you don’t want to get wet. I still remember buying a block of chocolate only to have it sink to the bottom of the cooler and float in water for a full day before I discovered the soggy mess.
I don’t know what was more sad…the cleanup or the fact that I didn’t have any chocolate to eat.
A good way to prevent this is to use watertight tupperware containers. Fill them up with chocolate, cheese, butter or anything else you don’t want to get wet and throw them in your cooler.
They’ll stay cold and everything will stay dry too. I found this worked better than a dry basket at the top of the cooler and was cheaper and more practical.
If you need items in the containers to stay EXTRA cold I suggest using glass tupperware containers as the glass will become colder than plastic and will keep the items inside cooler.
6. Add a Storage Bag To The Lid of Your Cooler
")
Having an organized cooler means using every inch of space. You can use your cooler lid and make use of that space by adding a storage bag – also known as a cooler pocket.
There are two ways you can go about doing this. The easiest way is to simply buy a ready-made storage net that fits onto the underneath of your cooler lid.
Or, you can make one yourself by simply attaching a plastic bag to the cooler lid with velcro strips. This is a handy place to pack cutlery or small bits and bobs.
7. Add A Bucket To Store Dry Foods
One of the things I love about the RovR cooler (shown above) is that it has a perfectly designed internal bucket that allows you to store lots of dry foods and make sure they don’t get wet.
If you don’t have a RovR cooler then you can still achieve a similar thing by using a small bin or bucket.
This is similar to the tupperware idea above but rather than small containers you opt for one big one.
Get a bucket that is tall enough that it comes to the top of your cooler (but you can still shut the lid). Make sure to put this in first and then put ice and other items that can get wet around it then fill the bucket up with dry food.
Everything will still stay cold, but it won’t get wet.
8. Create A Cooler Map On The Lid Of Your Cooler
A cooler map is a great way to minimize the time you spend rummaging in your cooler looking for things.
This is time the lid is open letting hot air in and also things tend to get extremely disorganized extremely quickly if you are moving things around trying to find a particular item.
Save yourself the time and hassle and create a cooler map.
On the lid of your cooler put some masking tape and using a pen write exactly what is where in your cooler.
Got butter and cheese on the left side? Write that on the left side of the tape.
Frozen meats on the right and drinks in the middle? Write that on the tape too.
Then you can look at the tape before opening the cooler and just quickly open the lid and know exactly where to go for the items you need. It’ll keep things colder for longer, but it’ll also keep things a lot more organized too.
9. For Longer Trips Separate Your Cooler By Days
If you’re planning a longer trip and you know what you’re going to be eating each day the sometimes it can make sense to pack your cooler by days.
Put the items you’ll need on day #1 near the top, day #2 underneath and so forth to the items for your final day at the bottom.
This way you can just open your cooler. Get out what you need for that day and the items that will stay in your cooler longest will be at the bottom where they can stay frozen.
10. PVC Tube Ice Pack and Drainage Rack
Ice packs and blocks of ice are bulky and can take up too much space in your cooler. Creating ice packs out of PVC tubes is an excellent way of utilizing space, and they can be customized to your liking.
How to DIY PVC ice packs:
- Cut the PVC pipe to your preferred size
- Attach the cap to one end with PVC cement
- Fill the tube with 80% of water
- Add 1-2 teaspoons of salt
- Attach the other cap with PVC cement
Check out this guide on how to make PVC ice packs for more detailed instructions.
11. A Cooler Inside A Cooler
Like out bin/bucket idea above you can actually use a secondary cooler inside a big cooler in order to store dry items or to store items you want to keep frozen or maybe keep away from other items.
This can be a great place to store things like frozen meats that you need to stay extra cold for health reasons but also don’t want to get wet.
The extra cooler insulation will actually keep items inside the secondary cooler colder for longer than items inside your main cooler IF you don’t leave a lot of air space.
The added benefit of using a second cooler is that you can put a lid on it which means each time you open your cooler to get drinks or regular items warm air won’t get into your frozen goods section.
Styrofoam coolers come in lots of different sizes and you should be able to find one that fits in your cooler perfectly or something like the Coleman FlipLid 5-Quart cooler is nice and small and fits easily inside most larger coolers.
12. Create A Cooler Shelf
Just like a dry basket you can instead create a cooler shelf by using some cutting board dividers and a metal rack.
This can help you store more dry items and can make them extremely easy to access and store.
13. Use Frozen Foods or Drinks Instead of Ice Packs
While ice packs and PVC tube ice packs are great for keeping things cool for a long time, they also take up valuable space in your cooler.
Yeti actually recommends are 2:1 ice to food ratio. This means that a full TWO THIRDS of your cooler is filled with ice, leaving only 1/3 of your cooler for food and drinks.
To make the most of your space, you can substitute ice packs with frozen items you will be consuming during your trip. This way, you’re saving space while still keeping your goodies cool.
Substitutes for ice packs:
- Bottles of frozen juice or water
- A wet frozen towel. When unpacking the cooler, hang it out to dry in the sun to use.
- Re-use the bag found inside boxed wine. Fill the bag with your choice of drink, freeze and use it as an ice pack. As it defrosts, you can drink from it.
- Popsicles. This is a fun and ingenius way of keeping your cooler cold with a dessert for later.
- Frozen soups
- Frozen meats
- Frozen vegetables
These genius organization ideas are so easy to use and will make a huge difference when you pack your cooler full of your favorite things.
14. Add A Cooler Light To See In The Dark

A cooler lid light is a genius way to be able to more easily find things in your cooler in the middle of the night.
No more trying to hold the torch in one hand while rummaging through the cooler making a mess of your organization efforts.
A cooler lid light is designed to turn on when the lid is opened and turn off when the lid is closed, just like your fridge at home. It also has a 20 second automatic shutoff to save power just in case you leave the lid open.
This is a worthy investment for sure and one of the best modifications you can make to your cooler.
15. Add An External Dry Goods Bag
")
An external dry goods bag is a great way to add extra storage and organization to your cooler without having to put items inside your cooler.
Great for food snacks that you need to keep dry but not cold this can also be used for items like your keys, wallet and phone if you take your cooler to the beach or for a picnic.
The Beast external cooler bag is durable, waterproof and features 2 interior mesh pockets for even more organization. It can fit easily on a Yeti Haul cooler but can also attach to a variety of other cooler handles.
This is the best Yeti Sidekick alternative out there and a great addition no matter what brand of cooler you own.
16. Add A False Bottom To Keep Items Raised And Out Of The Water
Place your ice packs on the bottom of your cooler and a metal rack on top of them to create a raised false bottom in your cooler.
This keeps all your items up and out of the water so as your ice melts they won’t be swimming in the water.
Regularly drain your cooler to make sure water level doesn’t get too high.
17. Wrap Vegetables In A Paper Towel To Absorb Moisture

Even when using a dry basket some vegetables don’t do too well with the excessive moisture found inside a cooler.
Wrap them in paper towels to help absorb moisture from the air and keep them fresher.
Or if you’re worried about the paper towels turning into mush then wrap them in tea towels which you can dry out and reuse again and again.
18. Have One Dedicated Coolers For Drinks and One For Food
This is actually low-key one of the best cooler organization ideas out there. Instead of packing everything into one cooler, or mixing items across 2 coolers consider having each cooler dedicated to different things.
Dedicate one cooler to drinks and items that are regular accessed through the day. This one will warm up faster and likely need ice more often but that’s ok.
Have your second cooler dedicated to food and frozen items. It’ll be opened less, messed up less and will stay a lot colder for longer and will stay more organized.
19. Serving Tray
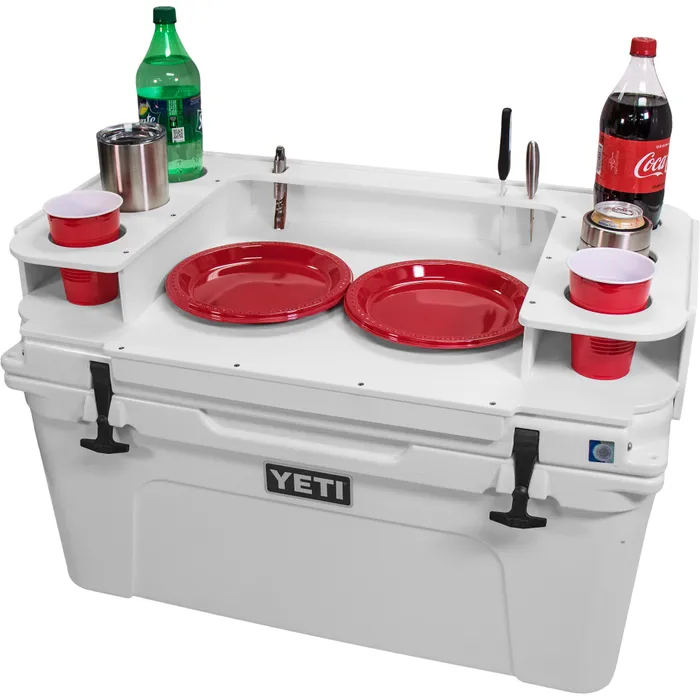
This is probably one of the coolest ideas I’ve seen in cooler modifications and is a great organizational idea.
Using the lid of your cooler as a temporary serving tray allows you to be extra organized when you go camping. No need to lug around extra tables when you can just use your cooler.
A company called Boat Outfitters makes master serving trays that are attached to your Yeti cooler. The tray can easily be removed and used without the cooler. The only downside of this product is that it’s pretty damn expensive so won’t be in everyone’s budget range.
Click here for more cooler camping hacks.
20. Create DIY Cup Holder
A cup holder is an excellent way of making use of your cooler in the most organized manner. While Yeti offers a stainless-steel cup holder placed outside your cooler, these are expensive.
Using plastic cup holders for car doors, you can easily make your own. These are cheap and can be found at Amazon.
How to DIY a cup holder:
- Break off the fingers used for small drinks (unless you have small cups)
- Break off the hook
- Using a fire lighter, heat the shank the holder sits on and bend it into a new hook that fits on your cooler
If you’re like me and would rather just buy one then the AIEVE Beverage Holder is made to perfectly fit the Yeti and RTIC coolers and it’s made from durable powder coated stainless steel just like the brand name alternative.
How To Pack Smart
Nobody wants a messy cooler where food gets ruined and things are hard to find. By packing smart, you can cram in as much as you need without damaging any of the goods either.
Packing your cooler in an organized manner is something you can do in addition to using some of the provided ideas.
Ways to pack smart:
- Pack your cooler in the order of the things that you will need. For example, things that you need first should be easy to reach. Plan your meals ahead to make the most out of this tip. This also reduces the time the lid is spent open and lets in warm air.
- Items that need to remain cool for the longest should be packed at the bottom of the cooler. Warm air from the open lid will cause the ice to melt faster.
Improve Your Cooler with Further Modifications
By using a combination of the ideas provided, you should be well on your way to wowing everyone with your envious, organized cooler.
These ideas are just the start; to get even more organized, you can try out these fantastic cooler modification ideas.