Salt ice packs made with PVC pipe are a great way to keep your cooler cold for longer. They are reusable and can be made to the exact size of your cooler, making them the perfect addition to your next adventure.
This easy DIY project will keep your food cold on your multi-day trips, and they don’t take up a lot of space. These will fit perfectly in the bottom of your cooler and won’t take up that much space, leaving more room for your goodies.
To make a PVC ice pack cut PVC pipe to size and attach cap to one side with PVC cement. Fill 80% of the tube with water and 1-2 tablespoons of salt then attach cap to other end with PVC cement. Now place in freezer to get out when needed and put in your cooler.
With some tools and the right parts, anyone can build their own PVC Ice Pack. Everything you need to create your PVC Ice Packs is listed here, along with easy to follow instructions for making your new PVC Ice Packs.
Watch The Video:
Building your PVC Ice Pack with Salt
Constructing your PVC Ice pack is a straightforward task that you can do with the tools you have in your home.
Set up a place outside where you have enough room to move around in.
Things You’ll Need
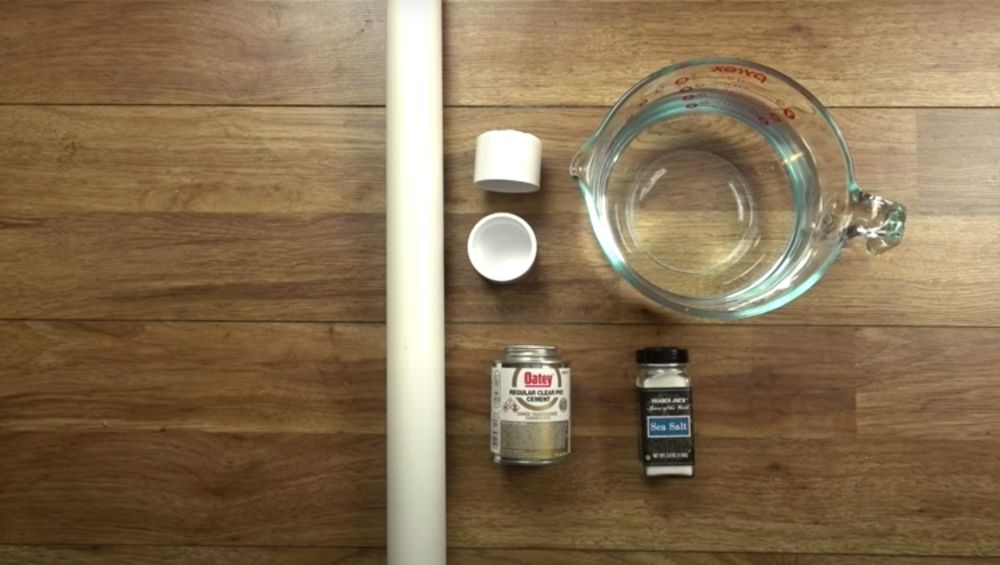
Here is what you will need:
- PVC Pipe (Any thickness but 2 inches is a good size)
- PVC Caps
- PVC Cement (optional but recommended)
- Hand saw or PVC Pipe cutter
- Water
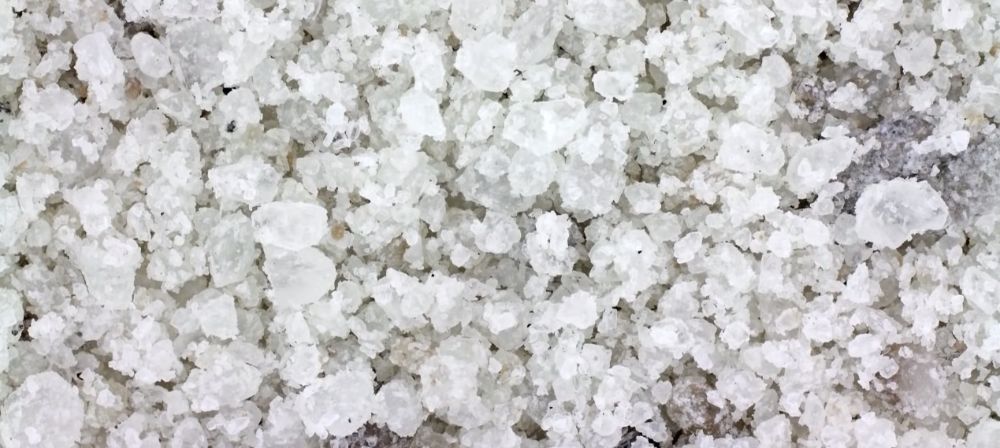
- Salt
You’ll also ideally want to have the following tools for the job. These are optional but make the job easier and you’re more likely to get a good result.
- Measuring tape
- Marker
- Gloves
- Clamp
- Spray Paint
- Mason Jar
How Thick Should Your PVC Pipe Be?
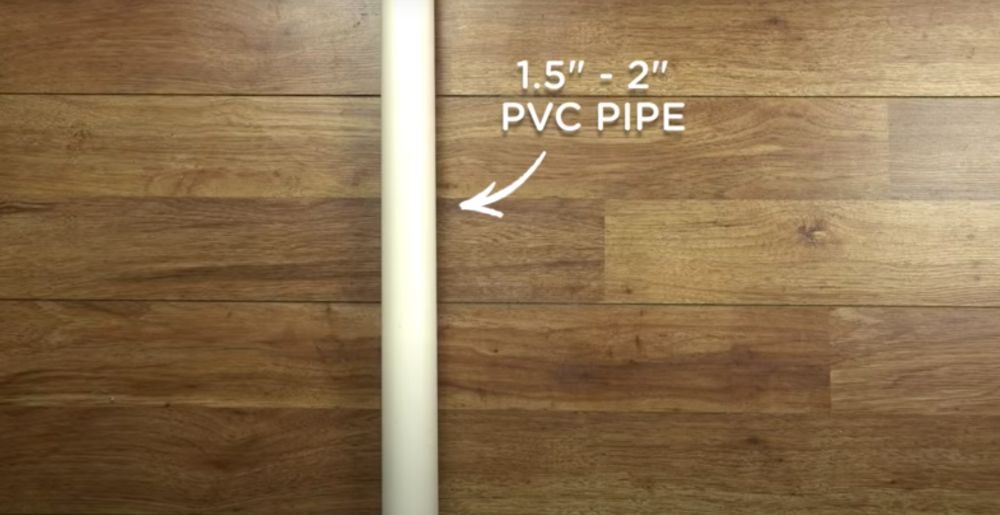
The circumference of the PVC pipe will determine how long it can remain cold.
The bigger the diameter the longer it will stay cold but it will take up more room.
A 2” diameter is a good choice but you can go thicker or thinner depending on the size of the cooler and how big you want your ice packs to be.
How Long Should Your PVC Pipe Be?
A standard cooler is around 14”-17.5” in width and 26”-48” in length.
Depending on how many coolers you have, a 5’ length of PVC pipe will give you 5 x 12” pieces.
When thinking about how long your PVC pipes are going to be you need to think about two things:
- Cooler dimensions
- Freezer dimensions
You don’t want to make them longer than your cooler or they won’t fit. You also don’t want to make them bigger than your freezer or you won’t be able to freezer them.
I like to make my PVC pipes short enough so they can stand up in my cooler. This gives me more arrangement options.
You might want to make some pipes long to go in the bottom of your cooler and some shorter to stand up in your cooler. Really it’s completely up to you.
Step 1: Measure Your Pipe Length and Cut
Measure each pipe to the length you need and mark it 1 inch less than the actual size. This is to include room for both caps. Double-check your measurements!!
With the hand saw or PVC cutter, cut the PVC pipe. When cutting, it’s a good idea to clamp down the pipe, so it does not move on you when cutting.
Step 2: Put A Cap On One Side Of The Pipe

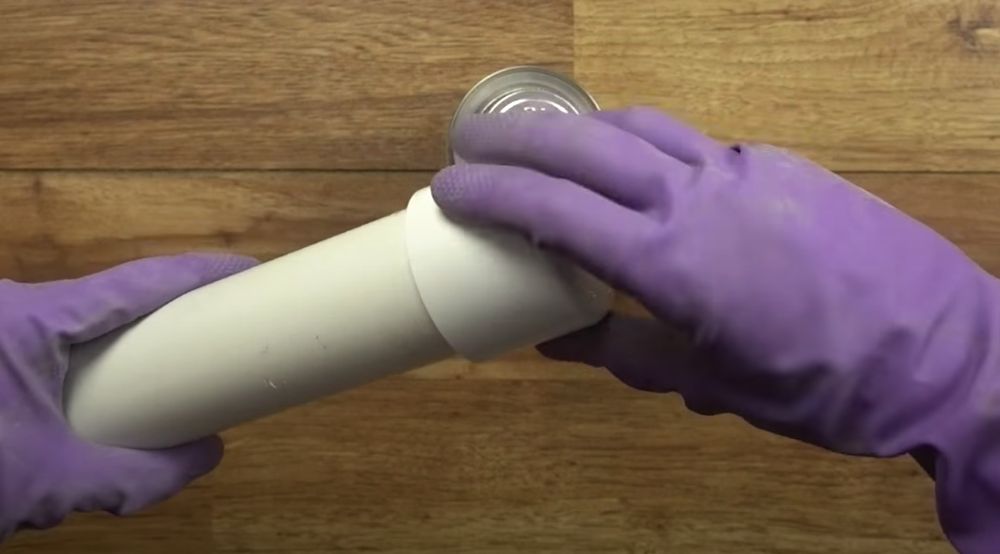
With gloves on, take your PVC cement and apply it to the outside of the PVC pipe AND the inside of the cap. You will ensure a tight leak-proof seal. Let dry for at least 1-2 hours.
The PVC cement is optional as the caps should be waterproof even without the cement but I like to at least cement one side of the PVC pipe into place for a strong seal.
I can then leave the other side without cement so if I ever need to open up the pipe I can open up the uncemented side.
Step 3: Mix Up Your Salt Water

While you are waiting, time to mix your saltwater.
If you are making multiple ice packs, start with 1 gallon of water to ½ cup salt and mix well.
If you want to make them individually then wait until the PVC cement dries and add 2 tablespoons of salt per pipe and fill with water.
The bigger the pipes the more salt you’ll want to use.
Why Add Salt?
Why add salt? Can you make PVC ice packs with just regular water?
You certainly can make them with regular water but salt will lower the water’s freezing temperature, making it melt earlier than regular ice.
But as it melts it actually stays colder than regular ice. So this means salt ice packs will make everything around them colder including your food, drink and regular ice.
The reason why is super nerdy and technical. If you want to understand the science behind it check out my article on why salt makes ice colder. The super nerds out there (like me) will find it facinating.
They can be used to extend the life of any regular ice you put in your cooler.
It’s up to you if you use salt or not, honestly both work fine. But below you can see the difference between salt ice and regular ice and which one is colder.
Step 4: Fill 75-80% With Salt Water
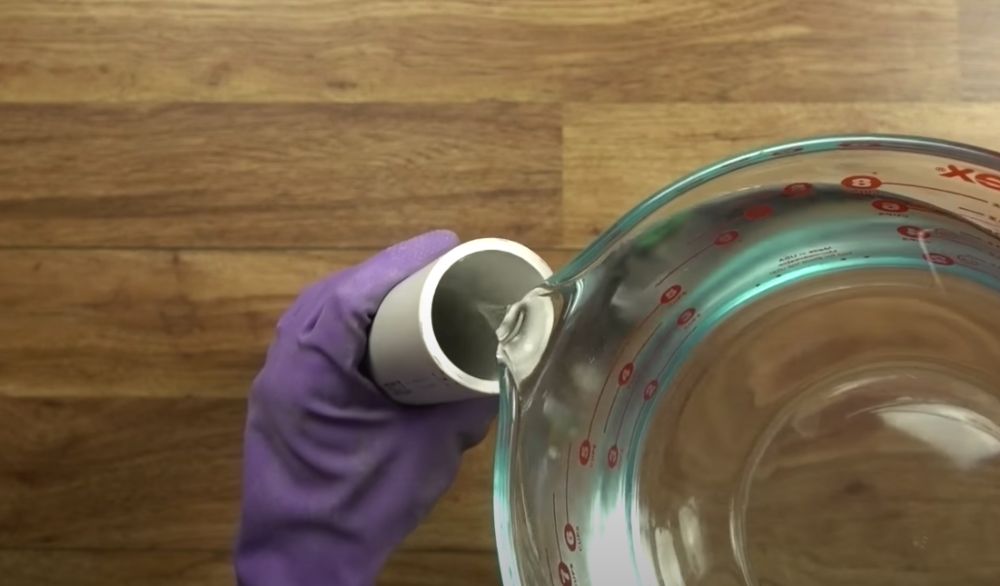
Once the bottom caps are completely dry, fill each tube with the saltwater to about ¾ or 80% full. This leaves room for the water to expand without cracking the pipe.
If you fill it up 100% then as it freezes the water will expand and your PVC ice packs will break. So make sure to leave some room for that expansion.
Step 5: Place on 2nd Cap
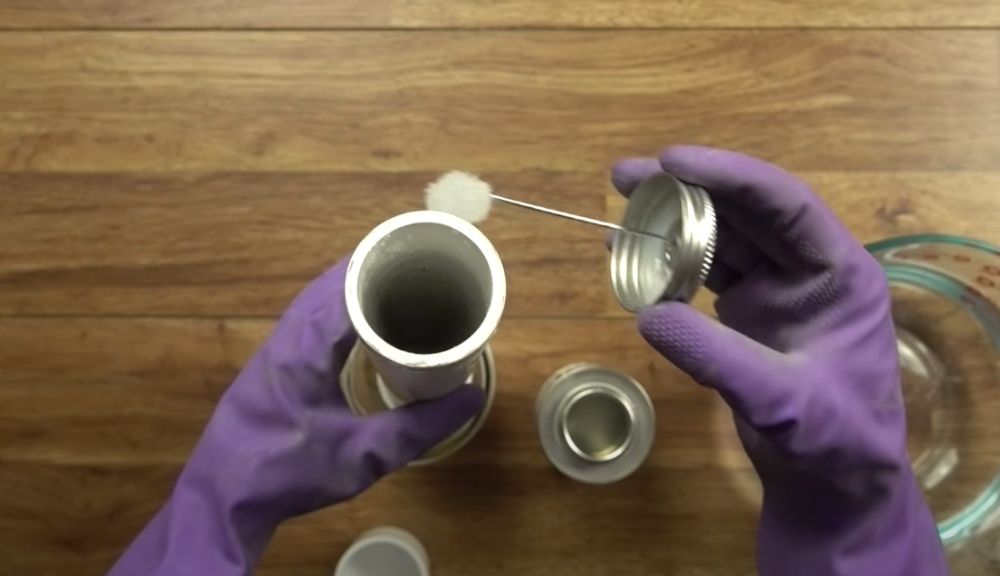
Take your mason jar and place the capped end down. The mason jar is just there to help your PVC ice pack stand upright while you apply the PVC cement and the final cap.
You can also use a vice or a cup or a water bottle with a wide mouth for the same effect. You can even get a friend to hold it for you if you don’t have any of those.
Make sure the open end of the pipe is dry, then apply the PVC cement to the outside of the pipe and the inside of the cap.
Push it on tight and let it sit in the mason jar for 1-2 hours so it will dry.
You don’t want to get water mixed in with the cement or it will not form a tight seal.
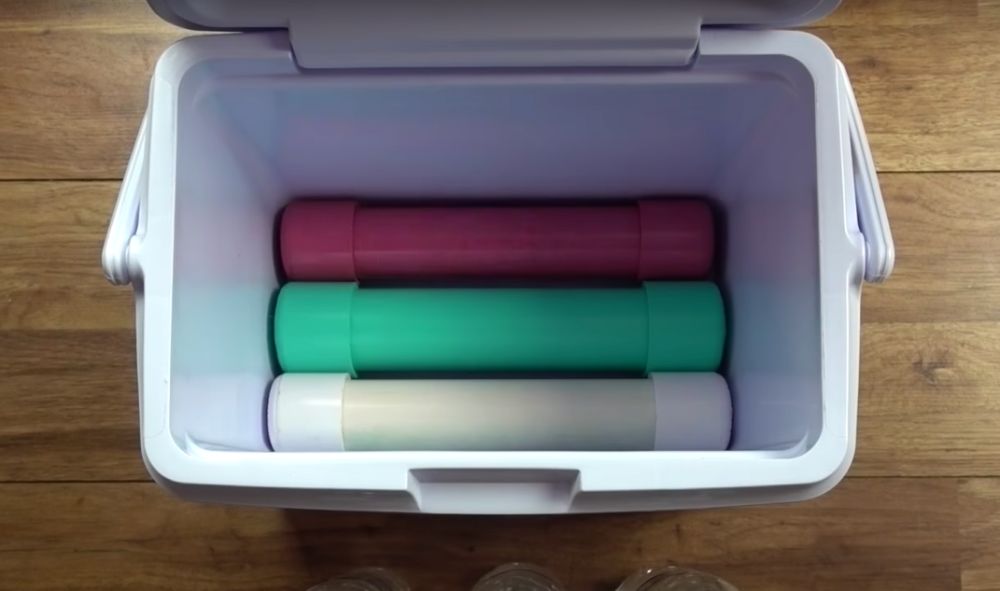
Step 6: Paint Your Ice Packs (Optional)
Once dried, paint your new PVC Ice Packs any color you want for fun.
This is obviously completely optional as they’ll still work fine if they aren’t painted but it’ll make them look better and it can be a fun activity to do with the kids.
Step 7: Freeze Your Ice Packs
Now you’re done.
Place them in your freezer 24-48 hours before your trip to ensure your pipes are frozen solid.
I like to give them at least 48 hours and so I know they are as cold as they possibly can be.
Benefits of Using PVC Ice Packs
These long-lasting icepacks will keep your food colder for a long time versus bags of ice and gel ice packs.
The most significant difference is that the PVC Ice Packs will not sweat, so you don’t run the risk of wet food. There is no accidental tearing or leaking, and the only ice you need to bring is for your drinks.
Their compact size is ideal for smaller coolers or backpacks. For those backtrail hikes, these powerful little packs are lightweight so that they won’t add a lot of weight to your pack.
Your food and drinks will remain colder longer. With regular ice or ice packs, you’re left with a bag of water once the ice melts.
With the PVC Ice Packs, you get an additional 3 to 4 hours of chilled food, and once they melt, there is no leaking, and all you have to do is throw them back in the freezer!
Use these PVC Ice Packs will last for a long, long time. Durable enough to be tossed around without the risk of breaking, so you won’t have to worry about accidentally breaking them.
PVC Ice Packs with salt make for a convenient, compact ice pack that will last for years. It’ll help cut down on wasteful plastics, and keep your food colder for a longer time.
They are easy to make, and your friends will want to make their own once they see yours in action.