Whether you’re going on a road trip, going camping or maybe even getting on a plane you might want to take some food with you that you need to keep frozen for the trip.
But how do you keep food frozen while you’re traveling?
If you prepare and pack your food correctly then you can take food traveling with you and keep it frozen for multiple days at a time.
To keep food frozen while traveling make sure it is pre-frozen then tightly pack it in a high quality cooler using ice packs to fill any empty space. Keep the lid closed and keep your cooler out of directly sunlight wherever possible.
Below are 9 different ways to keep your food frozen while traveling, and you can choose which one works best for your budget and lifestyle.
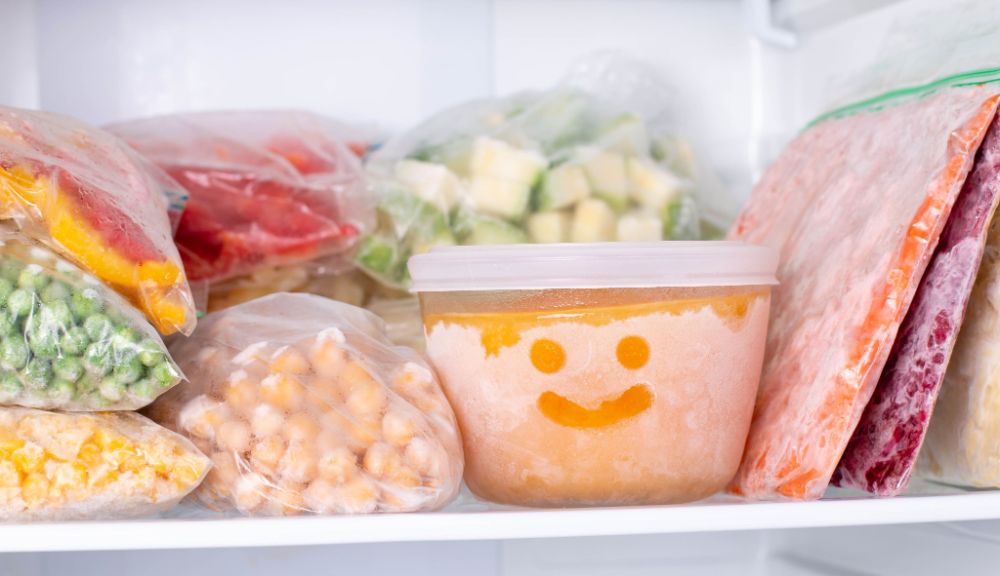
1. Pre-Freeze Your Items Before Hand
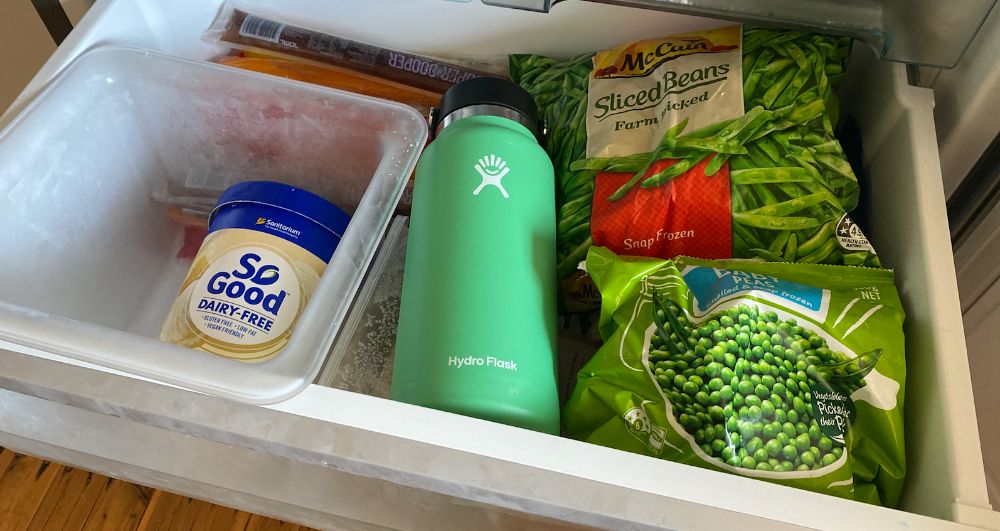
I think it goes without saying that it’ll be easier to keep things frozen if they start out that way!
Your food will reach its lowest temperature after about 24-48 hours in a freezer, so you’ll want to put it in the freezer at least a day before you go traveling.
A deep freezer can make food even colder than a standing freezer so that is preferable to your standard kitchen freezer for pre-freezing.
You want your food as cold as possible before putting it into a cooler, and sometimes that takes a couple days in the freezer.
2. Use a High-Quality Cooler Filled With Ice
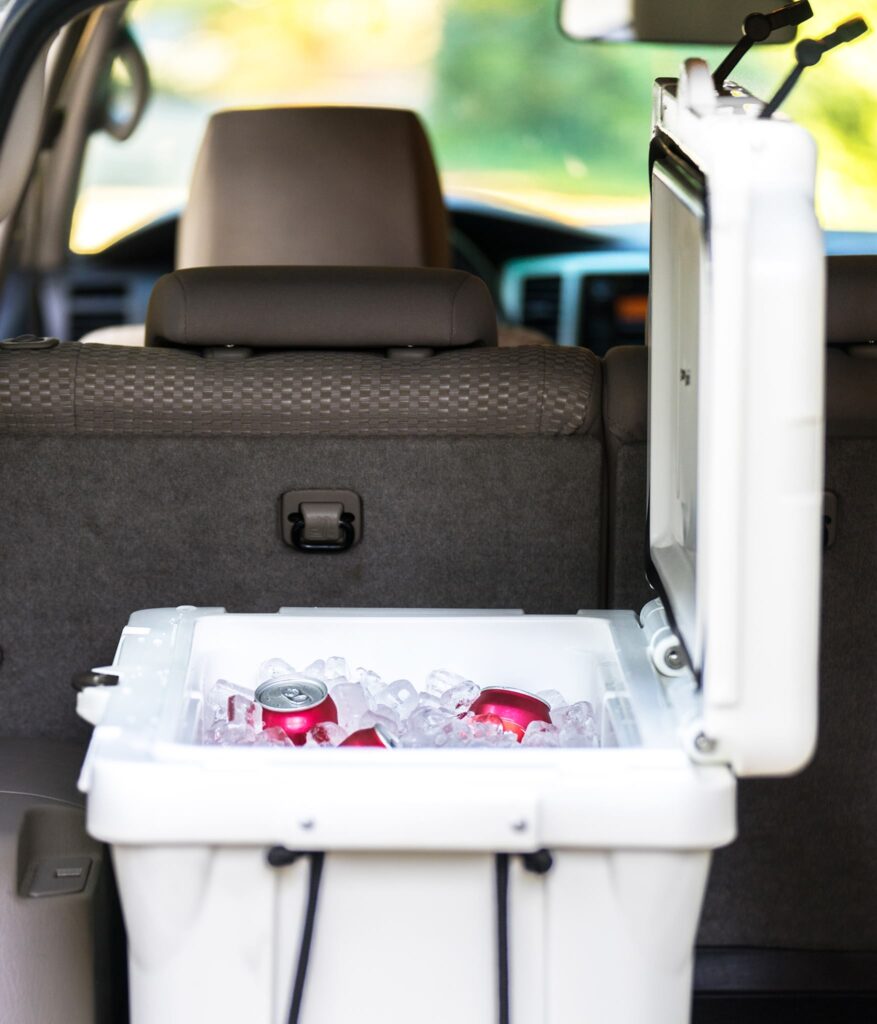
The best coolers are the ones with the best insulation, allowing them to keep your food or beverages cold for far longer than the average cooler.
There are many on the market that claim to be the best, including Yeti , RTIC Kong Coolers and more.
If you’re like me, the first thing you’re asking is “Which holds ice the longer?”
After extensive research I put together a list of the best coolers for ice retention to showcase the coolers that keep ice the absolute longest.
Coolers vary a lot price-wise, but you generally get what you pay for.
Regardless of which of those coolers you might pick, though, the chances are high that they’ll keep your stuff good and frosty.
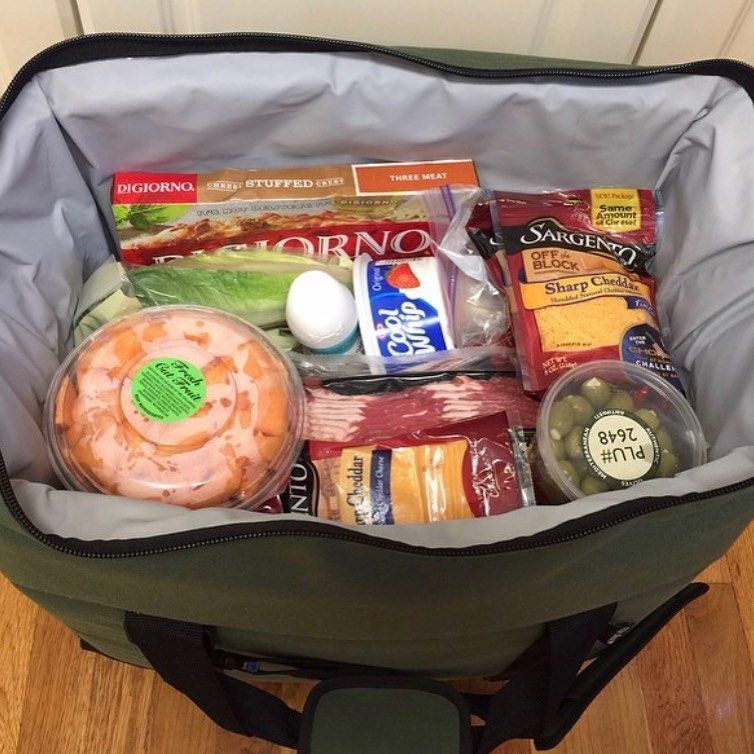
3. Alternatively Use a High Quality Cooler Bag
If you’re limited on space, or you don’t have a lot of food you need to keep frozen, then a cooler bag may serve you better for your travels
Again, you’ll want high-quality where possible, because the cheap low quality cooler bags only keep things frozen for a few hours whereas the good ones keep things frozen for a few days.
Unsurprisingly, Yeti comes in hot (metaphorically, of course!) with the Yeti Hopper Soft Sided Cooler and there are a bunch of other high quality brands you can look at as well.
Click here to see the best soft coolers for ice retention
4. Pack Your Frozen Food At The Bottom Of Your Cooler
Pack smarter, not harder! It makes sense that the further from heat your food is, the cooler it will stay, right?
In your refrigerator and upright freezer you put things that need to stay cooler in the back. The closer your stuff is to the door, the more likely it is to warm up more than you want.
The same is true for your cooler, you want your frozen food at the bottom.
Cold air sinks keeping food at the bottom colder plus most coolers have an opening it at the top meaning items at the top will be exposed to more warm air and will melt faster.
Not only will that help keep them frozen, but you can also use your frozen items as makeshift ice packs for anything you put on top. Bonus!
5. Use Ice Packs Designed To Melt Earlier Than Regular Ice
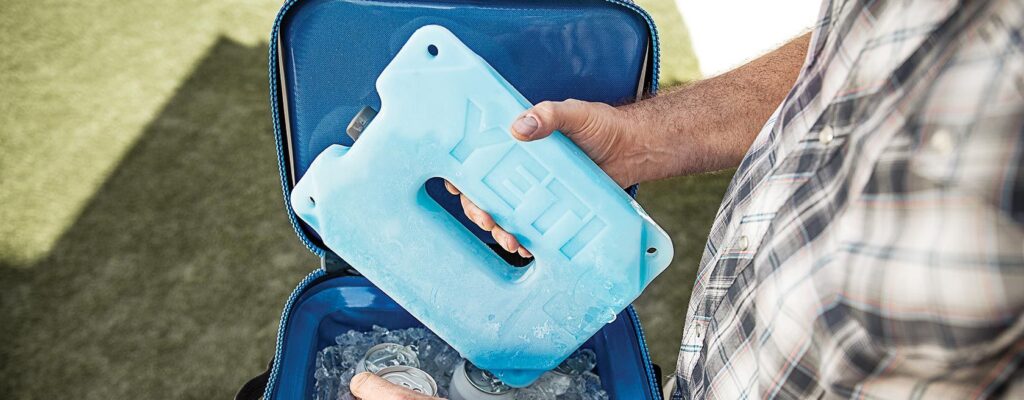
Ice packs are specifically designed to stay cold longer than regular ice. Sound like witchcraft? I get it, I thought so too.
So, naturally, I did a little experiment. Check out this video, comparing the Yeti ice pack to regular ice.
Pro tip: you’re going to want to give those ice packs a couple days of freezing as deep in the freezer as you can get them, to get them to the lowest possible temperature.
See my article on ice packs vs regular ice
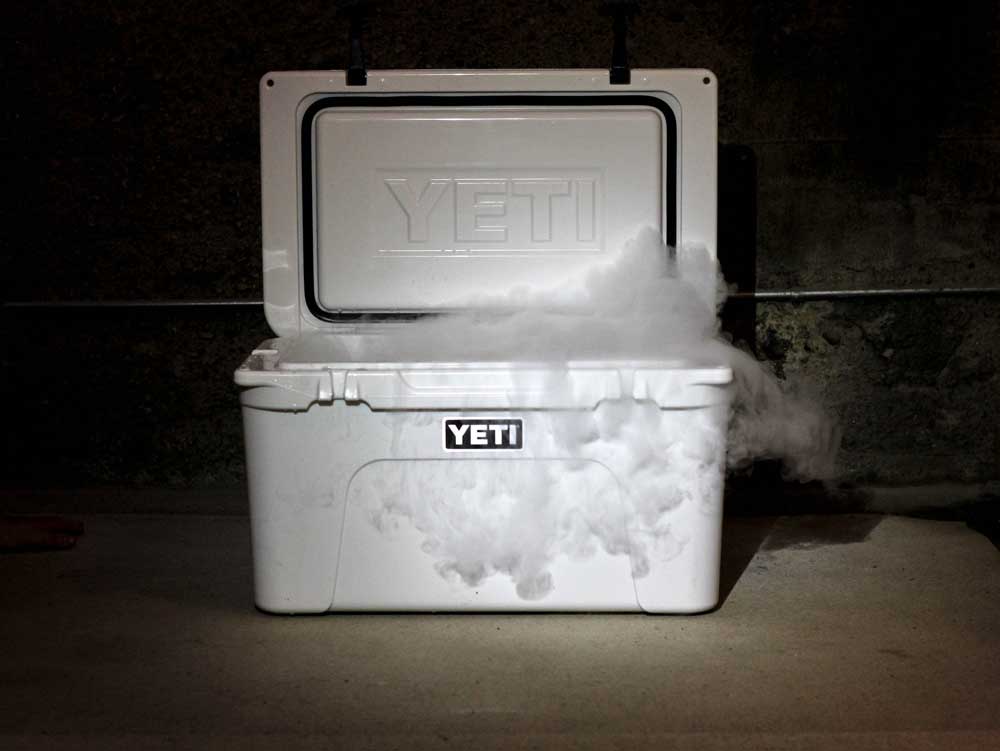
6. Use Dry Ice
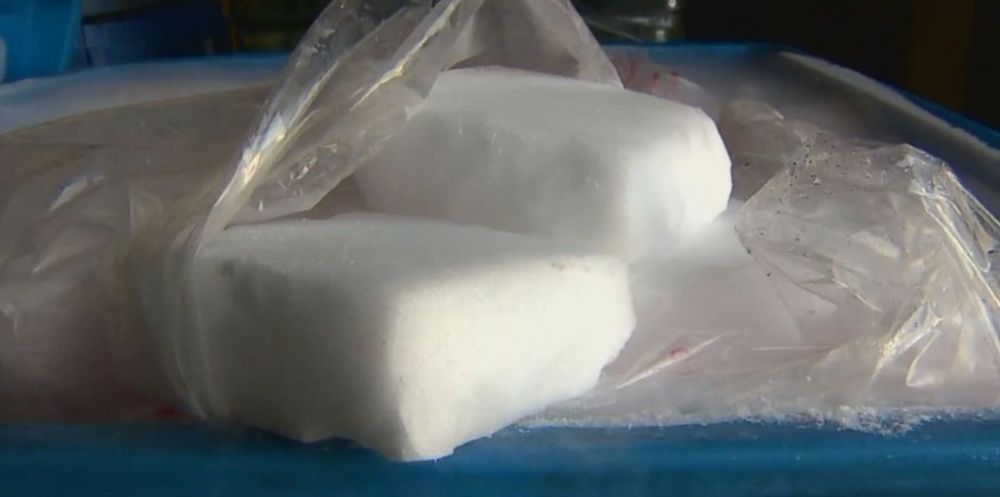
To those who have never used dry ice before, this stuff is amazing, for a number of reasons.
Once you learn how to properly handle it, it’s a breeze!
Dry ice is the best way to keep your food truly frozen without all the mess. It doesn’t melt like regular ice does.
I highly recommend this option for meats, specifically, because you REALLY don’t want those thawing prematurely.
But that being said, definitely double check to make sure that dry ice is safe to use in your cooler, because not all coolers are created equal. Click here for a list of the best coolers for dry ice.
You’ll want to make sure that you keep the windows open if you’re driving with dry ice. As it heats up it turns into a gas and if you don’t have your windows open it can remove the oxygen from your car and make you pass out or even worse kill you.
But if you keep the windows open you’ll be fine. Dry ice can also be used when flying, you just need to ensure that you label your box with “Dry ice” or “Frozen Carbon Dioxide”.
Click here to learn how to use dry ice in a cooler
7. Minimize Empty Air Space In Your Cooler (By Filling With Paper or Towels If Needed)
Usually when using a cooler we just throw some ice or ice packs in, layer in everything else, more ice or ice packs, and then close the top. We often leave a lot of empty space in the cooler.
But that empty space causes your ice to melt faster and makes everything thaw faster.
Sure, the cooler is already insulated, but some paper or towels for extra insulation at the top to fill in the empty space can go a long way.
The homeless community has been hip to this idea for forever, always insulating their clothing in winter with newspapers, etc.
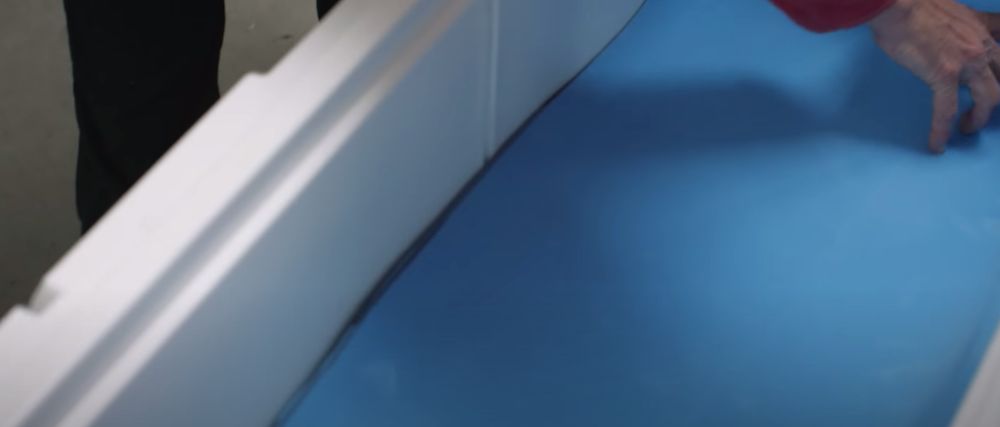
An alternative option is to put down a layer of foam on top of your frozen food to add a protective layer against the warm air in the empty part of your cooler.
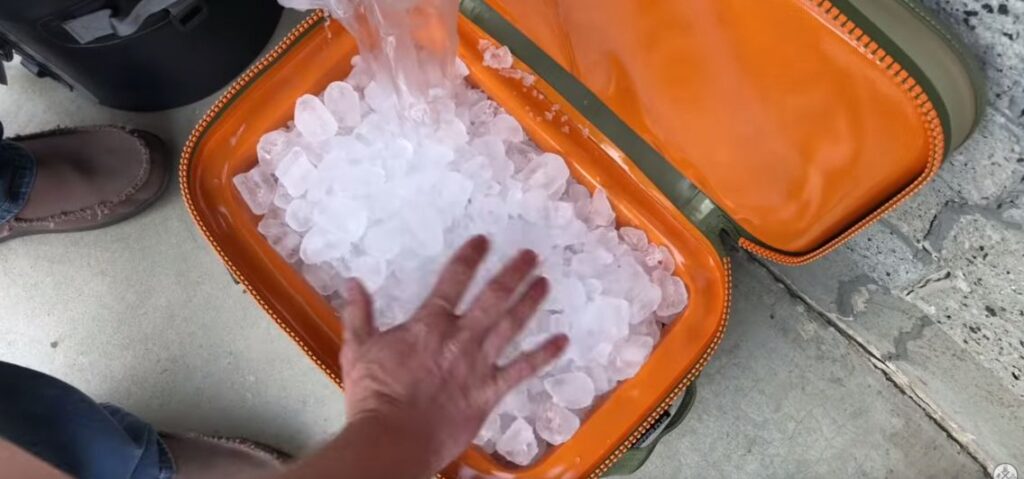
8. Pre-Chill Your Cooler
If you want to keep food frozen for as long as possible while traveling then you’ll want to pre-chill your cooler.
Coolers, especially expensive ones like Yeti with thick insulation, have a lot of thermal mass and if you’ve left them in a warm garage or something then the insulation can get HOT. This will melt your food and ice quickly if you put it straight into a warm cooler.
Why not kick it up a notch and throw the whole cooler in the deep freezer? No, seriously. Depending on size, you can do just that.
If that isn’t an option, ice will also do the trick.
You’ll want to fill the cooler up with ice, let it sit overnight, and then empty all that out.
Then you can fill with new ice or ice packs, and anything else you’re taking with you.
Pre-chilling is especially important if you store your cooler in a warmer environment, like an attic, garage, the back of your vehicle in the summer sun…basically anywhere that’s not cold.
Click here to learn more about how to pre-chill a cooler
9. Wrap It In Aluminum Foil
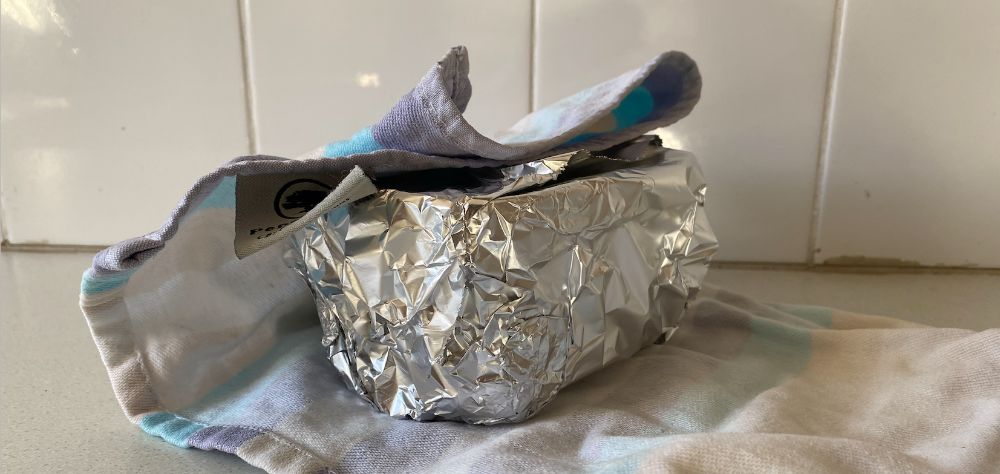
And last but not least, if you want to keep your food frozen longer while traveling then wrap it in aluminum foil like you’re trying to protect it from aliens.
Kinda like the paper and towels I mentioned earlier, the aluminum foil acts to insulate the container and keep it from warming up. It does it in a different way by insulating against heat radiation so you’ll want to combine both aluminum foil and a good cooler. Learn how aluminum foil works as an insulator.
Listen, traveling can be stressful enough without worrying about whether or not your food is going to stay frozen.
Any of these tips will help you, but I would combine a few of them for the best results.
Remember: quality is a big deal here. If it’s not high-quality, it’s just not going to do what you want it to. Happy travels!