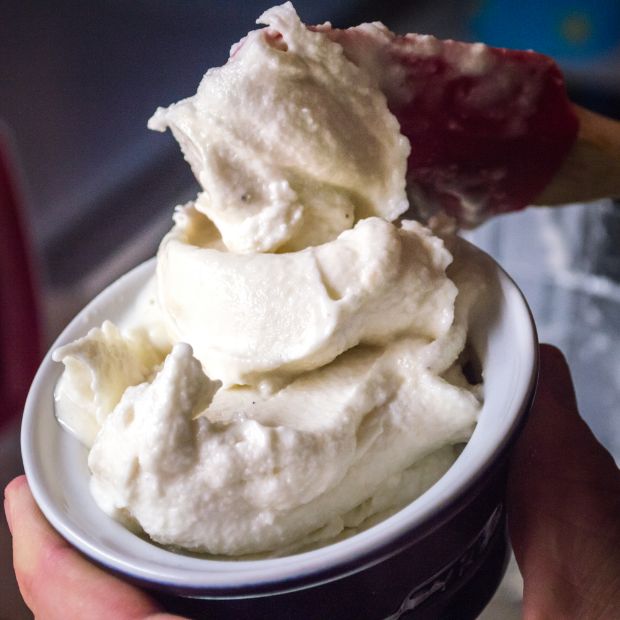
The Kitchenaid with its ice cream maker attachment is a great way for making homemade ice cream and I love it.
But you need to use the right setting in order to get the best results. Don’t make the mistake of turning it on too fast and wondering why your ice cream looks nothing like it does on the recipe card.
So what Kitchenaid ice cream maker speed is the right one for making ice cream?
To make ice cream in the Kitchenaid set it to Stir Speed 1. There is no need to adjust the speed during any point in the churning process.
Any faster speeds will prove too much for the mixer as the ice cream begins to thicken and your ice cream is unlikely to have the right consistency and texture. It might even fail to freeze altogether.
This is because the ice cream is made as the mixture freezes to the walls of the outer bowl and is then scraped off by the ice cream attachment arm. If it spins too fast it doesn’t give the base enough time to freeze to the walls of the outer bowl.
Using the right speed will also help you protect your machine. Try to go too fast and at best you might make a mess, at worst you could break something.
You Can Damage Your Kitchenaid Motor With High Speeds
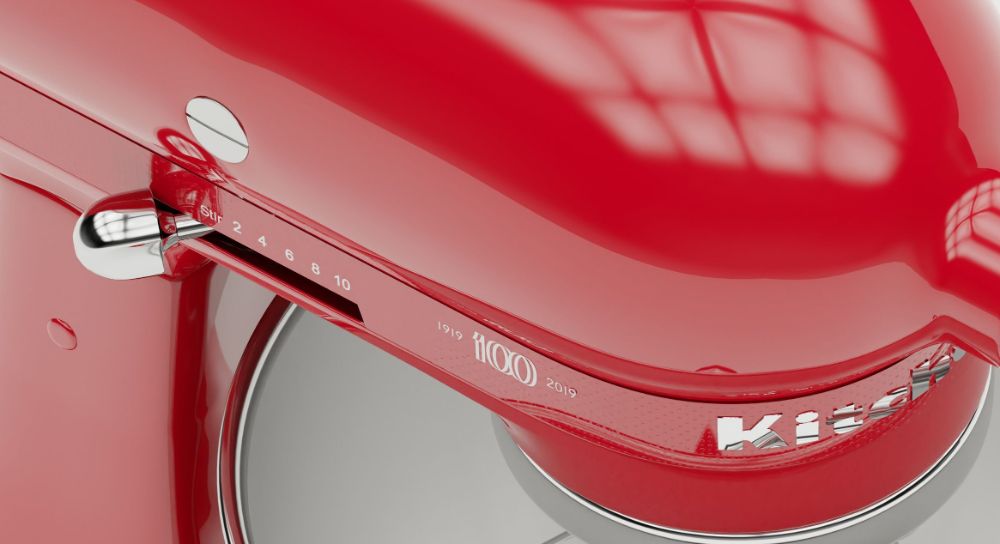
Although most Kitchenaid mixers have 10-speed settings, when performing high-difficulty mixing tasks, such as making ice cream, it’s essential to avoid high speeds.
If you raise the speed of your mixer too high, you risk damaging the attachment arm or laboring the motor and causing it to stop functioning.
Kitchenaid’s are study machines so if I’m completely honest you’re unlikely to damage anything other than the mixing arm by going too fast. It’s best to just stick to the slower spin setting.
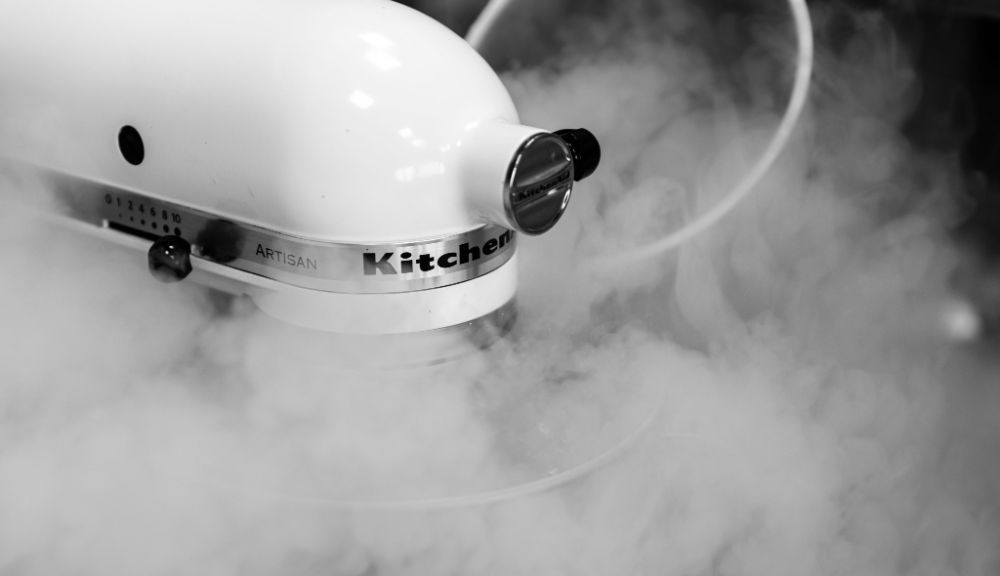
Churn Ice Cream at Stir Speed 1
Throughout the ice cream churning process, you should keep your Kitchenaid mixer set to Stire Speed 1.
While it’s possible to use Speed 2 safely early in the mixing process, the base mixture will quickly become too thick for even that modest speed. The closer you get to the time you need to stop churning the ice cream in your Kitchenaid the slower you want the dasher to be turning.
It’s safest to keep your Kitchenaid set to 1 the entire time you churn ice cream. This is what’s recommended by the Kitchenaid manual, and it’s what you should do to achieve consistent results while protecting your mixer.
You’ll have to continue churning your ice cream for about 15-20 minutes using your mixer.
Learn more about precise churning steps and instructions with this ice cream churning guide.
A Higher Mixer Speed Will NOT Make Ice Cream Faster
You may think that upping the speed on your Kitchenaid will help to make the ice cream faster or churn it quicker, but in practice this isn’t how ice cream is made and it can actually have the opposite effect.
The Kitchenaid makes ice cream by having an extremely cold outer bowl which does the freezing. As the dasher turns in the bowl it scrapes off tiny ice crystals from the walls of the outer bowl.
This is similar to the process used for making nugget ice in an ice maker machine.
If the dasher turns too fast then there isn’t time for these tiny ice crystals to form properly and it can lead to your ice cream not freezing at all.
On too high speeds the dasher can increase friction and as a result increase heat and this can also slow down your ice cream or stop it from setting properly.
There is the rare occassion when your ice cream is freezing TOO FAST and becoming icy. This may call for a higher speed, but a better alternative is to just leave your ice cream base mixture out at room temperature for 20-30 minutes to warm up a little before churning.
Click here for more Kitchenaid ice cream maker tips
You Can Create Base Mixtures at Speed 2
While you should avoid anything over Speed 1 when churning ice cream, most Kitchenaid ice cream base recipes call for higher speeds.
You will often use Speed 2 when making your base mixture (before actually churning the ice cream).
Read through the recipe instructions carefully and try to use an appropriate mixing speed throughout the process.
Carefully Install Your Ice Cream Maker Attachments
Along with running your Kitchenaid mixer at the proper speed, you must install your ice cream maker attachments effectively to protect your mixer and the ice cream maker set.
Begin by attaching your assembly drive adapter beside where your Kitchenaid paddle attachments lock-in.
Use side B for Bowl Lift models and Side A for tilt-head models.
Attach the adapter ring to the bottom of the freezer bowl on tilt-head models, and then carefully install the dasher into the bowl.
Finish the process by locking the bowl in position. Once you install the attachment pieces properly, you’re ready to start making ice cream. If you have issues getting the attachment on check out this troubleshooting guide for the Kitchenaid Ice Cream Maker attachment.
Once you know how to operate your mixer, visit this homemade ice cream guide to learn about common mistakes and how you can avoid them for even better results.