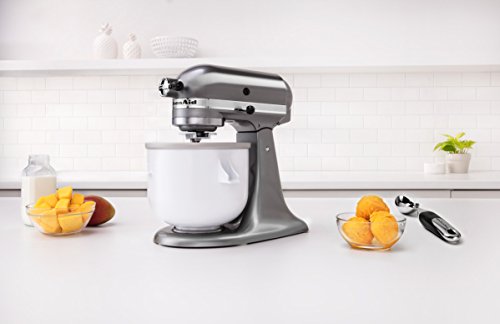
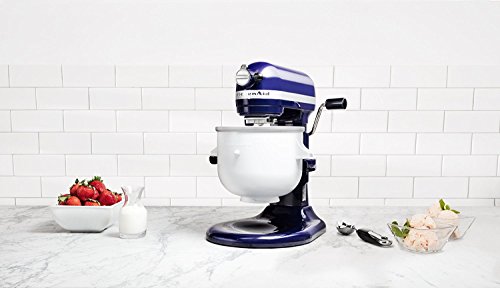
Excited to try out your new Kitchenaid ice cream maker attachment? The Kitchenaid ice cream maker attachment and bowl is a perfect way to make homemade ice cream without having to purchase a dedicated machine.
But unless you do it correctly your ice cream might not turn out quite right. Follow these great tips and tricks so you can get better results from your machine and have delicious soft and fluffy homemade ice cream whenever you want it.
You will be creating the coolest, creamiest batches in no time!
For best results with your Kitchenaid ice cream maker ensure the outer bowl is frozen for 15-24+ hours before use and remember to pre-chill your ice cream mixture before putting it in the kitchenaid. Turn your mixer to a low setting and allow ice cream to churn for 15-20 minutes. For best results place homemade ice cream in the freezer for a further 2-3 hours before serving.
The following helpful tips will ensure that the ice cream you make in your kitchenaid is perfectly smooth and delicious.
1. Completely Freeze The Outer Bowl For 15+ Hours
One of the most important things you can remember when trying to make homemade ice cream in your Kitchenaid mixer is to pre-freeze the outer bowl for a MINIMUM of 15 hours (and ideally longer).
Failure to do this is one of the biggest mistakes people make when making homemade ice cream and it often leads to your ice cream not freezing properly.
The Kitchenaid outer bowl requires a minimum of 15 hours freeze time as it has a much larger bowl than competitor brands (which is great for making more ice cream).
This time in the freezer is needed to bring the outer bowl down to the low 0ºF/-18ºC it needs to be in order to make ice cream effectively. If you don't leave it in long enough it won't become completely cold and your ice cream won't freeze properly and will stay liquid.
If your outer ice cream bowl makes a sloshing noise when shaken then this is a sign that the interior bowl is not frozen properly yet and it needs more time in the freezer.
2. Add The Attachment Correctly
Before you start the churning process you need to make sure you've attached the pieces together correctly. They are a bit different from other attachments so it's important to do it properly or it won't work.
When you’re ready to churn your ice cream, remove the kitchenaid ice cream bowl from the freezer. Lift the head of the stand-mixer then attach the bowl to the base with a twisting motion until it locks into place.
Just a tip… It’s the same motion used to add the bowl!
Then place the dasher into the bowl. You can also place the paddle into the bowl before attaching it if you like.
Then carefully add the assembly attachment to the machine’s motor head, it should slide into place.
Finally bring the head of the stand mixer down so the assembly attachment meets the top of the paddle.
The two will interlock nicely when they are connected properly.
Wallah! Now we can begin.
NOTE: Don't pour your ice cream mixture in before setting up the attachments. This can cause the ice cream to set to the side of the bowl and the entire thing can get stuck.
3. Remember To Pre-Chill Your Ice Cream Mixture
When making ice cream often you need to cook/boil part of it to get the right consistency. However, putting hot or warm ice cream mixture into your kitchenaid ice cream bowl won't work and your ice cream won't freeze.
Even room temperature ice cream mixture might not work. You need to pre-chill the ice cream mixture in the fridge first.
Giving your ice cream mixture an additional chill beforehand will ensure the batch freezes properly and will avoid any sloppy mishaps!
The easiest way to pre-chill your mixture is simply to place it in a bowl and place in the freezer (leave the Kitchenaid outer ice cream bowl in the freezer at this point). Leave for a few hours until it comes down to the temperature of the fridge.
Try and get your base as cold as possible. You want it as close to freezing as you can get it before putting it into the mixer.
4. Only Remove the Bowl From The Freezer When Your Ice Cream Base Is Ready To Be Churned
Your outer ice cream bowl will begin to defrost and warm up immediately after being removed from the freezer, so be mindful of this if you haven't prepared any ingredients yet!
Make sure you have all the ingredients you need for your recipe fully prepared before removing your bowl or it could start to defrost and be too warm for use.
5. Freeze The Dasher With The Outer Ice Cream Bowl

While you don't have to do this throwing the dasher in the freezer with your Kitchenaid ice cream bowl will bring the dasher down to the temperature of your freezer and means it's won't warm up your ice cream mixture at all.
This means less thermal mass in your ice cream and it should set slightly faster and be less likely to stay liquid.
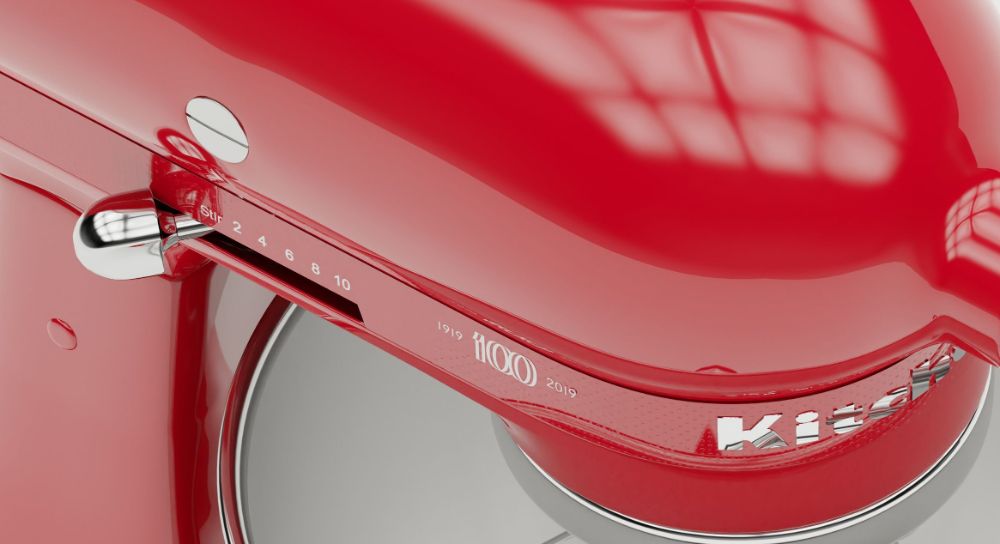
6. Turn Your Kitchenaid Onto A Low Setting
During the churning process your ice cream mixture will freeze to the sides of the outer bowl and the dasher will continually scrape off this frozen ice cream and will continually mix your ice cream giving you that desired fluffy texture.
Turning your Kitchenaid up to a higher setting won't cause the ice cream to make faster and it can actually hinder the process altogether and leave you with ice cream that didn't set properly (or at all).
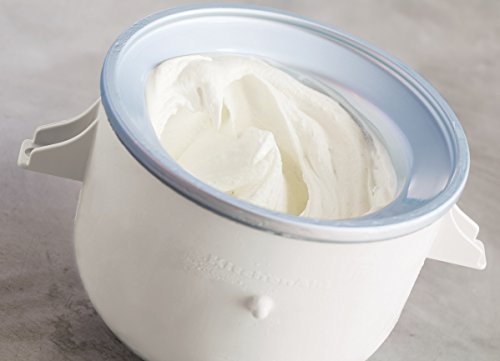
So make sure to follow the instructions and place your kitchenaid on a low setting. You want the Kitchenaid to slowly churn the ice cream for 15-20 minutes until it achieves a softserve like consistency. Learn more about how long to churn your ice cream for and how to know when it's ready.
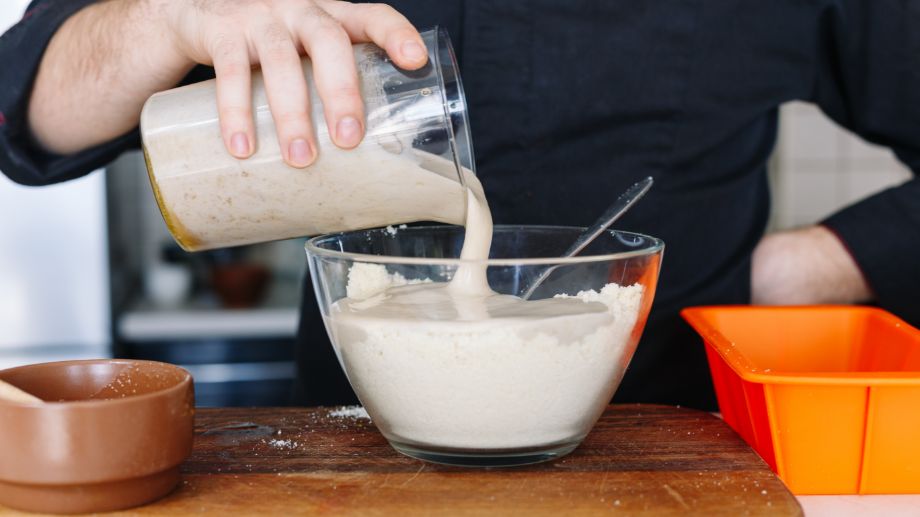
7. Don't Add Your Ice Cream Mixture to Machine When Off
If you pour the ice cream base into the machine without the mixer running it can cause the machine to seize. This is because the base mixture becomes solid before churning and can lock the dasher.
Instead, I recommend setting the mixer to “STIR” speed and then gradually pouring your ice cream batter into the freeze bowl while it's mixing.
Most guides recommend churning for approximately 20 minutes but there are better indicators when considering how long you need to churn your ice cream base. One example is a change in the sound the dasher makes as it stirs.
8. Don’t Add Extras Straight Away
When making ice cream in your Kitchenaid, leave any solid ingredients like fruits, nuts, candies, or chocolate chips until after 12-15 minutes of the churning process.
This is one of many reasons why ice cream doesn't freeze properly. Many people ensure their base is cold but add room temperature ingredients to their ice cream maker.
This is referred to as thermal mass. The more thermal mass you add into your ice cream mixture the longer it will take to churn and the higher the likelihood it won't freeze properly.
So, to be safe, avoid adding these until the end of the churning process when your ice cream is already mostly made.
9. Finely Chop Ingredients
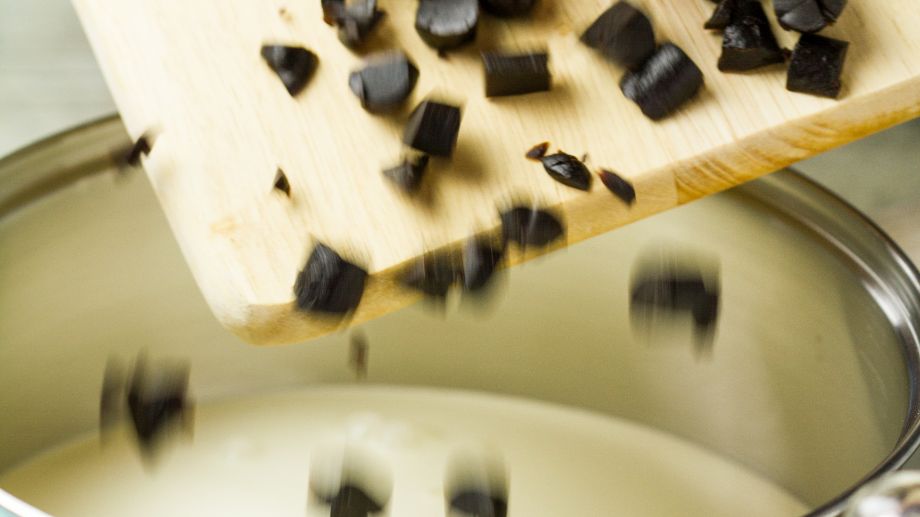
Unless you want rock hard lumps in your ice cream I recommend chopping all solid ingredients to roughly the size of a chocolate chip.
Or you might end up chipping a tooth!
The larger the pieces are the longer they can take to cooler down and this can cause your ice cream to become runny or take longer to freeze.
Pro Tip: If you want to eat your ice cream right after churning try pre-freezing your mix-in ingredients after chopping them. This is a simply way to make ice cream faster and have it ready to eat immediately.
10. Do Not Store Ice Cream in the Freezer Bowl
Do not store ice cream in the freeze bowl in your freezer. Prying hard ice cream out of the bowl with a metal scoop could damage your bowl.
Instead consider storing it in an airtight glass or plastic container covered with plastic wrap. A shallow dish will help to spread out the ice cream helping it to cool down and go solid faster but also makes for easier scooping.
The best way to store homemade ice cream is in a specialty container that are airtight and freezer safe. Sumo and Balci make high quality products that are perfect for storing your home made ice cream.
They are also dishwasher safe, making them super easy to clean.
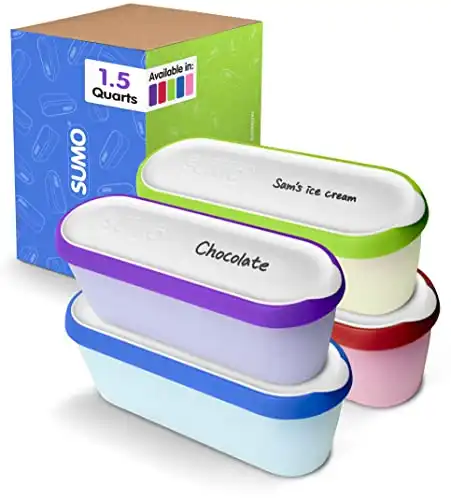
The conveniently stacking ice cream containers are great for homemade ice cream. Their long length makes ice cream easy to scoop and they are insulated with a lid that locks on tight.
These ice cream containers are dishwasher safe for easy cleaning and are backed by a lifetime guarantee.
11. Don't Over Fill
The Kitchenaid has the capacity to make up to 1.9L of ice cream. However, it is best practice to only fill your ice cream maker ¾ full to avoid spillage and to make room for when the ice cream freezes and expands.
Prepare up to 1.4 L of ice cream mixture to add to your machine, this will give you plenty of room.
12. Watch Substitutions
You may substitute double cream for lower fat creams etc but be mindful that this may alter the water content of your batch.
Using lower fat substitutes will alter the water content of your ice cream. Full fat cream is about 59% water whereas skimmed milk can be up to 90%
This makes a big difference to the consistency and texture of your ice cream.
Be prepared to experiment, it could take a while to find the right result.
13. Take Care Of Your Outer Bowl
Do not put the freezer bowl in the freezer if it is wet, ice may form that could damage your bowl or just make the ice cream making process harder .
Wipe your outer bowl totally dry after use before storing in the freezer.
A great way to prevent freezer burn is to wrap the freezer bowl in a plastic bag before freezing. This will keep smells and odors from sticking to the bowl too.
14. Put Your Ice Cream In The Freezer For a Few Hours Before Serving
If you want your ice cream to have a firmer consistency, more like store bought ice cream than soft serve, then place it in the freezer for two hours or so to firm up a bit.
After you churn your ice cream in your Kitchenaid it won't be completely frozen and you'll notice that it'll melt extremely quickly.
Put it in the freezer for a few hours after making it. This will help it set and go completely solid and means it won't freeze as quickly.
15. Have Fun With Recipes
Have fun with it and try different recipes, not just the ones Kitchenaid give you. Some will work better than others and it takes time to get it just right and the way you like it.
There are so many different recipes that you can make with your Kitchenaid ice cream maker.
It is going to take some trial and error before you find the ‘perfect’ recipe, so enjoy experimenting with different flavors and extras until you find something you really enjoy.
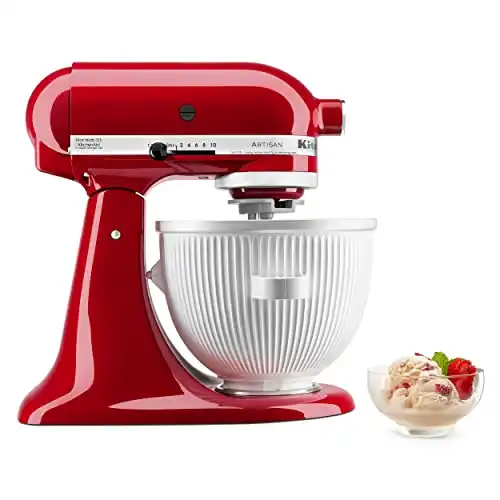
16. Invest In A Spare Outer Bowl To Make More Ice Cream At Once
If you want to make more than one batch of ice cream at a time it's a good idea to invest some money into a second Kitchenaid ice cream bowl.
You generally can't make 2 batches in a single bowl without placing it back in the freezer for that 15 hours it needs to get down to temperature. But with 2 bowls you can make one batch after the other.
If you want to make more than 1.4 Quarts of ice cream the 2nd bowl is a worthy investment. Just make sure to freeze both bowls for at least 15 hours before using them.
Summary
The most important tip is that your outer bowl is properly frozen before you begin the ice cream making process.
Store your DRY outer bowl in the freezer wrapped in plastic wrap or a plastic bag at all times.
This will ensure that you always have the right equipment frozen to the correct temperature and can whip up some ice cream whenever you like! Without having to wait for the bowl to freeze.
Finally, don't put warm ice cream mixture into the machine. Invest in a second larger outer bowl and given your mixture a salted ice bath before adding it the machine. Or refrigerate in for a few hours so it is properly cooled.