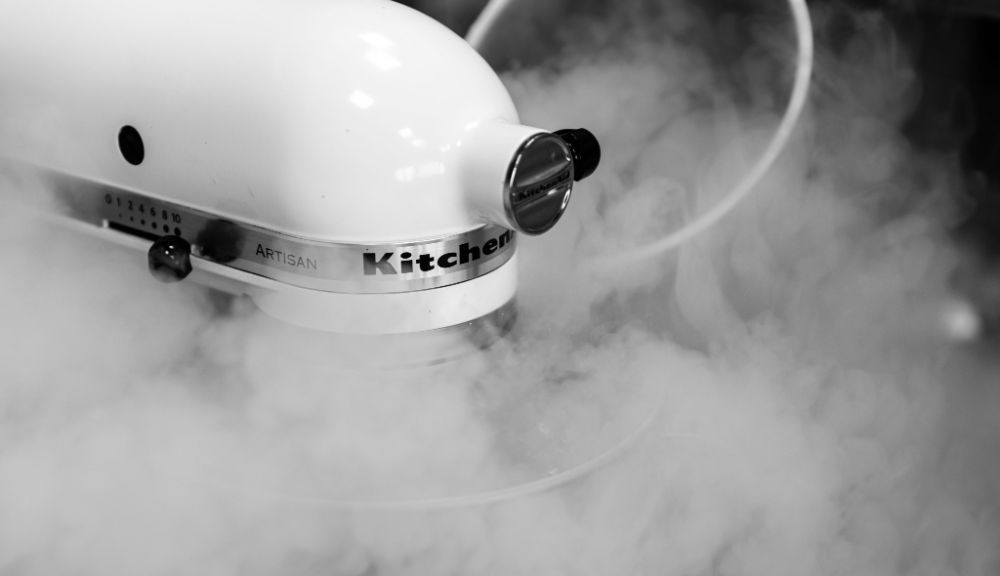
The Kitchenaid Ice Cream Maker attachment is one of my favorites and it's a great way to make delicious homemade ice cream.
As someone who drinks plant based milks I either have to spend and arm and a leg to buy coconut or almond milk ice creams in the store or I have to eat regular milk ice cream (which doesn't sit well with my body).
Whether your ice cream is milk based or plant based one of the most important things when making homemade ice cream in your Kitchenaid is to know exactly how long you should churn it for.
Making homemade ice cream takes practice and while the Kitchenaid ice cream maker attachment gives you a rough guide it's important to learn to nuances of ice cream churning and knowing exactly when to stop churning.
You'll churn ice cream in your Kitchenaid for between 15-20 minutes on average but it's important to check your ice cream after 10 minutes. Listen for a deeper, more labored sound and look for a soft-serve like consistency to know when you should stop churning.
Underchurning or overchurning ice cream gives you the wrong texture. It takes time to learn how to churn ice cream perfectly, though.
There are a few simple tips that will help you churn for the exact right amount of time, everytime.
Creating a Standard 8-Cup Ice Cream Recipe
Standard Kitchenaid ice cream recipes are meant to create 8 cups of finished ice cream. If you follow any Kitchenaid ice cream recipe, you’ll spend between 15 and 20 minutes churning the ice cream on average.
But don't just rely on time alone as it's a poor indicator of exactly when your ice cream is ready and churning needs to stop.
For example, if you lower the recipe size, you’ll spend less time on the churning process and will have to rely on listening to the churning process to determine when you’re close to being done.
There are many factors that impact the total required churning time. You must use that information to help you predict how long you’ll have to churn your ice cream.
Stir for 15-20 Minutes on Average
To create the ice cream, set the maker on STIR speed one and let it run for a minimum of 15 minutes.
However, I always suggest that people check back in at the 10 minute mark and see how their ice cream is doing.
The consistency of the ice cream, as well as the sound your Kitchenaid makes, will change when the ice cream is ready.
It’s important to learn how to tell when the ice cream is finished and ready for chilling.
Once you get close to the 10-15 minute mark, it’s time to begin checking your ice cream to see if it’s ready.
How to Tell When Ice Cream is Ready in Your Kitchenaid
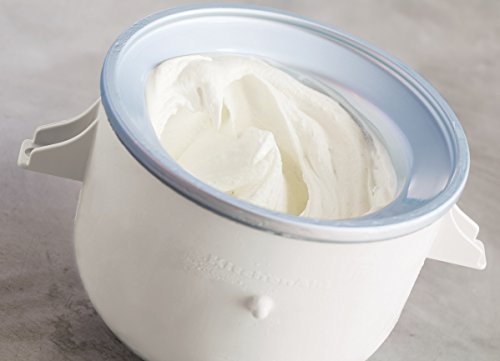
When the ice cream churning process is complete, you’ll notice several changes that take place.
The first is the way the ice cream maker sounds. It goes from a high-pitched whining noise to a lower humming sound at a slower, struggling pace.
The ice cream will also have a different appearance. It should look like fluffy soft-serve. You can also test the consistency by pressing the back of a spoon into the ice cream. If the spoon shape remains when you remove it, the ice cream is ready.
It takes time to learn to spot these signs, but you’ll improve your ability to do so each time you make ice cream. Read more about how to tell when to stop churning in this simple guide.
Factors that Impact Ice Cream Churning Time
Even when you understand how much time to churn ice cream from a specific recipe, you’ll have to learn the process for each subsequent recipe you use.
That’s because there are several external factors that influence how long it takes to churn ice cream.
You must consider how much ice cream you’re making, how warm the equipment is, what ingredients you’re using, and the temperature of your kitchen when you mix ice cream.
Ice Cream Quantity
When you make less than 8 cups of ice cream, you’ll spend less than 15-20 minutes churning it.
When you make more ice cream, you’ll spend more time on the churning process.
One of the biggest mistakes newbies make is trying to make too much ice cream. It can be tempting to overfill your Kitchenaid machines to make more ice cream at once but this often leads to a longer churn time and sometimes your homemade ice cream won't even freeze.
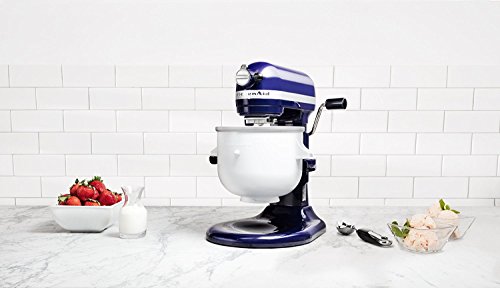
Equipment Temperatures
The temperature of the ice cream bowl you use, the paddle mixers, the measuring cups, and everything else can influence how long the mixing process takes.
Freeze the bowl for at least 15 hours before you use it, and try to keep all your ingredients chilled beforehand as well.
The equipment you use impacts how long it takes to churn ice cream as well. Click here for my best Kitchenaid Ice Cream Maker tips where I go over exactly how to prepare your ice cream and your machine for the best results.
The Kitchenaid ice cream maker is highly reliable and fast, but if you decide to make ice cream without a maker, you’ll have to rely on a different process.
If you’re interested, learn how you can produce ice cream using salt without a specialty machine to take you through the process.
Selected Ingredients
The type of cream used changes how long the process takes. You’ll get creamy results sooner when using full-fat milk or heavy cream.
You’ll have churn for longer and rely on stabilizers and additives for thick ice cream when using skim milk, almond milk, and other low-fat options.
Kitchen Temperature
Even the temperature of your kitchen will change how long the churning process takes.
A hot kitchen will slow down the process, while a chilly kitchen can speed things up.
Keep this in mind if you’re creating ice cream during the heat of summer.