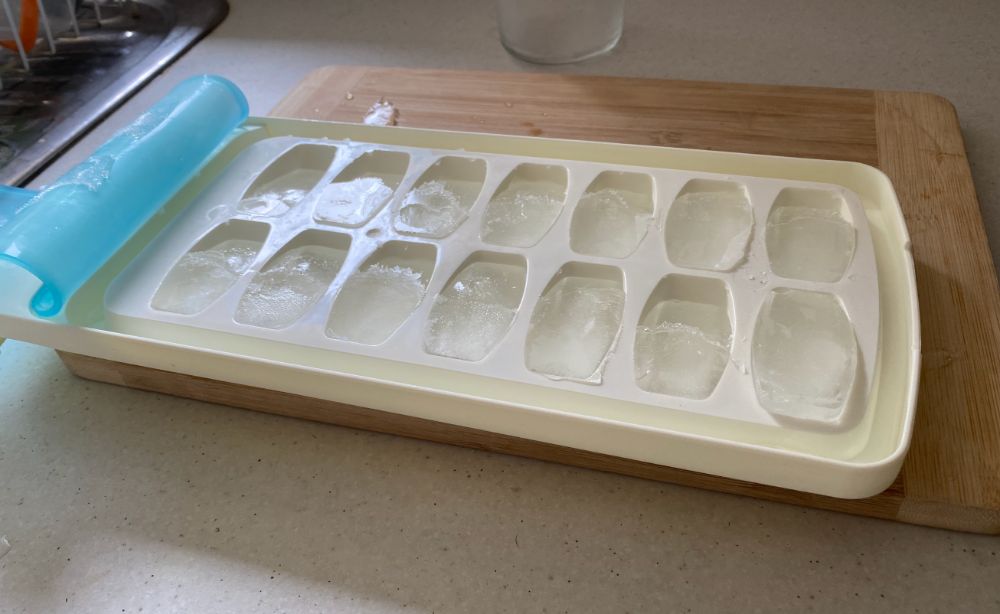
Sometimes your ice cubes will pop out of their trays smooth and butter and other times they’ll be extremely difficult to get out and can often crack one the way out creating small shards of ice that go everywhere.
What if there were a few ways to stop these cubes from gluing themselves into the tray?
You’d think making ice would be set-and-forget simple but there are actually a fair few factors that affect whether or not your ice will stick in the tray or slide out easily.
Plus there are a variety of different techniques you can use to make sure your ice comes out easily every single time.
There are pros and cons to each of the methods here and which one you prefer will depend on your preferences.
Some of the methods are very simple but there are some small details to understand first, and you might find yourself having to use more than one of the methods listed here.
Why Does Ice Get Stuck In The Trays In The First Place?
You may be aware of the fact that water expands as it freezes. This expansion can exert massive forces on the outside of your ice cube tray.
When ice cubes freeze the outside of the cube freezes first, creating a shell around the remaining water inside.
As that leftover liquid freezer, it expands and forces its way out.
It’ll either break the outer ice shell creating a sort of ice volcano that will then refreeze larger than before or it’ll push the ice shell outwards – putting pressure (and friction) on the walls of the ice cube tray.
When ice freezes from the top down this sideways expansion happens less as the ice cube can be forced upwards out of the tray as it freezes. But if the ice freezes from all directions (or from the bottom up) then this sidewards expansion happens more and ice cubes are more likely to get stuck in the tray.
1. Use A Light Spray Of Vegetable Oil
A simple and easy way to make sure ice cubes come out of the tray every single time without fail is to put a light spray of vegetable oil on your tray before pouring in the ice.
The reason the ice gets stuck is the outwards force (as the ice expands) creates friction on the sides of the ice cube tray which is difficult to overcome. The vegetable oil lowers this friction allowing ice cubes to slide out easily.
A small coating of vegetable oil on your ice cube tray before you fill it up with water can provide a layer of lubrication that can prevent the ice cubes from sticking.
The only issue with this method is that it can be a bit of a pain to keep reapplying vegetable oil to your trays every time you use them, and the vegetable oil might make your ice cubes taste funny.
On the other hand, some vegetable oils, like sunflower oil, have very little flavor and might not have much of an effect at all. Just don’t use a lot of oil, a very small amount is enough.
2. Wash The Trays Before Each Use
Handwashing with soap will clear away any leftover ice crystals from the bottom of the tray as well as help remove dissolved minerals which can form a white residue on your ice cube trays.
These leftover crystals and layers of ice can be what causes the crystals to fuse to the tray.
Not to mention, it is hygienic to wash your trays as often as possible. Ice can actual absorb flavors, smells and even bacteria from your fridge and freezer and this can get stuck to the ice cube tray itself.
Regular washes can cut down on the spread of bacteria that also ends up on those ice cubes.
3. Get Easy Release (Or Metal) Ice Cube Trays
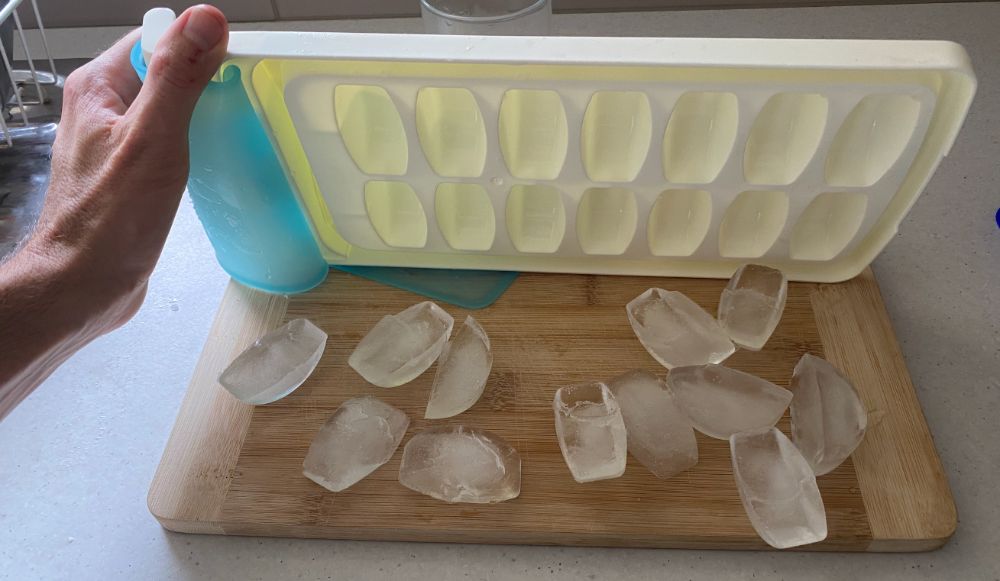
Not all ice cube trays are created equal. Some trays are designed to be easy release where the ice cubes just fall out or come out really easily.
For example, the OXO Goodgrips ice cube tray is designed in such a way that when you tip it upside down the ice cubes tend to fall out without you needing to do anything.
Metal ice cube trays on the other hand used a moving metal arm to break up the ice and this makes the ice cubes easy to access. See the full list of the best metal ice cube trays.
There are also a full range of great easy release ice cube trays and each works in a different way to get the ice cubes out easily.
One of the best easy release ice cube trays is the simple, cheap and efficient Rubbermaid Ice Cube Tray. It’s a basic ice cube tray you can get for a couple of dollars but it works great and I never have issues with the ice cubes sticking.
4. Don’t Overfill Your Trays
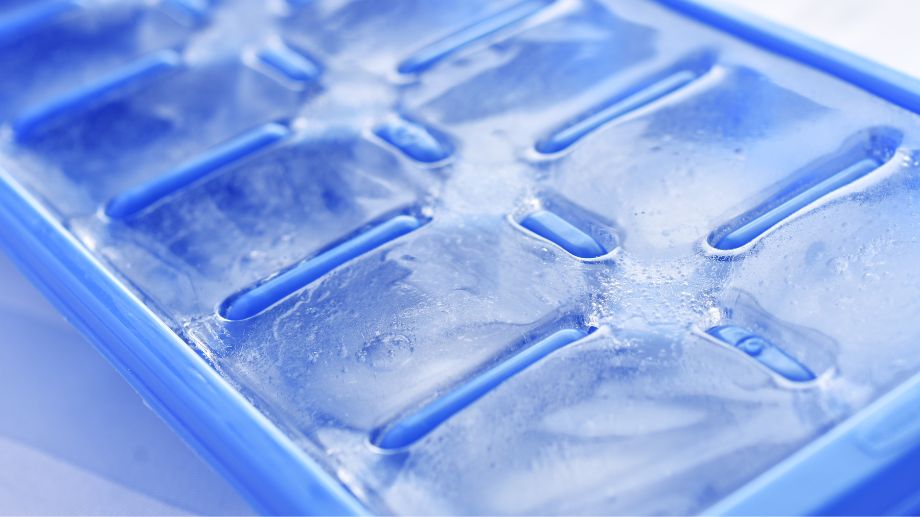
When you overfill your ice cube trays the ice cubes tend to all merge together at the top, giving you one giant ice cube that is difficult to get out.
Also the more water you use the less room is left for the ice to expand into, increasing the chances that your ice cubes will expand sideways into the walls of your ice cube trays and get stuck.
Try to only fill up your ice cube trays 2/3 or 3/4 full.
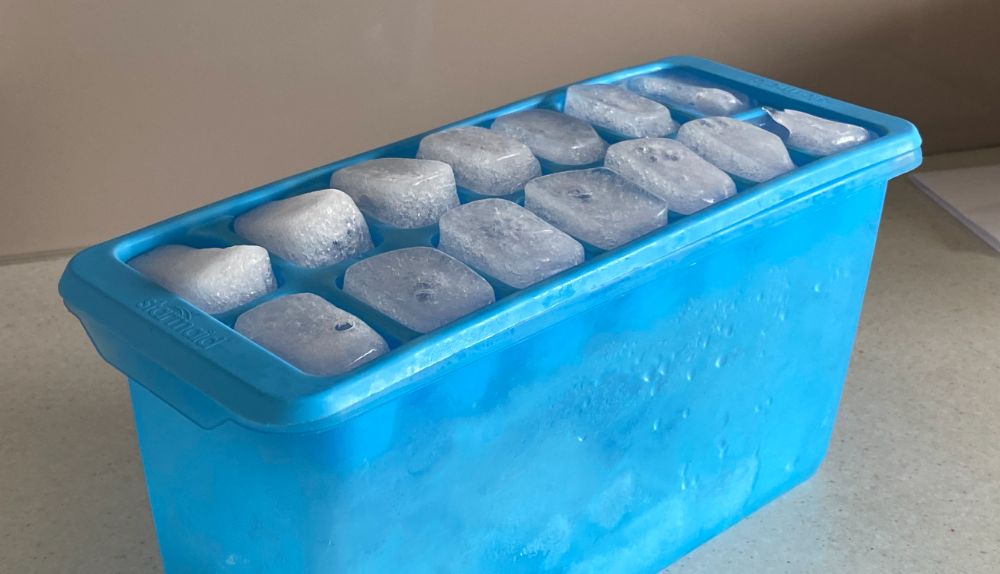
5. Stack Ice Cube Trays Side By Side (Don’t Put Anything On Top Of Your Trays)
While stackable ice cube trays are a great way to save space in your freezer they do often lead to the ice cubes in the bottom ice cube tray getting stuck in the tray, while the ice cubes in the top tray come out fine.
This is because when you stack ice cubes trays on top of one another the tray on the top insulates the tray on the bottom from the cold air in the freezer.
So rather than the ice cubes freezing from the top down (allowing for the top to expand upwards as it freezes) it tends to freeze from all sides equally.
This causes outward expansion of the ice cubes and means they are more likely to get stuck in your tray, but also they are more likely to crack and break into shards when it does come time to get them out of the tray.
There is a great explanation for this over at StackExchange.
Stacking ice cube trays on top of each other seems like common sense. It saves space in the freezer and judging by the shape of most trays, you’d think they’re designed that way.
However, they’re best stored side by side – because when you stack ice cube trays on top of one another, cold air from the freezer can’t get in between the trays.
This cold air causes the ice cubes in the bottom tray to freeze from the bottom to the top. Water expands when it freezes, which means the ice cubes at the bottom will stick and cause all of the ice cubes in both trays to stick.
OddJobx talks about this technique on Reddit:
Try this experiment. Place two trays next to each other on a shelf. The ice will pop out of both trays just fine. For the next batch place the trays on top of each other. The top tray’s ice will come out just fine while the bottom tray’s ice will stick and crumble.
I’m pretty sure it has to do with how quickly and evenly the water freezes.
TLDR: Put your ice cube trays next to each other, not on top of each other while freezing for perfect ice.
6. Let Your Trays Warm Up To Room Temperature Before Filling
One interesting technique is to let your ice cube trays come back up to room temperature before refilling them and placing them back in the freezer.
Alternatively you can warm up the trays by washing them under warm water but then allow time for the heat to disperse evenly through the tray.
I don’t know how this techniques stops ice cubes getting stuck in the tray but according to this Reddit thread it works.
Had this same problem and I figured it out. Let the ice cube trays come to room temperature before refilling them. Then fill them and throw them in the freezer. Don’t try to be smart and run them under hot water to rush the job. there will be cold spots in those trays and then you get ice crumbles instead of cubes. Just let those trays come to room temperature.
7. Add A Tiny Bit Of Salt To Your Water

If you’re making extra large ice cubes (usually in silicone molds) these can be extremely difficult to get out of the molds and they can often become stuck.
By adding a tiny bit of salt to large quantities of water you won’t taste the extra salt but it will make getting the ice out a lot easier.
Use approximately 1 gram of salt (1/6 of a teaspoon) per liter (32 oz) of water.
Salt lowers the melting temperature of water and maybe this has something to do with the ice cubes being easier to get out but I’m not quite sure. Just be careful you don’t use too much salt or it’ll make your ice taste funny.
Bgratz1977 has this recommendation they shared on Reddit:
Ice Cubes stick in ice cube tray. Simple Sollution, around 1g Salt (probably less, around 1/6 of a average tea spoon) in a Liter of water and they will no longer stick.
Had this issue after i moved from Near Köln to near Siegen. Suddenly my Ice cubes sticked so hard in the “mold” that i had real issues to get them out. Even this small amount of salt (you really cant taste it) make them easy to remove.
8. Boil Your Water First (It Removes Dissolved Gases)
First let me de-bunk a myth. No boiling water doesn’t make ice completely clear. However, it does make your ice slightly clearer and it can also help stop your ice sticking in your ice cube trays.
The reason this works is that regular water has a bunch of dissolved gases (such as nitrogen from the air) inside the water.
As ice freezes it pushes out these gases and this forms bubbles in your ice which leads to increased expansion.
By pre-boiling your water many of these gases are released from the water, making your water more pure.
Now when you freeze your ice cubes there won’t be as many gases causing bubbles and excess expansion and your ice cubes will slide out easier.
NOTE: I don’t recommend putting boiling water into plastic ice cube trays because of potential chemical leeching. The best ice cube tray materials for boiling water is either stainless steel or silicone.
I personally use stainless steel ice cube trays and love them.
9. Turn Your Freezer Up To a Higher Temperature
Sometimes you need to freeze a lot of ice quickly and in these circumstances you want to turn down your freezer so it’s as cold as possible.
However, the faster ice cubes freeze the less evenly they tend freeze and the more likely they are to expand excessively in some areas – causing them to get stuck in your tray.
By turning your freezer up to a warmer temperature your ice cubes will freeze slower, but they’ll freeze more evenly and have time to expand out of your ice cube tray. This means they are less likely to stick.
10. Use Soft Silicone Ice Cube Trays

While plastic and metal trays are usually the easiest to get ice cubes out of silicone trays can be very good for removing ice cubes individually.
Because the silicone is so flexible you can manually push the bottoms of your ice cubes to get them out of the tray.
Silicone ice cube trays are much better for the environment and are more eco-friendly ice cube trays.
Silicone trays are also much more durable, they don’t crack or break as easily as plastic and they’ll last much longer.
However, there’s a bit of a downside – silicone trays tend to absorb flavors, which means that the trays themselves are small and sometimes can make the ice cubes taste a bit funny.
I personally use silicone nugget ice cube trays (at Amazon) to make small nuggets of ice that the kids absolutely love.
11. Don’t Use Old Trays
If you’ve had your ice cube trays for a long time that might be what’s causing your ice to get stuck.
Old trays tend to have scratches, indent, cracks and micro-fissures in the plastic that the water can get stuck in making it harder for the ice cubes to come out.
If you invest in some new trays I suggest getting some easy release ice cube trays.
12. Heat The Bottom Of Your Tray Slightly
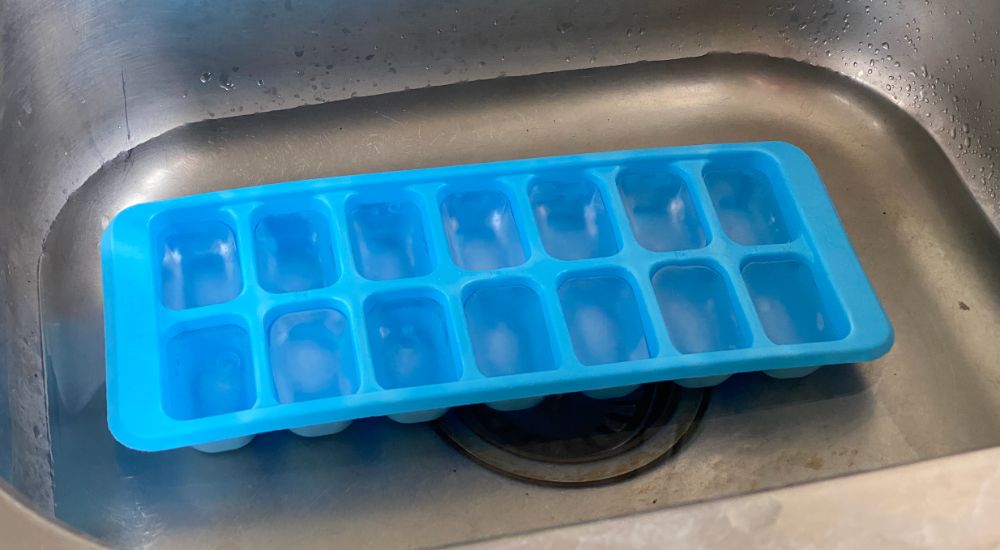
The ice makers in your freezer use heat to melt the bottoms of the ice cubes slightly so they can slide out easily.
You can use the same idea with your ice cube trays and this can make getting ice out super easy.
Fill up your sink about 2/3 as deep as your ice cube tray with warm or hot water.
You don’t want it too deep as you only want the water to touch the bottom of the ice cube tray, not spill over the top.
Place your ice cube tray in the water in the sink for 30-60 seconds (or even less if the water is hot).
You ice cubes will now be easy to remove.
Store Your Ice Cubes In A Paper Bag
If you’ve pre-made a bunch of ice cubes and don’t want them sticking together then storing your ice cubes in a paper bag can be one of the best ways to store ice cubes in your freezer.
The paper will naturally absorb water and stop your ice cubes from sticking together. You can also use old silica gel packets and throw them in with the ice cubes for an even better result.
Simply keep putting freshly made ice cubes into this paper bag – the ice cubes won’t fuse because the paper absorbs any excess moisture.
This is an old-school solution that works every time – but it’s important not to use a plastic bag – the ice cubes will fuse otherwise and you’ll just end up with huge lumps of ice that you need to break up.