While coolers are designed to insulate and keep ice from melting a lot of the cheaper coolers out there don’t have insulation in the lid.
The lid is just an empty piece of plastic with air inside and this lets a lot of heat through causing your ice to melt faster.
You can use spray foam insulation to easily and cheaply insulate the lid of your cooler and allow you cooler to hold ice longer than it would otherwise.
In this article I’ll walk to step by step through how to create cooler lid insulation from spray foam. I’ll also highlight some of the key mistakes you want to avoid so you get the best result and the longest last ice.
Check If Your Cooler Lid is Empty
Before you go out and buy some spray foam insulation you’ll want to check whether or not the lid of your cooler is hollow.
There are multiple ways to do this which I outlined in my article on why are cooler lids hollow but the simplest methods are:
- Tap on the lid and compare the sound it makes to the sounds to walls of your cooler make. If there’s a hollow sound chances are it’s empty
- Compress the lid with your hands or feet, it if compresses easily it’s likely empty
- Take the cooler lid into a dark room and shine a torch through it. If light shines through easily this means then is no insulation
Make Sure You Get The Right Spray Foam
Before you go ahead and fill up your cooler lid with spray foam insulation you’ll want to make sure you get the right spray foam for the job.
There are lots of different types of spray foam out there and most of them are designed for filling gaps in walls and aren’t designed for insulating cooler lids.
If you pick the wrong spray foam insulation you can actually make you cooler perform WORSE than it would otherwise. The density of the spray foam may allow heat to move through it more easily, melting your ice faster.
This is likely what has happened in the below video:
When choose your spray foam you want to try and get a closed cell polyurethane foam spray.
The most important aspect of it is the “closed cell” part. Closed cell means the foam creates tiny contained bubbles of air and air can’t flow through the foam.

Open cell allows air to flow through the foam and isn’t as good at insulating.
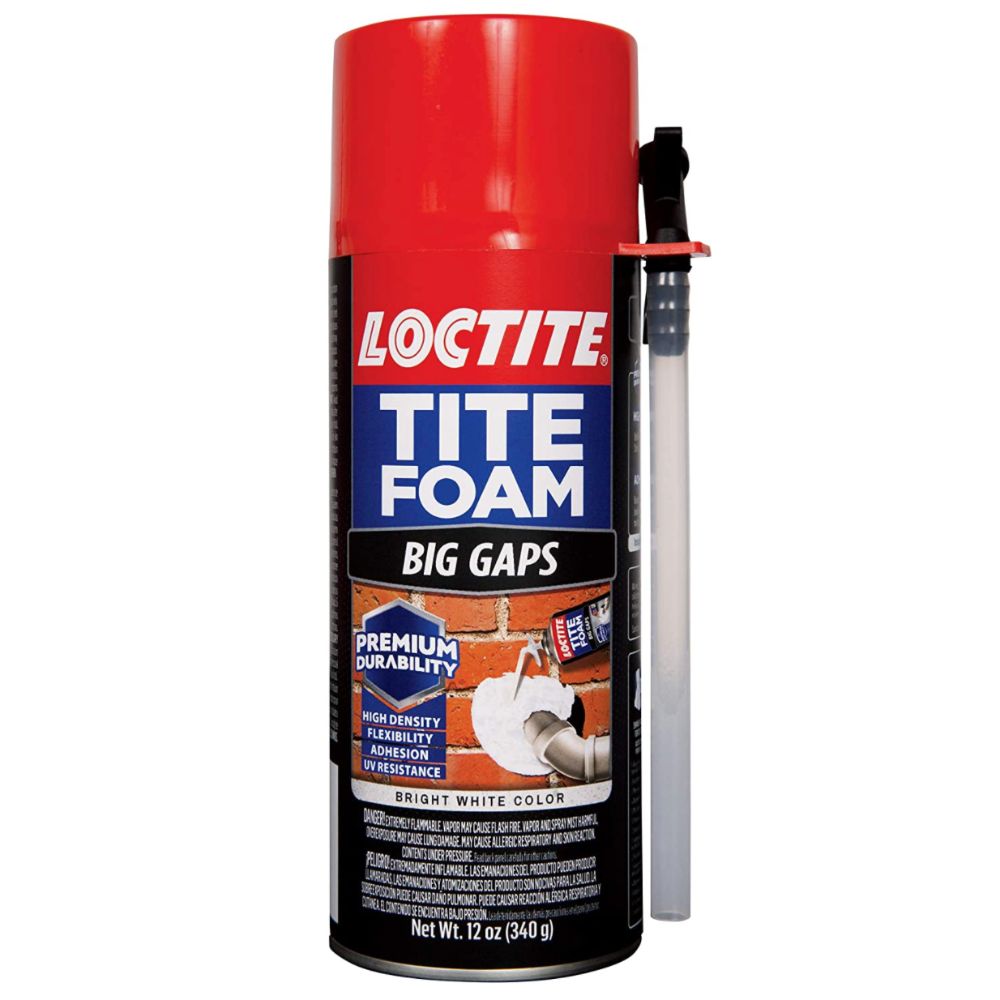
It’s actually quite difficult to work out which foams do which online but from what I can work out one of the better options is the Loctite Big Gaps spray foam.
See the latest price of Loctite Big Gaps Spray Foam at Amazon
Take Your Cooler Lid Off To Make This Easier
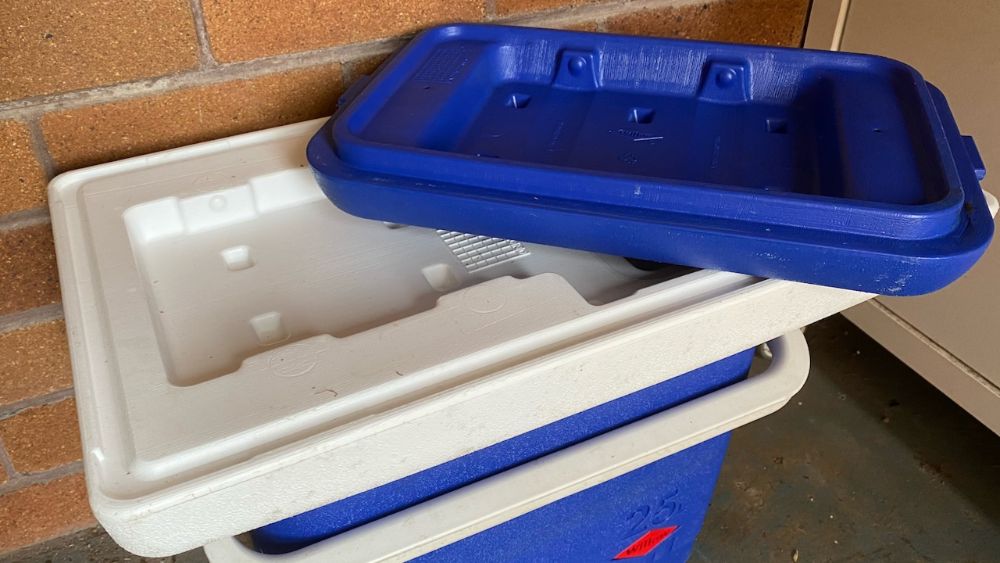
Once you’ve got your spray foam and you’re ready to begin with your spray foam cooler insulation then you might want to remove the lid of your cooler.
Some coolers have lids that are removable anyway so this process is simple while other coolers have the lids connected via a hinge.
These hinges are usually just screwed in and you can simply unscrew them to remove the lid and screw them back on when you’re done.
You can do this process without removing the lid if you prefer. To do this lie the cooler down on it’s back so the lid stays open.
1. Drill a Couple of Holes In Your Cooler Lid
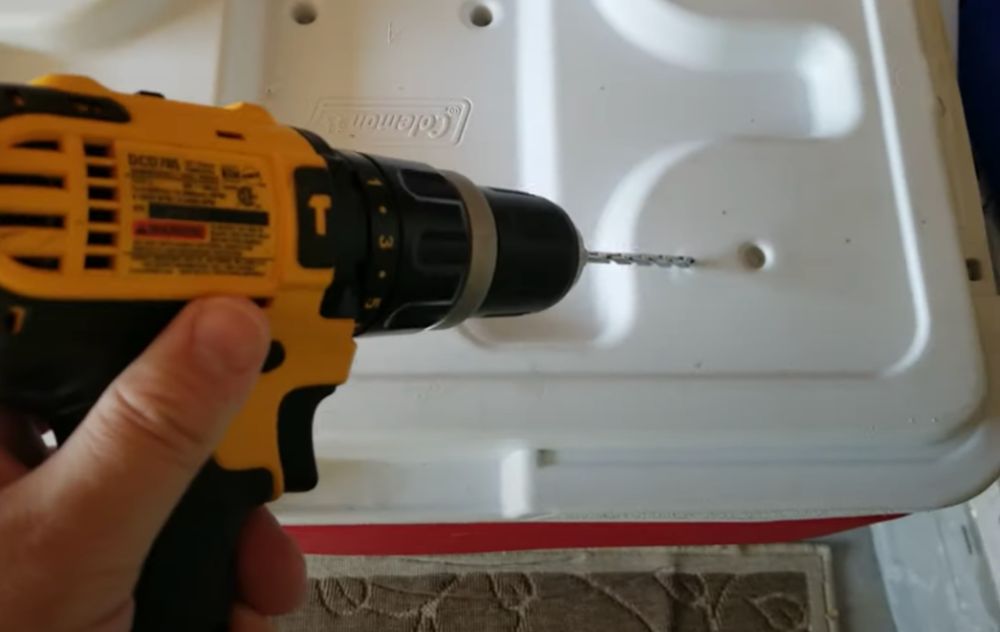
Drill a couple of holes into the lid of your cooler focusing on getting holes in the largest cavities of the cooler lid.
Remember the spray foam will expand a lot as you spray it in so you don’t need thousands of holes. A few well placed holes should do the trick.
Make sure that you use a drill piece slightly wider than the spray foam applicator nozzle. This will allow you to get the nozzle inside the cooler lid and apply foam all around.
2. Spray Foam Into The Lid of Your Cooler Using Applicator
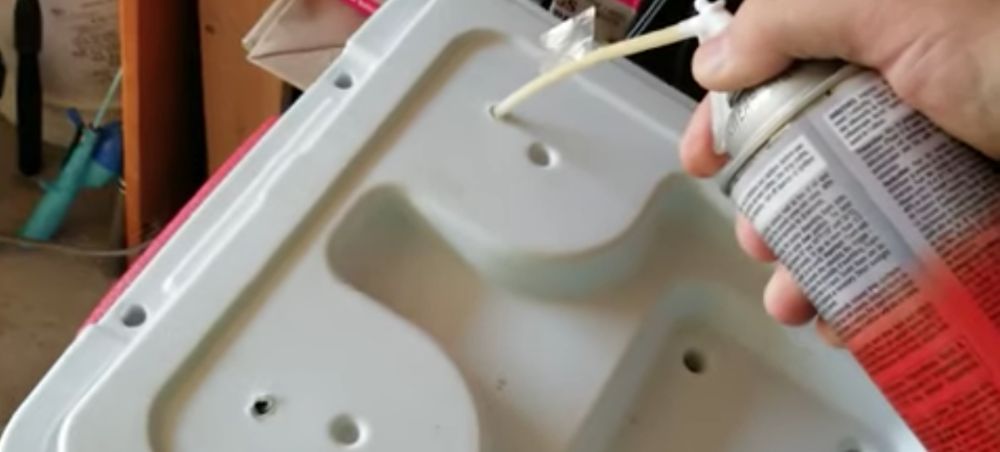
Before spraying the foam make sure you follow all instructions on the can and you shake the can well.
Place the applicator nozzle inside the holes you have made and spray the foam out.
It can be difficult to know how much foam to put in but remember that this stuff expands A LOT.
If you put too much in a lot of it will come out of the holes, plus too much foam isn’t necessarily ideal.
Too much foam will compress and minimize the air bubbles (which is what is actually doing the insulation).
So put enough spray foam in that it fills up the lid but not so much that it ruins the insulation.
3. Allow Foam To Expand and Dry

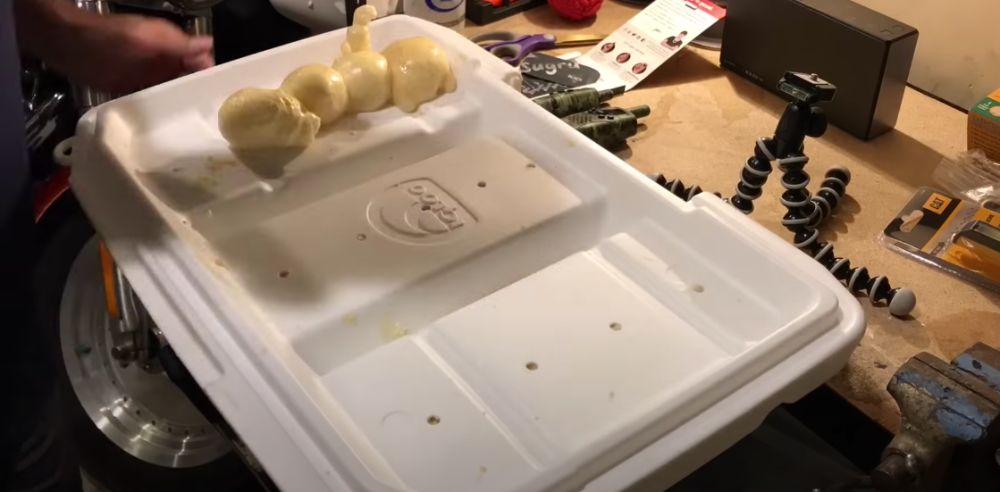
As the foam expands inside the lid of your cooler it’s going to push its way out of the drill holes you have made and form mounds.
You can try wiping this away when it’s wet but you’re likely just going to make a big mess and if this stuff gets anywhere it doesn’t come off.
It’ll stick to your hands and ruin your clothes so be careful!
A better option is to just let it expand out of the holes and then leave it all to dry.
You want to allow anywhere from 24-72 hours for this stuff to completely dry and set. It depends on the brand you’re using and how big the lid is.
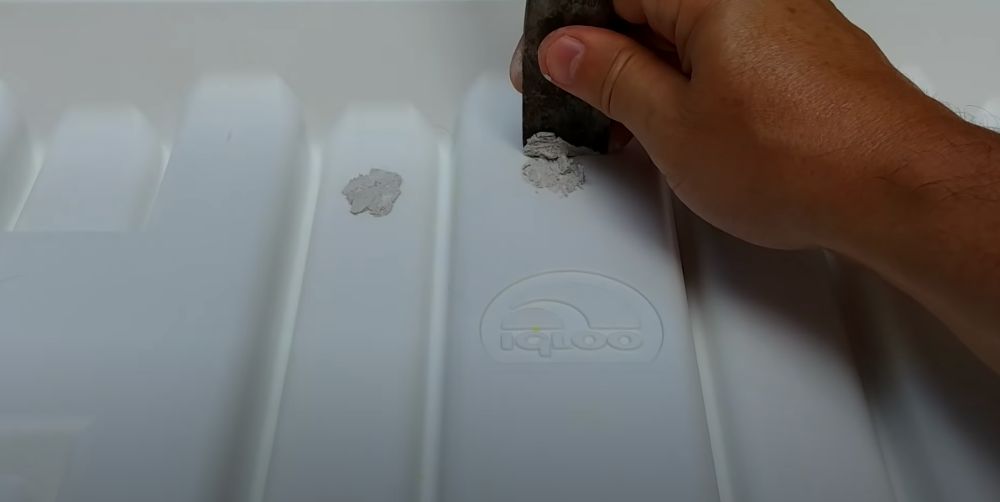
4. Break Off and Scrape Away Excess Foam
Once completely dry go ahead and break off the foam that has spilled out the holes of your cooler.
Most of it you’ll be able to get off using just your hands but otherwise a knife or a metal barbecue brush or even some steel wool will do the trick to remove any remaining residue.
5. Seal Off Gaps With Silicone or Hot Glue
Lastly you want to seal up all the holes you have drilled in your cooler lid with silicone, hot glue or some other type of sealant.
You don’t want to leave these holes open because if you do water can get inside and fill up your lid.
This will ruin the insulating properties of the foam and it will also allow mold and other nasty things to grow more easily.
6. Put Your Lid Back On
Now that your cooler lid is full of spray foam insulation you can put it back on your cooler and you’re good to go.
If your cooler lid was screwed onto hinges in the first place then simply screw them back on otherwise just pop your lid back on.
Watch A Video Tutorial
Pre-Chill Your Cooler For Best Results
Now that you’ve added spray foam insulation to your cooler it is going to absorb more thermal mass when not in use.
When you’re not using your cooler and leaving it in a warm garage or in the back of your car the insulation will absorb a lot of heat.
If you put ice into a warm cooler that you haven’t pre-chilled the ice will melt extremely quickly.
Free chilling your cooler is extremely simple and I did a full article on exactly how to pre-chill a cooler for all the details.
But basically you want to put in a sacrificial bag of ice or some frozen water bottles and leave them in your cooler the night before to bring the temperature of the insulation down.
Take out the sacrificial bag of ice or water bottles the next day and load up your cooler as you normally would.
Try These Techniques To Add Extra Insulation To Your Cooler Lid
If you want to go above and beyond in adding insulation to your cooler lid then there are a few extra things you can do.
These techniques will help your cooler hold ice longer than if you just filled the lid with spray foam insulation.
Glue on Some Styrofoam Board

Lots of cheaper cooler lids are indented on the inside giving you space to add some Styrofoam board.
Simply cut the Styrofoam board to size and glue onto the lid of your cooler with superglue, liquid nails or some other form of adhesive.
Glue on Some Reflectix
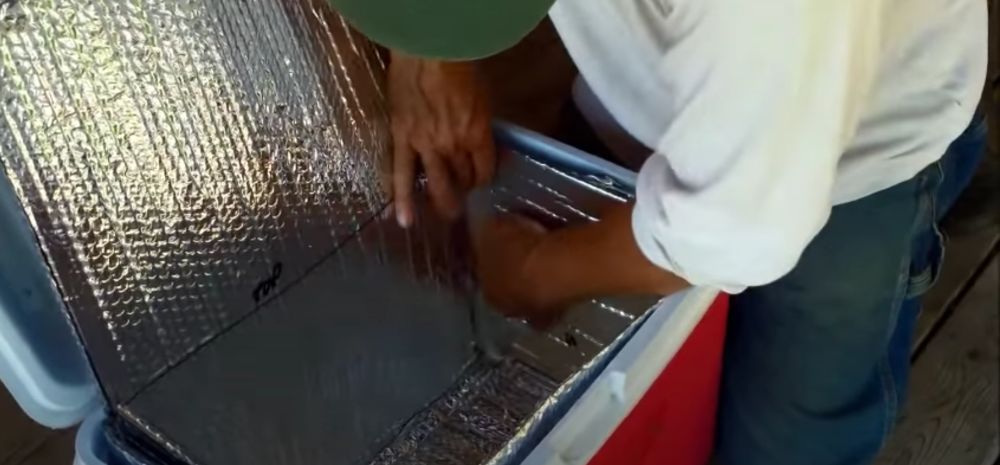
Instead of gluing on Styrofoam board you can glue on double sided bubble foil insulation.
This is great at reflecting thermal heat radiation especially if your cooler is in direct sunlight.
It contains a reflecting side (usually of aluminum) that reflects heat radiation from the sun, helping to keep your cooler colder, as well as bubble wrap that acts as extra insulation. You can get a small roll of Reflectix for cheap here at Amazon.
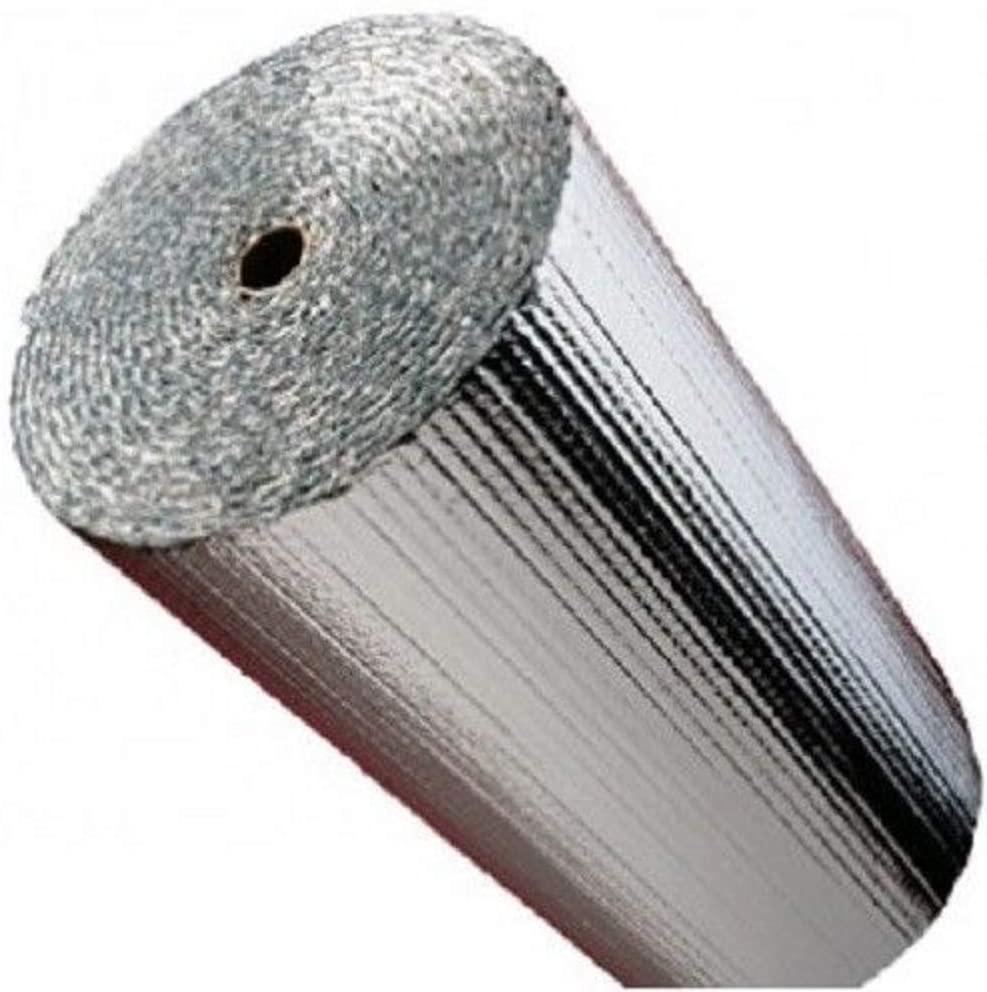
Make a Reflectix Cooler Cover
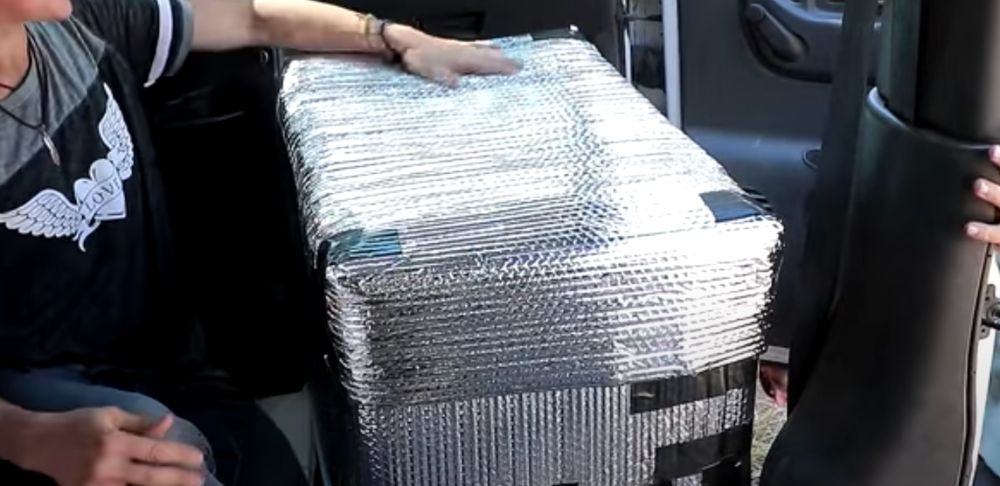
Rather than placing extra insulation on the inside of your cooler another way to insulate your cooler and keep us longer is to make a reflectix cooler cover.
These are especially good if your cooler is going to be in direct sunlight as it will reflect away a lot of the suns heat radiation.
To make this simply get a roll of reflectix foil insulation and ideally foil tape (I find the ProShade reflective tape at Amazon both effective and affordable). Place around your cooler and cut to size making sure it can slide on and off your cooler easily.
Then make a top for your cooler cover and stick it all together with tape.
You can then cut the top so you can still open the lid of your cooler even when the cooler cover is on.
Create an Extra Inner Lid With Reflectix or Foam

Rather than gluing some thing onto the lid of your cooler you can use a loose piece of foam or reflectix and layer it on top of the contents of your cooler.
This will provide an insulating barrier and will stop as much warm air getting into your ice and melting it.
This is a really simple, cheap and effective way to keep ice longer in your cooler.
The great thing about this is that as your cooler becomes more empty the foam or reflectix can move down with your contents providing that consistent barrier and protection from warm air.