Did you know you can improve how long your cooler will hold ice for by insulating the lid?
Most cheaper coolers come with a lid that is completely hollow and has no insulation in it at all.
Companies make cooler lids hollow as a way to make the cooler more lightweight and save money. But these hollow lids allow in a lot of heat and that makes your ice melt faster.
But how do you insulate your cooler lid? Well, it’s actually pretty easy.
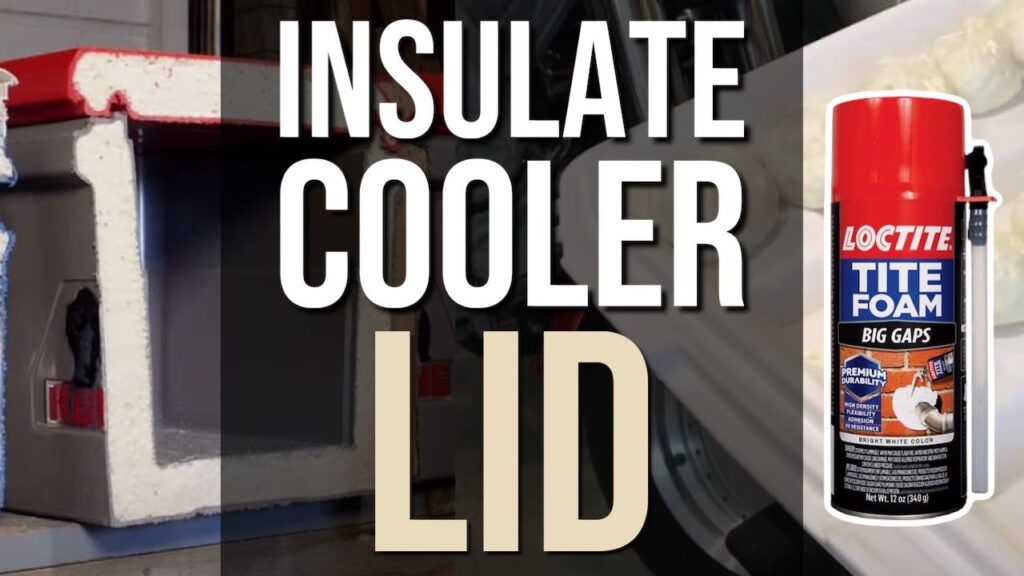
To insulate a cooler lid drill a couple of holes and fill up the lid with closed cell spray foam insulation. Once dry remove any excess foam and seal holes with silicone. Alternatively, use styrofoam board or reflective insulation on the inside of your cooler lid to keep your cooler cold for longer.
Should You Insulate Your Cooler Lid In The First Place?

Should you insulate your cooler lid? Should you go to the expense and effort of adding insulation to the lid of your cooler?
Does it actually work and does it increase how long your cooler can hold ice for?
The answer is… It depends
A well insulated cooler lid will help your cooler hold ice for 0.5-1 day longer than a cooler with a hollow lid.
However, if you use the wrong type of spray foam or don’t do it properly it can actually lead to a DECREASE in how long your cooler holds ice for.
The below video is an example of someone who didn’t do it correctly and the insulated cooler lid performed worse than the standard cooler with a hollow lid.
So you want to make sure you get it right and do it properly otherwise it’s not worth doing at all.
Combining multiple different ways of insulating your cooler lid as well as these 10 ways to add insulation to your cooler can give you overall performance close to that of a Yeti, but with nowhere near the cost.
1. Spray Foam Insulation
The most common way to add insulation to your cooler lid is through the use of spray foam insulation.
Can you drill some holes in your cooler lid, fill it up with spray foam and as the foam expands it fills all the cavities in the lid.
Make Sure You Get The Right Foam
If you’re going to fill up your lid with spray foam insulation you want to make sure that you get the right type of foam.
Not all spray foam’s are created equal and in fact, most spray foam’s are used to fill gaps not to insulate coolers.
If you pick the wrong type of spray foam insulation and you’ll actually make your cooler work worse.
You want to aim for a spray foam that is closed cell polyurethane foam.
The “closed cell” is the most important part. This means that individual bubbles of air form in the foam that aren’t connected to each other. As the air can’t flow, heat also struggles to flow through the foam.
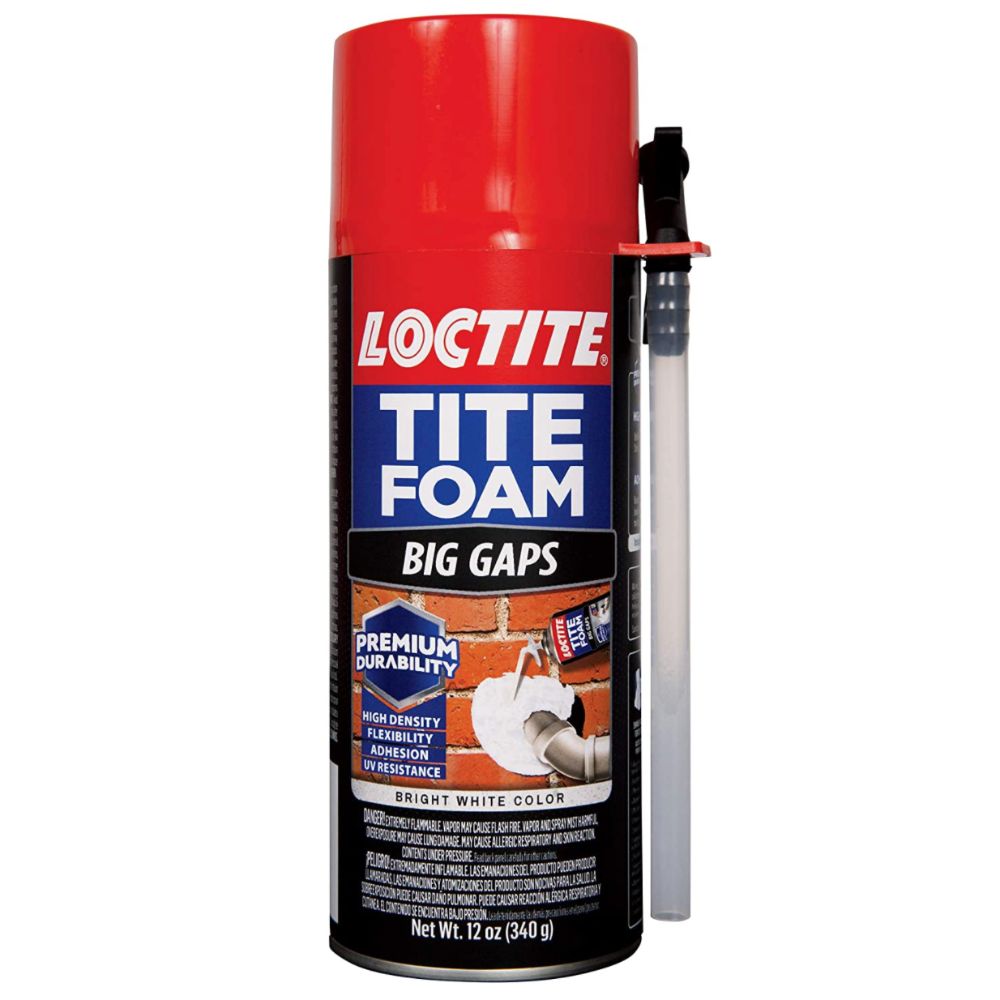
Closed cell foam works A LOT better than open cell foam an keeping ice in your cooler. It’s hard to find the right brands online but I’ve read really good things about Loctite Big Gaps Spray Foam.
It’s designed to fill big gaps up to 3 inches in size. Cooler lids are rarely this thick so it works perfectly and insulates better than spray foams designed for smaller gaps. You can pick it up from Amazon using the affiliate link below or grab it from your local hardware store.
See the latest price of Loctite Big Gaps Spray Foam at Amazon
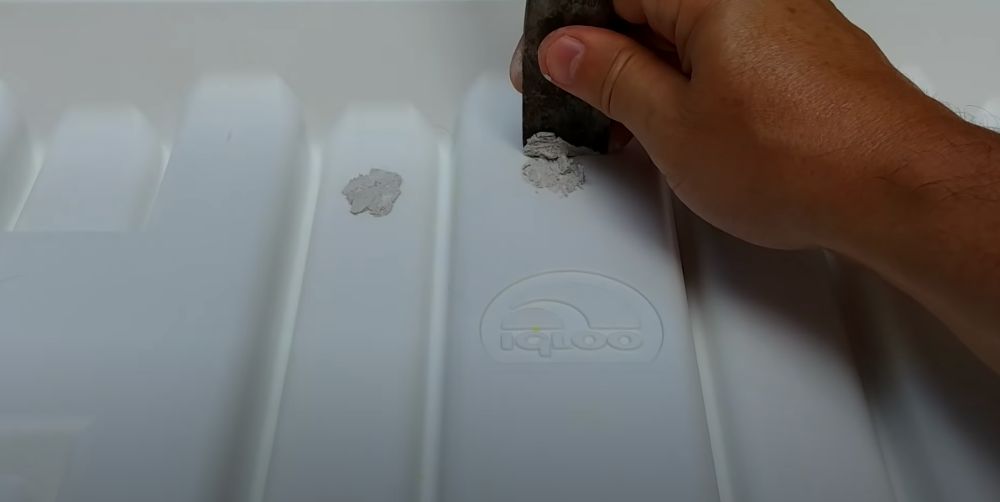
1. Drill a Couple of Holes In Your Cooler
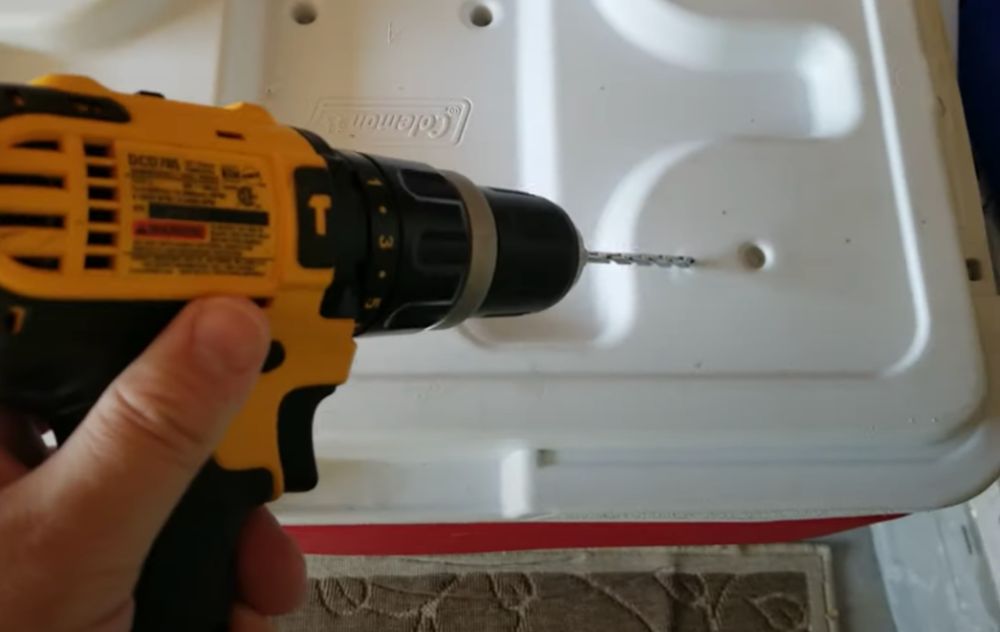
First takeoff your cooler lid and drill a couple of holes in the lid of the cooler.
Remember the foam will expand so you don’t need thousands of holes. Just a few well-placed holes in the larger cavities should do the trick.
Make sure the holes are slightly wider than the applicator nozzle of the spray foam.
2. Spray Foam Insulation Into Your Cooler Lid
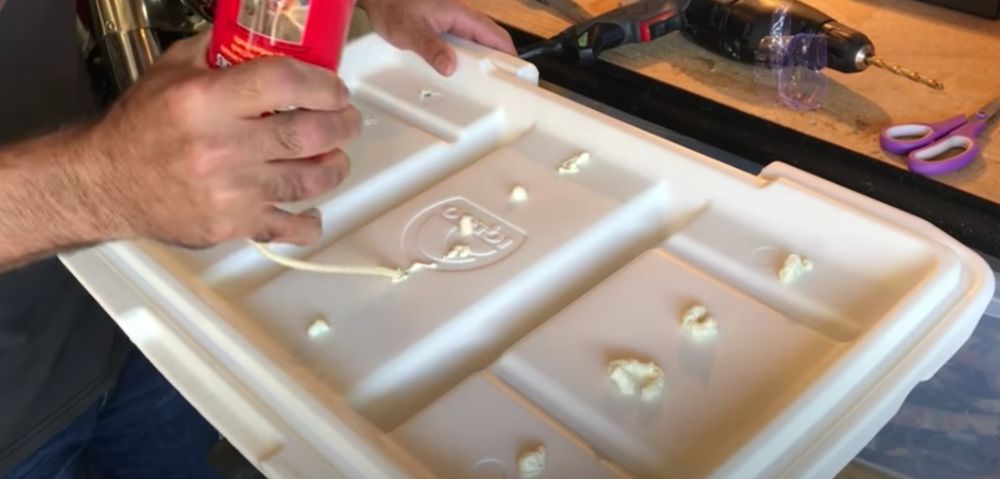
Use the applicator nozzle to spray the foam into the cooler lid.
It can be tricky to know how much spray foam to put in as you can’t see it expanding and filling up the space.
Do you want to make sure you don’t put in too much foam as this can minimize the air bubbles it creates and your lid won’t insulate as well.
So put enough foam so when it expands it fills the entire lid but try not to put much more.
3. Allow Foam To Expand and Dry

Now leave your foam to expand and dry.
It will likely start to come out of the holes but don’t be tempted to wipe it away. This will make a huge mess and this stuff stains absolutely anything it touches.
Simply let it expand out of the holes and wait for it to dry before removing it.
4. Break off and Scrape Away Excess Foam
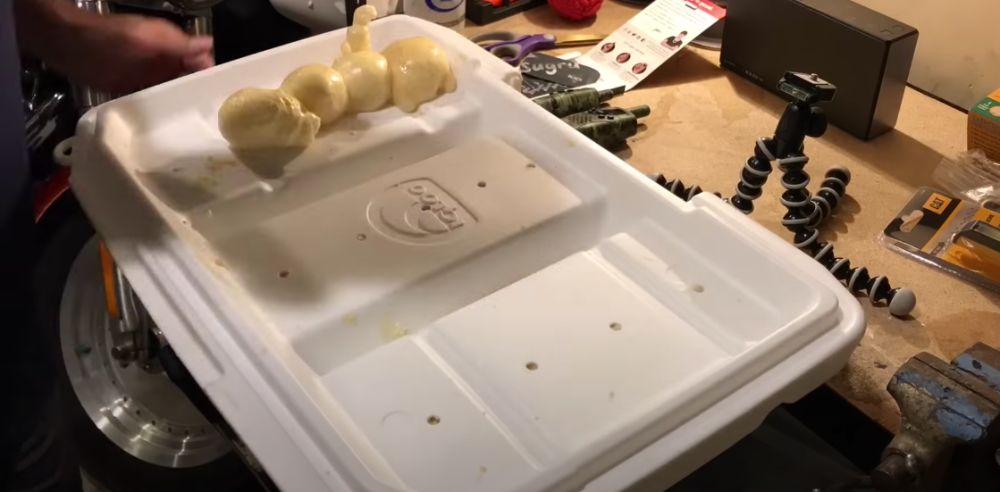
Once you’ve left the phone to dry for 1 to 3 days remove the excess foam by breaking it off with your hands or scraping it away with a knife or metal brush.
5. Seal Off Gaps with Silicone or Hot Glue
Lastly, make sure you seal up the holes with silicone or some other sealant so no water can get inside your lid.
The Loctite Big Gaps Spray Foam I mentioned earlier is great at keeping out water. But in something as wet as a cooler it’s better to be safe than sorry. You don’t want mold growing inside the lid of your cooler.
Watch A Video Tutorial
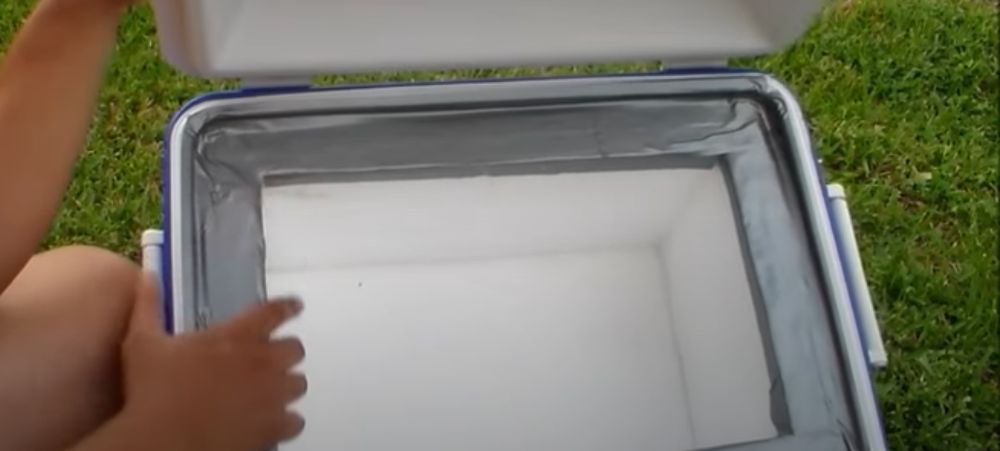
2. Glue On Some Styrofoam Board To The Inside of the Lid

Another method to add insulation to your cooler lid is to stick on some Styrofoam board to the inside of the lid.
You could do this instead of spray foam or you could do this to supplement the spray foam.
Most cooler lids are indented on the inside and this provides enough room for you to cut a piece of Styrofoam and stick it in there. Use super glue, liquid nails or some other form of adhesive to attached the styrofoam.
3. Stick on Some Reflectix Insulation To The Inside of the Lid
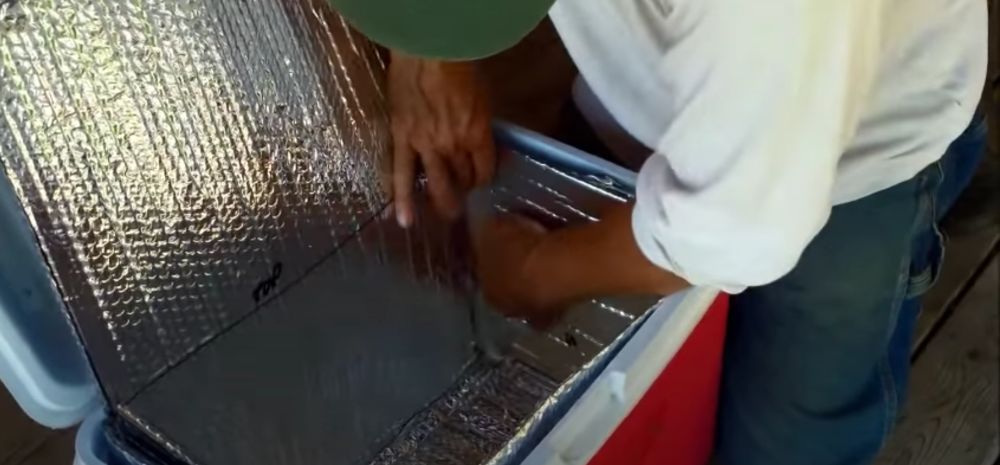
Instead of using styrofoam inside the cooler lid you could instead use some double sided reflective insulation, often called reflectix.
This stuff is made with foil that reflects heat radiation as well as air bubbles to stop heat from easily moving into your cooler.
Cut to size and stick it to the inside of your cooler lid with super glue, liquid nails or some other adhesive.
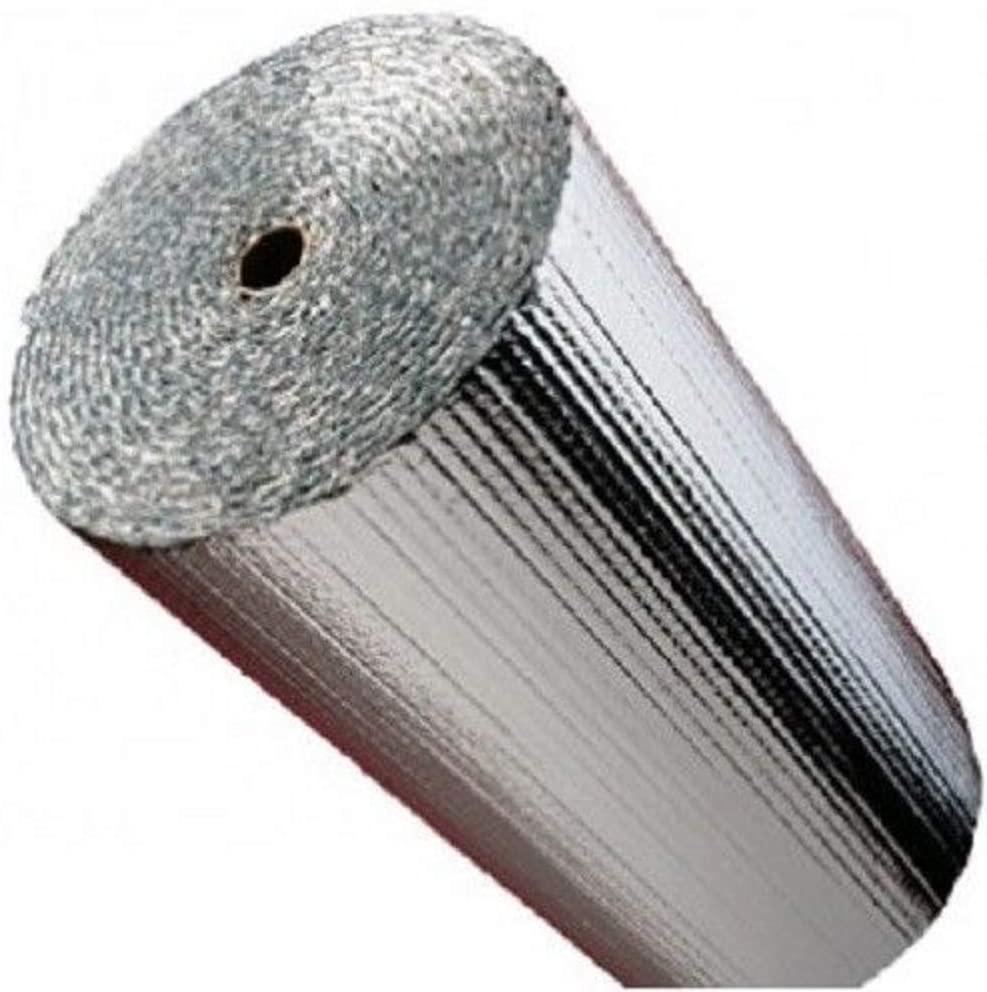
You can get a good sized roll of Reflectix for a good price here at Amazon.
4. Make a Complete Reflectix Cooler Cover
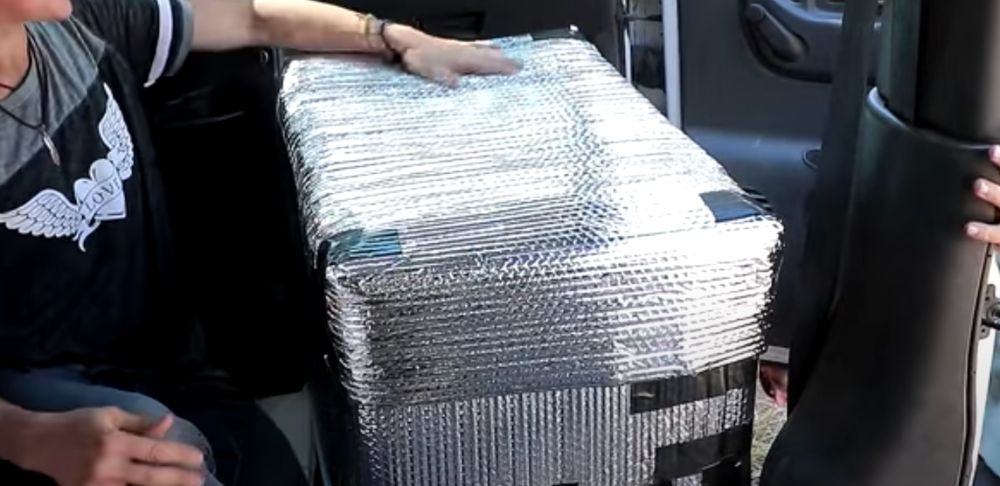
Rather than insulating the inside of your cooler lid you can make a cooler cover to insulate the lead from the outside.
These work especially well if your cooler is going to be in direct sunlight. The foil will help reflect away a lot of the suns heat radiation.
They are fairly easy to make and all you need to do is get a roll of reflective foil insulation as well as some foil tape (I find the ProShade reflective tape at Amazon both effective and affordable).
Wrap it around your cooler making sure that there is enough room for you to lift your cooler cover on and off your cooler. Stick together and then make a lid out of the same material.
You can cut the top of your cooler cover so you can still open the lid of your cooler even when the cover is on or you can leave it so you need to remove the cover before opening your cooler.
Below is a great video tutorial on how to make one of these reflective cooler covers.
5. Create An Inner Lid With Reflectix or Foam

Rather than sticking foam or foil to the inside of your cooler why not simply cut a piece to size and lay on top of the ice and contents in your cooler.
This will act as a second lid and will help stop warm air reaching your ice and food/drinks and it will keep your cooler colder for longer.
This can be used to supplement the other methods mentioned above.
The great thing about this method is as your ice melts and your contents are consumed you can move the inner lid down, constantly having it close to the ice and protecting it from any outside air.
6. Make a Gasket From Foam/Weatherstripping
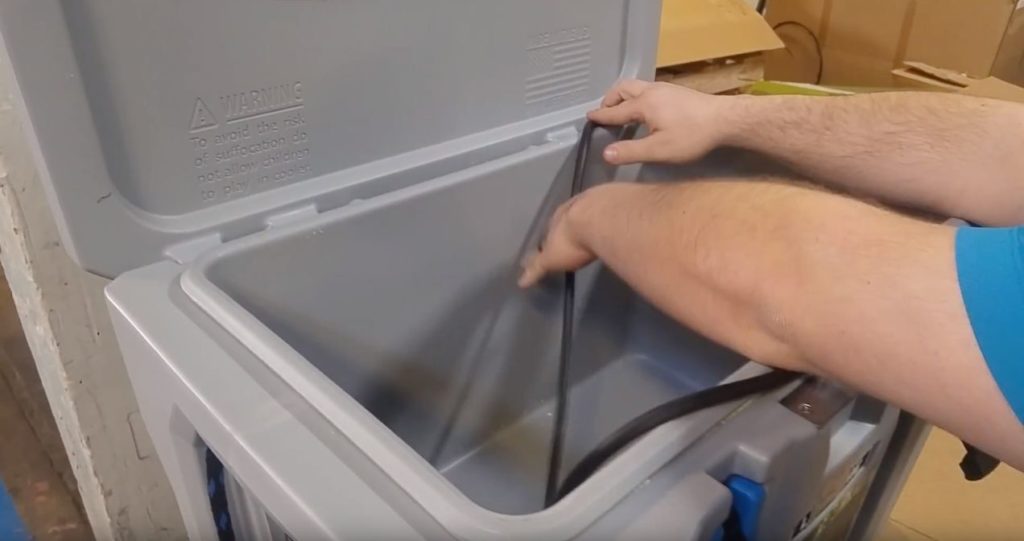
More expensive colors like yeti come with a rubber gasket to help keep the cold air in and keep the warm air out.
You can easily make one of these gaskets your self by using weatherstripping or foam.
You can buy weatherstripping where onside side is sticky. I like and recommend this foam tape as it’s easy to use and comes in different thicknesses. It’s also really affordable.
Cut the foam tape to size and run around the outside of the top of your cooler. Make it so when you shut the lid it compresses the foam tape and creates a good barrier.
This will help to keep out the warm air and keep your ice colder for longer.
7. Add Latches To Hold Down Your Lid

Another thing expensive coolers have latches to help hold the lid on tight and apply pressure to the gaskets.
Most cheaper coolers don’t come with latches but you can easily get some and add them for just a couple of dollars and they work great.
These affordable metal cam latches at Amazon are simple to install and they have a bunch of different sizes to choose from.
Other Ways To Insulate Your Cooler And Keep Ice Longer
Insulating the lid of your cooler isn’t the only way to get your cooler to hold ice for longer.
I’ve done a full in-depth articles on how to keep your cooler cold for longer as well as how to add insulation to your cooler to make it better.
Check out those articles for detail descriptions on getting the best performance out of your cooler but below are a few quick tips.
Make The Walls of Your Cooler Thicker
Rather than simply insulating the lid of your cooler focus on also insulating the walls of your cooler.
You can do this with Styrofoam, polyurethane foam, or you can use the reflective insulation we mentioned above.
The thicker the insulation in the cooler walls the longer it will hold ice for. Yeti coolers, and the other brands that have incredible ice retention, all have extremely thick walls of 2 to 3 inches of insulation.
If you want to get similar performance from your cooler you’ll want to add an equal amount of insulation.
Place a Small Cooler Inside a Large Cooler
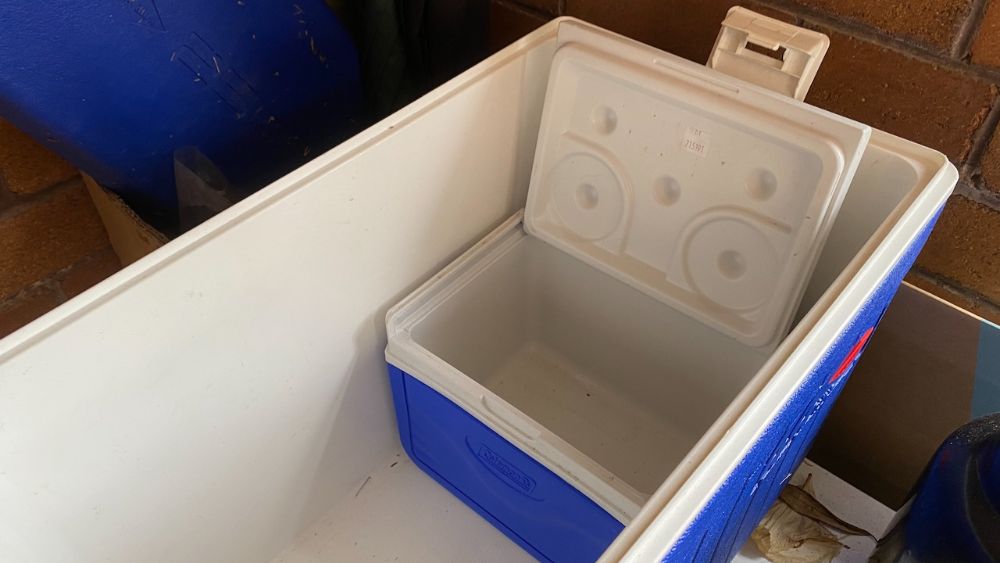
Another way to keep your cooler colder for longer is to put it inside another cooler.
You want to put your contents and ice inside the smaller cooler. Then put the small cooler inside a large cooler and fill any gaps with ice.
If you don’t have enough ice then use towels to fill the air gaps in the larger cooler.