Don’t you hate it when your ice cube constantly get stuck in the ice cube trays or are extremely difficult to pop out?
It’s not fun having to pop out ice cubes individually and you don’t want to break your ice cube tray by twisting it too much or banging it so hard you shatter it. Plus twisting and banging often doesn’t work with some types of ice cube trays.
So how do we get those stuck ice cubes out of the tray?
Pouring warm water on the bottom is the most effective way to remove ice cubes from the tray. You can also try twisting both ends of the tray in the opposite direction and tapping the bottom repeatedly until the ice cubes come off.
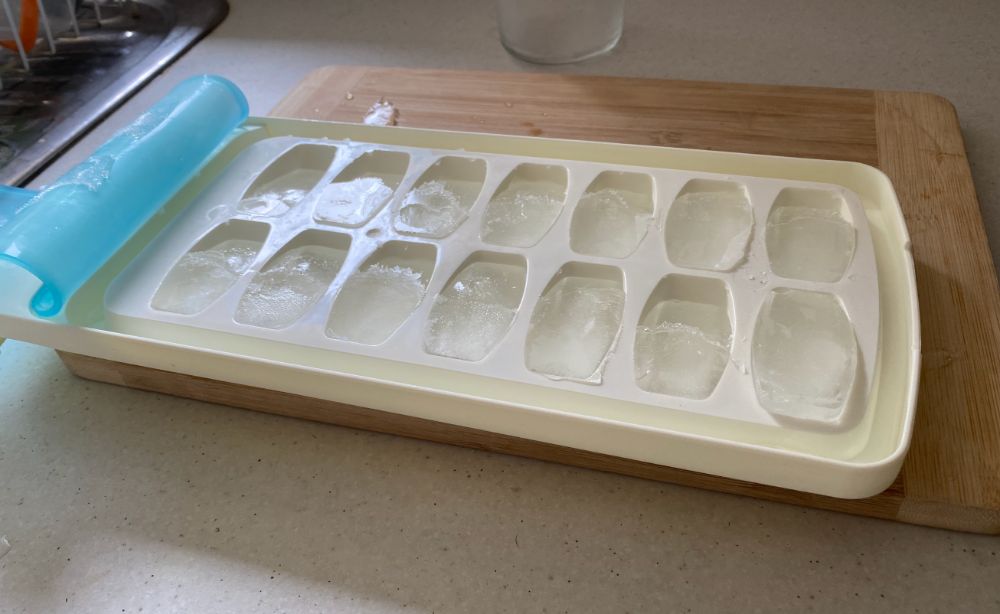
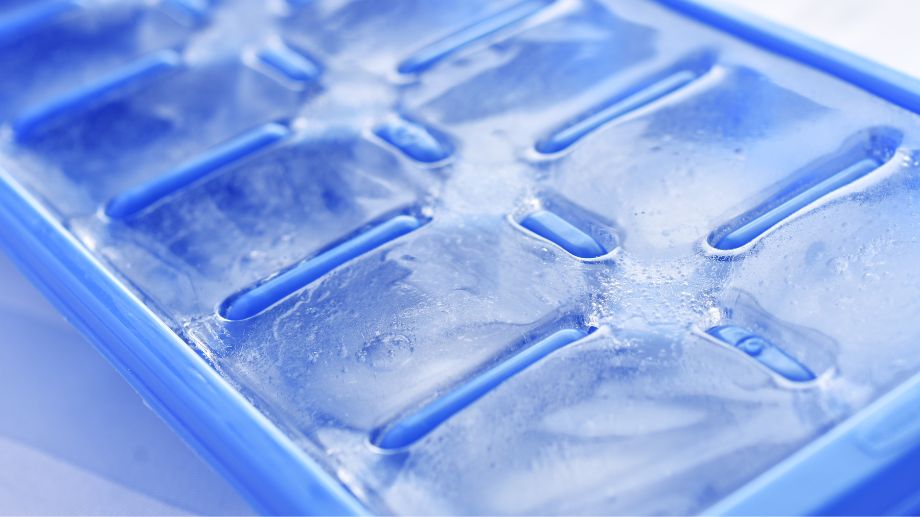
Ice cubes usually get stuck to the the trays from overfilling or sometimes the design of the tray makes it particularly difficult to get the ice cubes out. This is especially true with silicone ice cube trays that seem more difficult to remove ice cubes compared to traditional plastic trays.
If you are also finding it difficult to remove those stuck ice cubes, here are the four best ways to take them out effectively.
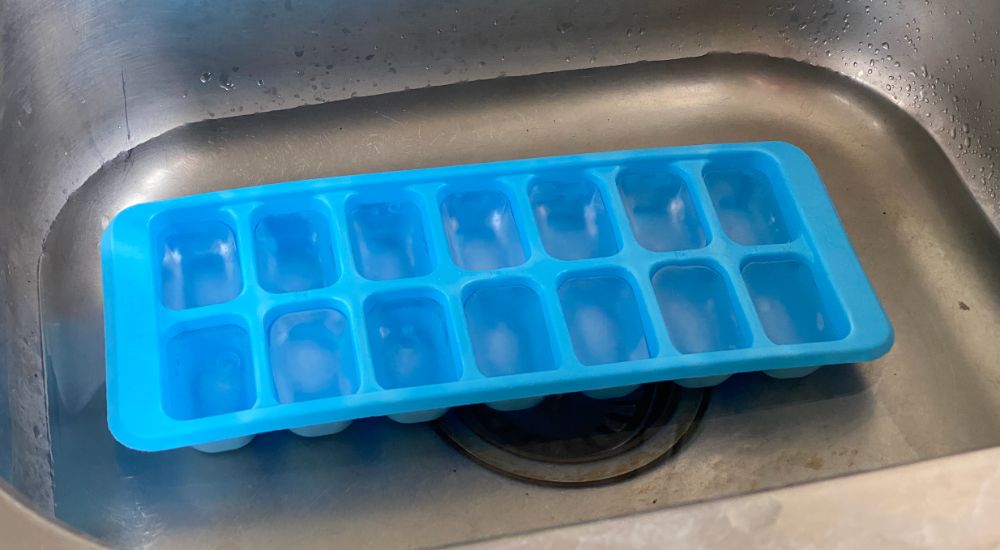
1. Running Water Over The Bottom Of Ice Cube Tray
This method is useful for plastic, silicone and metal trays. But it tends to work best for plastic and silicone trays.
You need to flip the tray, put it under the sink and run water over its bottom part. You can do this with either cold or warm water but warm water will work more effectively.
This can get messy and all your ice cubes will end up in the sink if you aren’t careful. So place a bowl under the ice cube tray and only turn the tap on slowly so the water runs down the ice cube tray and doesn’t end up in the bowl.
The reason this works is the warm water will melt the bottom of the ice cubes, turning them into slippery water and shrinking them in size slightly. The ice cubes will then simply fall out.
Once you’re done, let the ice cube tray dry completely before reusing. If you put a wet tray in the freezer, the water droplets underneath the ice cube tray will freeze and cause the tray itself to stick to the freezer.
2. Sit Your Ice Cube Tray In A Thin Layer of Warm Water
A less messy approach to the same idea of melting the bottom of the ice cubes so they fall out, is to fill up your sink with a small amount of hot water.
The water should not be deeper than the thickness of the ice cube tray as you don’t want water going on top of your tray.
Place your ice cube tray in the water and leave it for anywhere between 10-60 seconds depending on how hot the water is.
Then remove your tray from the sink and turn it upside down to remove the ice cubes. Twist the ice cube tray slightly or tap the bottom of the tray to encourage the ice cubes to fall out.
If the ice cubes are still stuck in the tray you can repeat this process and leave the ice cubes in the water for longer.
Eventually the underneath of the ice cubes will melt causing the ice cubes to easily slip out of the tray.
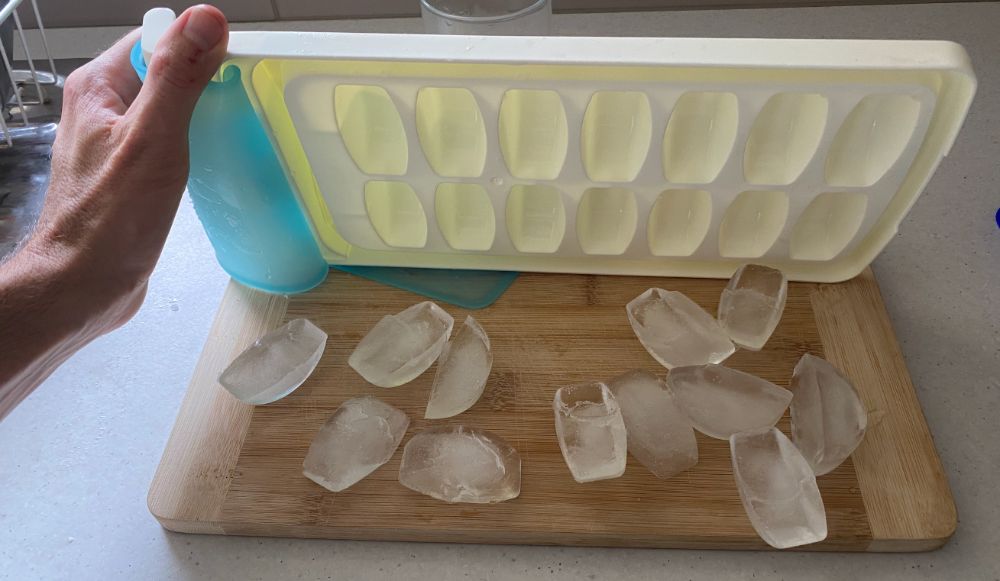
3. Giving A Slight Twist To The Tray
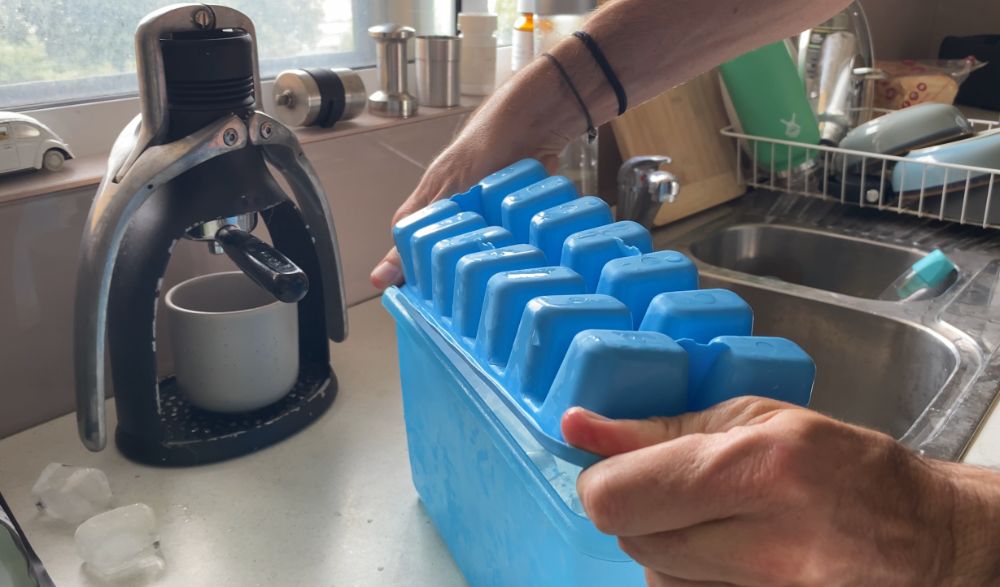
The twisting method works like a charm for most plastic trays. Hold the ends of the ice cube tray with both hands and gently flex them in the opposite direction.
Do not put too much pressure on the tray as it might break it apart. Now, twist the tray in the same way but change the sides. Repeat this twisting process several times by changing the sides held by each hand.
The ice cubes will pop out immediately as this movement allows air to get between the pockets.
This method will not work for metal ice cubes trays as they are too rigid and it tends to only partially work for silicone ice cube trays. For them you’ll need to push down on the bottom of each ice cube to release it from the tray.
4. Tapping The Bottom Of Ice Cube Tray
This method can also be applied to every ice cube tray when you don’t want to remove all ice cubes at once.
Turn over the ice cube tray and put a bowl with a wide opening below it. Cover the ice cubes that you don’t want to get out with one hand. Use the other hand to tap on the uncovered pockets repeatedly. These ice cubes will fall off while the covered ones will remain in their positions.
Ideally don’t refill the half-empty ice tray to put in the freezer again. You can do this but the older ice cubes can absorb smells from your freezer and start to taste bad.
Instead, remove every ice cube and store the unused cubes in a ziplock bag. Then start making new ice cubes by filling all pockets again simultaneously.
This will allow you to make more ice faster and have it on hand if and when you need it. But it’ll also keep your existing ice fresh and stop your ice tasting bad even if the water is fine.
5. Bang The Ice Cube Tray Upside Down On The Bench
Sometimes your ice cubes just need a little bit of encouragement and banging the tray upside down on the bench can be enough to get out the stuck ice cubes.
This works especially well for plastic ice cube trays and not as well for silicon ice cube trays. Just be sure not to bang the ice cube tray too hard or it can crack.
One of the benefits of silicon ice cube trays over plastic ice cube trays is silicon is more durable and less likely to break or crack. However, the trade-off is silicon ice cube trays tend to be harder to get the ice out.
6. Push The Ice Cubes Out Individually

Silicon ice cube trays are extremely flexible and you can easily push out each individual ice cube by pressing hard underneath the ice cube.
They are even some plastic ice cube trays that have silicon bottoms allowing you to individually press out each ice cube.
This can be tedious when there are a lot of ice cubes to press out, like with my nugget ice cube tray, however with regular size ice cubes it doesn’t take too long and isn’t too difficult.
7. Wait For The Ice Cubes To Melt A Little
If your ice cubes are stuck and you aren’t in a rush you can simply wait a little while for your ice cubes to melt slightly and then they will fall straight out of the tray.
As the ice cubes melt they form an outer layer of liquid and this makes them both smaller and extremely slippery.
After they have melted slightly you can simply tip your tray upside down and ice cubes will slide out.
8. Invest In Easy Release Ice Cube Trays
Rather than battling with stuck ice cubes every time you want to make a drink it might be worth investing in an easy release ice cube tray.
These are trees that are specifically designed so that ice cubes will come out extremely easily, with little to no effort every single time. Some are plastic and some are metal ice cube trays and some are silicone.
I personally really like the metal ones are they are eco-friendly ice cube trays plus I feel metal is the best ice cube tray material as it is very safe and won’t leach harmful chemicals into your ice. They also have a cool vintage feel about them and are fun to use.
But honestly the best easy release trays tend to be plastic and these still work great.
Click here for my list of the best easy release ice cube trays.
My favorite easy release ice cube tray is the Oxo Good Grips No Spill Ice Cube Tray.
It’s got a silicone lid that allow you to put your tray at up to a 45º angle in the freezer so it makes stacking it easy without having to worry about spilling. Plus the ice cubes basically just fall out of it with zero effort at all.
See the latest price of OXO Good Grips No Spill Ice Tray at Amazon

BONUS IDEA: Touching An Ice Cube With Licked Finger
This is a unique technique to try and get out stuck ice cubes and honestly, its likelihood of working is pretty slim. Still it could be a fun science experiment to do if you’re bored one day and nothing else works
Lick your finger and put the wet finger over any ice cube. After some seconds, your finger will stick to that ice cube and the saliva will freeze due to the icy temperature.
Now you will be able to pull out that ice cube easily. After that, you can dip your finger in a glass of drink or water and allow the bonded saliva to melt. Not the best method but it still works if you want a single ice cube in your drink.
Why Do Ice Cubes Get Stuck In The Tray?
Overfilling the ice cube tray is usually the main reason ice cubes get stuck in the tray. When you fill the tray to its fullest the separation between ice cubes gets eliminated. The water creates a layer above all the cubes and freezes, joining the top parts of all ice cubes.
This makes it difficult for individual ice cubes to fall out and so they can all get stuck.
Ice cube tray design is another major reason for ice cubes getting stuck. Silicone ice cube trays in particular have a tendency for the ice cubes to get stuck and need to be individually pushed out.
If you’re using an old tray, there’s a greater chance of ice cubes being stuck in it. It is because of the small scratches that develop on the inside of the tray due to heavy usage.
They make the surface slightly uneven and the water gets inside these little spaces. As the water freezes, it expands and creates a tighter grip, making the ice cubes difficult to remove.
Long-term use of silicone and plastic ice cube trays can cause minerals such as calcium to deposit at the bottom. These minerals cause a white residue on your ice cube tray and may, in some cases, cause the ice cubes to stick to the tray.
How To Stop Ice Cubes from Getting Stuck In A Tray
- Do not overfill the tray.
- Wash the ice cube trays thoroughly to remove the residue buildup.
- Do not stack the ice cube trays. The ice in the bottom tray will surely get stuck.
- Do not freeze water in half-filled ice cube trays. The already frozen ice will likely stick to the sides if it over freezes.
- Take care of the ice cube tray by not inserting sharp objects. They can create those scratched surfaces that cause the ice cubes to adhere to the sides.
The Bottom Line
It’s very easy to make ice cubes at home. However, taking them out is another story as they can often stick to the tray.
Luckily we have mentioned some effective methods to remove the stuck ice cubes in this article.