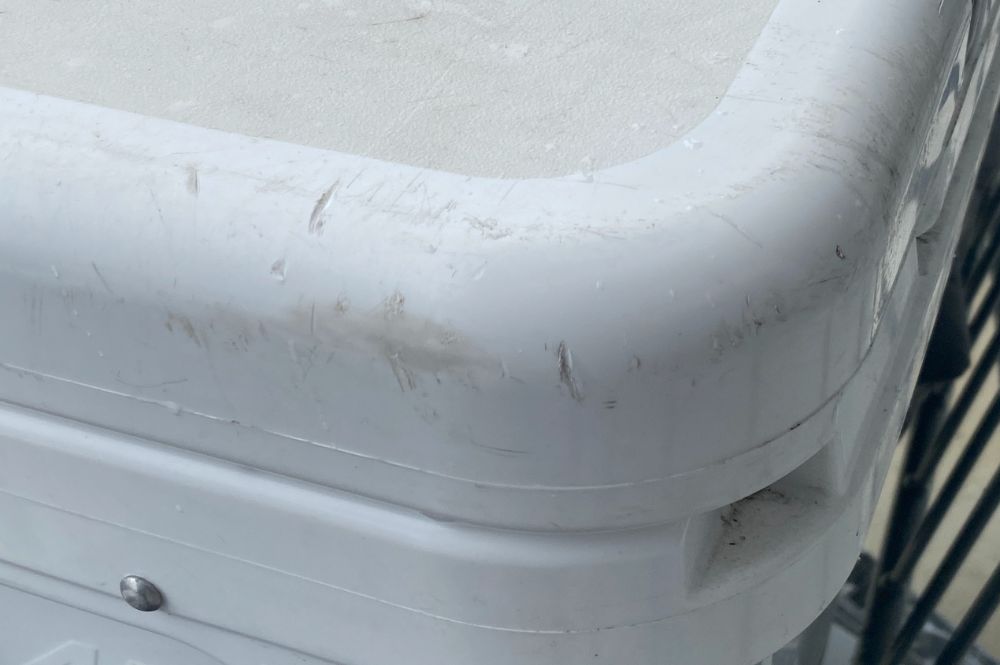
Over the years my Yeti cooler has received a variety of scratches. From small dirty surface level scratches to deep gouges from my cooler being dropped or bumped or being a part of my highway van crash a couple of years ago.
Yeti coolers are amazing and will work just as well if scratched but if you’re like me and want the cooler to be looking as good as possible for as long as possible you might be wondering if there are ways to remove/fix scratches from your Yeti cooler.
The only way to effectively fix scratched on your Yeti cooler is to clean them (so they show up less) or to sand them down or polish them. You can use magic erasers for smaller scratches or 1,000-2,000 grit sandpaper for larger scratches. However, beware as this can completely ruin the smooth finish of your Yeti cooler. You could also patch deep scratches with an epoxy or plastic putty.
How big and how deep your scratches are and where they are located on your cooler will affect how you should best try to fix or remove those scratches.
There are a variety of cleaning treatments you can use on your cooler to minimize the visual impact of scratches (making them look like they disappeared). There are also ways to sand, polish or paste for a professional grade finish.
Yeti coolers are known for their style, durability, and impressive cooling performance. Of all the coolers I’ve owned (and as a cooler reviewer that’s A LOT) the Yeti stands above the rest for it’s quality finish and attention to detail.
If you purchase a Yeti cooler, you’re making a significant investment, and you likely want it to remain in good condition for years. While Yeti coolers are incredibly durable, they are prone to scratching during everyday use so it’s normal to want to know how to fix or repair these scratches.
First, Fully Clean the Cooler
While it’s true that Yeti coolers are difficult to stain they will still develop stains and scratches over years of use.
Scratches can make your Yeti cooler look really bad because they have a tendency to attract and collect dirt which gets stuck in them making them stand out.
Honestly, sometimes giving your Yeti cooler a solid, deep clean will be enough for the scratches not to worry you anymore.
Begin by cleaning the exterior of your cooler to eliminate any debris before you attempt to remove any scratches. There are a variety of ways you can clean your Yeti cooler from the basic soapy water and brush to using a high-powered water gun. Click here to learn the best ways to clean your Yeti cooler.
Try using a scrub brush with a dish soap and water mixture first, followed by a quick rinse. Any stubborn stains can be treated with a bleach solution that’s made from six parts water and one part bleach or hit them with a high-pressured hose at your local DIY car wash.
You want remove any marks from the cooler’s exterior completely so you can properly evaluate and treat the scrapes and scratches and determine if they are worth cleaning or if you’re happy with the cooler when it’s clean.
Remove Light Scratches With A Magic Eraser
If you have really light scratches or marks that aren’t washing off then one of the best ways to remove these is by using a magic eraser.
Magic erasers are actually made of a type of foam that acts like a really really fine sandpaper. It will polish away minor scratches and surface marks without damaging the overall finish of your cooler.
For this to work you’ll need to apply some elbow grease when rubbing the cooler with the magic eraser and expect it to the take longer the deeper the scratch is.
This also won’t work with really deep scratches as it just won’t be enough. But for tiny surfaces scratches this can work great.
For Deeper Scratches
For deeper scratches you’ll need to put in more effort to fix them.
First, Apply an Abrasive Paste to the Scratches
Once the cooler is completely cleaned, you’re ready to smooth out your scratches and remove any sharp edges. To do this, create a mixture of baking soda and water to form a thick paste.
Rub the mixture into each of the scratches using a cotton cloth. Work the paste in for one minute on each scratch or until you note that the scratches feel smoother.
Rinse the paste away to reveal the smooth-finished scratches. They will be easier to treat properly at this point.
Very fine scratches can be removed using only this abrasive paste.
You may be able to skip the following sandpaper step if your surface looks smooth and free from scratches when you rinse away the paste.
Next, Gently Smooth Using Sandpaper
Obtain 800-grit sandpaper and submerge it in water to fully wet it. Now use gentle circular movements to sand away any deeper scratches that remain on your Yeti cooler’s surface. Take care to avoid sanding sections that don’t have scratches.
Note: This will affect the polish of your Yeti cooler and it is unlikely to look as good as when you bought it. You want to keep the sandpaper to the smallest area possible.
Check the scratches occasionally to see if they’ve fully disappeared or not.
Feel the scratches with your hand until they can’t be felt any longer. You should be able to smooth out all but the most serious scratches using sandpaper.
Follow up your 800-grit sandpaper with wet 1,000-grit sandpaper and finally 2,000-grit sandpaper to fully remove the most stubborn scratches and to finely polish the outside of the cooler in order to make it look as smooth and close to new as possible.
Any scratches that remain after this step are too deep to remove fully from your cooler and will need to first be filled in with epoxy or plastic putty before using this sanding method.
Consider Using A Scratch Remover Kit
Rather than following the sandpaper method you can instead purchase scratch remove kits designed for plastic.
These are sometimes multi-step formulas that act similar to your rough-to-fine sandpaper method mentioned above. Some of them are single step formulas that work on many different imperfections.
It starts by removing deeper scratches and then gets finer and finer to polish the plastic at the end making it look as close to brand new as possible.
Some work really well and others not so much. Make sure to check the reviews and see if they worked for others before you invest your time and money into a product.
The Chemical Guys Scratch and Swirl Remover (at Amazon) is highly rated by thousands of people and is a good option.
Fill In Deep Scratches With Epoxy or Plastic Putty
For super deep gouges in your cooler you’ll want to actually fill up the indent/scratch with epoxy or plastic putty before sanding.
To do this I like to first remove rough edges and loose bits of plastic from the scratches with 800-grit sandpaper (as mentioned above).
Using sandpaper first will also help the epoxy or plastic putty stick to your cooler better.
Once you’ve cleaned, dried and prepped the surface fill up the indents carefully with plastic putty or epoxy – following the instructions given to you.
Some can be directly applied out of a tube while other formulations need pre-mixing before application.
Once you’ve allowed it to dry (as per instructions) you can go ahead and sand it down using the sandpaper method mentioned above. The goal here is to get everything flush and then polish it really well so you can hardly notice the putty at all.
The Vallejo Plastic Putty comes in white (at Amazon) if you have a white Yeti cooler like me otherwise using a clear epoxy may be a better option as it can be really difficult to color match to other Yeti cooler colors.
Finish with Plastic Polishing Compound
The final step of removing scratches from your Yeti cooler is to apply a specialized plastic polish to its surface.
Apply a pea-sized glob of plastic polish to a microfiber cloth and rub it the locations of all your original scratches for several minutes.
As the cooler’s exterior is taken to a brilliant polished finish, most of the scratches will vanish or become very difficult to see.
You’ve now successfully cleaned your cooler and brought it back to an almost original look.
What Sections of Your Yeti Cooler are Most Susceptible to Scratching?
There are specific areas of a Yeti cooler that are more likely to scratch than the rest.
Learning about these problematic locations will help you protect your cooler from scratching more effectively.
The following locations are most likely to scratch because they are more exposed or contact surfaces during transport and use more regularly.
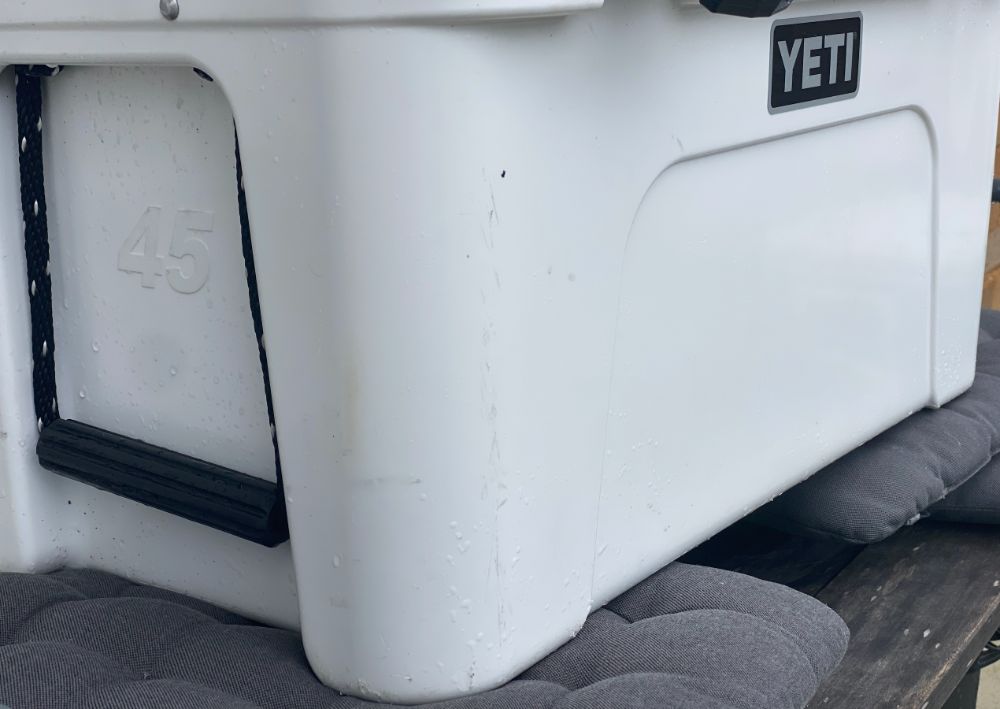
- The base corners
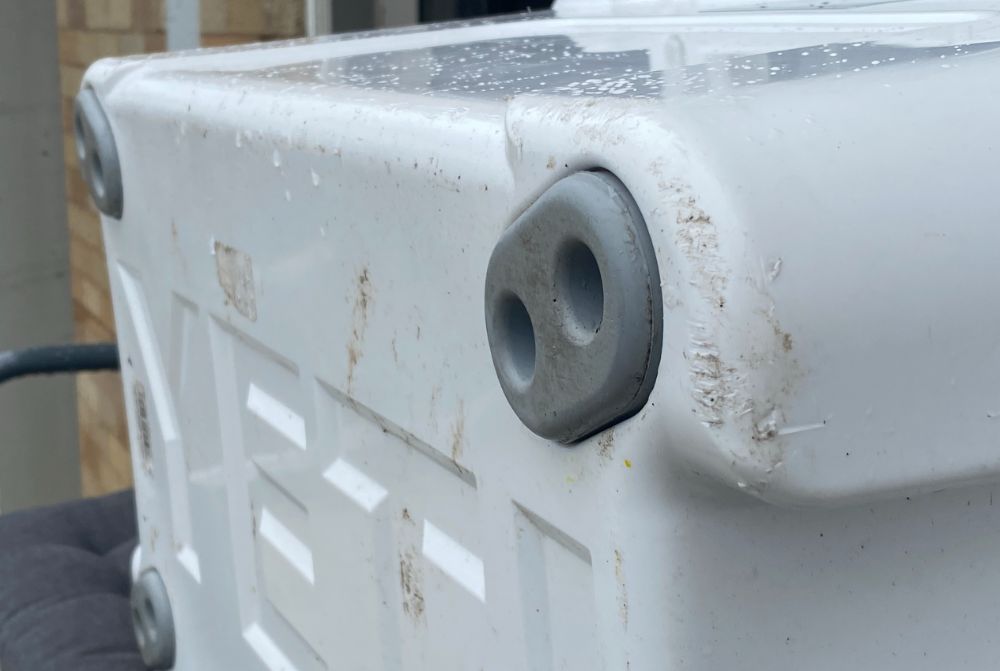
- Locking mechanisms
- The lid corners
- The top of the lid
- The cooler edges
- The inside walls and base of the cooler
If you’re careful to avoid bumping these surfaces of your cooler during use you’ll be able to maintain the cooler with fewer scrapes over time.
Summary
It’s possible to resolve all but the most serious scrapes on your Yeti cooler by using the proper blend of abrasive paste, sandpaper, and plastic polish. Plus maybe some plastic putty or epoxy for deeper scratches.
By following these steps, you can bring your Yeti back to its original luster. Work to maintain your cooler carefully, and it will provide you with years of performance and pride.