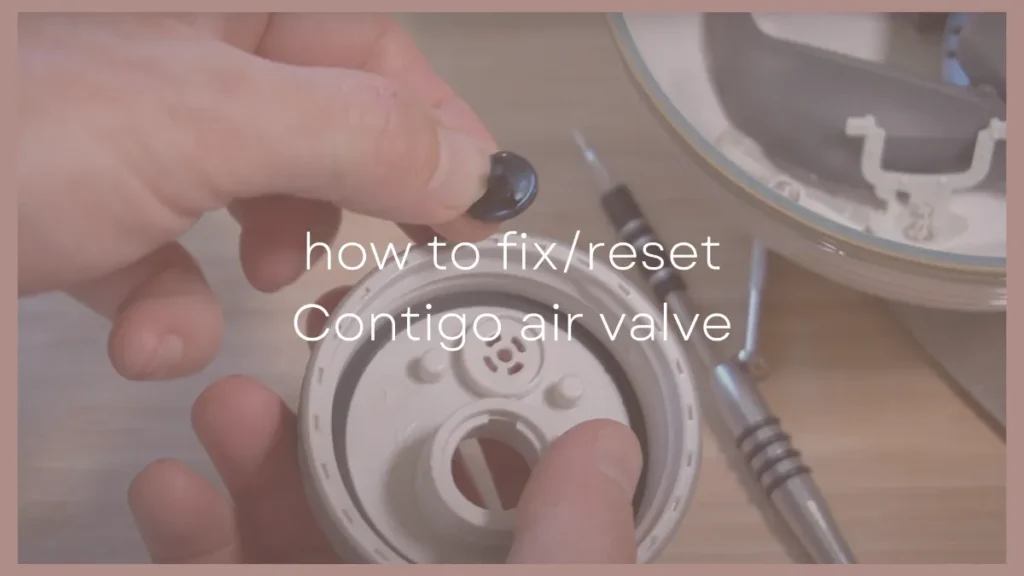
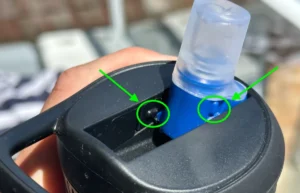
I really like my Contigo bottles and my kids absolutely love the lids. It's been a great way for us to drink more water each day and keep hydrated.
However, most of the Contigo lids have a rubber air valve and if it comes off it leads to your Contigo bottle leaking everywhere. It can be quite difficult to put back in if you don't know what you're doing.
However, if you know what to do then the process isn't too difficult.
To fix or reset a Contigo air valve you need to simply reinsert the valve into the middle hole and push it HARD with your thumb to get it to click into place. If you can't get it into place then you'll need to remove the top of the lid and pull the air valve through using pliers or tweezers.
Things You Might Need
Hopefully for this task you'll just need your hands and a strong thumb. However, if you use the second method where you need to pull apart the lid then you'll also need.
- A 1.8mm triangle screwdriver (I use this triangle screwdriver set from Amazon)
- Butter knife
- Pliers or strong tweezers
Method 1: How To Fix The Air Valve With Just Your Hand
This is the most simple method. It does require some force but it'll mean you won't have to go through the arduous task of pulling apart the entire lid.
Step 1: Find The Air Valve and Connection Point
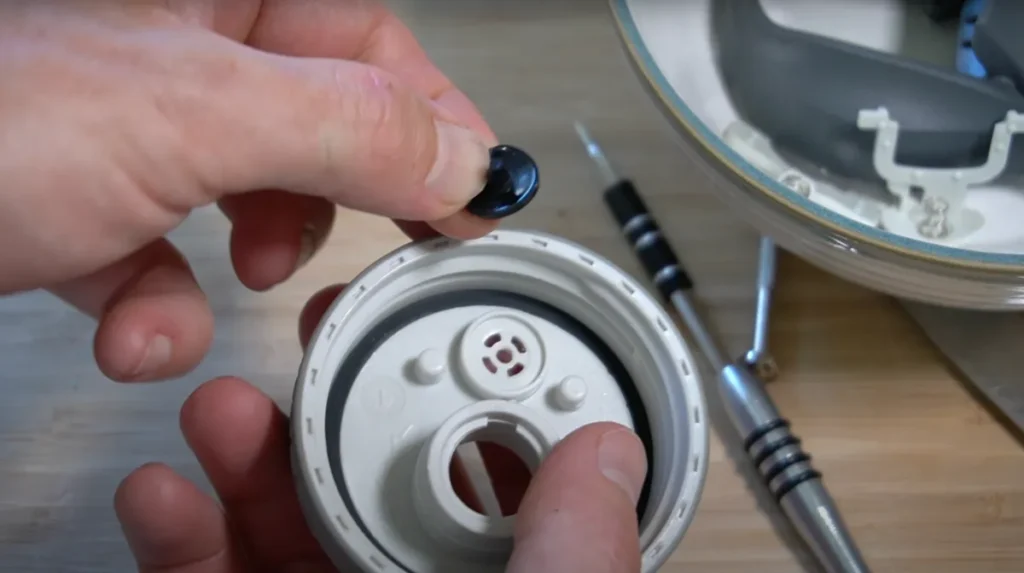
The air valve connection point looks like a little radiation symbol with a circle in the middle and 4 long strips on the outside.
You want to make sure you get the center piece of your air valve directly into the center of the hole.
Step 2: Push The Valve In
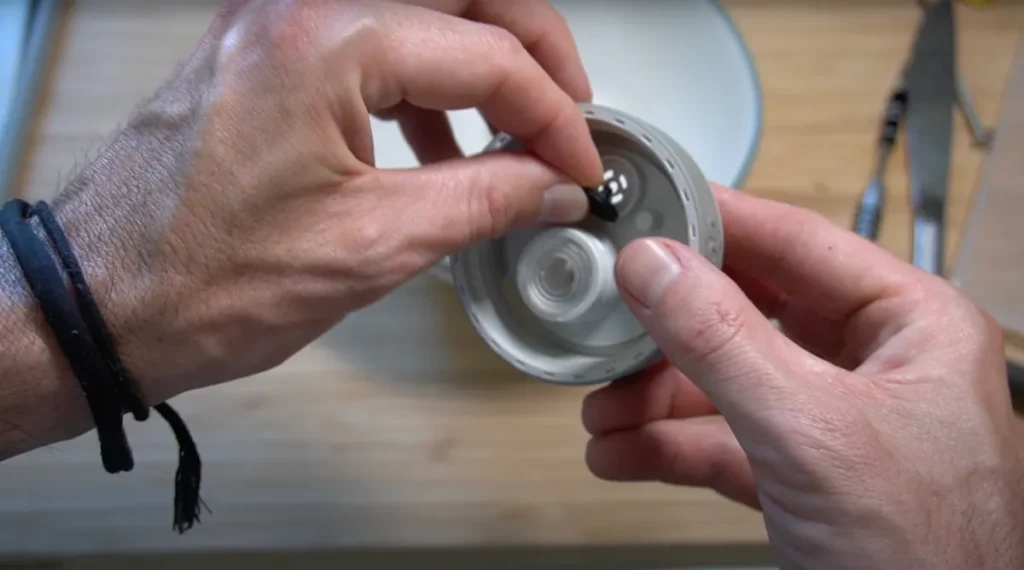
Once in place you now need to push the valve in so the center piece of the valve feeds through the hole and gets stuck into place.
This is difficult to do and does require a lot of force.
I tried doing it with chop sticks and the back of a pen to no avail. Eventually just pushing really hard with my thumb was able to get it through and it stuck.
Method 2: Fix The Air Valve With Pliers
If you're absolutely unsuccessful using the above method then you can get it through using pliers but you'll need to pull the entire lid apart to do it.
If you're taking this approach you'll want to watch the following video of mine where I pull apart the Contigo Autoseal lid or check out this step-by-step instruction guide on how to pull apart Contigo lids.
Step 1: Pull Apart The 2 Lid Sections
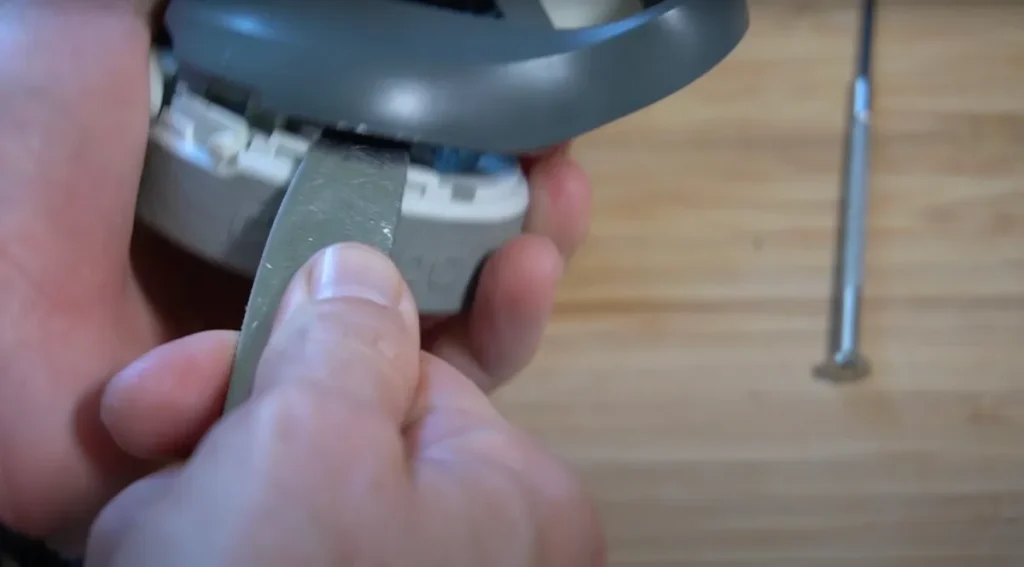
Firstly pull apart the two lid section by unscrewing the 2 triangle screws and using your butter knife to pry apart the top and bottom part of the lid.
Step 2: Remove Back of Push Button Mechanism
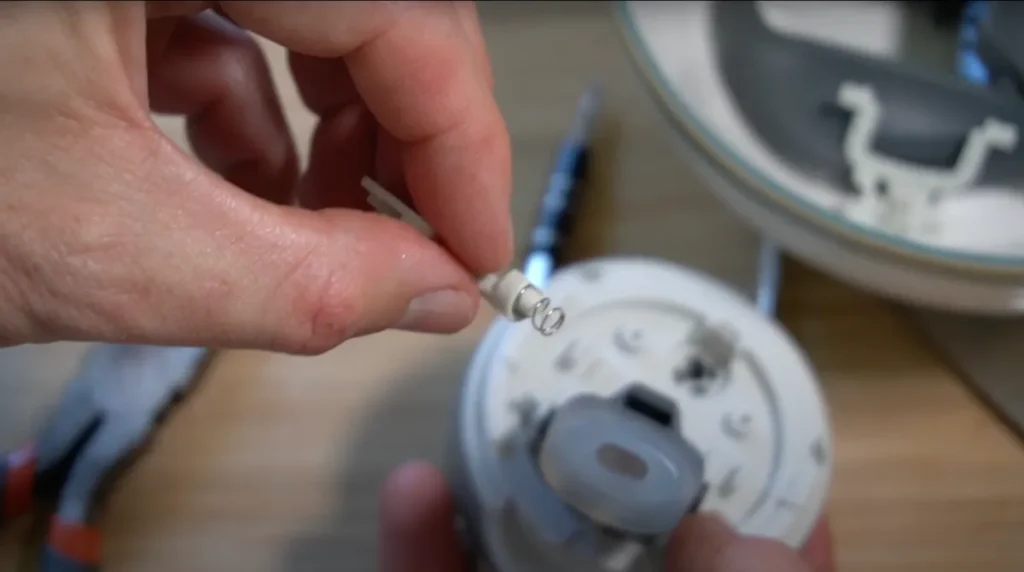
Next you'll need to remove the back piece of the push button mechanism to reveal the air valve hole.
Be careful as there is a spring attached to it and you can easily lose this.
Step 3: Find The Air Valve and Connection Point
Next push the air valve through like we described above. It should start to poke through the lid where you can grab it with your pliers.
Step 4: Pull It Through with Your Pliers
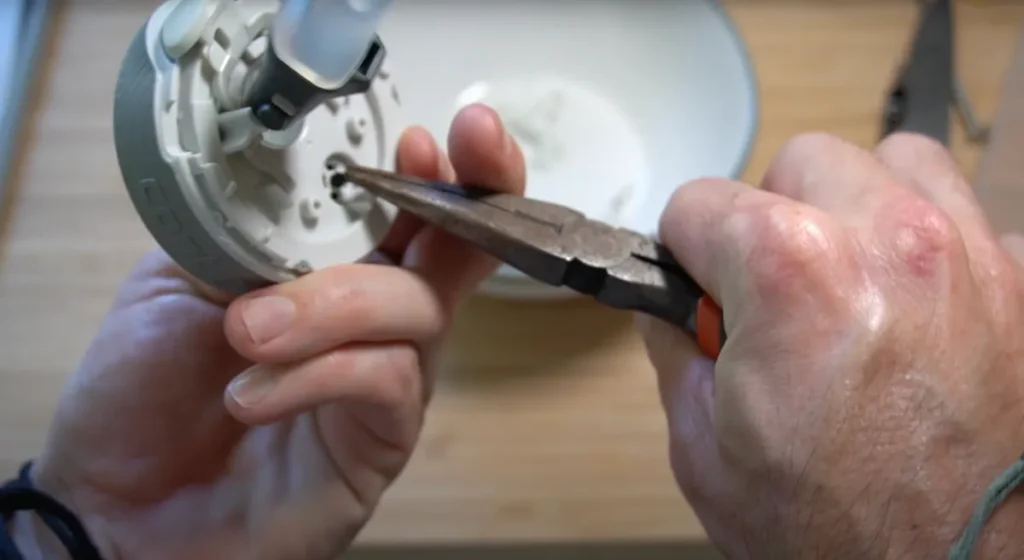
Now grab the center of the air valve and pull it with your pliers until it comes all the way though and gets stuck into place.
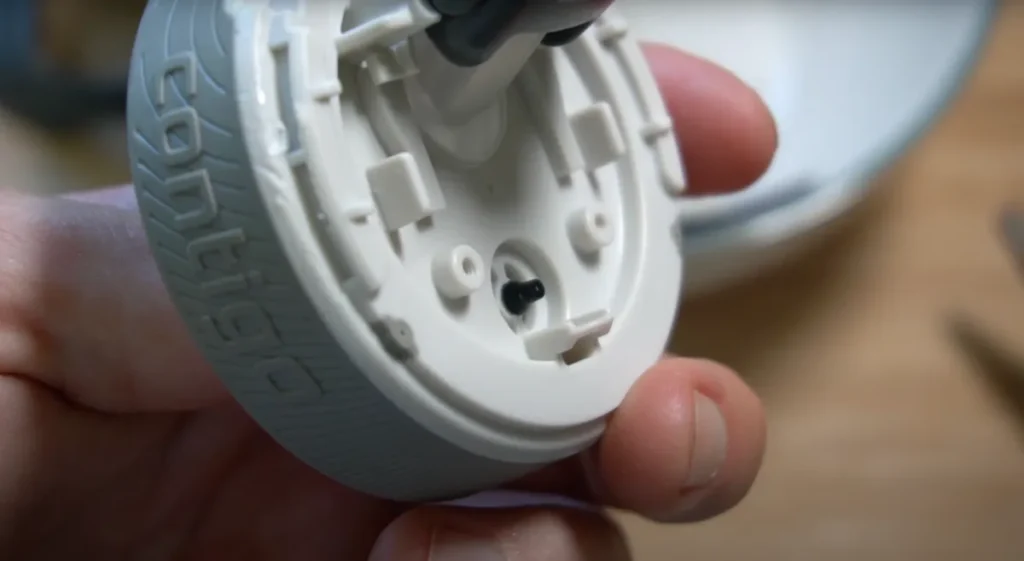
It should sit like this.
Step 5: Reassemble Lid
Lastly you now just need to reassemble the lid.
Make sure to clean and treat your Contigo lid for mold before reassembly as mold can easily grow inside the parts of the lid that you can't see.

