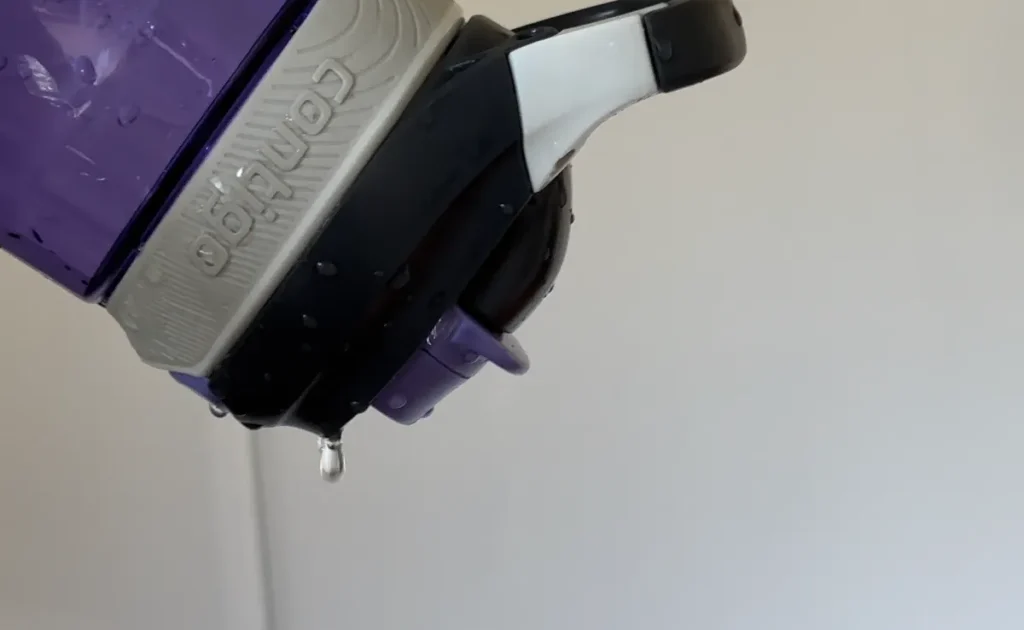
Contigo makes some really unique and innovative lids. But unfortunately, all those small moving parts mean there’s more that can go wrong your bottle. A leaking bottle is a useless bottle and Contigo seem to be more prone to leaks that other simpler lid designs.
When you have a leak, knowing just what to look for can help you pinpoint the cause and know what you need to do to fix it.
So what are the most common causes of a leaking Contigo Bottle and how exactly do you fix them?
The most common causes of a leaking Contigo Water Bottle are that the lid isn’t on correctly, the gasket is out of place or worn out, the lid is dirty causing parts to jam, or there is physical damage to the bottle or lid. Once you know the reason your bottle is leaking, most can be solved with a deep clean or a simple replacement part.
Below are the 7 most common reasons your Contigo Bottle may be leaking, how you can identify which is the problem, and the best way to fix it once you know.
1. The Lid Isn’t Screwed On Properly
Let’s just get this one out of the way early.
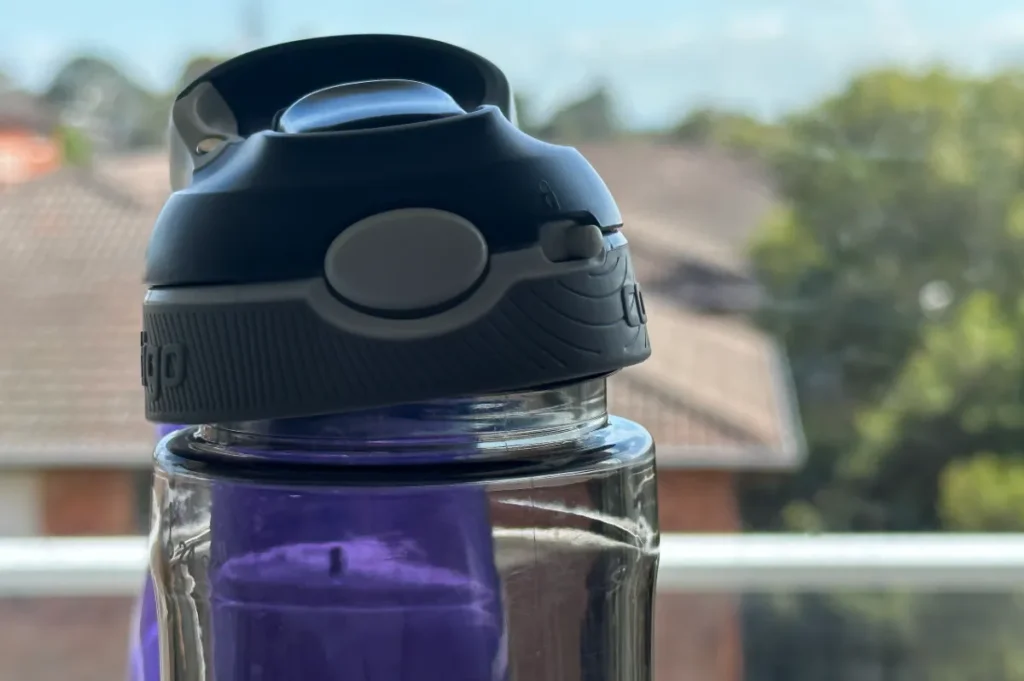
The most common reason for a leaky Contigo Bottle is that the lid either isn’t screwed on tight enough or the threads aren’t lined up correctly.
If this is the issue, you often won’t notice until you lay the bottle on its side (or even worse, sideways in a bag) because the leaking is usually too slow to be obvious when you tilt your bottle for a drink.
Remove the cap, thread it back on (it should screw on really smoothly), and tighten it a quarter turn more than normal. Lay the bottle on its side for 15 or 20 minutes and check for any leakage.
Alternatively tip it upside down and give it a really good shake to make sure it isn't leaking at all.
2. The O-Ring Is Worn Out Or Misplaced
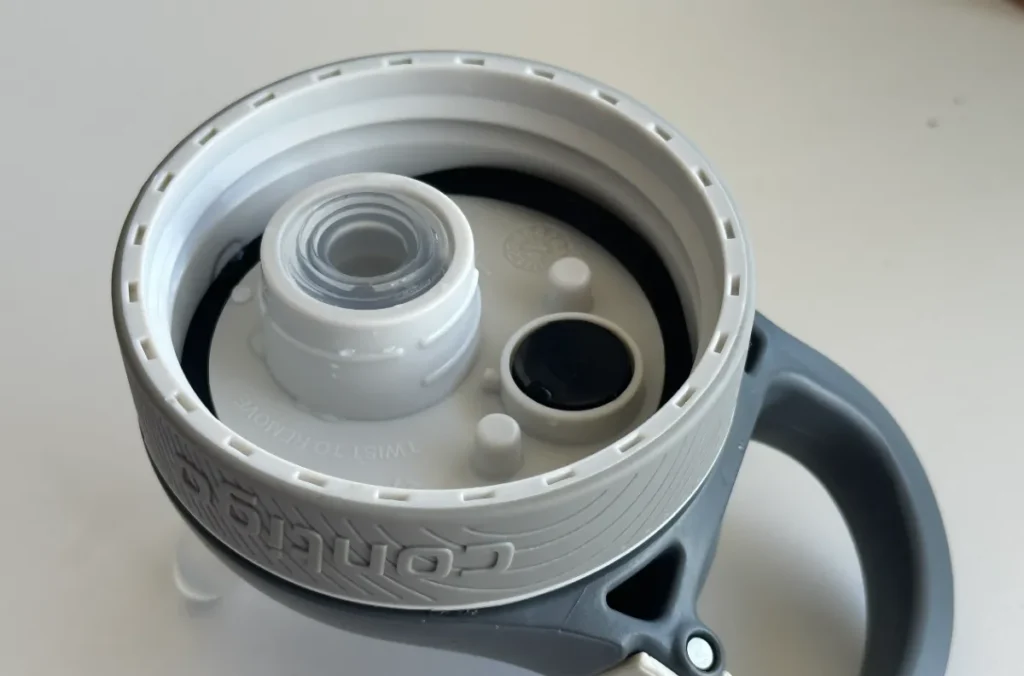
If you’ve ever looked closely under your Contigo lid, you may have noticed a recessed rubber gasket above the threads (keep in mind, not all Contigo lids have a gasket).
The purpose of the gasket is to form a watertight seal between the lid and bottle.
If the O-ring wears out (which will happen much faster than any other part of the bottle) or is even slightly out of place, leaking is very likely.
Sometimes the O-ring stretches over time and means it isn't sitting in it's housing properly which can lead to a slow leak.
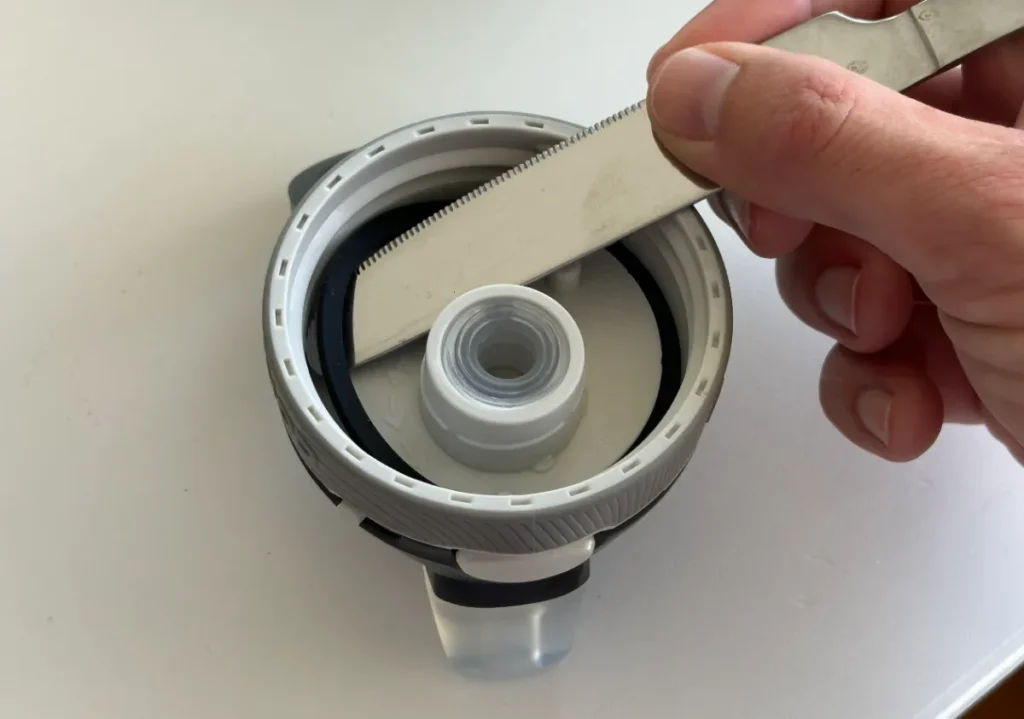
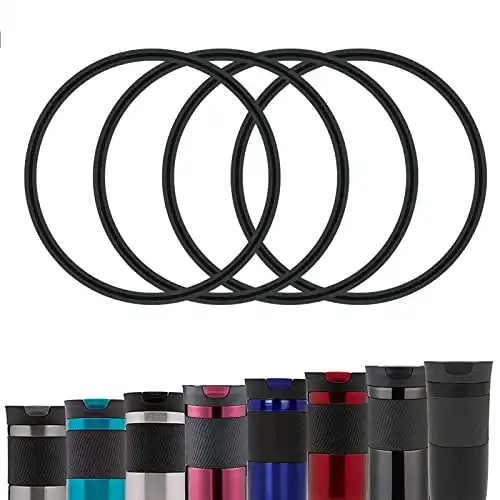
Remove the gasket (you may need to pry it out with a butter knife) and inspect for damage. If it has any small cracks or looks dry-rotted, it’s time for a replacement. You can buy a pack of 4 replacements at Amazon for an affordable price.
Made from food safe silicone these gaskets are the perfect replacement for old, worn or broken gaskets on your Contigo bottles.
If it looks to be in good shape and still has a small amount of elasticity, stick it back in your lid. It may have only been out of place and you don't actually need a replacement.
Some of Contigo’s lids have secondary gaskets as well that may be worn out.
The AutoPop lids, for example, have a smaller beveled gasket on the underside of the pop-up cap that seals at the drinking spout.
Unfortunately, Contigo doesn’t sell secondary replacement O-rings. If that’s the cause of your leak, the lid likely just needs to be replaced.
3. The Lid Is Dirty or Moldy
Contigo lids have a lot of small moving parts, so there’s a lot that can go wrong if gunk or grime get into the wrong place. One of the biggest Contigo gasket problems is a buildup of mold that you can't easily see or reach to clean.
I had this issue with one of my AutoSeal lids when one of my kids leaked juice all over the button and it started sticking instead of releasing smoothly.
I didn’t initially realize that the gunk was essentially keeping the spout slightly open at all times and water ended up leaking in my gym bag.
If your bottle is leaking and you can’t quite figure out why, a thorough cleaning of the lid followed by a long soak with water bottle cleaning tablets or diluted vinegar may help.
You may actually need to completely unscrew and pull apart the lid to clean all the areas. This can be a difficult experience and actually requires specialist tools. I don't like how Contigo make this so hard to do and I wish it was easier.
Sometimes it's just worth throwing out the lid and replacing it if it's really moldy.
4. The Bottle Or Lid Is Damaged
Contigo Bottles are durable but far from unbreakable. A small crack or chip may be the cause of your leak.
Inspect your bottle closely, paying particular attention to the threads of both the bottle and lid. Any damage, no matter how small, could be the difference between watertight and not.
5. The AutoSeal Lock Isn’t Working (AutoSeal lids)
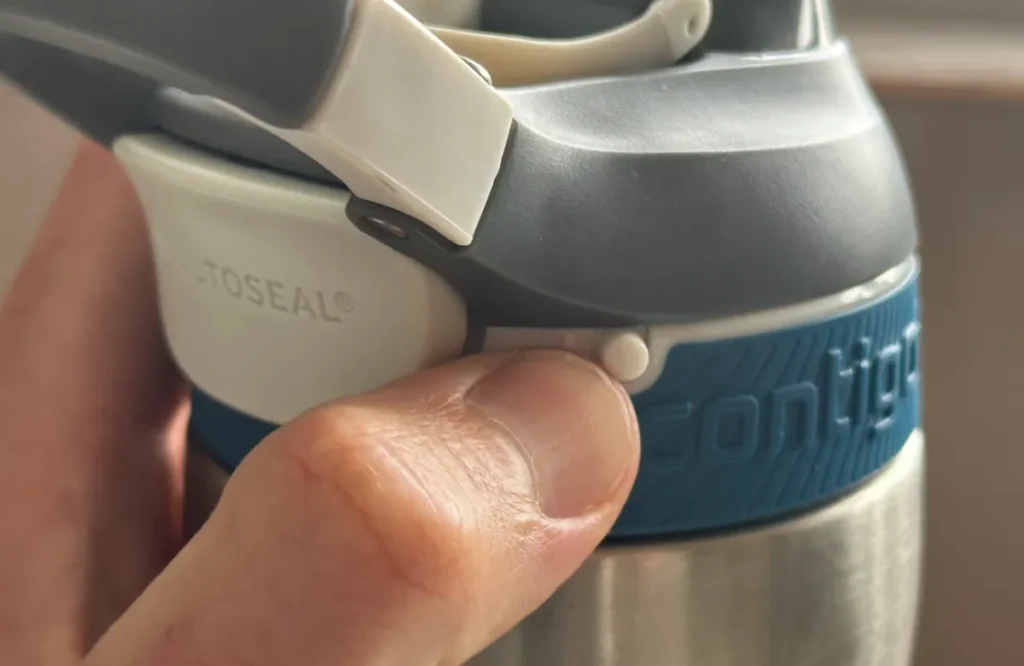
Contigo AutoSeal lids have a locking mechanism that prevents the AutoSeal button from being pressed when you don't want it to be.
Unfortunately, if the lock malfunctions, it’s not always very obvious what the problem is.
Sticking an AutoSeal lid with a broken (or mistakenly unlocked) lock in a bag isn’t going to end well. The release button is large and easy to press as your bottle jostles around in your bag full of (now wet) stuff.
Oh and don’t rely on the flip-down spout cover to help either — it isn’t watertight. It’s only meant to keep dirt out of the mouthpiece.
6. The Spring-Loaded Flap Is Broken Or Jammed (AutoClose and AutoSeal lids)
Both AutoClose and AutoSeal bottles have a spring loaded flap on the underside of the lid that helps seal the bottle when not in use.
The AutoSeal’s flap remains closed until the AutoSeal button is pressed and the AutoClose’s flap seals the bottle automatically when the straw is removed.
If the flap is damaged, dirty, or the spring gets misplaced, leaking will result. The spring needs to be active to push the seal back into place and stop leaks. If you have an issue with the spring then it won't reseal firmly in place and your bottle can leak a lot.
Sometimes, especially with AutoClose lids, the fix is as simple as reattaching the spring.
7. The Air Valve Has Popped Out
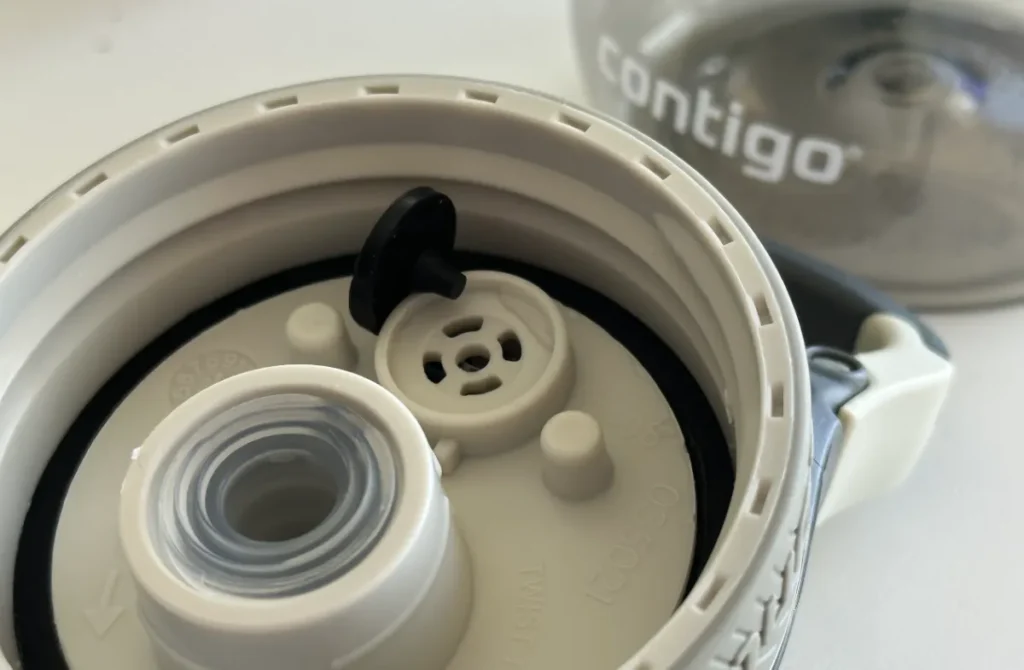
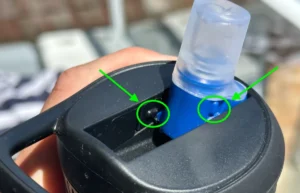
Some Contigo lids (like the AutoSpout straw lid) have a one way air valve on them. This valve allows air in while you're drinking so pressure doesn't build up but it doesn't allow air (or water) out of the bottle.
However, sometime this valve comes out (maybe during the cleaning process) and can be lost or not connected properly.
If this happens then water has a clear path out of your lid and onto the table or into your bag whenever the bottle is placed on it's side (or you tip it to drink out of it).
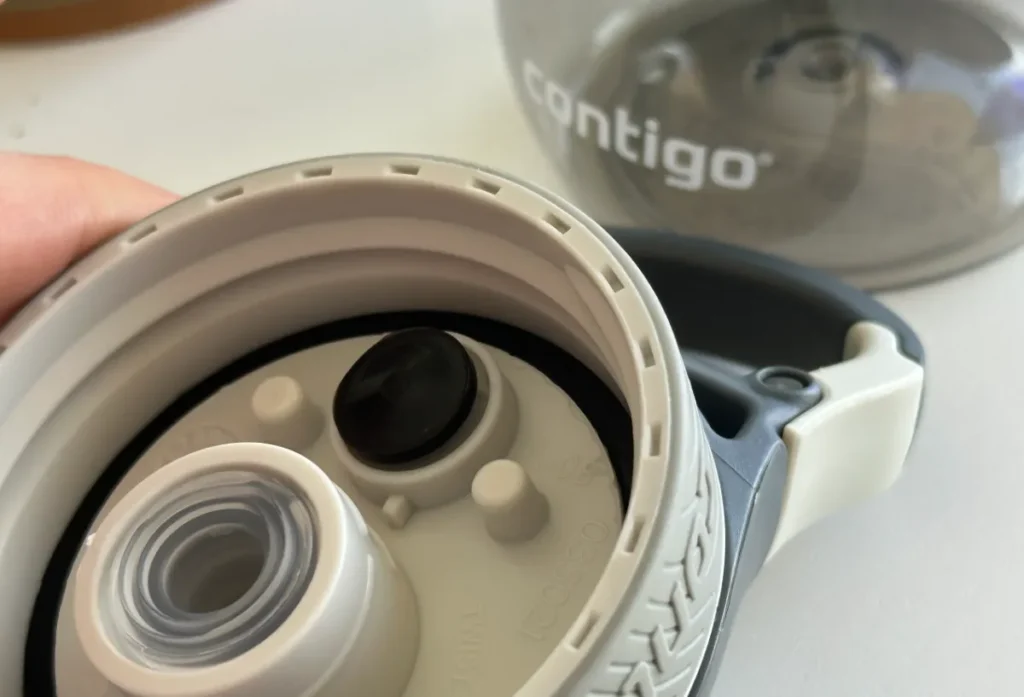
To fix this simply push the rubber air valve back into place making sure it clicks into place and lines up properly so no water can get around it.
This can be an absolute punish to get back it. I personally found the best way to do it is to get both your thumbs and push down on the air valve hard in the center and it should pop into place.
8. You've Got It In Cleaning Mode
The Contigo Autoseal lids have a “Push to Clean” mechanism that allows you to clean the parts more easily.
However, if this hasn't been put properly back in place the your Autoseal lid won't reseal anymore and it'll leak everywhere.
Make sure that you click it back into place after cleaning to ensure everything works properly.
9. It's Not Leaking But The Lid Has Water In It
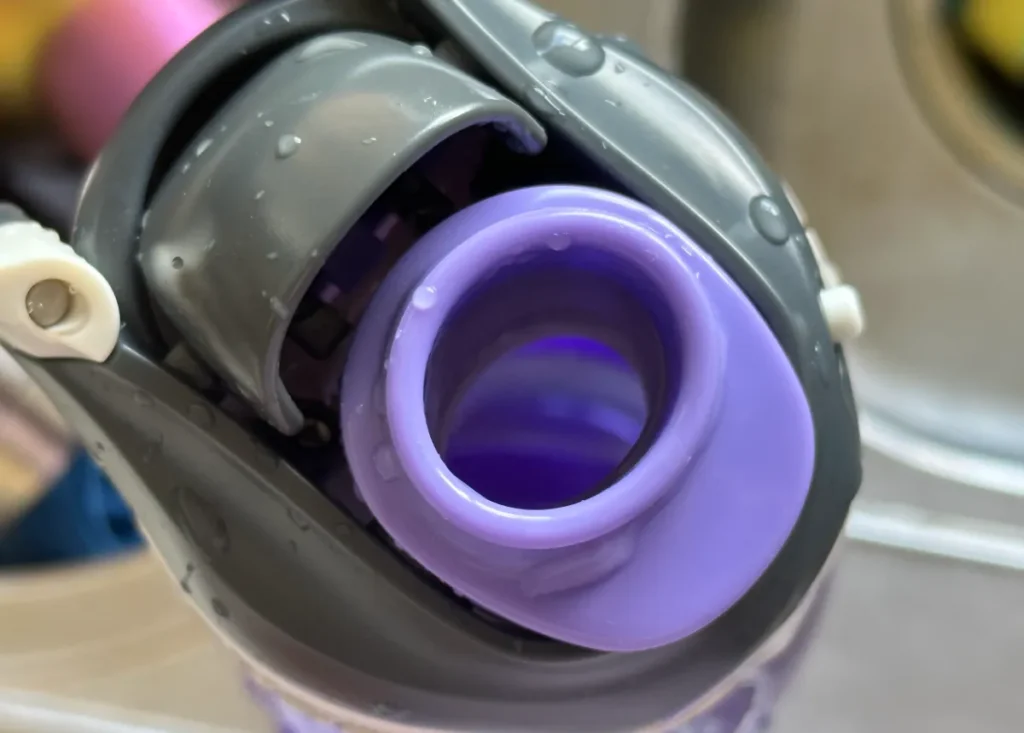
This is an issue that happened with my daughter and her Contigo Autospout Chug bottle but it can happen with a variety of other Contigo lids as well.
The lid itself can actually fill up with a bit of water and hold this water until it's tipped upside down. This can make it seem like your bottle is leaking when really it isn't – it's just that the lid has some excess water in it that is leaking out.
If you've just cleaning your bottle or you've refilling it with the lid on theres a chance that there's some water stuck in the lid.
This will leak out when you turn it upside down but quickly it'll stop leaking after all the water has gone.
Make sure to shake out the lid before placing it on your bottle to stop this mini-leak from happening.
Older Contigo Bottles Are More Prone To Leaks
Old double-walled, insulated Contigo Bottles frequently had problems with water and condensation getting trapped between the walls and slowly leaking out, giving the impression that the contents of the bottle were leaking.
The root of the issue was that during dishwashing, temperature changes would compromise the vacuum seal and allow moisture to slowly build up between the walls (and cause the bottle to lose insulation as well).
The original stainless steel Contigo Bottles also had problems with the size of the threads on the bottle not quite matching those on the lid.
As a result, the plastic threads of the lid would slowly get shredded by the threads of the bottle every time the lid was tightened, eventually causing the bottle to leak.
The good news is, both of these issues have been resolved in newer Contigo Bottles. The bad news is, there’s really no easy fix to either — aside from replacing your bottle.

