A cold stream of water running down your back from a leaking CamelBak is a quick way to ruin a nice hike or bike ride.
Making matters more frustrating, leaks can pop up out of nowhere, with no obvious cause.
But before you can fix your leaking reservoir, you need to figure out exactly why it’s leaking.
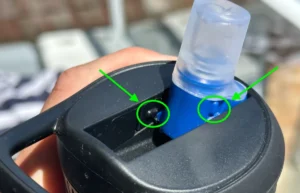
There are several common reasons a CamelBak bladder may be leaking. The lid may not be sealed properly, the bite valve or tube could be worn out or damaged, the gasket on the tube may be misplaced, you may have a small hole, or a seam may be damaged.
CamelBak Fusion reservoirs may leak for all of the above reasons, and because the TRU Zip zipper is warped, dirty, or needs to be relubricated.
Before you throw away your leaking CamelBak bladder, it’s worth trying to find and fix the leak. Sometimes, there’s a really simple solution.
Below are the nine most common causes of a leaking CamelBak bladder, how you can identify the cause of the leak, and what you can do to fix it.
How To Find A Leak In A CamelBak
Before you can fix your leaking CamelBak, you’ll need to figure out exactly where the leak is coming from. Sometimes it’s completely obvious. Other times, not so much.
If the mouthpiece is leaking, for example, it’s either a faulty bite valve or a loose connection between the mouthpiece and tube.
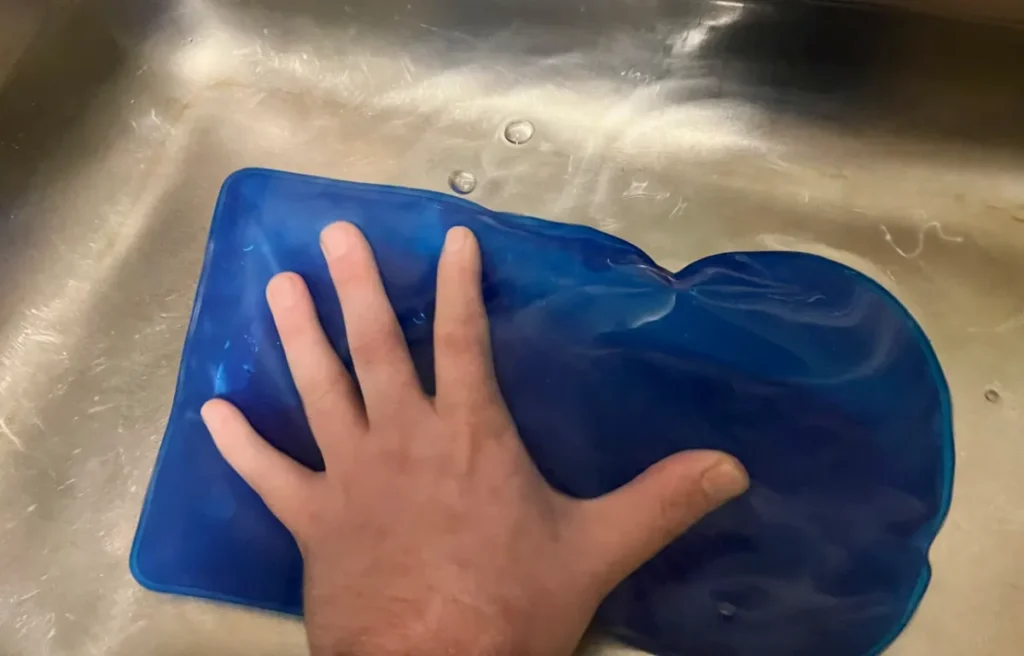
If the leak is coming from the bladder itself, it may not always be quite so easy to tell. To help figure it out, try the following:
- Remove the tube from your CamelBak.
- Fill the bladder with air and seal the lid tight. If you have a hard time, you can inflate it by blowing into the mouthpiece.
- Place underwater and give the bladder a squeeze with moderate pressure.
- Look for small air bubbles escaping the bladder. Wherever the bubbles are coming from is the source of the leak.
- If there are no bubbles, reattach the tube and try again. If the tube port is the issue, it may only leak with the tube connected.
1. The Lid Isn’t Sealed Properly
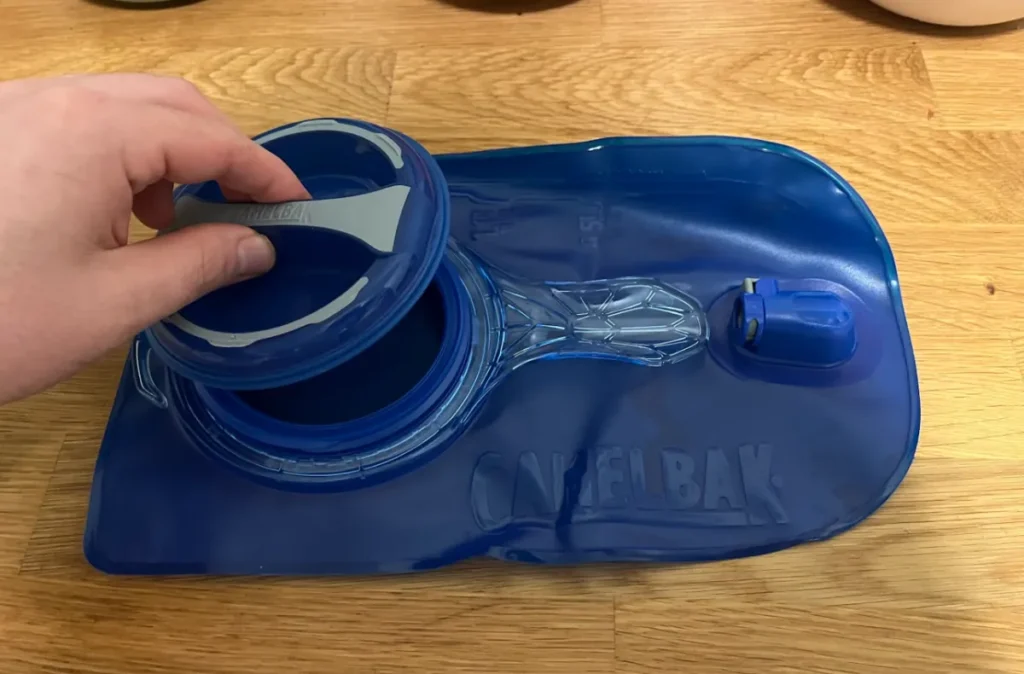
By far the most common cause of a leaking CamelBak bladder is the lid not being properly sealed — and luckily it’s also the easiest type of leak to fix.
While the simple twist-on cap might seem pretty straightforward, it’s surprisingly easy to line up the threads incorrectly without realizing it because it will still usually close smoothly regardless.
This has happened to be numerous times and it's one of the biggest problems with CamelBak bladders and something people complain about a lot.
To ensure that the lid is properly sealed:
- Place the lid on and turn it counterclockwise until you hear a click. This ensures that the threads are properly aligned.
- Turn the lid clockwise until it seals tight.
- Dry off the exterior of the bladder, shake and squeeze it cap-down, then check for water around the lid to make sure the issue is resolved.
2. You Need To Replace Your Bite Valve
The second most common cause of a leaky CamelBak is a worn or damaged bite valve.
Over time, the bite valve will wear out from normal use and will likely need to be replaced every couple of years, depending on how frequently you use your CamelBak.
Bite valves are also prone to damage if washed incorrectly (learn how to properly wash your CamelBak here).
You should never stick anything into the bite valve to clean it, instead gently massage it between soapy fingers or soak it in cleaning tablets or vinegar to disinfect.
The good news is, it’s an easy problem to identify because, unlike most other leaks, it will originate from the mouthpiece rather than the bladder itself.
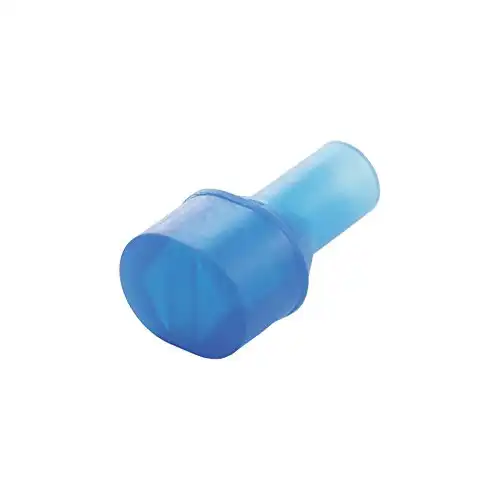
The bad news is, there’s really no easy way to fix it. The bite valve just needs to be replaced and you can purchase affordable CamelBak bite valve replacements from Amazon.
Patented Big Bite Valve mouthpiece offers hands-free hydration and is ideal for any high-performance situation. Self-seal after each drink.
If it's not the bite valve section that is leaking but rather the 45º On/Off valve then you can also purchase replacements for that as well.
Replacement Bite Valve for the CamelBak Crux hydration pack. Ergonomic on/off valve only - does not come with bite valve.
3. The Tube Port Isn’t Sealing
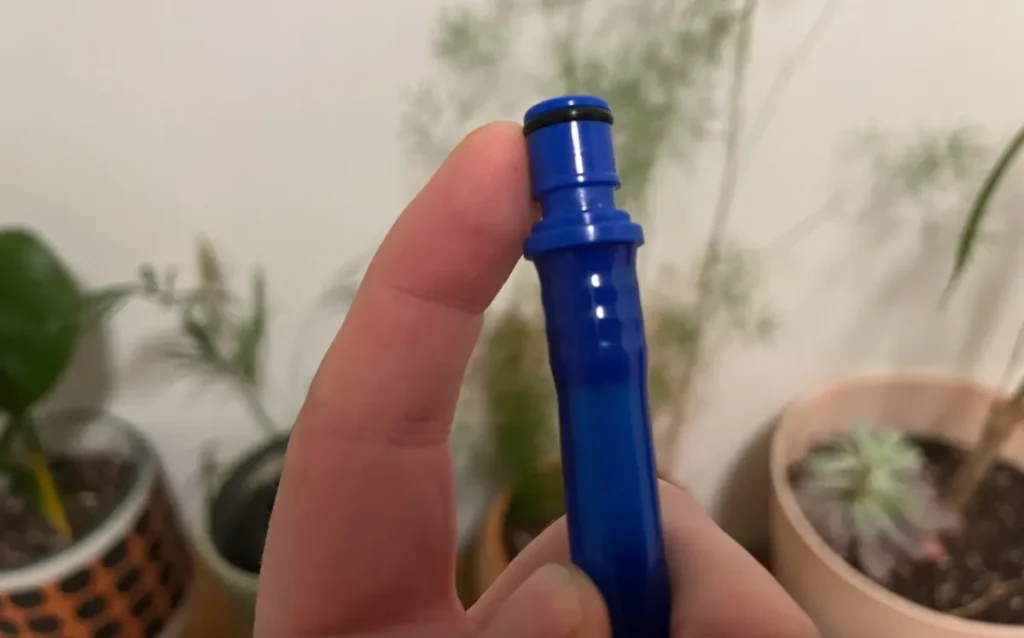
If your leak is originating from the tube port, a misplaced gasket is often to blame. Try to slide it back into the recessed slot at the very end of the tube if you can.
If the gasket’s already in the right place and your tube port is still leaking, the gasket may be worn out or warped (fairly common if you place hot or boiling water in your reservoir) or the sealing mechanism may be damaged in some other way.
You can try to replace the small gasket, but CamelBak doesn’t sell replacements directly. You’ll have to take it to a hardware store to try to find a match.
Just keep in mind, this won’t always fix the leak if it’s some other issue with the port. You’re often better off just replacing the bladder.
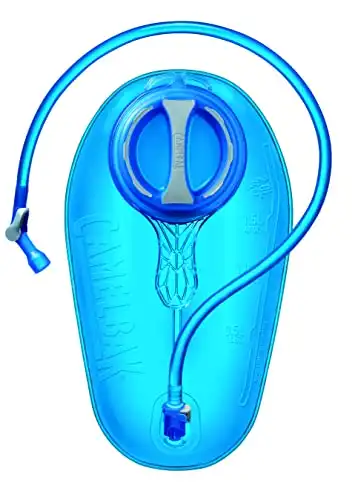
CRUX REPLACEMENT WATER RESERVOIR: The CamelBak Crux 2-liter hydration bladder features an improved ergonomic shape and improved water flow fits easily in your CamelBak water hydration backpack.
4. Your Tube Is Worn Out
With age and frequent use, your CamelBak’s tube may start to stretch out and leak thanks to a weakened seal where the mouthpiece attaches.
If the leak is originating from the connection between mouthpiece and tube, this is almost always the problem.
On older CamelBaks, without a quick release button, the tube can become worn out on either end — where it connects to the mouthpiece or to the bladder. This is particularly true if you remove the tube from the bladder regularly for cleanings.
In either case, the only solution is to replace the tube. You can still keep the same mouthpiece as long as the bite valve is still in good shape.
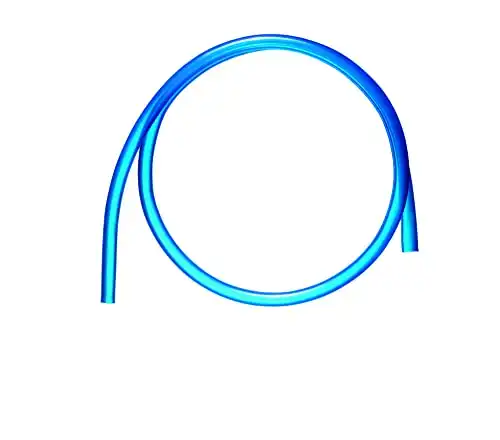
The CamelBak Crux™ replacement tube has larger diameter and offers more water per sip than previous tubes. Pair with the Crux™ reservoir on/off valve (sold separately)
5. Your TRU Zip Zipper Needs To Be Reset (Fusion Reservoirs)
The TRU Zip zippers found on CamelBak’s Fusion reservoirs are made of two toothless tracks that lock together tightly to prevent leaking.
But to seal correctly, both tracks must maintain their shape. The problem is, unless the reservoir is stored flat with the zipper closed at all times, the tracks can become misshapen.
Luckily, the fix is pretty simple because TRU Zip zippers are self-healing. Simply close the zipper and let the reservoir rest flat for at least 24 hours.
If it’s still leaking afterward, try the next step.
6. Your TRU Zip Zipper Needs To Be Cleaned And Lubricated (Fusion Reservoirs)
If the TRU Zip zipper on your Fusion reservoir was given time to reset and is still leaking, it may just require some routine maintenance.
- Start by cleaning the zipper. Gently scrub with hot water, mild dish soap, and a washcloth or sponge.
- Dry with a clean, dry cloth.
- After cleaning, lubricate the zipper’s tracks with TRU Zip Lubricant Wipes.
- Open and close the zipper ten times to spread the lubricant thoroughly across the tracks.
- Wipe away any excess lubricant with a clean, dry cloth.
- Store the reservoir flat with the zipper closed.
7. There’s A Hole In The Bladder
Depending on the size of the hole in your bladder, there are a few different fixes you can try. Read the full guide to fixing CamelBak bladder holes.
For tiny holes (about the size a needle would make), hold a lighter a few inches away from the reservoir. The heat is often able to seal the hole entirely.
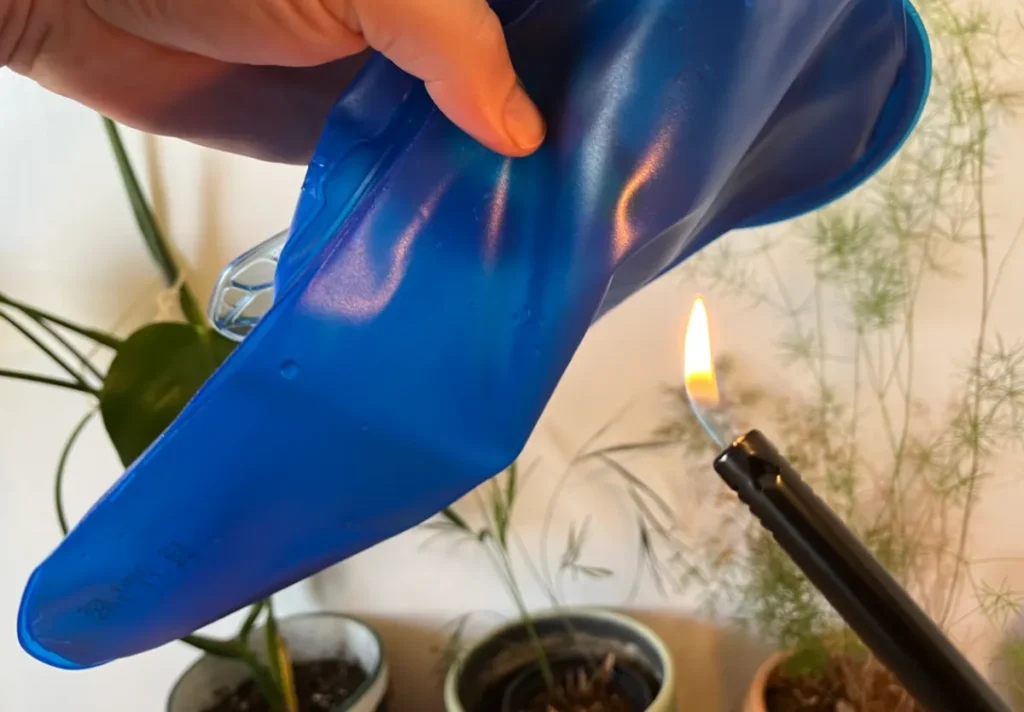
Just be careful not to let the flame too near your bladder, or you’ll be in the market for a new one.
For larger holes, your best bet is to buy a new bladder. There are a few ways to patch the hole, but they all involve using strong adhesives that may leach harmful chemicals into your drinking water.
To me, it’s not worth the risk. But ultimately, it’s up to your own personal comfort level.
But if you’re in a pinch, they do work pretty well in the short term until you can find a replacement.
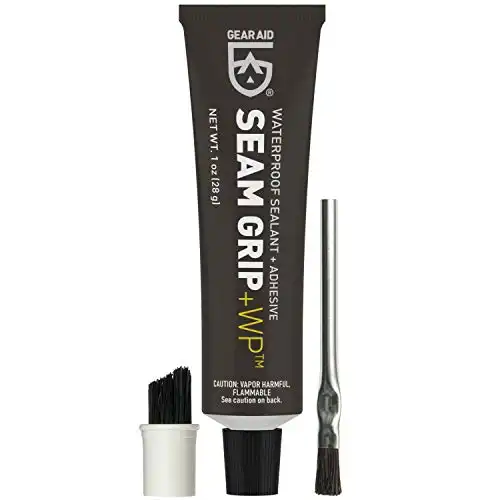
Slightly larger, but still small holes (less than ½ inch in diameter) can be sealed with Gear Aid’s Seam Grip.
Seal seams and permanently repair holes in tents, tarps, awnings, rainflys and camping gear. Apply it to repair or re-proof gear without worrying about the seal peeling or cracking
Back the hole with a piece of duct tape and spread Seam Grip across it. When it dries, remove the tape and you’ll be left with a strong waterproof film.
Larger holes can be patched with Gear Aid’s Tenacious Tape or even just a couple strips of duct tape.
Cut a piece just larger than the hole and place it on firmly, then seal it again with a second piece that’s about an inch wider than the first. Press firmly to adhere both to your bladder.
8. A Seam Is Split Or Ruptured
As CamelBaks age or sit unused for too long, the seams may become brittle and begin to separate. If your bladder is placed under excessive force, (from falling on or sitting on it, for example) the seams may rupture.
Whatever the cause, the only way to repair a damaged seam is to seal it with an adhesive like Gear Aid’s Seam Grip.
But the problem is, much like repairing large holes in your bladder, adhesives may leach harmful chemicals into your drinking water.
Repairing a busted seam is okay in the short term, but not recommended as a permanent solution.
Your bladder is better off being replaced.
9. Your CamelBak Isn’t Leaking, It’s Sweating
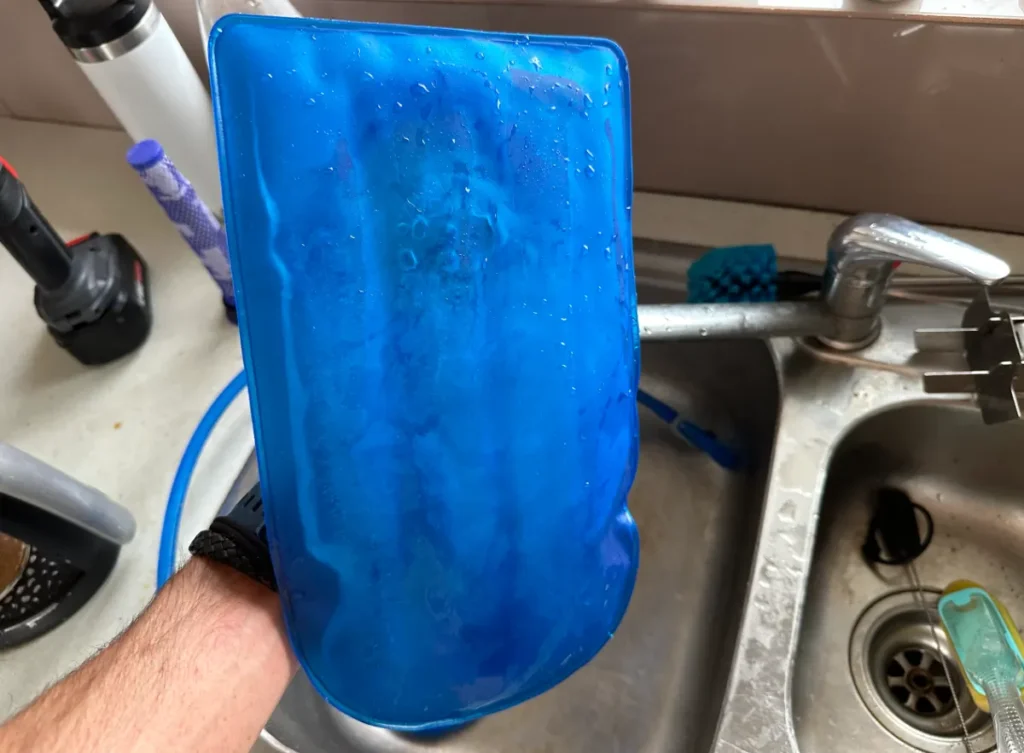
Most CamelBak bladders provide no insulation, so if you’re loading your reservoir with ice cold water or pre-freezing your CamelBak in the freezer, and then taking it out on hot, humid days, sweating will occur — sometimes a LOT of sweating.
If enough collects, it can begin to run down and drip from your pack, giving the impression that the bladder is leaking when it’s not.
To test, take your pack out for normal use filled with room temperature water (which won’t sweat) and see if you notice any “leaking”. If not, you likely have no leak at all.

