CamelBak bladders are pretty tough, but they often end up enduring quite a bit of abuse over time due to normal use. But don’t worry, if you’ve managed to put a hole in your CamelBak bladder, all hope isn’t lost — most holes can be repaired.
The best method to fix a hole in a CamelBak bladder depends on its size and the type of hole. Pinholes can be repaired with a small dab of super glue (or any other strong adhesive) or by holding a lighter a few inches from the bladder to melt it shut. Larger holes will require sealing with an adhesive or waterproof patch, depending on its size. Split or ruptured seams can be sealed with seam glue.
Just keep in mind, using an adhesive to plug a pinhole or adhere a patch to your bladder may leach harmful chemicals into your drinking water and works better as a temporary, emergency solution.
Before you toss your CamelBak because it has a hole, it’s at least worth trying to fix. At worst, you wasted a few bucks on some glue or tape, but if all goes well, you saved your bladder.
First, Find The Hole
Some holes may be large and obvious but others are less obvious and can be difficult to find where exactly the leak the is coming from.
If your CamelBak bladder is leaking you first want to find exactly where the hole is so you can repair it correctly.
There are 2 main ways to do this.
The first method is to fill up your CamelBak bladder, close the lid and then apply some pressure to the bladder and see if there is an obvious spot where water is leaking out.
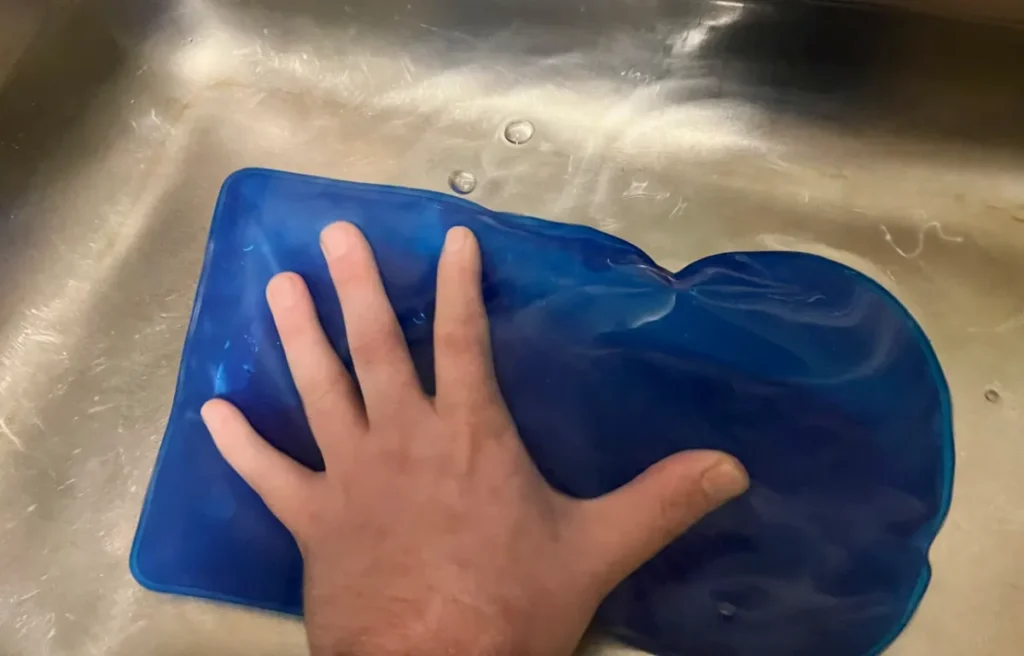
The second method is to fill up your CamelBak bladder with air and then submerge it under water in your sink or bathtub.
Apply some pressure to the bladder and look for air bubbles coming out. This will reveal to you exactly where the leak is.
Repairs Using Adhesives May Not Be Great Long Term Solutions
Even though most holes in a CamelBak can be repaired well enough to stop your bladder from leaking, not all fixes are great permanent solutions.
Any repair using an adhesive or patch works well in a pinch, but may leach harmful chemicals into your drinking water in the long term.
I personally wouldn’t use a glued or patched bladder for anything more than a few days while I finish my hike or wait for my new bladder to arrive.
Ultimately, it comes down to your own comfort level with the risks involved.
How To Fix A Small Hole In A CamelBak Bladder (smaller than ½”)
Not too surprisingly, small holes in a CamelBak are the easiest to fix. Depending on the size of the hole, there are two different methods you can try.
Pinholes can usually be sealed with nothing more than a lighter. Slightly larger holes, up to about ½ inch in diameter, can be sealed with a strong adhesive.
If the hole is so small that you’re having a hard time finding it, fill the bladder with air, seal it shut, submerge it in water, and give it a gentle squeeze. You should see a small stream of air bubbles escape from wherever the hole is located.
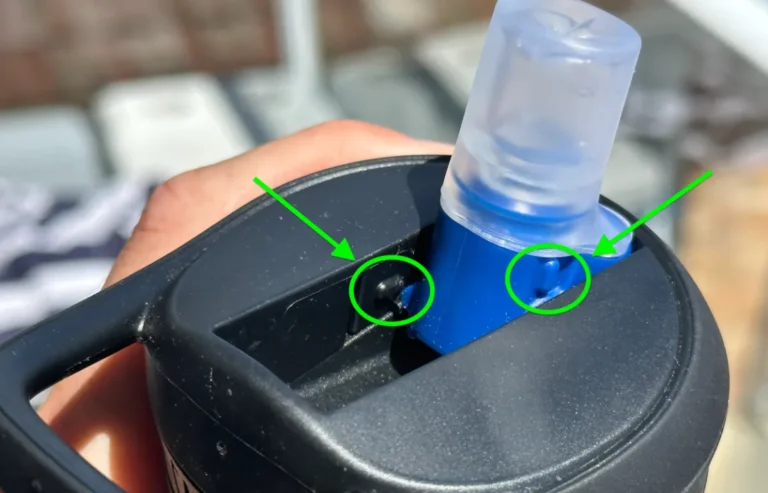
If there are no bubbles or they’re coming from the tube port or cap, your bladder is most likely leaking for some other reason.
Seal It With A Lighter
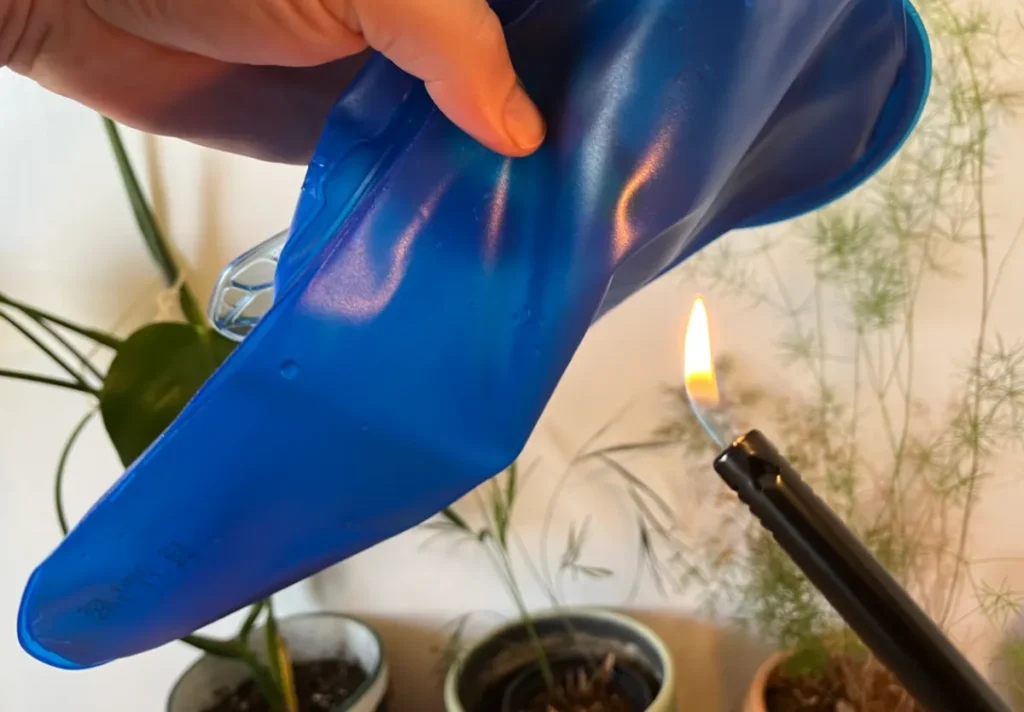
To fix a pinhole in a CamelBak bladder, hold the flame of a lighter a few inches from the hole for three to five seconds. Oftentimes, the heat will simply melt it sealed.
Just be careful not to let the flame too near the bladder, or you risk burning an even larger hole than you started with.
Give your bladder a good wash before using it again and make sure the leak is completely sealed before you take it back out on the trail.
Seal It With Adhesive
For holes up to about ⅛ inch in diameter, you can simply rub a small dab of super glue, seam glue, Gear Aid Seam Grip, or any other strong adhesive across the hole on the exterior of the bladder.
- Thoroughly clean and dry the area around the hole.
- Spread a small dab of adhesive across the hole.
- Let it fully dry.
- Test for leaks by filling your bladder and going for a short walk.
Holes up to ½ inch in diameter and slits up to about two inches in length can also be sealed with adhesive by using a temporary backing:
- Thoroughly clean and dry the area around the hole or slit.
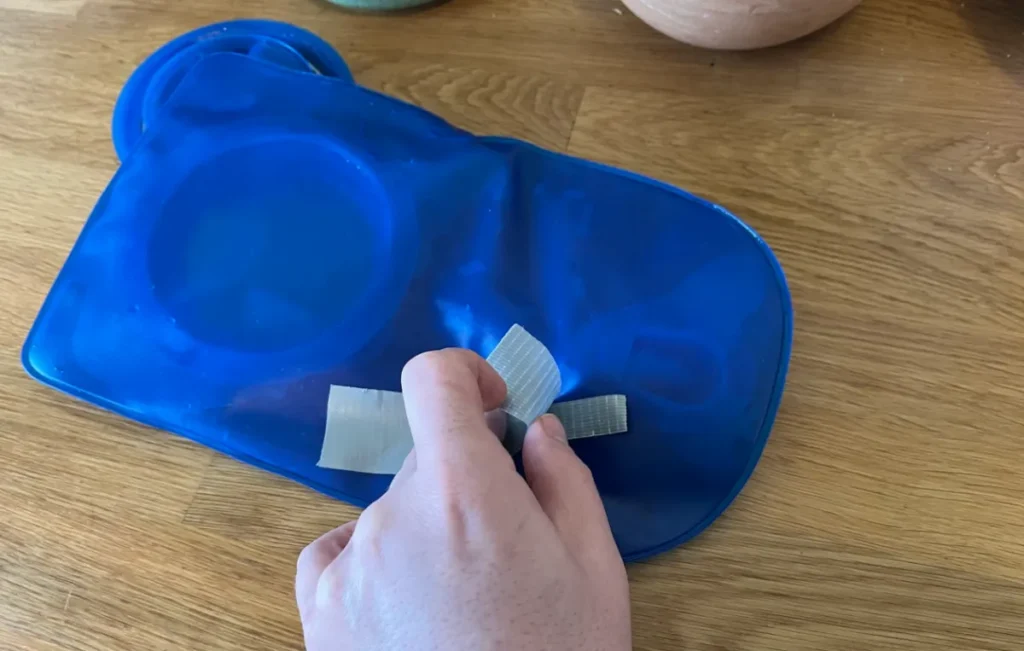
- Place a backing of duct tape on the interior of your bladder that fully covers the hole or the entire length of the slit, and make sure the slit is properly aligned.
- Spread a thick layer of Gear Aid’s Seam Glue on the exterior of your bladder, fully covering the hole or slit, and spreading at least ¼ inch past the damaged area.
- Let the Seam Glue fully dry, usually about 8 to 12 hours.
- Carefully peel off the duct tape backing.
- Before using the bladder, fill it and go for a quick walk. Check for leaks when you return.
For this method you may want to use a masking tape or some type of tape that doesn’t have a super strong adhesive and will be easy to remove once the seam glue has completely set.
Using a super strong duct tape make rip off the seam glue when you finally remove the tape. So be cautious.
How To Fix A Large Hole In A CamelBak Bladder (larger than ½”)
Holes larger than ½ inch in diameter and slices more than two inches in length need to be patched.
Gear Aid’s Tenacious Tape works great, but if you don’t have any on hand, duct tape will work well enough in a pinch for a few days.
- Thoroughly clean and dry the area around the hole or slit.
- Cut a length of tape large enough to cover the entire damaged area with a small amount of overhang on all sides.
- Cut a second piece of tape about ¾ of an inch larger on all sides than the first.
- Place the first piece of tape over the hole with the sticky side away from the bladder. This will limit the amount of water that contacts the adhesive directly.
- With the larger piece of tape, cover the hole and the first piece of tape entirely.
- Press firmly to adhere.
- Before taking your bladder out for use, fill it with water, take a quick walk, and check for leaks.
How To Fix A Split Or Ruptured Seam In A CamelBak Bladder
If your CamelBak is splitting at one of its seams, either due to age or because it ruptured from pressure, it can be repaired using seam glue.
- Gently tear the damaged seam until it stops separating under moderate pressure. Sealing a weakened seam without doing so will only lead to a new rupture alongside your repair.
- Clean and dry the interior of the seam as well as possible.
- Apply a thin layer of Gear Aid’s Seam Glue along both sides of the split seam.
- Press together firmly and let rest until fully dry, usually about 8 to 12 hours.
- Before using your bladder again, fill it, take a short walk, then check for leaks.