Ice packs are a great way to keep food cold for a few hours so your yogurt, sandwiches, drinks and other food can stay cold until lunchtime.
However, sometimes you find your ice pack melts too quickly and your food warms up before you get a chance to eat it.
No one wants to eat warm yogurt or have the meat and cheese on their sandwiches become lukewarm. So how can you get your ice pack to last longer in your lunch box?
The best way to make ice packs last longer in a lunch box is to invest in a great insulated lunch box and to place multiple ice packs together in the middle of your lunch box. A well insulated lunch box with ice packs working in tandem means that your ice packs will stay frozen longer. That will keep your lunch cold, and tasting great, for longer!
Of course, there are other ways to make ice packs last longer in a lunch box. It’s all about keeping your food fresh, and while some methods work better than others, I’ve got a solid list put together for you.
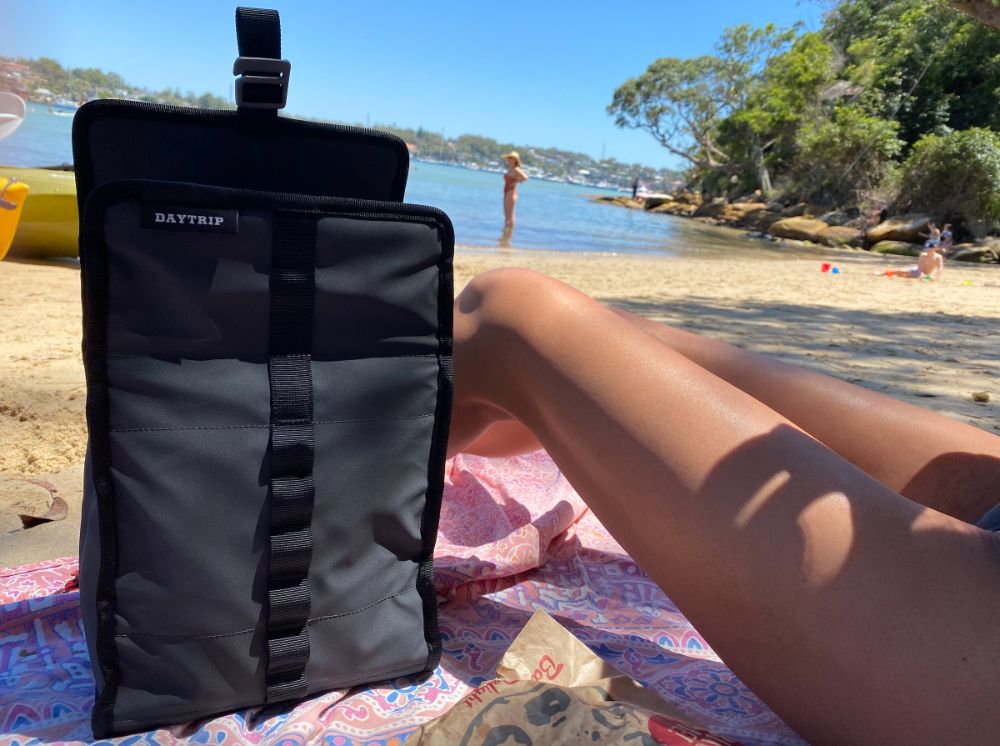
I do a lot of exploring and traveling around, and I prefer to bring my own food. As a vegetarian sometimes relying on the availability of healthy food when I’m out and about can be dicey. So keeping my food cold while I’m on the road is essential.
It would be a waste to pack a great lunch and then find that it’s lost its appeal because it’s no longer cold. Even worse, there could be food safety issues if my food has gotten too warm. But how do you make ice packs last longer in a lunch box?
1. Location, Location, Location
Important in real estate, location is also key for making your ice packs last longer.
I’ve discussed the importance of this before, in terms of the best ice pack placement for keeping your food cold, but where you put your ice packs matters and some placements are better than others.
If you need to keep all of the food in your lunch box equally cold, then placing your ice packs on the top or spread out throughout your lunch box is going to be best. However, that’s going to make them melt faster that they otherwise would.
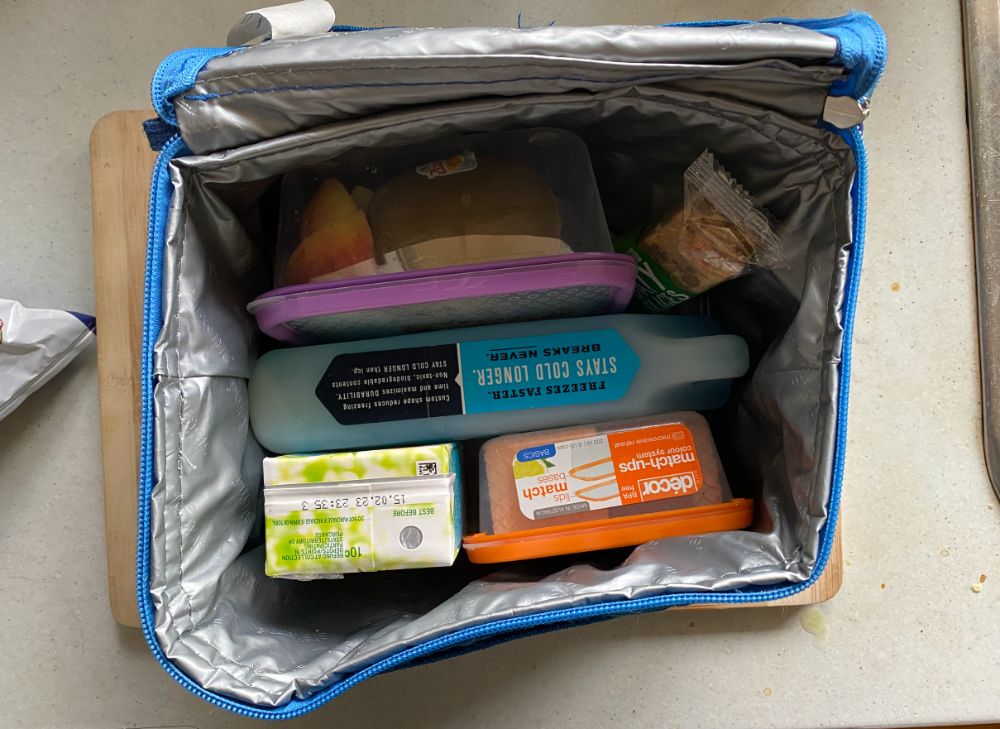
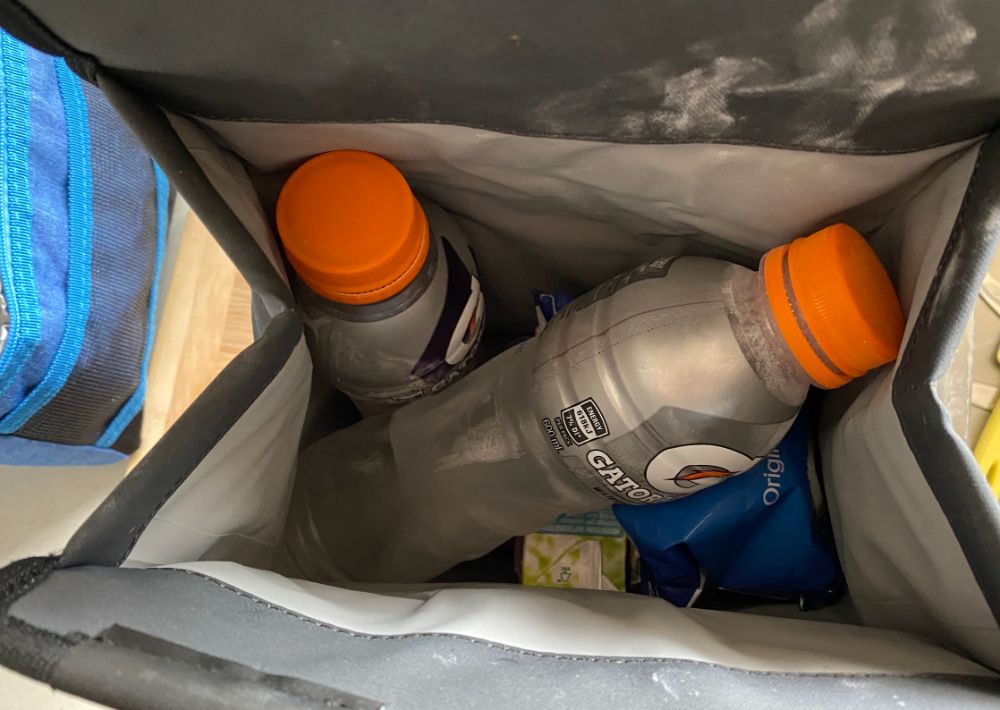
If you want the ice packs to last longer, then you’re going to need to put your ice pack in the center of your lunch box or down the bottom of your lunch, with the foods you need to keep the coldest right next to the ice pack.
This won't keep all your food as evenly cold but it'll keep the cold food coldest and your ice pack will last longer and keep this food cold for longer.
The further away food is from the ice pack and the closer to the walls of the lunch box it is the more it will warm up. So keep your dry food and foods that are ok to be warm near the edge and cold food in the middle or near the bottom.
2. Invest in a Great Lunch Box
A higher-end lunch box is going to be better insulated. The better the insulation, the slower your ice packs will melt, and the longer your food will stay cold.
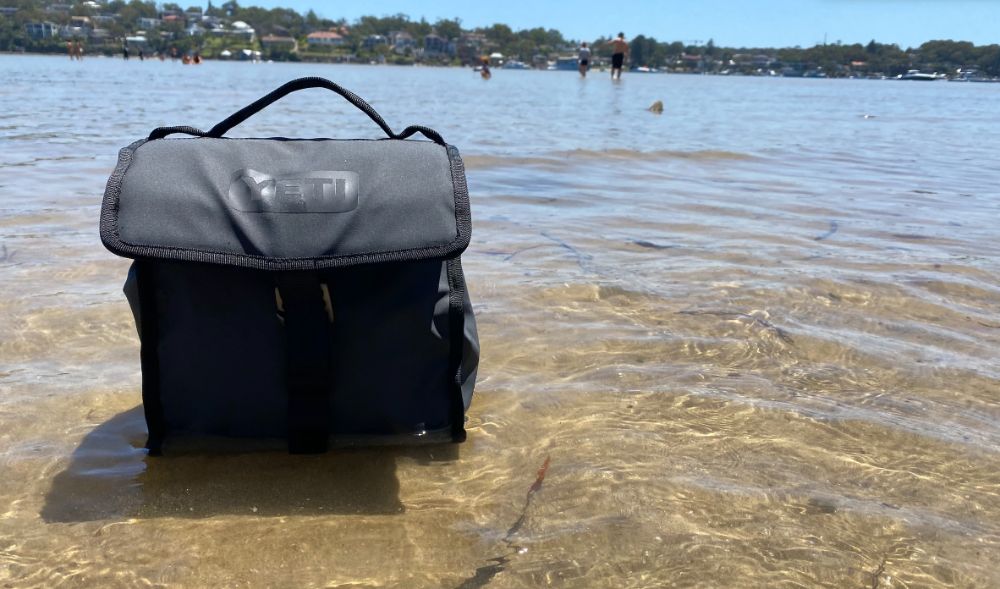
With a bag like the Yeti DayTrip, you’re not simply paying for a name. You're getting a heavy duty exterior and thicker and better insulation than any other lunch bag on the market.
The Yeti DayTrip is so good at holding ice that it can keep ice frozen for up to an entire day, or even longer in colder climates. This beats the couple of hours a cheap lunch bag will give you.
You’ll also get a 3-year warranty that will definitely be worth the investment.
Bags with more insulation may be a bit heavier, but the amount of cold retention you get is well worth the slight increase in weight. Especially if it's just for a commute, going to school or for a short hike where wait isn't really a huge issue.
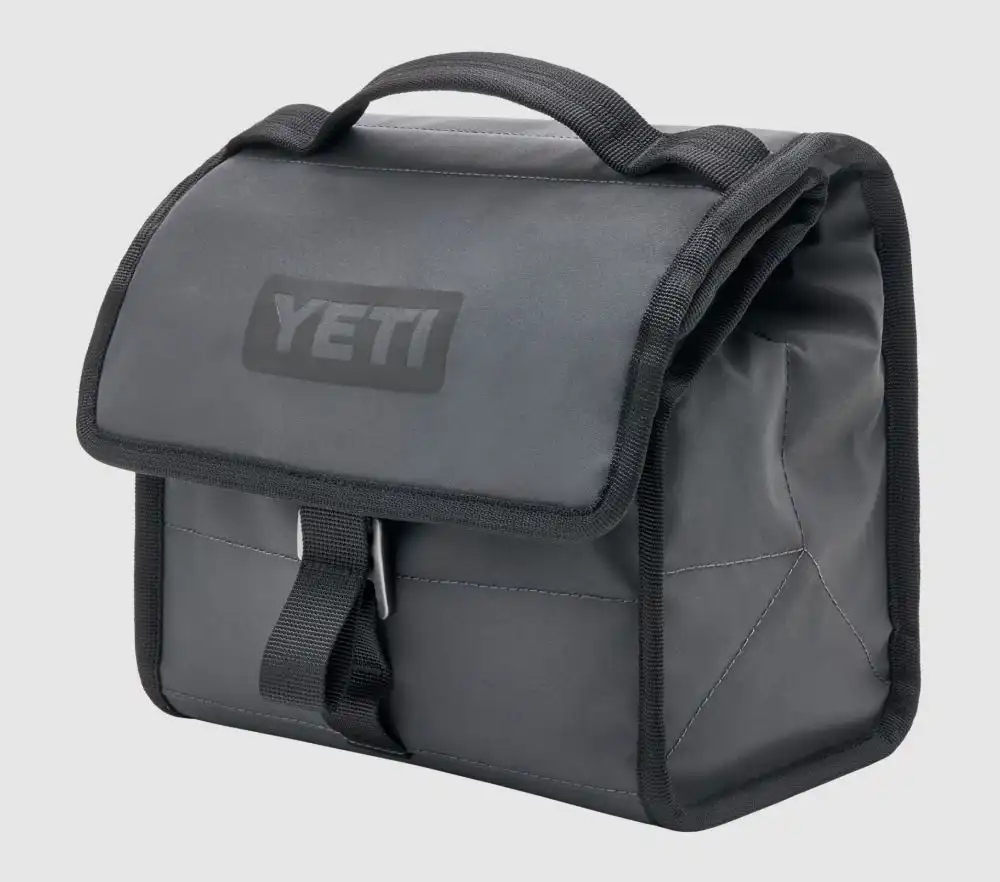
The Yeti DayTrip Lunch Bag is THE BEST lunch bag on the market (no question about it).
It's sized for personal food but features thick insulation that will keep ice for up to a full day. It expands to fit all your lunch and folds down to a super compact size for easy storage. An expensive lunch bag, but well worth it's price tag
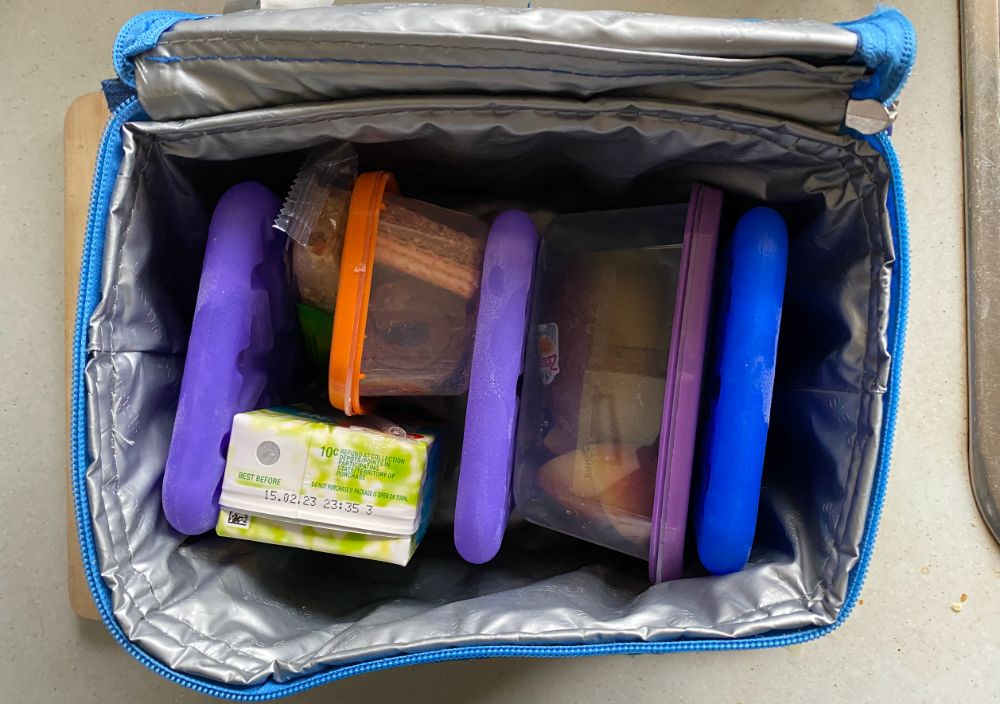
3. Use multiple Ice Packs
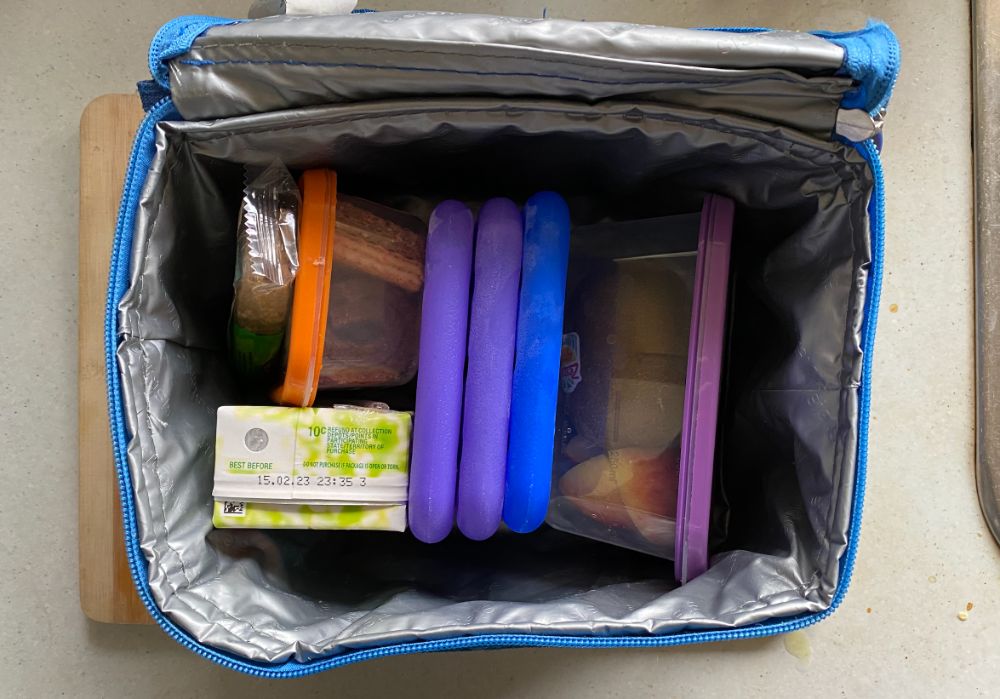
When you’re packing your ice packs into the middle of your lunch box, use more than one, if you have available space to fill.
The more ice packs you use the more cold thermal mass you are adding to your lunch box. The more thermal mass the more energy (and time) it'll take for the heat from the outside to completely melt the ice pack. So they will last longer.
For best results you want to pack them tightly together (which almost makes one large ice pack) or for even cooling you can spread them out, but they won't last as long.
Also, having empty space in your lunch box encourages the ice packs to thaw faster. So filling up empty space with extra ice packs kills 2 birds with one stone.
I like to use one or two of the firm packs in my lunch box. Then I use more flexible packs like Nordic Ice packs to fill any open space, filling from the middle out so that they stay frozen longer.
You can see my favorite ice packs for lunch boxes and coolers here.
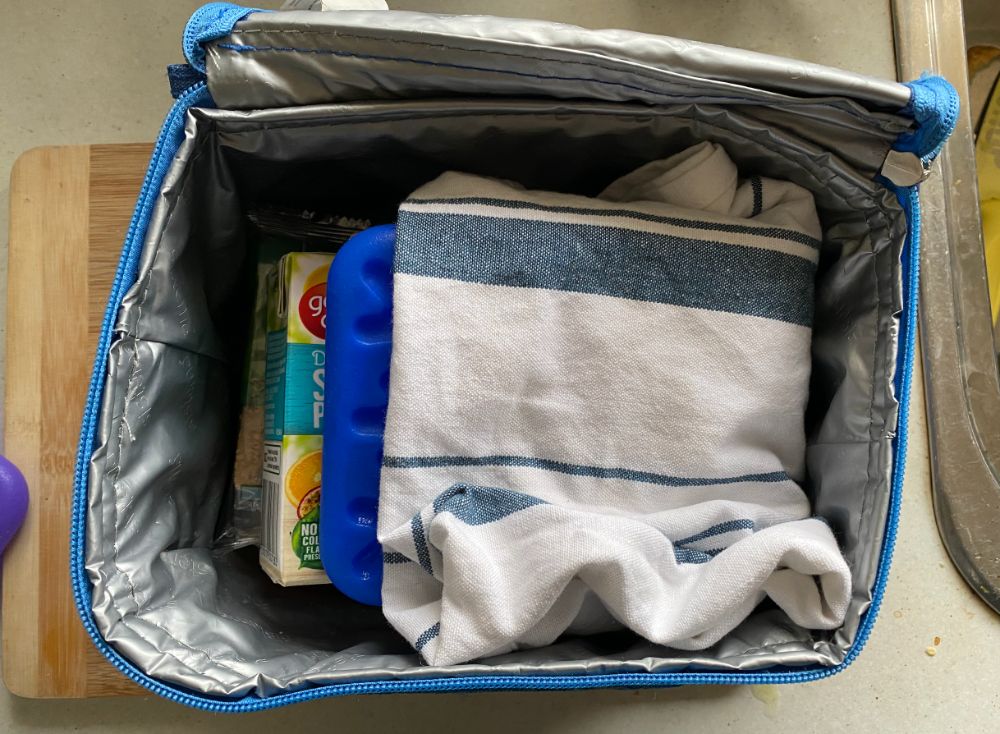
4. Wrap Your Ice Packs in Tea Towels
Remember when you were little and you twisted your ankle and your mom brought you a pack of frozen peas wrapped in a tea towel to put on your ankle?
Not only did the towel keep the frozen peas from being too cold against your skin, but it kept the peas from thawing out too quickly.
Those peas were a great DIY ice pack, and the tea towel was an amazing insulator that ensured they would keep your ankle from swelling.
The same principle works for ice packs. If you wrap them in a tea towel then less heat will get to them and they'll melt slower and last longer.
The downside of this is the towel will also keep some of the cold from transferring to your food, so it can lead food to be warmer than it otherwise would.
A solution for this is to wrap your ice packs AND cold food in a tea towel then place them in your lunch box with food that doesn't need to be cold kept on the outside of the tea towel.
5. Use Larger Ice Packs
Larger sized ice packs last a lot longer than smaller ice packs, so as long as you can handle the weight then the bigger the better.
Rather than using a 1/2 pound (250 mL) or 1 pound (500 mL) ice pack consider filling up larger water bottles and freezing them.
32 oz or 1 L water bottles will stay frozen for hours at a time. The great thing about these is that you can drink the water as it thaws meaning that you'll have less weight to carry as your ice melts and you won't have to carry a water bottle as well as an ice pack – saving on overall weight.
6. Make Your Own Ice Packs
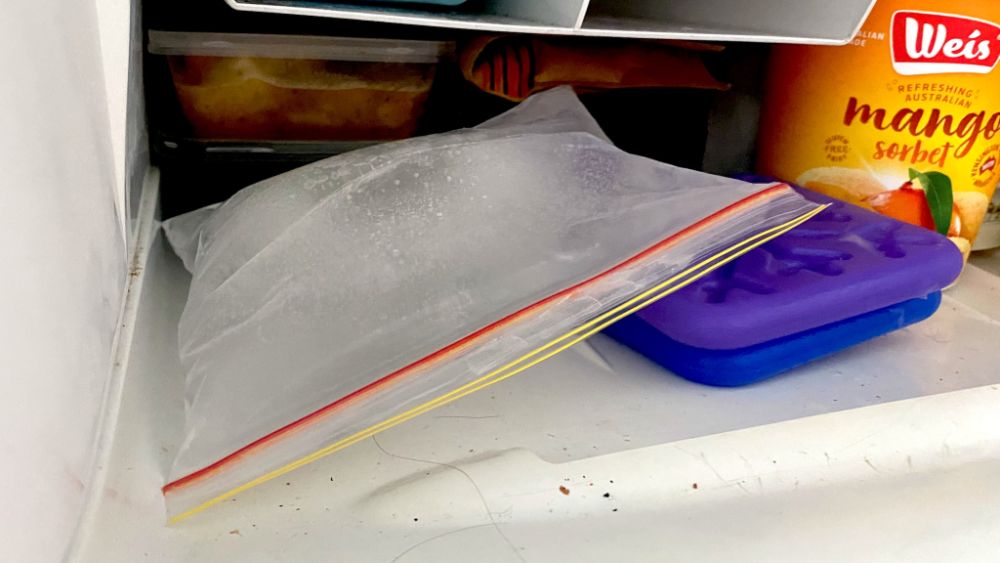
When you’re trying to fill all of the space in your lunch box, you may find that you don’t have enough ice packs.
Thankfully, it’s really easy to make your own salt-water filled ice packs. I did an entire post on this a while back!
These DIY ice packs should definitely be double bagged, and insulated with tea towels for the best results.
7. Keep Your Lunch Box Out of the Sun
This one can be challenging if you’re out adventuring. But keeping your lunch box somewhere shady is definitely going to make your ice packs last longer.
If you’re carrying your lunch box on your person, attach it to the bottom of your pack so it is at least somewhat protected from the sun.
If you’re on a boat, try to tuck your lunch bag under a seat.
Leaving your bag in a shady spot in your car has its pros and cons; sure, your lunch box will be out of the sun, but your car will be hotter than the ambient air outside.
Make Your Ice Packs Last Longer in a Lunch Box
Ideally, when you open your lunch box to eat, your food should be just as fresh as when you packed it.
Using any of the techniques above should help your ice packs last longer in your lunch box.
Just remember to wash, dry, and then refreeze your ice packs as soon as you get home, so they will be ready to go when it’s time for your next adventure!