You want to make a quick, easy and cheap ice pack for your lunch box. Instead of spending your hard earned cash on one, you probably have the few items around your house that you need to make your own ice pack.
If you want a DIY ice pack for your lunch box all you need is water and a sandwich bag and a freezer. Fill up the sandwich bag with water, place inside another sandwich bag and freeze. Extras like dish soap, rice, hand sanitizer, or a sponge can make for even better lunch box ice packs depending on your needs.
Adding salt or rubbing alcohol will help your homemade ice pack stay colder than a regular ice pack would. So if you need to keep something frozen for longer these are a great option.
Check out the best DIY ice pack ideas for your lunch box, and you can have one ready for the morning.
Make Your Ice Pack Colder With Salt and Rubbing Alcohol
No matter which DIY ice pack method you try you can make sure your ice pack stays colder than it otherwise would by using salt water.
Why? Because salty water has a lower freezing and melting temperature compared to regular water. Your salt ice pack will start out just as cold as a regular block of ice but as it begins to melt it'll stay at a colder temperature for longer than regular ice would.
For full details read this detailed article about the actual reason salt makes ice colder.
In ice packs you buy from the store they use salts or other fillers to lower the freezing point of their ice packs to achieve this same effect. But you can do it with salt you have in the cupboard.
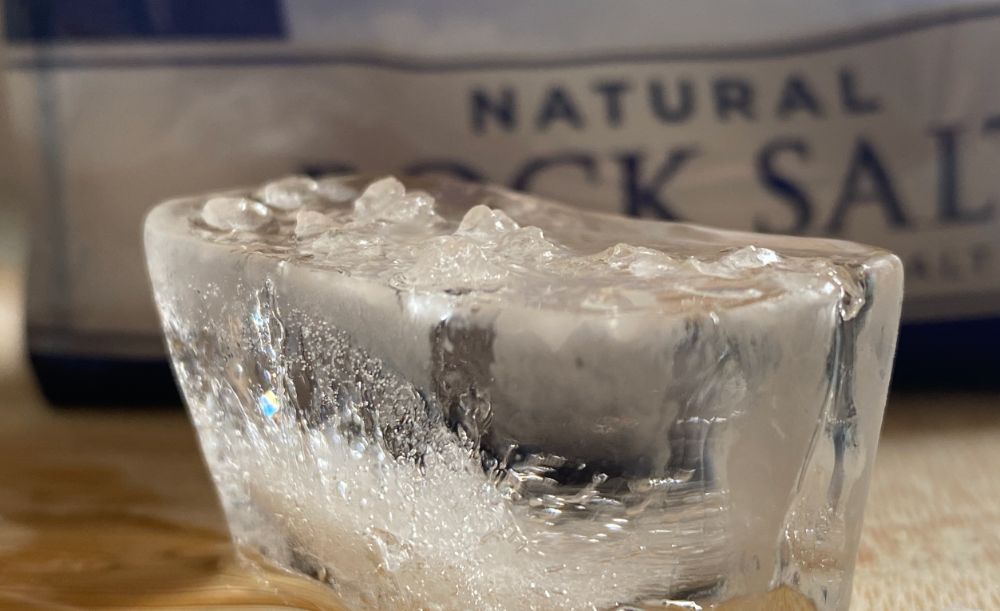
Instead of filling your Ziploc bags with regular tap water, add salt for a colder result. Consider a 12 to 1 ratio of water to salt. If you want your ice to stay even colder add more salt than this.
Salt water can stay as low as -9ºC (16ºF) compared to regular ice which will stay at just 0ºC (32ºF).
Isopropyl alcohol (or rubbing alcohol) also lowers the freezing temp in ice packs and you can use this instead of salt. However, you have to make sure your bag is sealed to avoid contamination. You don't want isopropyl alcohol going through your lunch box.
When mixing, use about one cup (8 ounces) of water and four tablespoons (two ounces) of isopropyl alcohol for a 4 to 1 ratio. You can even do both salt and rubbing alcohol if you desire.
Want to learn how to create the coldest ice pack for a lunch box? Read more details about how to make your homemade ice pack colder and last longer.
1. Dish Soap Gel Ice Packs
This gel ice pack is great for school lunch boxes because all you need to do is fill a Ziploc bag with some dish soap. Seal it closed and place it in the freezer.
The sandwich bag won't freeze solid, so you can shape it to fit your lunch box. It's ideal to double-wrap this DIY ice pack, so it doesn't leak as it melts.
There are a variety of ways you can make gel ice packs for your lunch box. Click here for additional gel ice pack ideas.
2. Rice In a Sock
For this homemade ice pack, all you need is a clean sock and some rice. Simply fill the sock with the rice, and tie a knot at the end. The amount of rice depends on the size of the sock, as well as your lunch box.
Put the rice sock in the freezer, and you will have a DIY ice pack in no time. You can also put it in the microwave if you ever need an instant heat pack.
The downside of using a rice ice pack is they don’t tend to stay cold as long as water based ice packs. They warm up much faster because they have a lot less thermal mass than ice packs made with water.
3. Sponge Filled With Water
Fill a sponge with water. You can submerge it in a bowl or simply run it under the sink.
Put the soaking wet sponge inside a Ziploc to freeze.
The following day, toss this perfect little DIY ice pack into a small lunch box to keep everything cold.
The solid block will defrost and become flexible as it melts throughout the day.
4. Gel Ice Pack from Baby Diapers
Baby diapers contain Super Absorbent Polymer (SAP) which is ideal for making gel ice packs because it prevents the water from forming one solid chunk.
Fill a fresh, new diaper with three cups of water and leave it for a bit.
Cut it open, scoop out the inside, place the SAP into a bowl and add food coloring if you want.
Otherwise, scoop the wet SAP into a Ziploc bag, remove any air, seal it and freeze your new ice pack.
5. Polar Tubes
Get a PVC pipe and caps from the hardware store. Measure your lunch box, and cut the pipe using a hacksaw or pipe cutter.
Glue the end cap on one side and fill the other with water. Don't fill it completely so you can account for expansion.
Glue the other end on the PVC pipe, so the water doesn't leak out as it melts.
Some people prefer just to place to cap on so they can change out the water in the future.
Click here for more detailed instructions on how to make a PVC pipe ice pack.
6. Frozen Water Bottles
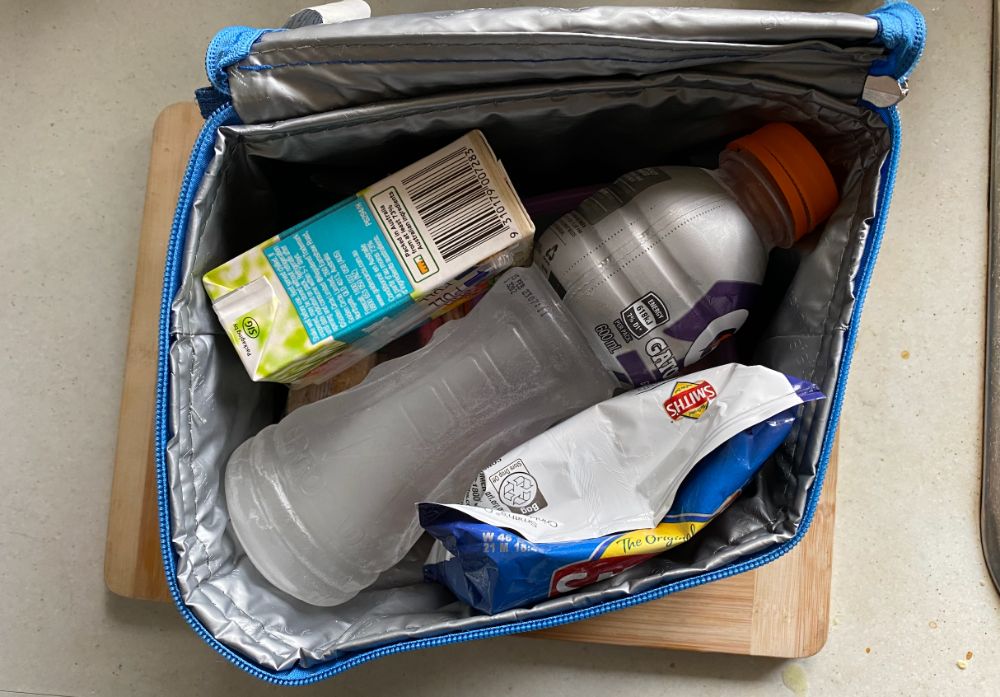
This simple ice pack involves filling a water bottle (or any other small container that fits in your lunch bag) with water. Place it in the freezer, and it can work as a DIY ice pack a few hours later.
If you are filling a large cooler, you can use some water ‘milk' jugs and freeze them overnight. After the water melts from these homemade ice blocks, you can drink the water.
Are you traveling with a cooler? Check out more homemade ice packs for coolers.
7. Hand Sanitizer DIY Ice Pack
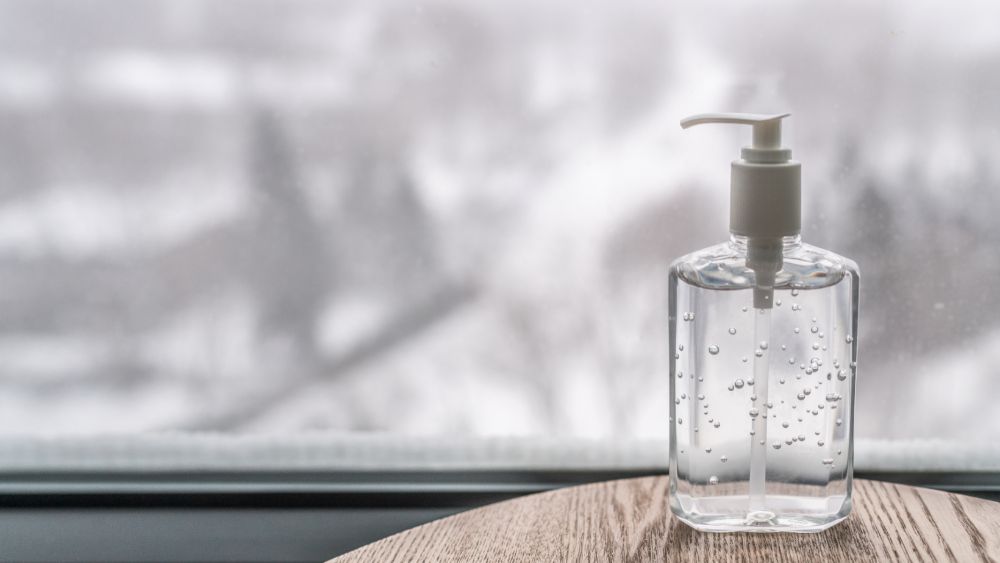
Combine one part hand sanitizer with three parts water in a bowl. Please pour this mixture into a Ziploc bag and seal it closed.
Feel free to add food coloring before freezing the bag overnight. You can also tape the seal to ensure it doesn't leak.
How To Make Your Ice Pack Last Longer
Remember that ice packs are usually thin and flat to cover a large surface area. That allows them to freeze quickly but doesn't mean they will stay cold for long.
Although a bigger ice pack will take longer to freeze, it won't melt as fast because it is more of a block.
Keep in mind the size and shape of your lunch box as well as your personal needs when making your DIY ice pack.
Basically the bigger and thicker your ice pack is the longer it will last.
Keep in mind that water and gel packs are denser and can stay colder for longer compared to rice ice packs, even though these are lightweight and easy to make.
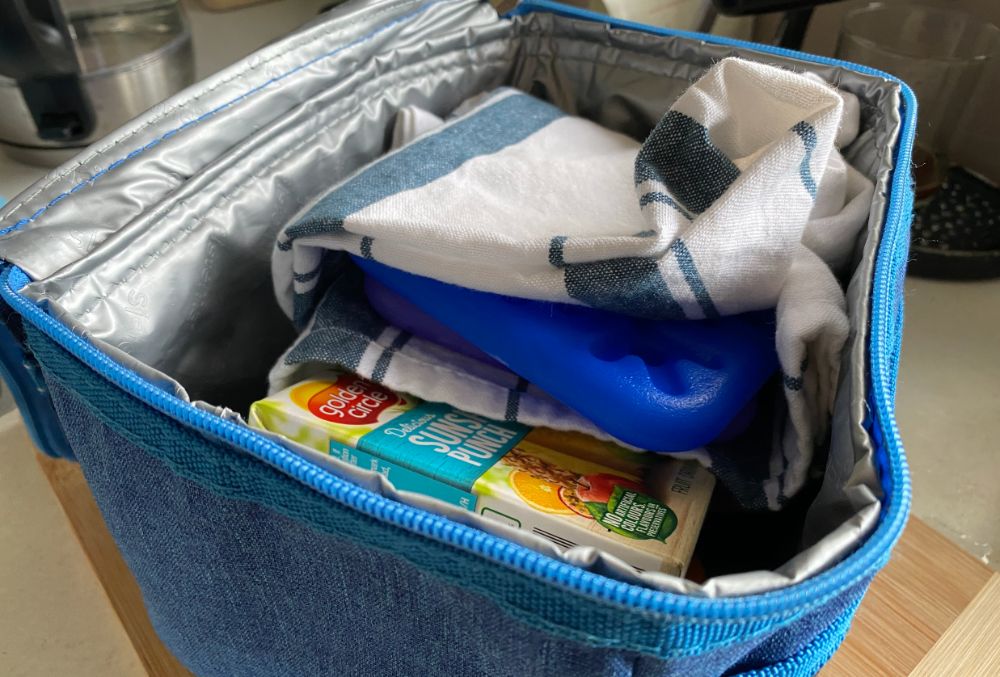
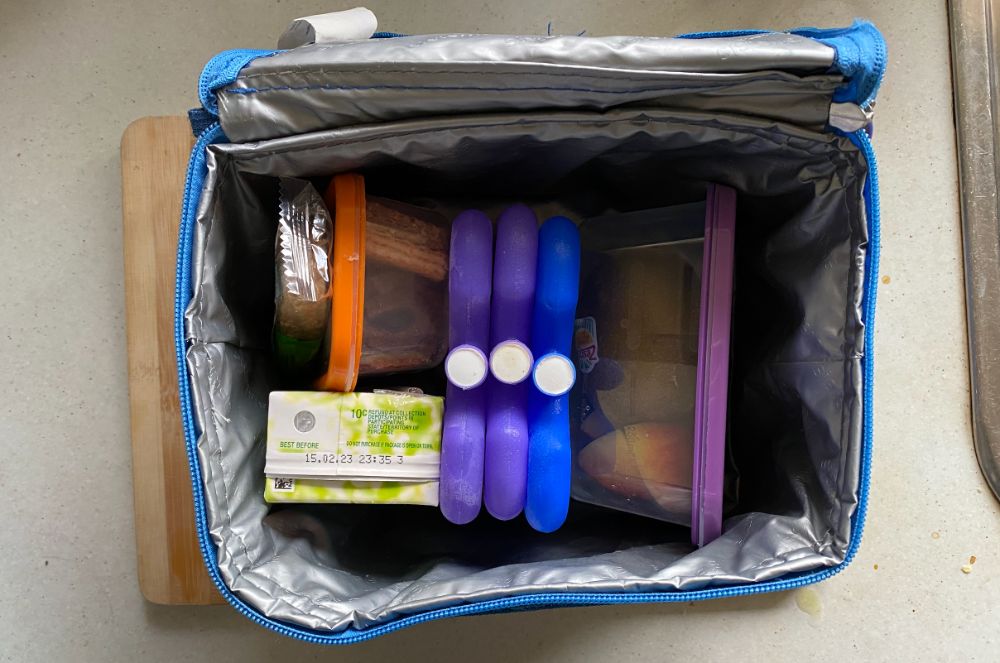
Stacking ice packs together (like seen above) can also help your ice packs to last longer. While spreading them out will more evenly cool everything but the ice packs will melt faster. More details on where you should put your ice packs in your lunch box.
As long as you have water, a sealable bag and a freezer, you can have a DIY ice pack for your lunch box in a few hours.
Make sure you use a Ziploc or another container that fits and utilize some extra ingredients to get the desired consistency.
From gel ice packs to super cold salt water, you can easily make a homemade ice pack.