Flying with frozen food, drinks, or medicine might sound a little scary to you, since we don’t typically think of taking such things on an airplane. But sometimes, you need to take frozen food with you on a flight and for it to stay frozen for the duration of the flight.
TSA rules actually DO make it possible to taken frozen food with you and keep it frozen for 12-24 hours while you’re on a plane – you just need to know what the rules and guidelines are so you can follow them carefully.
You can keep food completely frozen while you fly by choosing a high-quality cooler or a vacuum-insulated container. Fill the cooler with either store-bought or homemade ice packs that stay colder than regular ice. You can also bring dry ice (in a clearly marked and vented container) on the plane with the approval of your airline.
Can You Take Frozen Food On An Airplane?
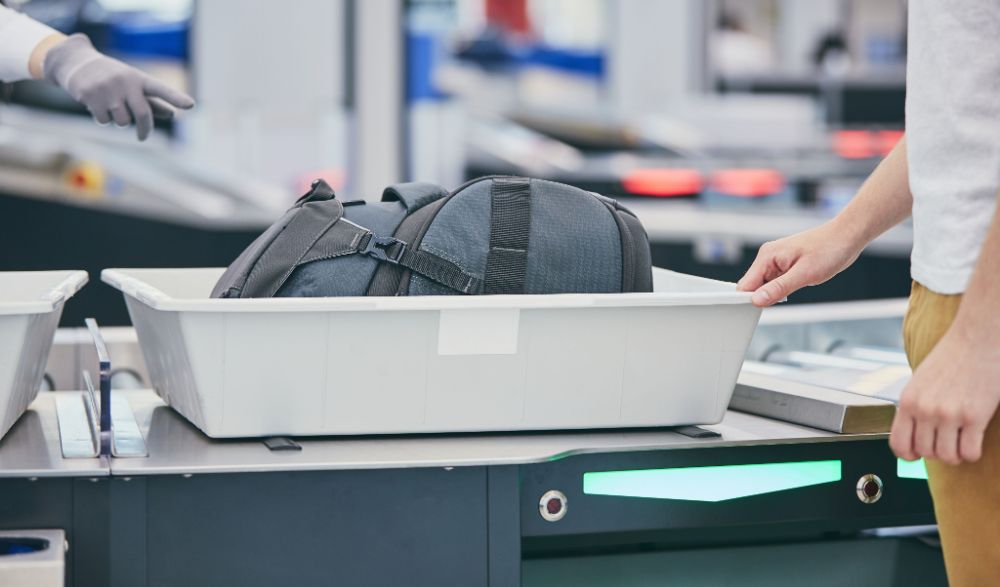
With airport security becoming tighter and tighter these days it’s completely normal to be worried about taking frozen food on an airplane. You don’t want to have your bag search and food confiscated and made to feel like a criminal just because you want to take some of your favorite foods with you when you travel.
Airlines do not forbid traveling with frozen food and there is nothing dangerous about taking frozen food with you on an airplane.
You will need to be aware of what types of food you are allowed to take interstate or internationally as some states and countries have restrictions on what you are allowed to bring. But if your food is allowed then keeping it frozen for the duration of your flight isn’t too difficult if you know what you are doing.
The main considerations for the TSA or other countries airport security is the use of ice packs or dry ice.
For ice packs you need to make sure that the ice pack is completely frozen when you check it and the liquid in the ice pack does not exceed the fluid restrictions. Click here for the full guide on flying with ice packs and getting through security.
For dry ice you may need your airline’s approval and you need to make sure you pack the dry ice in a container that allows ventilation of the carbon dioxide gas that will be release. It also needs to be clearly marked as “dry ice” or “carbon dioxide, solid”. You may also be charged an extra fee by your airline for checking in a package with dry ice.
Overall it’s not actually difficult to take frozen for on an airplane and it is certainly allowed and not uncommon.
You’ll need to follow the guidelines of TSA for bringing frozen food and drinks on an airplane – the tips below will help you understand how to maximize the frozen time of your food while following all of the rules.
First, Always Pre-Freeze Your Food and Ice Packs and Only Get Them Out of The Freezer Right Before You Leave
One of the biggest tips I can give you for taking frozen food while flying is to first pre-freeze your food and ice packs and leave them in the freezer for 24+ hours so they completely go down to the lowest temperature possible.
Freezers usually keep items at 0ºF/-18ºC but it can take a full day for your food to drop down to this low level.
While I love to be prepared ahead of time it’s best to only take your frozen food out of the freezer and to pack your cooler right before leaving for the airport.
You want minimal time that the frozen food is exposed to heat and you also don’t want your ice packs melting pre-maturely as this can cause you issues getting through airport security with them if there is too much liquid in the ice packs.
By taking everything out right before you leave for the airport it should all still be completely frozen as you pass through security and it also helps it to stay frozen right up until you reach your destination.
Keep Your Food Insulated Using One Of The Following:
The first and more important step to keeping your food frozen while you fly is actually having some good insulation that will stop heat getting to your food.
The better your frozen food is insulated against outside heat the longer it will stay frozen. Here are a few options for insulating your food that works for flying.
1. Soft-Sided Cooler
The best place to start when you’re keeping food frozen is a great, high-quality cooler. The more effective your insulation, the longer food will stay cold.
For airplane travel, a soft-sided cooler is usually best. They are lightweight, easy to carry and unlikely to get damaged during travel.
However, most cheap soft sided coolers only have a thin layer of foam and some reflective foil and this is rarely enough by itself to keep food frozen for more than a couple of hours.
A better option is to purchase a high-quality soft cooler that has thicker insulation. Something like the Yeti Hopper Flip has 1-2 inches of insulation and can keep ice for 2-3 and can keep your food completely frozen for your 12-24 flight (if you also use ice packs which we will discuss).
You don’t have to fork out hundreds of dollars on a Yeti cooler in order to keep your food frozen while flying. There are a lot of great soft coolers that keep ice for days and some of them like the RTIC Soft Pack Cooler are extremely affordable and great for either carry on or checked luggage. You just need to be aware of the extra weight as they are a little heavy by themselves and adding food and ice packs can really add up.
If you are looking to carry on your frozen food inside of a larger bag, I recommend the Yeti Daytrip lunchbox. It’s especially small, making it ideal for medications or just a minimal amount of food or drink and it has thick insulation that can keep items frozen for 6-12 hours with the right ice packs.
Check out my list of the best coolers for air travel.
2. Styrofoam Cooler
Styrofoam coolers are a great option for air travel as they are lightweight, cheap, disposable and come in a variety of different sizes – so you can find the size that perfectly matches your needs.
You can pick up a styrofoam cooler for just a few dollars and it will do a great job of keeping the cold in and the hot air out. If you only need to fly one way, you can dispose of the cooler once you arrive or you can save it for the return trip.
Styrofoam coolers will work better than most cheap soft sided coolers and if you’re on a budget then this can be one of the best options.
You’ll just need to make sure you tape the lid shut so it doesn’t come off during transport and if you’re putting the cooler into checked luggage you may want to put a cardboard box over the top for added protection.
3. Vacuum Insulated Food Containers
Usually we are used to using vacuum insulated containers like a thermos to keep food hot. But did you know that the vacuum is actually the most effective insulation? It works much better than foam coolers.
Vacuum insulated water bottles or food jars can be a great way to keep small items frozen for the duration of your flight and for larger items a vacuum insulated camp crock/thermal cooker will give you more space for larger food items.
If you’ve got an extremely long flight then a vacuum insulated container with ice packs are a great option for keeping food frozen for as long as possible. Just don’t use dry ice in vacuum insulated food containers.
Several of the big brands offer vacuum food containers, including this Hydro Flask option (because it has an extremely wide opening making it easier to get food in and out) or this one from Thermos.
Use the power of a well-insulated container to keep what you need frozen for a long time. You probably shouldn’t actually put the container in the freezer before you go, but you can pre-chill it with ice and then add the frozen food or drink to it.
4. Small Hard-Sided Cooler
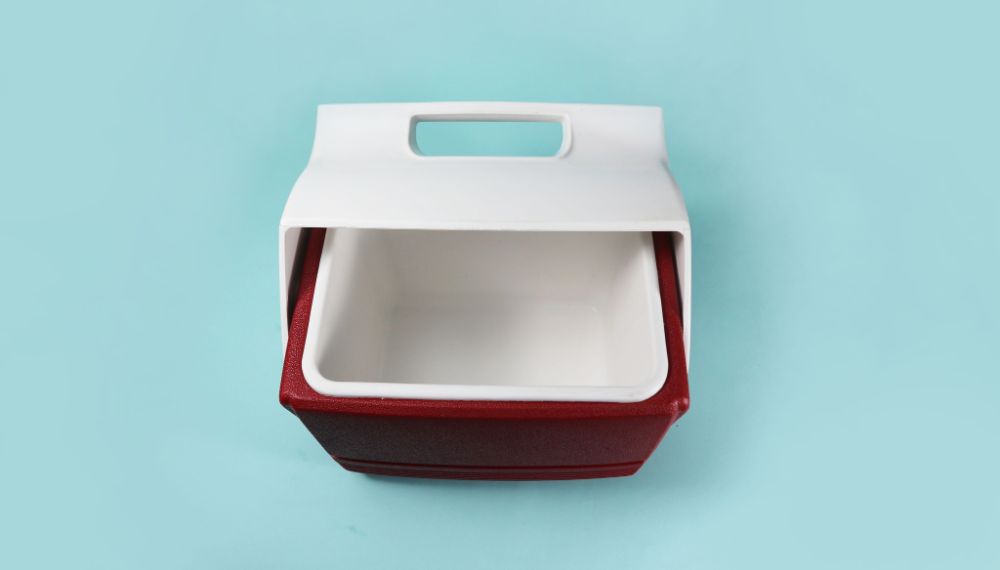
Don’t think that soft-sided coolers are your only options: you can find smaller hard-sided coolers that are great quality and will keep food frozen even longer than a soft-sided one.
The foam insulation and tough plastic exterior makes these a good option for checked luggage and your food will be safe inside. You just might need to tape down the lid so it doesn’t pop open during travel.
For best results, you should also pre-chill the cooler by filling it with ice the night before you load it for the airplane (dump the ice out before you fill the cooler with ice packs).
5. Aluminum Foil + Towels/Sweaters/Sleeping Bags
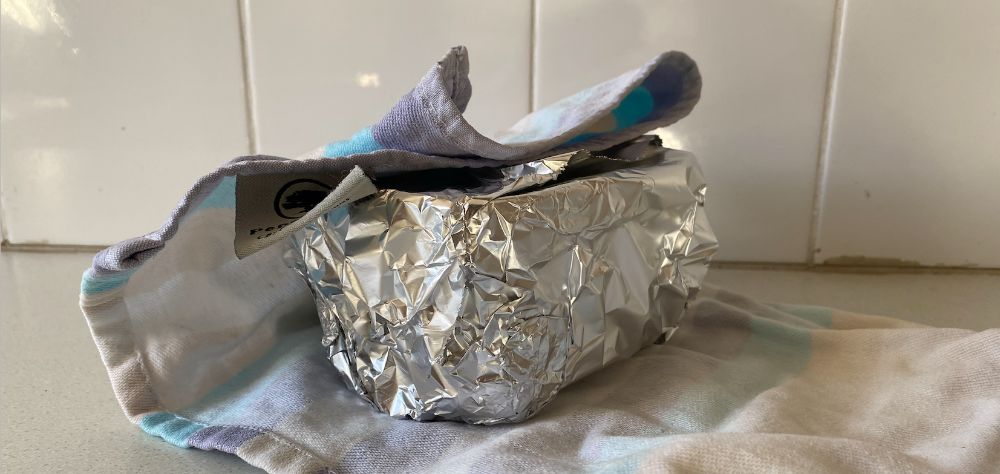
If you don’t have a cooler and don’t have the time or budget to go out and buy one then the next best option is to wrap your frozen food in aluminum foil and then wrap it up in a towel, blanket, sleeping bag or sweater.
Aluminum is a good insulator when it comes to heat radiation and so will keep your items frozen longer and then the towels, blankets etc stop heat reaching your food through conduction. The combination acts like a mini-cooler…only you don’t need to buy anything and you can use the items you are bring with you on your trip.
For the best results you want to make sure you pack your ice packs touching the food and then wrap everything in aluminum (including the ice packs).
Keep Your Food Frozen Longer By Adding The Following:
Keeping your food insulated against the outside heat is only one part of keeping food frozen while flying. You’ll also want to add the addition of ice packs or dry ice if you want to keep your food frozen for an extended period of time.
There are a few different options for items you can add to your cooler that will get through airport security and be completely fine to fly with.
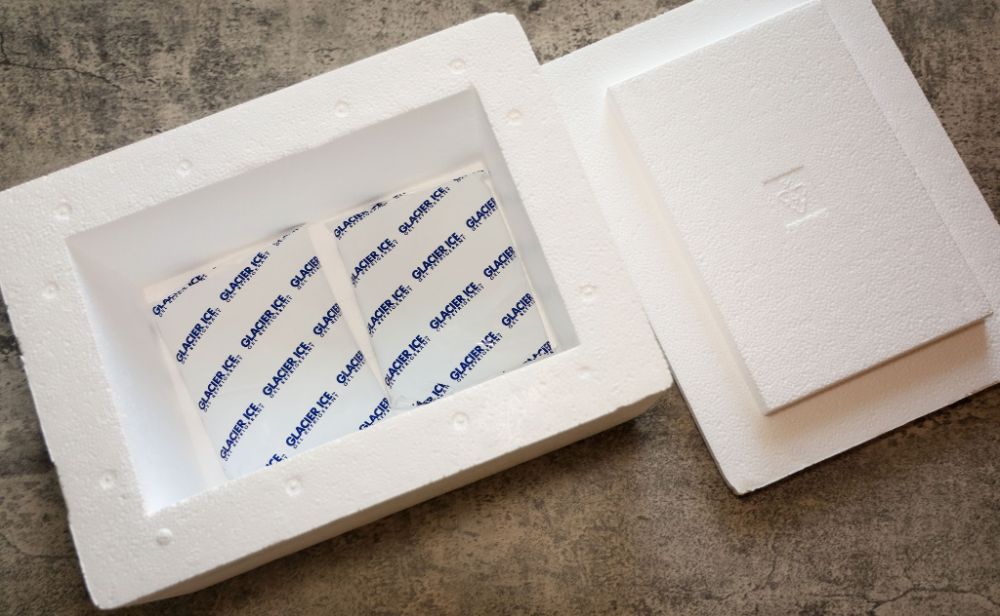
6. Ice Packs
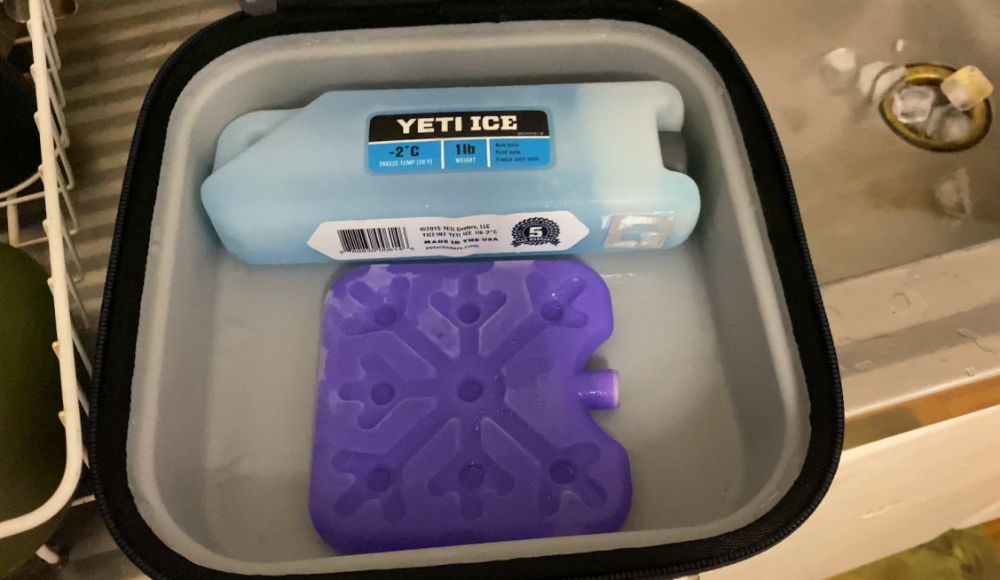
The simplest and easiest option is to use a high quality ice packs designed for coolers. These are better than regular ice as they will stay frozen for hours at a temperature lower than regular ice (with some staying as low as 18°F or -7°C).
Of course, the contents of an ice pack are liquid unless frozen. This means that to abide by TSA’s liquid rules, the ice packs must be in a frozen solid state when you go through security. This is why you need a good insulator/cooler and you should only get your ice packs out of the freeze right before you leave for the airport.
If the ice packs are not frozen when you go through security, they count as a liquid and must follow the 3-1-1 guidelines (3 ounces or smaller, all liquids fit in a single 1-ounce clear quart bag).
As long as your travel plans allow you to arrive at the airport with ice packs in their solid state, they should be a great option to keep your cooler cold. If they melt once you’re on the flight then that shouldn’t be an issue.
Please note that some ice packs are “gel packs” that never become truly solid. These are considered a liquid by TSA and will most likely be confiscated – so don’t try to bring GEL ice packs on the plane. Check out my list of the best ice packs for air travel.
Of course, if you are checking the cooler or bag, you can carry larger amounts of liquid including unfrozen ice packs.
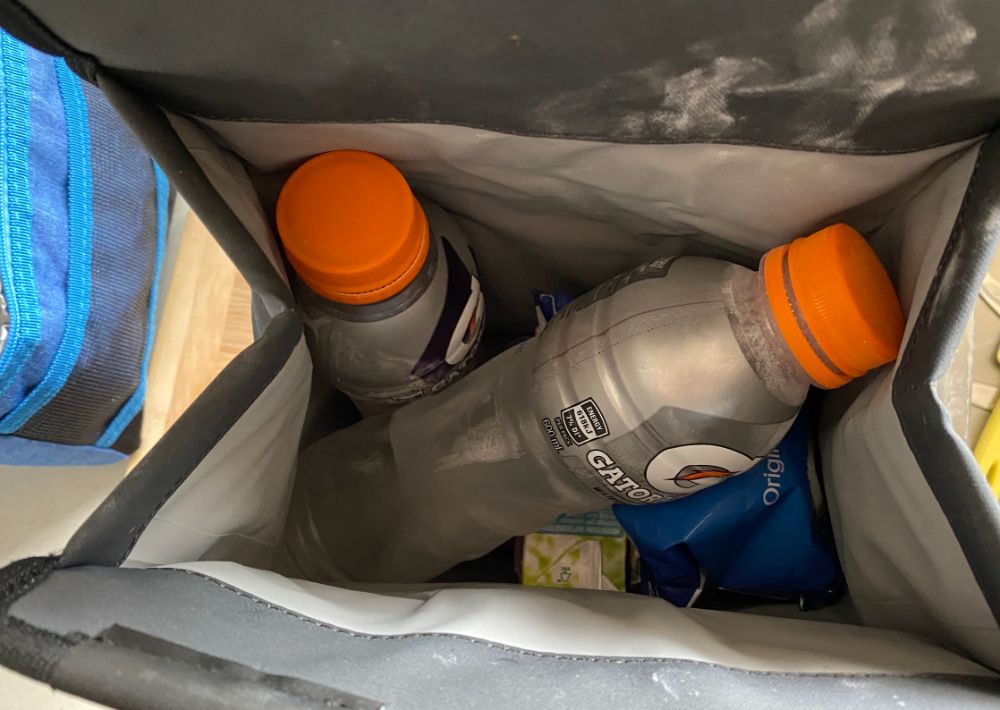
7. Homemade Ice Packs
The cheapest and easiest option, especially if you are carrying frozen food in your carryon, is to make your own ice packs with disposable water bottles.
The frozen water bottles will stay frozen for a long time in a good cooler, and if they happen to get confiscated you haven’t lost much.
The great thing is that if you arrive at the airport and some of the ice has melted back to liquid, you can quickly dump it out in a sink or drinking fountain. Then all you will carry through security is solid ice.
You can also add some salt to the water before you freeze it to lower the temperature of the ice, keeping your food frozen longer on the plane.
8. Dry Ice
If it’s absolutely critical that your items stay frozen while you travel, or if you are traveling for more than 24 hours, you might need to consider using dry ice. It can be a hassle to fly with dry ice, but nothing beats the -109.2°F (-78.5°C) cold of dry ice.
This isn’t going to be something you can take in your carryon and will need to be in your checked luggage only.
FAA restrictions allow dry ice under three conditions:
- No more than 5.5 lbs (2.5kg) of dry ice
- Carry it in a vented container that will allow the sublimating carbon dioxide gas to escape
- Dry ice in a checked bag must be clearly marked on the outside with how much dry ice it contains
However, just because the FAA allows you to fly dry ice does not mean that specific airlines will. You should find the answer for your specific airlines on their websites or by contacting the airline ahead of time.
You may also be charged an extra fee for traveling with dry ice so that’s something you may need to plan for.
How Long Will Frozen Food Last On A Plane?
Depending on how far you’re traveling you may need your food to stay frozen for an extended period of time. So how long will frozen food last on a plane?
With a good soft cooler and ice packs food will stay completely frozen for around 6-12 hours on a plane and will stay cold for around 24 hours. You can keep food frozen for longer by getting a better cooler with more insulation, using more ice packs or by using dry ice. It is possible to keep food frozen for 24-48 hours on a plane with the right methods.
| Insulation + Ice Pack Combination | Time Food Will Stay Frozen |
|---|---|
| Aluminum Foil + Towels (No Ice Pack) | 1-3 hours |
| Aluminum Foil + Towels (With Ice Packs) | 3-6 hours |
| Cheap Soft Cooler (No Ice Pack) | 1-3 hours |
| Cheap Soft Cooler (With Ice Packs) | 3-6 hours |
| Expensive Soft Cooler (No Ice Pack) | 2-5 hours |
| Expensive Soft Cooler (With Ice Packs) | 6-24 hours |
| Hard/Styrofoam Cooler (No Ice Pack) | 2-6 hours |
| Hard/Styrofoam Cooler (With Ice Packs) | 6-48 hours |
| Hard/Styrofoam Cooler (With Dry Ice) | 24-48 hours |
Summary
It’s definitely possible to keep food, drinks, or medicine frozen for 12-24 hours while you fly on an airplane. Some tips to remember:
- Choose a well-insulated cooler with hard or soft sides
- You can also use a cheap styrofoam cooler
- Consider vacuum-insulated food containers and bottles
- You can use dry ice under certain FAA restrictions (check with your airline first)
- Ice packs (not gel packs) are great as long as they are frozen solid when you go through security
- You can also make your own ice packs with frozen water bottles
Don’t be afraid to pack your cooler and head out – with these tips you should be good to go!