Winter is one of my favorite times of year to camp. It’s quiet, peaceful, and the views can be absolutely stunning. There also tends to be less crowds around which I really like.
But one major challenge is what exactly to do with your food. In certain areas food you don't want frozen can end up freezing and getting ruined.
The good news is, with a bit of planning, it’s not that hard to keep food from freezing while camping or backpacking in the winter months.
To prevent food from freezing while camping in the winter, store food in a well-insulated cooler, wrapped in aluminum foil, surrounded by hot water bottles. Reheat and replace the water bottles as they cool off.
If you plan to keep cooked perishable foods hot, they must be kept consistently above 140°F (60°C) or below 40ºF (4ºC) or they could make you sick. So managing the temperature inside the cooler is important – you don't want it to get too hot.
Below we’ll take a closer look at the best ways to prevent food from freezing while car camping or backpacking in the winter, and what you can do to keep your food in a safe temperature range.
How To Keep Food From Freezing While Winter Car Camping
To keep your food from freezing while camping in the winter, all you really need is heat and a way to maintain it.
The most available source of heat for most campers is boiling water, which we’ll keep in non-insulated water bottles. It’s easy, relatively convenient, and very accessible.
When combined with a well-insulated cooler, you’ll be able to keep your food warm (or at least above freezing temps) all day with just a little bit of upkeep.
Keep Food Safety In Mind
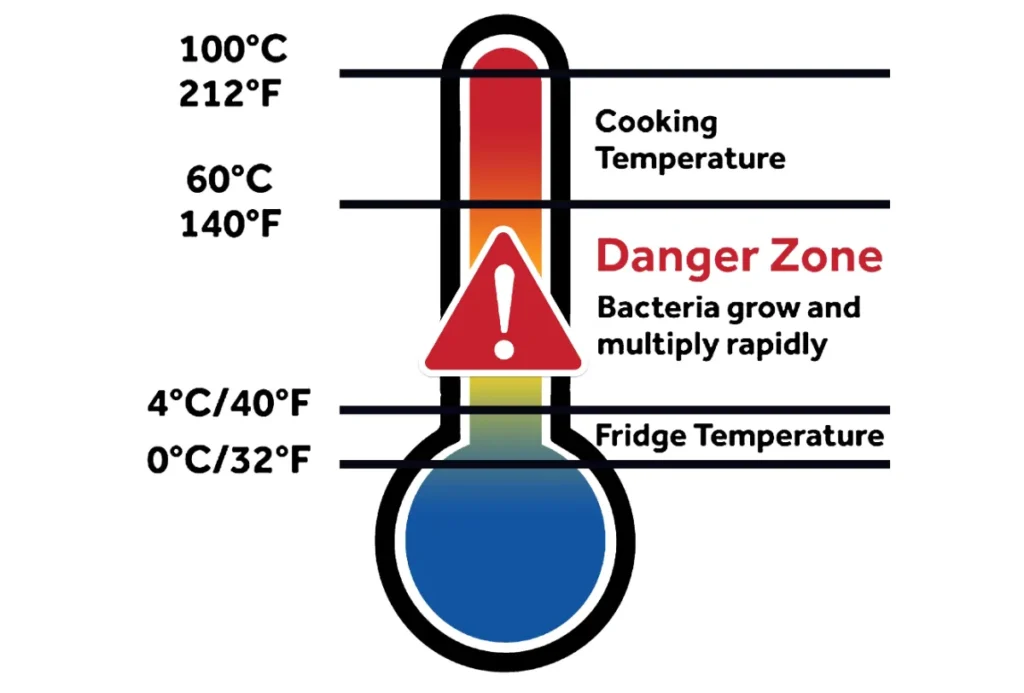
There’s a food temperature range known as the ‘danger zone’, where the temperature is too high to prevent bacteria from multiplying and too low to kill it — between 40° and 140°F.
Storing certain types of food at these temperatures could make you sick.
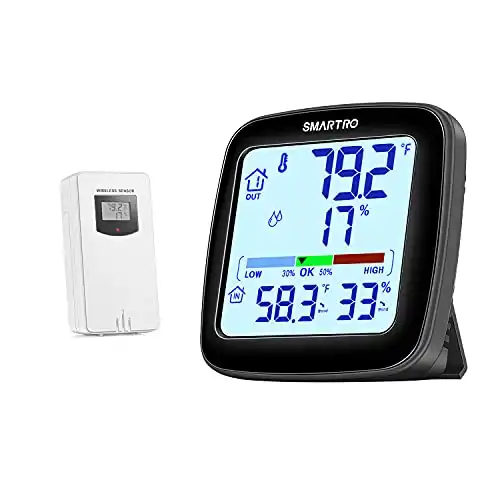
Using the method below will prevent food from freezing really effectively, but won’t necessarily keep food above the danger zone for very long. It’s important to monitor the temperature in your cooler to be sure.
Keeping a wireless thermometer in your cooler will let you keep an eye on the internal temperature, while minimizing the number of times you have to open your cooler, letting hot air out and cold air in.
That being said, this method still works great for preventing shelf stable foods from freezing — so you’re not left trying to chew through frozen chunks of beef jerky — and can even keep perishable foods in a safe temperature range for several hours, at least as long as you pay enough attention.
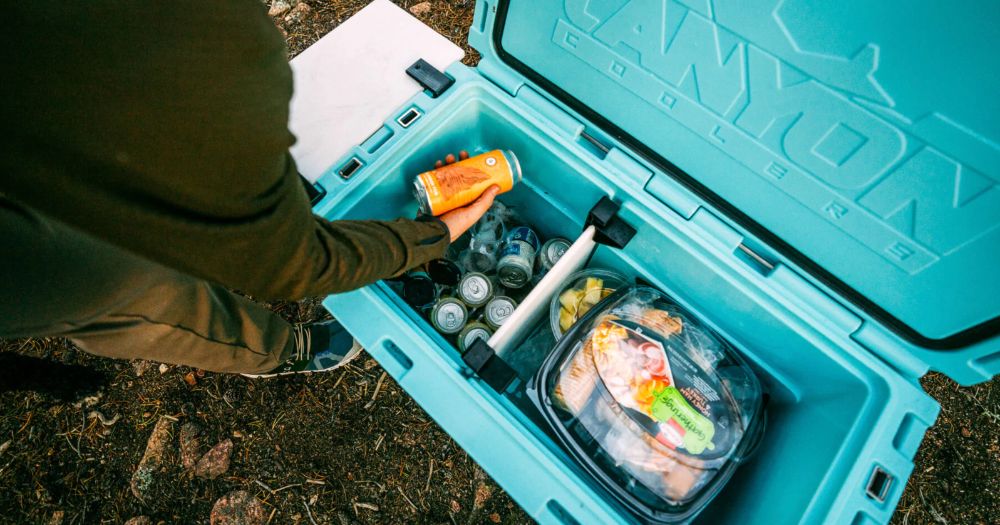
Step 1: Choose The Right Cooler
Even though we normally think of coolers keeping food and drinks cold, they’re actually also very effective at keeping food warm.
The thick foam walls of coolers contain thousands of tiny air bubbles that act as insulation, to help maintain the temperature inside your cooler for hours or even days.
On a hot summer day, a cooler full of ice stays cold because hot air is restricted from entering your cooler and the convection inside your cooler is greatly slowed.
While winter camping, the process simply works in reverse. Hot air is trapped inside the cooler and cold air is kept out, with convective heat loss being slowed.
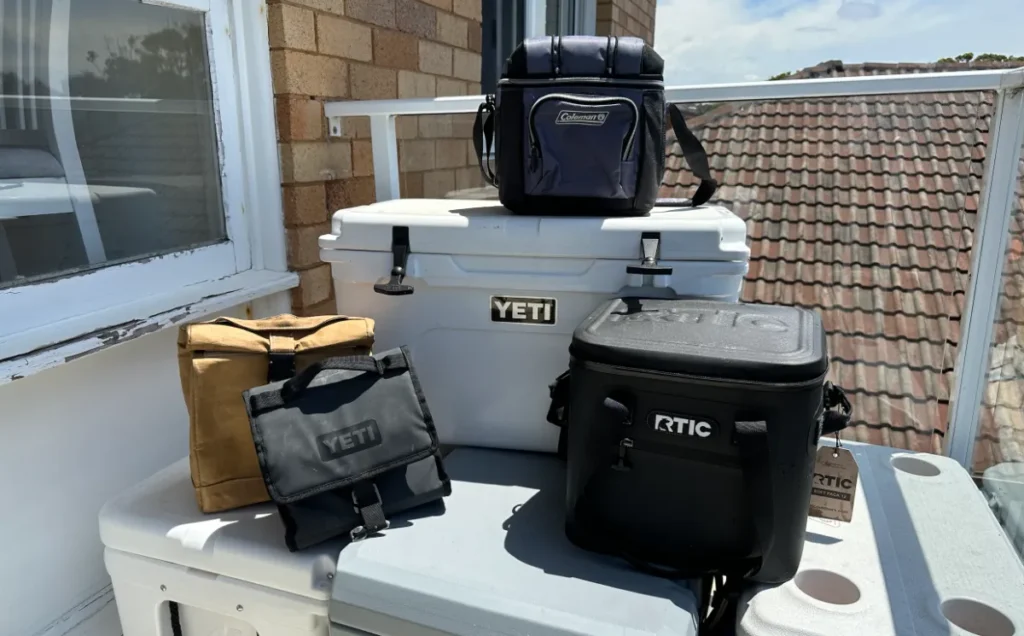
Using a cooler with amazing insulation is super important here. Any cooler that’s great at keeping ice will also be great at maintaining heat.
A hard sided cooler is going to stop food from freezing much better than a soft sided cooler or one of those insulated lunch bags.
It’s also important to choose a cooler with as little excess space as possible. Too little food in too large a cooler will make everything cool off much faster.
Step 2: Pick The Right Water Bottles
Choosing water bottles to use is a little more straightforward, but there are still a few things you should consider.
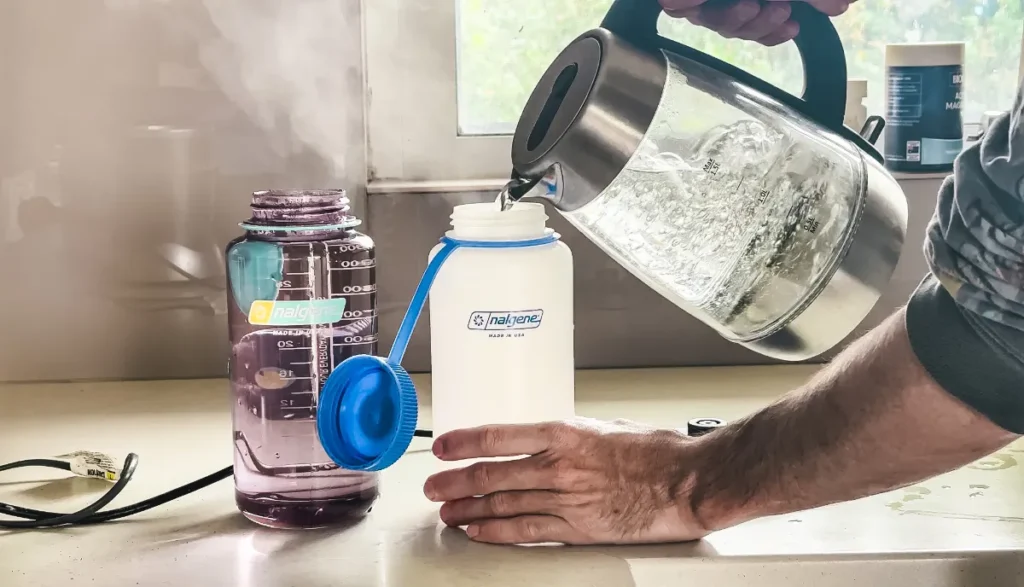
First off, the bottles need to be non-insulated. Insulated bottles will trap most of the heat inside themselves, away from your food where you want it.
Second, the bottles should be safe to use with boiling water. Certain plastic bottles may crack, warp, or leak when filled with boiling hot water. And if you plan to drink the water later, there’s still debate as to whether or not plastic bottles (even BPA-free ones) will leach harmful chemicals when heated.
Nalgene bottles can handle hot and boiling water and they are a good size for your cooler and also quite affordable.
However, depending on the temperature you may not water to put boiling hot water in your cooler as it might make the food too hot. In this case any water bottle (even old milk bottles) can work great and you can just put room temperature water in them or slightly warm water.
The thermal mass can still help the entire contents of the cooler from freezing.
And finally, cost may be a concern, depending on how much food you want to keep from freezing.
A good rule of thumb is to use one bottle of boiling water per ten to twenty quarts your cooler holds.
If you’re using a 50 quart cooler, for example, you’d need to use as many as five hot water bottles. As you can see, the cost can add up quick.
If you want a few ideas for alternative heat sources, check out my guide on how to keep food hot in a cooler.
Step 3: Line Your Cooler and Food With Aluminum Foil
While well-insulated coolers are great at slowing down heat loss through convection and conduction, they won’t do much to stop heat loss through radiation.
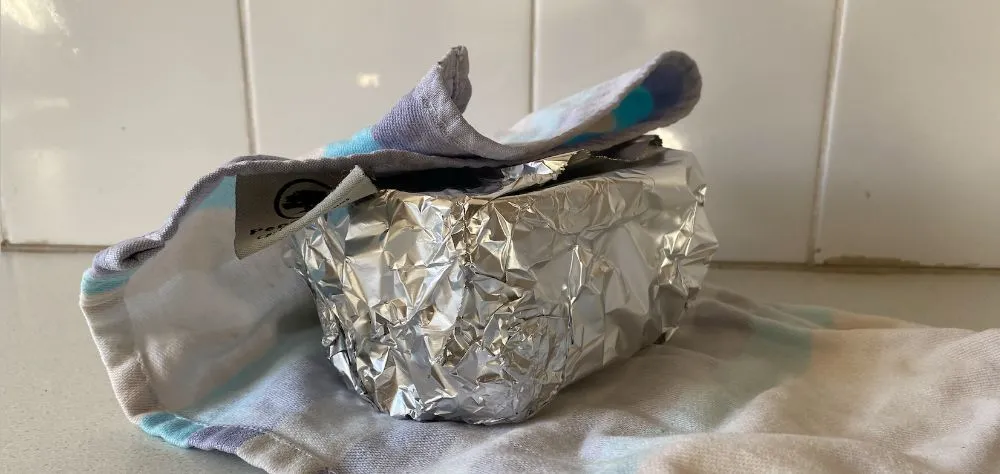
To prevent this, you can line your cooler’s walls or enclose your food in a layer of aluminum foil — which can reflect up to 98% of heat radiation.
You can also wrap individual food items in aluminum foil to help reduce heat loss on an item by item basis.
Step 4: Pack Your Cooler
Now that your cooler’s ready and you have your bottles full of water, it’s time to load your cooler.
- Stick some cardboard or a towel at the bottom of your cooler to prevent your hot water bottles from damaging your cooler.
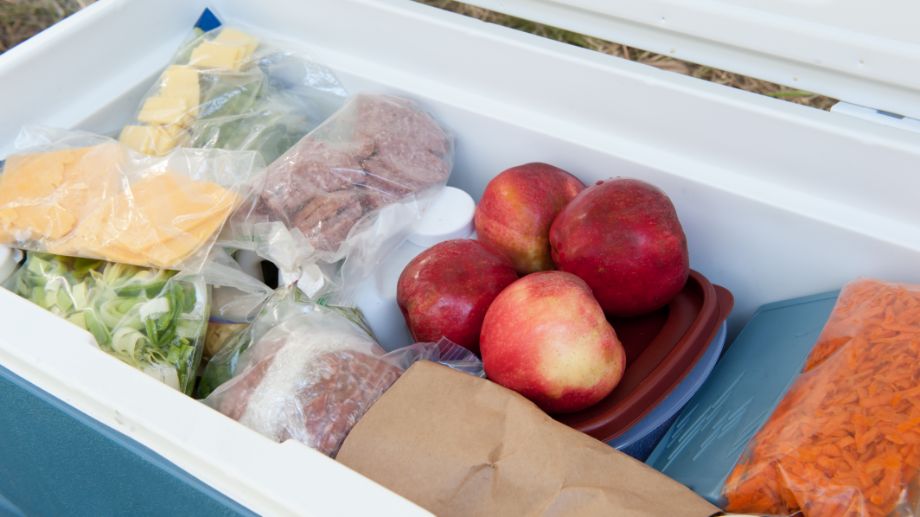
- Place your food in the bottom center of your cooler and surround it with your hot water bottles.
- If you didn’t line your cooler with foil, enclose your food and bottles with a layer of aluminum foil and cover with a towel.
- Fill in any excess space in your cooler with towels or crumpled newspaper to further slow heat loss through convection.
Step 5: Replace Hot Water Bottles As Needed
Unfortunately, your hot water isn’t going to keep for nearly as long as ice, no matter how well-insulated your cooler is.
If the temperature in your cooler begins to drop, you’ll need to boil more water and repack your cooler.
If you’re only trying to prevent shelf stable foods from freezing, you probably only need to do this once in the morning and once at night.
If you’re trying to keep perishable foods out of the danger zone, you need to keep a much closer eye on the temperature and replace your hot water bottles routinely as needed.
How To Keep Food From Freezing While Backpacking In The Winter
Keeping food from freezing while backpacking in the winter is a bit more of a challenge. After all, you don’t really have the option to lug around a bulky cooler all day.
While you can carry an insulated lunch box packed with a hot water bottle in your backpack, the extra weight and having to stop to boil water in the middle of the day is far from the perfect solution.
Realistically you have two better options — use your body heat or embrace the freeze.
Use Your Body Heat
You can use your body as a heat source to keep shelf stable foods from freezing on the trail.
Simply stick your food in a small cross body bag or drawstring bag worn under your jacket.
Between your body generating heat and your jacket insulating both you and your food, you won’t have to worry about freezing.
Just don’t try this with any foods that need to be kept out of the danger zone. And certainly don’t keep food in your tent overnight — otherwise you’ll attract wildlife, like raccoons, rodents, or even bears.
Let Your Food Freeze
While simply letting your food freeze isn’t necessarily a great tip to ‘prevent your food from freezing’, it’s just the nature of backpacking in the winter months.
Planning your meals around the conditions you’ll face while minimizing weight and space is the name of the game.
I’m happy to let my food freeze on winter hikes. I just heat it back up when I’m ready to eat.