If you’re not used to wearing a CamelBak, it can be a little confusing putting it on. Especially the first time you wear it.
You may find yourself second guessing the fit, wondering where all those straps are supposed to go, or how it should line up with your body.
Trust me. You’re not alone.
For me I found it way smaller and tighter than I anticipated. But after a bit of getting used to it’s simple to wear and it fits great.
So how exactly should you wear a CamelBak?
Wearing a CamelBak is pretty straightforward once you have everything adjusted.
The shoulder straps need to be loosened and retightened every time you put the pack on or take it off. They should be snug, but not uncomfortably so.
The sternum strap should run across the bottom of your sternum, just above the solar plexus – but it may sit higher or lower depending on the size of your CamelBak and your size. It should be tight, but shouldn’t restrict the range of motion in your arms.
If your pack has a waist strap, it should run across the top of your hips. If it’s too high, it won’t be able to distribute the weight of your pack off of your back and shoulders.
For about a week after I got my first CamelBak, it felt a bit uncomfortable. I eventually realized that I was just wearing the waist strap a couple inches too high — and that one minor change ended up making a huge difference.
Learning how to wear a CamelBak ergonomically will make it a lot more comfortable and reduce the risk for strains, pain, and discomfort.
Step 1: Place Your Bladder In The Backpack
Before putting on your CamelBak, you first need to fill your bladder and place it in the pack.
- Fill your reservoir with drinking water, or whatever else you plan to drink.
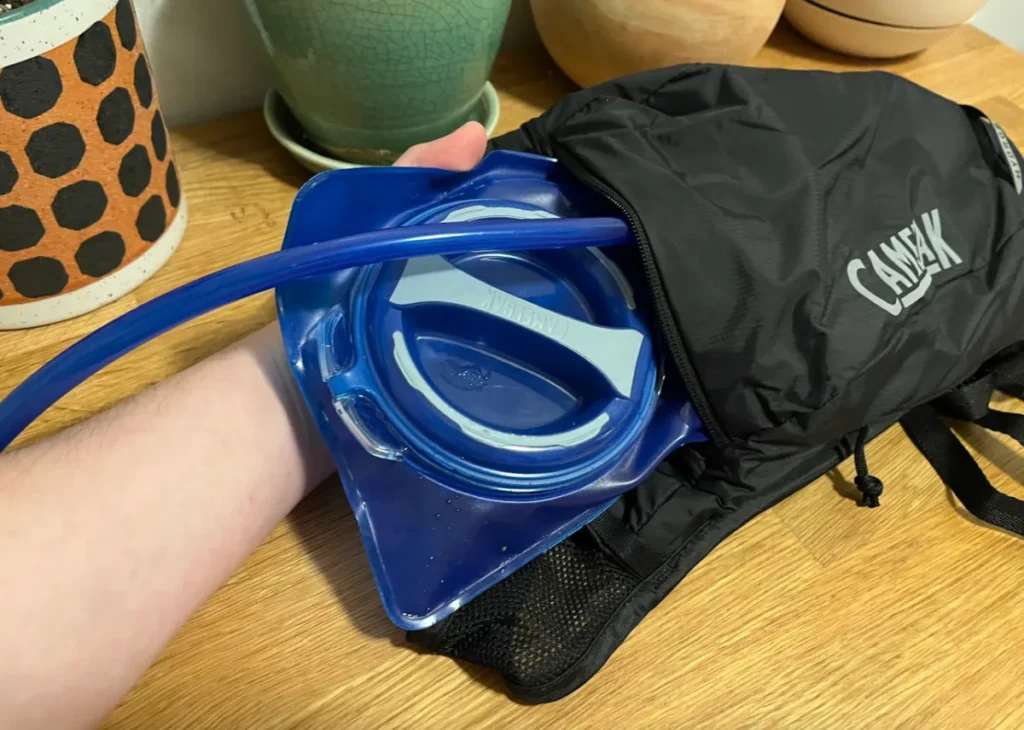
- Hold the pack in one hand and the bladder by its top edge (not by the handle) in the other.
- Lower the reservoir into the bladder pocket.
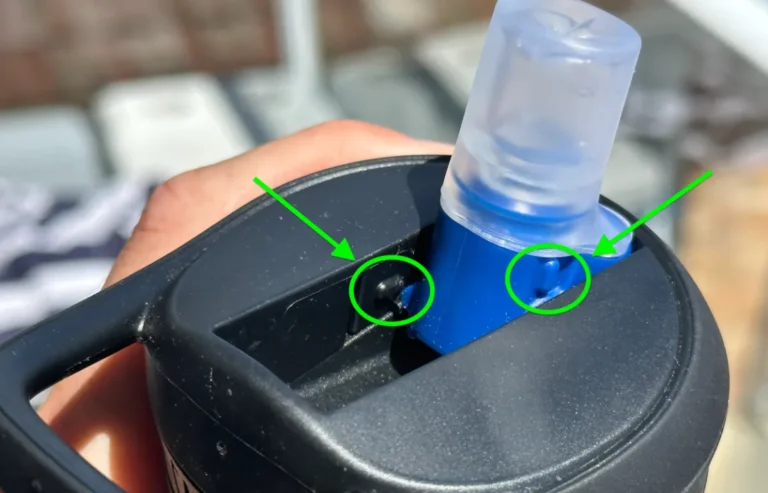
- Connect the bladder to the pack by stringing the fabric loop in your pack around both hooks on your bladder.
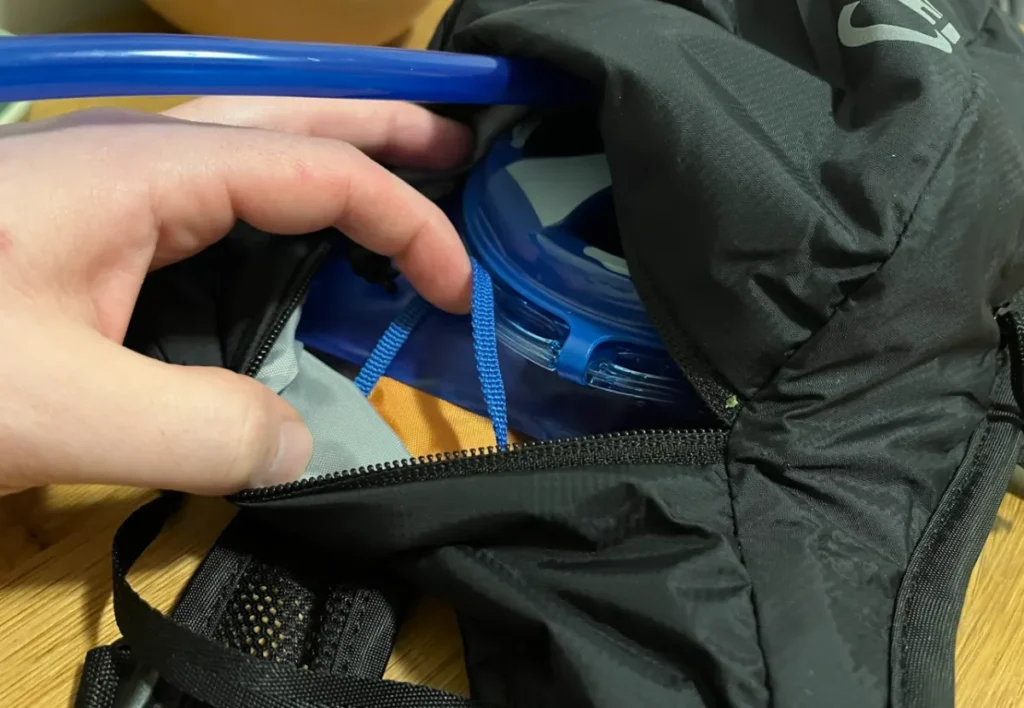
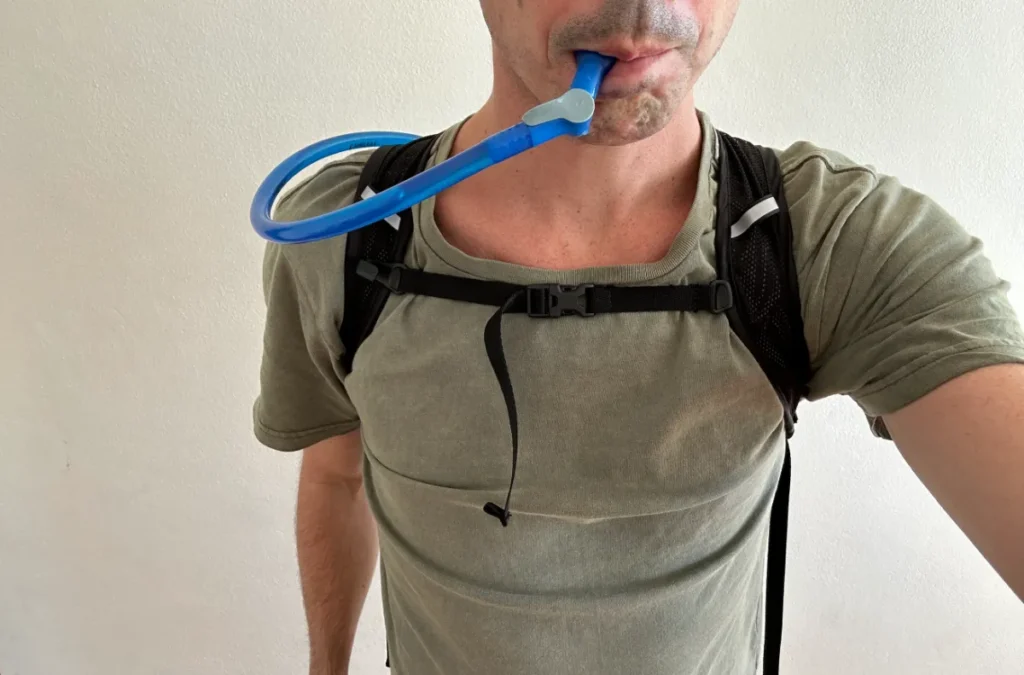
- Thread the delivery tube through the slot above the right shoulder and pull it all the way through.
- Connect the delivery tube to the tube trap on the right shoulder strap.
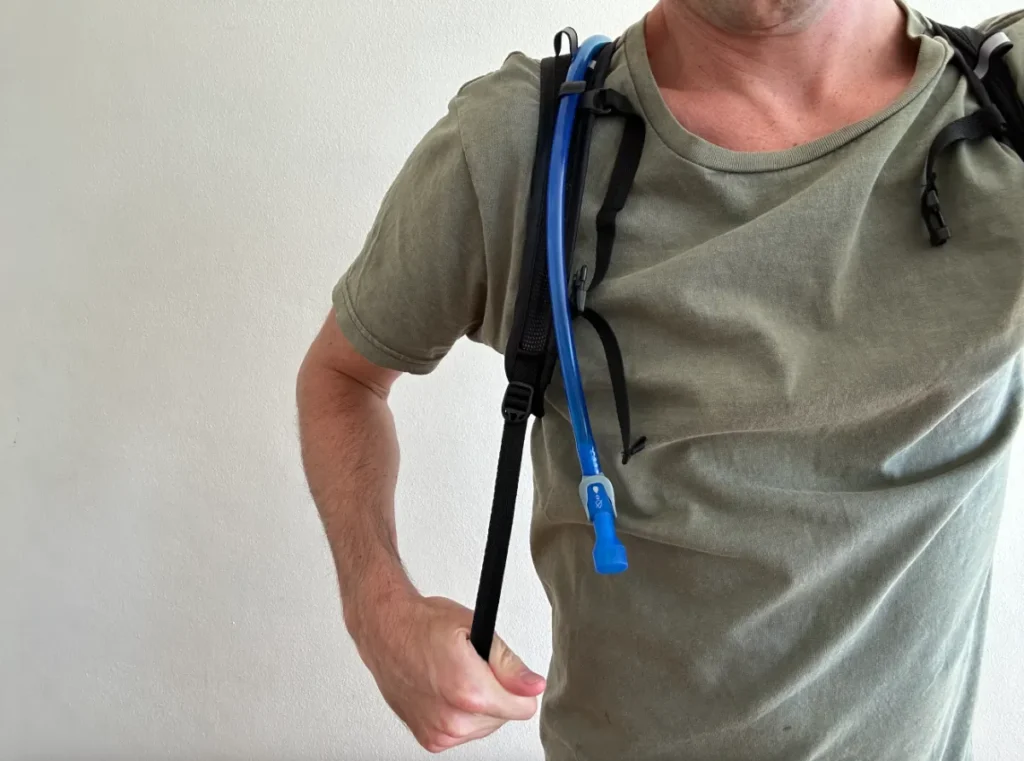
Step 2: Adjust The Shoulder Straps
You need to loosen and retighten the shoulder straps of your CamelBak every time you put it on or take it off, unlike with many casual backpacks that can just be slid on and off.
If you don’t, the pack will shift around and sag down your back, becoming uncomfortable pretty quickly — especially if you’re doing something that involves a lot of movement, like jogging, biking, or hiking.
To loosen the straps simply lift up on the plastic adjuster. The weight of your CamelBak when full should mean it automatically loosens but if it doesn’t you can pull the strap through.
The goal is to have the pack strapped firmly against your body, but not so tight that it restricts movement or blood flow. You should be able to slide a finger or two between the front of your shoulder and the strap without much difficulty.
To tighten the straps simply pull down on the adjustable strap and the pack should tighten without issue.
The pack should sit fairly high on your back, with the top of the pack sitting around the top of your shoulder blades.
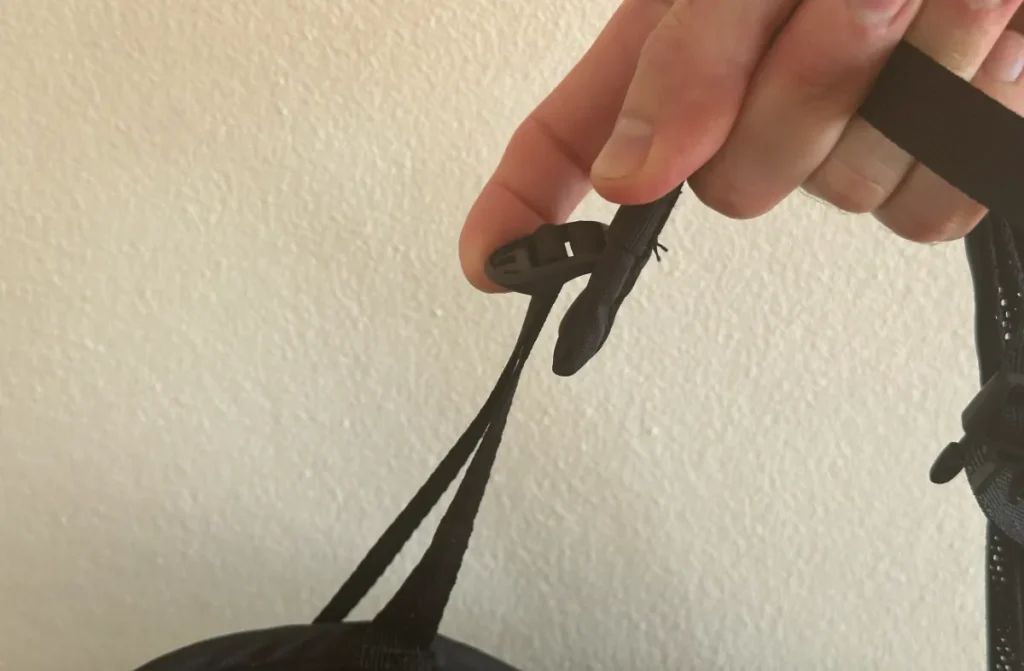
Step 3: Adjust The Sternum Strap
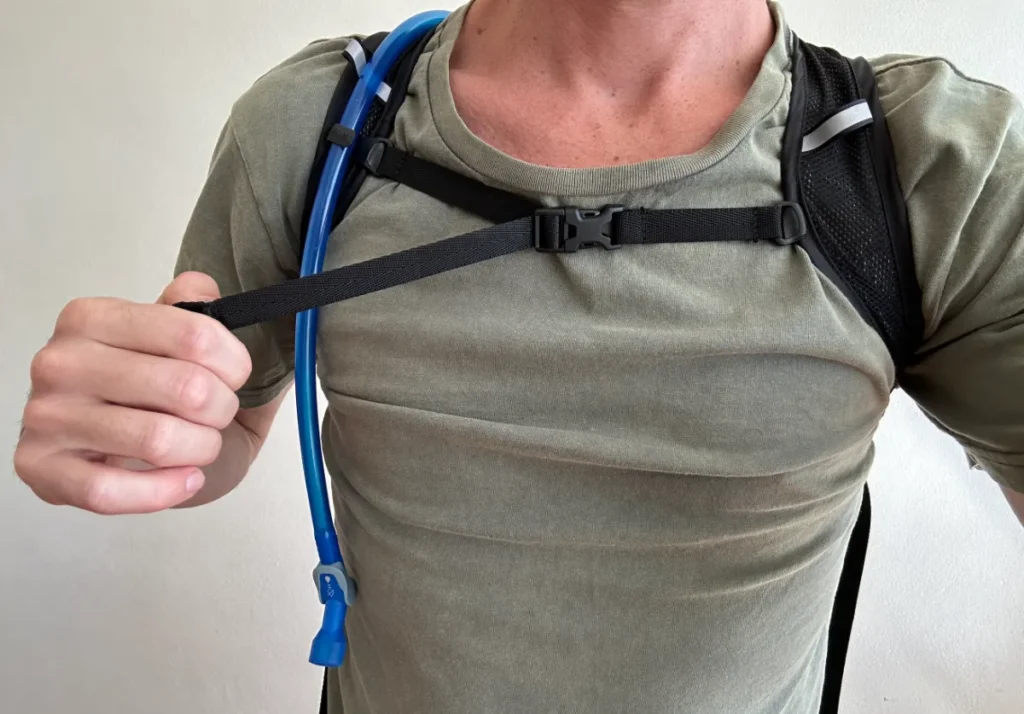
The sternum strap runs across your chest, connecting the two shoulder straps together. It helps distribute the weight of your pack more evenly and prevents the shoulder straps from sliding out of place.
While I’ve seen my fair share of people who choose to leave it open, it really is an important part of wearing your CamelBak ergonomically.
Adjust the sternum strap to line up across the bottom of your sternum, a couple inches above the abdomen and solar plexus.
Pull it tight, but not so tight that the range of motion in your arms is restricted.
But honestly how high this sits will depend on the size of your CamelBak, the size of you and how tight you have your shoulder straps. I have quite a broad chest (thanks to rock climbing) and I have quite a small CamelBak so the sternum strap sits a bit higher on me than I would like.
Still it works fine to keep the should straps together and stop them moving around even when I’m out jogging on a trail.
Step 4: Adjust The Waist Strap (if your pack has one)
Some larger CamelBak packs also have a waist strap that transfers much of the pack’s weight from your shoulders and back to your hips.
Don’t skip this if your pack has it. Your back will thank you after a long day of use.
Align the waist strap so that it fits snugly around the top of your hips.
The most common mistake is to wear the waist strap too high, above the hips. If the strap crosses your stomach, you’re actually better off without it.
Step 5: Make Sure Everything Fits
Now that your pack’s on, take a minute to double check that everything fits correctly:
- The top of the pack should be lined up around the top of your shoulder blades.
- You should have full range of motion of both arms.
- You should be able to easily slide two fingers between the front of your shoulder and the strap.
- The sternum strap should run across your lower or upper chest.
- The waist strap should sit firmly around your hips.
Do a few jumping jacks, a quick jog around the yard, bend over a few times, then check that everything’s still in the right position.