When I got my first CamelBak, I was so stoked on trying it out that I filled the bladder almost to bursting and tried to just shove it into the backpack.
Needless to say, I had a little trouble and it can be a bit tricky to get it in if you don't know what you're doing.
I slowed down a bit, figured out what I was doing wrong, and haven’t had any difficulty getting the bladder into my CamelBak’s pack since.
To get a CamelBak into the backpack simply follow these simple steps:
- Fill the reservoir
- Slide the filled bladder into the pack by holding it from underneath with your palm up
- Connect both hooks on your bladder to the loop in your pack
- Thread the tube through the opening near the shoulder strap
- Connect the tube to the tube trap
- Zip the bladder pocket closed.
Taking your time and learning the right technique to set up your CamelBak before each use will save you a lot of frustration and wasted time.
Step 1: Fill The Bladder
Before putting your bladder in the backpack, you need to fill it first — since you won't be able to once it’s in the pack. (You can try but it gets super messy and isn't usually worth the hassle).
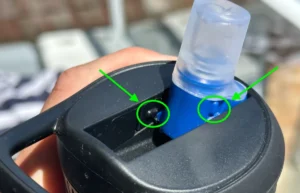
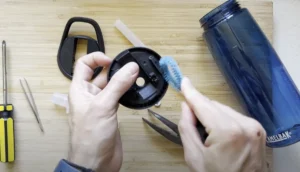
But before you fill it, it’s a good idea to do a quick check for mold in your reservoir and tube. If it was mistakenly put away before fully drying, mold is likely.
If you do find mold, make sure you remove it before drinking from your bladder.
If there are no signs of mold, fill it and move on.
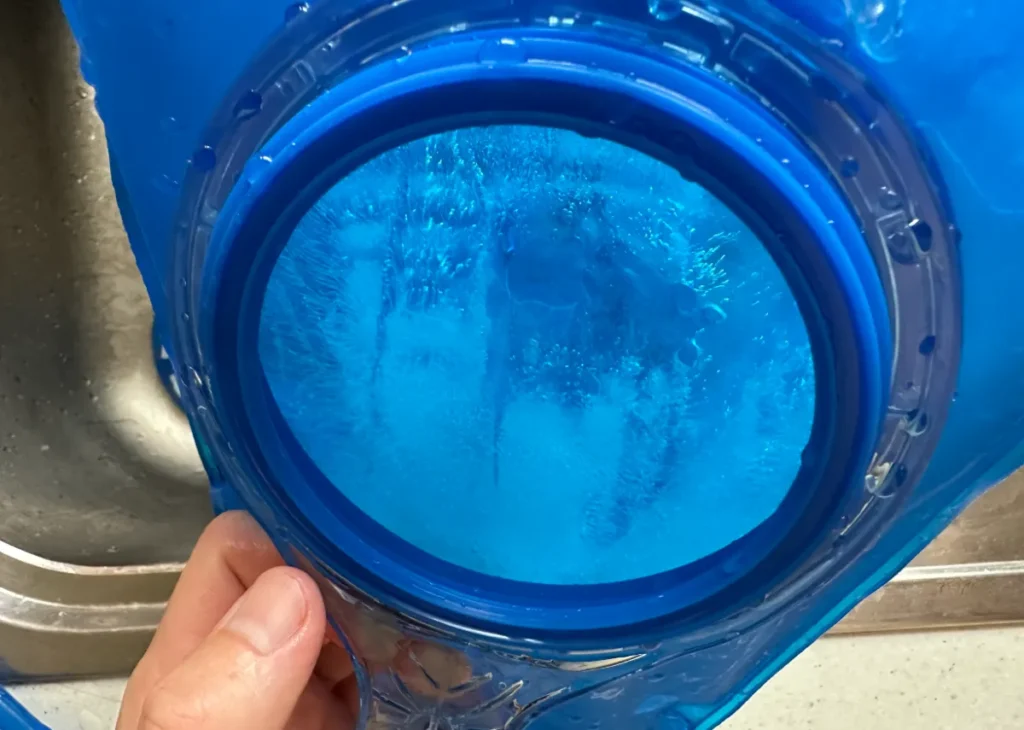
Here you can also add ice to keep your CamelBak water cold for longer.
Me personally I like to freeze my CamelBak about 1/2-2/3 full of water so I have one big brick of ice to keep my CamelBak cold for most of my hikes.
Step 2: Slide The Bladder Into The Pack
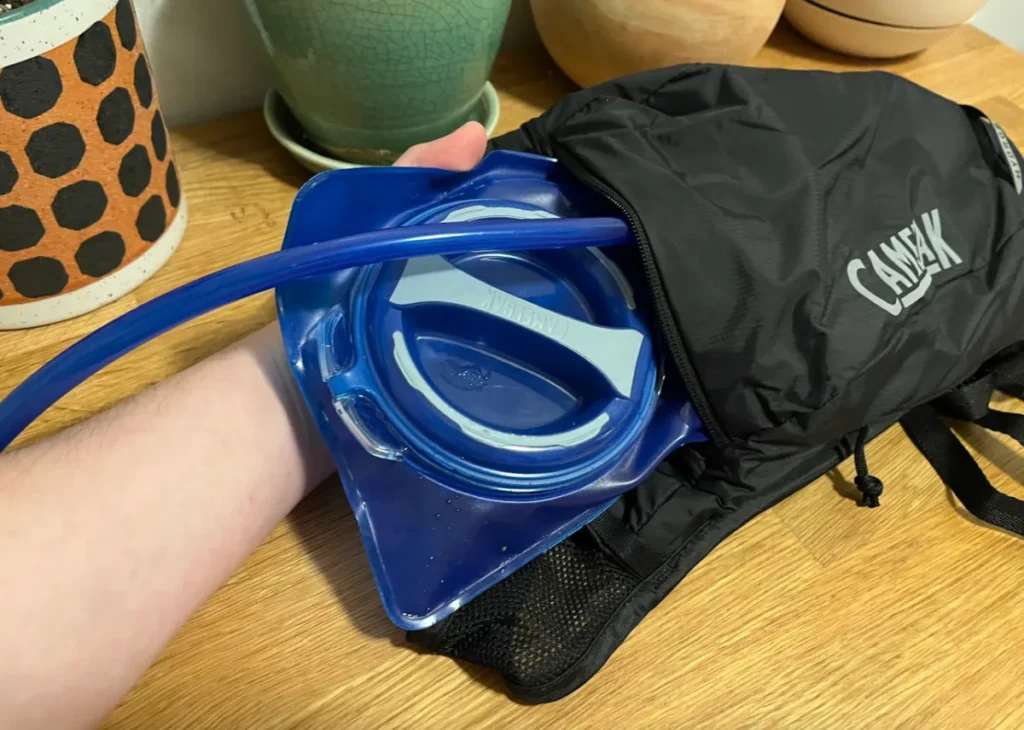
- Lay your backpack out on a flat surface and unzip the bladder pocket.
- Hold the filled bladder with your palm up (kind of like you’re holding a pizza).
- Hold the bladder pocket open with your opposite hand.
- Slide the bladder into the pack with the hose connection end going in first. It may be tough if the bladder is all the way full, but some wiggling should do it.
Some people may find it easier to hold the pack in one hand, the bladder by its top edge in the other (not by the fill handle), and to lower it into the pack. This method allows gravity to help you get the pack in and can be more effective with larger bladders.
Either method works just fine, go with whichever is more comfortable to you.
It might feel really tricky the first few times but after a while you get the hang of it and it slides in pretty easily.
Step 3: Hook Your Bladder To Your Pack
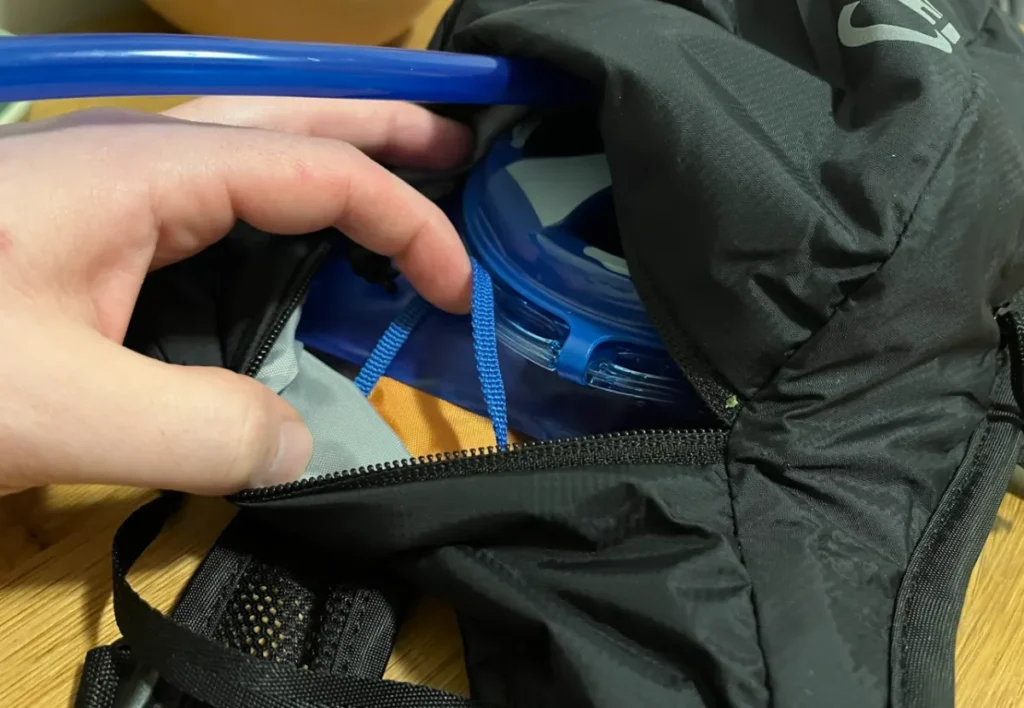
Look for a fabric loop on the top interior of your pack and attach it to the hooks on the top of your bladder.
This prevents the bladder from sagging to the bottom of your pack during use. Trust me, you don't want your pack sagging into a ball when you're halfway through a hike or ride.
You need to hook both sides or your bladder will slide off as you move around.
Hook one side then pull the loop snugly across to hook the other.
Step 4: Slide The Tube Into Position
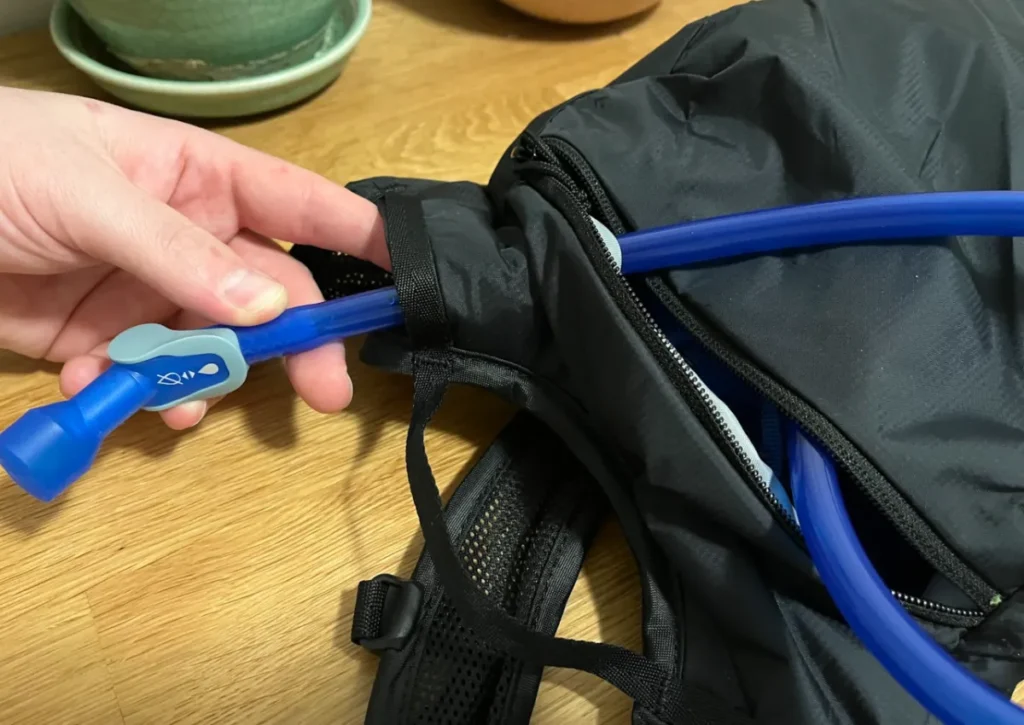
The top of one of your shoulder straps will have an opening for the tube to slide through. This will help to get it in the right position for easy drinking.
Slide it through the slot, heading from the interior of your pack to the exterior, then thread it the rest of the way through.
It can get a little knotted up or twisted when you're trying to do this so you may need to twist the tube to get it unstuck.
If you're having trouble with this step then an alternative step is to put your CamelBak bladder into the backpack without the hose attached.
Then feed the hose, connection first, through the shoulder strap and attach it to the bladder that is already in the backpack. This can stop the twisting from happening.
Step 5: Connect The Tube To The Tube Trap
Once you've got the hose threaded through the shoulder strap you'll want to connect the tube to the tube trap on one shoulder strap.
This is a plastic clip near the sternum strap on your backpack. Mine is on the right side but yours could be on either side.
Step 6: Zip The Bladder Closed
Lastly simply close the CamelBak backpack zipper so that the bladder can't come out and you’re good to go.
Click here for instructions on how to remove the CamelBak bladder from the backpack.