It’s important to remove your CamelBak’s bladder from its backpack, empty it, and dry it completely between uses. This is extremely important if you want to stop mold from growing in your CamelBak.
Luckily, removing the bladder from a CamelBak is pretty straightforward, regardless of which model you have. But there can be a couple of tricky steps of you don't know what you're doing.
To remove a CamelBak bladder from its backpack, open the bladder pocket, slide out the tube, unhook the bladder, and pull it out of the pack.
Once the bladder is removed, it’s a good idea to dump its contents, check for mold, wash thoroughly, and let everything dry completely before reassembling.
If you don’t, you risk mold growing in your reservoir and/or chemicals leaching from the plastic into your drinking water.
Getting into the habit of removing the bladder from your CamelBak, washing, and drying between uses will help keep your pack clean and may prevent you from getting sick.
The whole process should only take a few minutes (including the cleaning). Taking it out of the backpack should only take around 20-30 seconds once you know what you're doing.
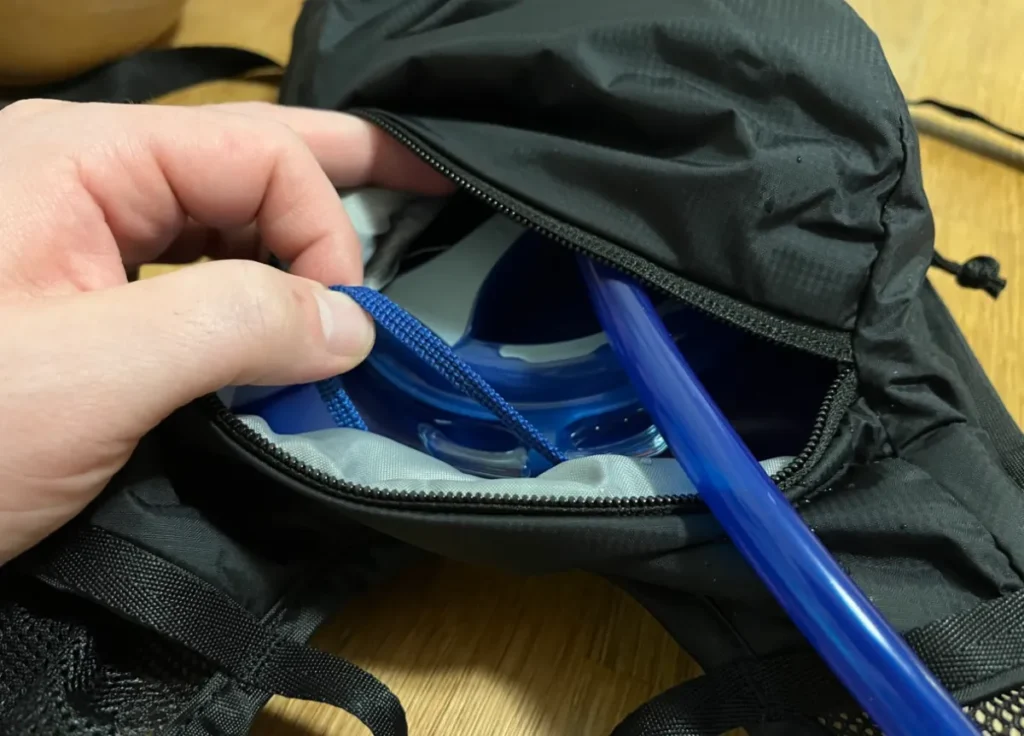
Step 1: Locate The Bladder Pocket
The opening to a CamelBak’s bladder pocket is typically located at the top rear of the pack, but on a few models is found on one side.
Wherever it’s located, unzip zippers until you find the compartment holding the bladder.
Step 2: Remove The Tube From The Pack
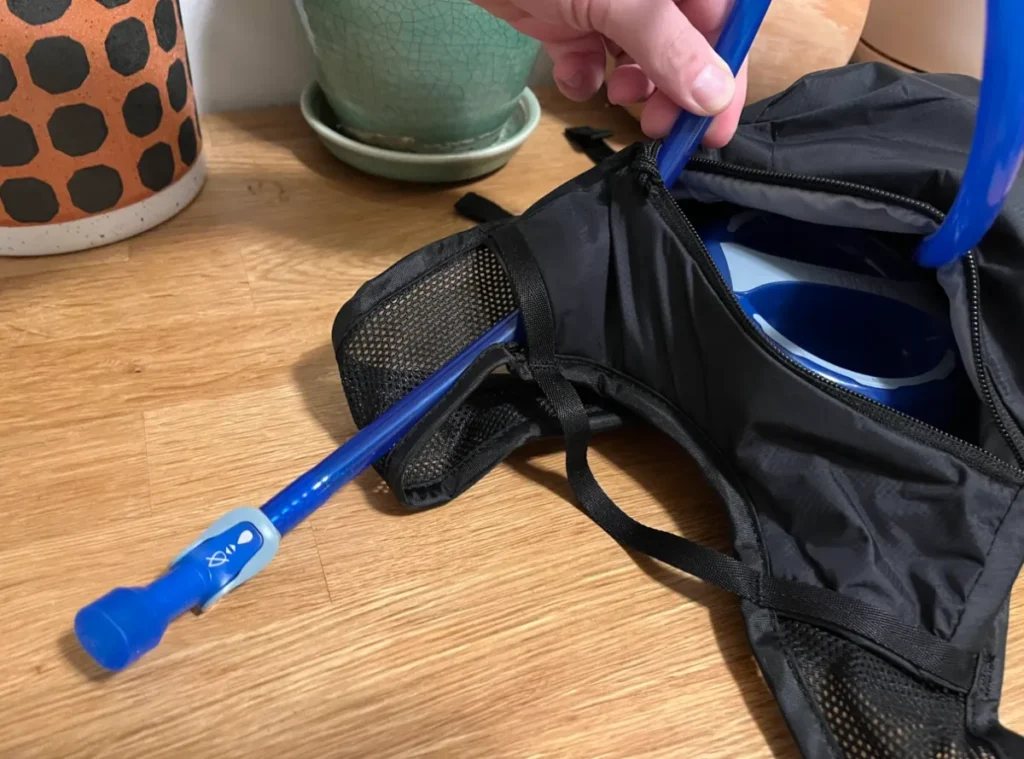
Disconnect the tube from the trap (the little hook on the should strap that keeps it in place), slide it out of the opening above the shoulder, and bring it through the opening to the bladder pocket.
If it’s getting in the way, you can reach in and disconnect it using the QuickLink button, but it’s not usually necessary to do so and I never need to do this when I take my bladder out of the backpack.
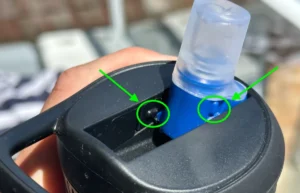
Step 3: Unhook The Bladder From The Pack
Most CamelBaks have a loop at the top interior of the bladder pocket that supports your bladder and prevents it from sagging to the bottom of your pack when worn.
Before you take the bladder out of the backpack you'll need to slide the loop off of the hook at the top of your bladder.
Step 4: Slide The Bladder Out Of Your Pack
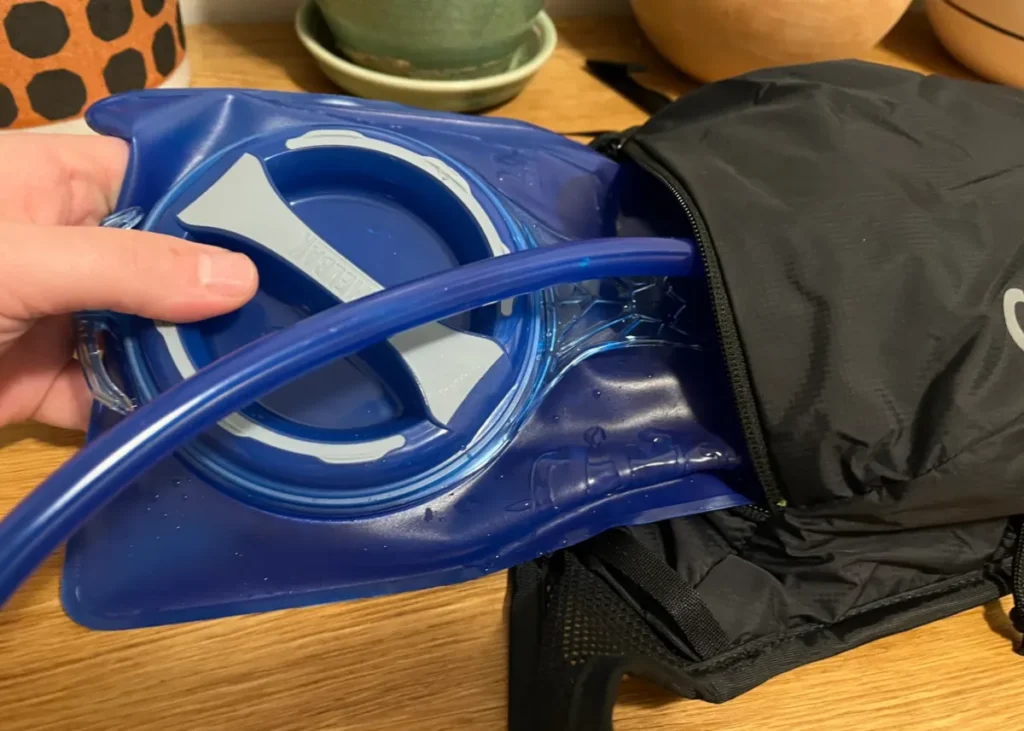
Now your bladder is ready to come out of the pack. Simply reach into your pack and slide out the bladder.
To me, it’s easiest to do it when your pack is laid out on a flat surface, but some prefer to hold their pack and pull the bladder out vertically. Either way works fine.
Grab the bladder by its top edge, not by the fill handle. If you try to pull the bladder out using the handle, it tends to fold the bladder and make it more challenging than is necessary.
Step 5: Dump And Check For Mold
Immediately dump out the contents of your bladder.
Leaving water in any longer than is needed is unsafe. It encourages the growth of mold and allows more time for chemicals to leach from the plastic.
It's also a good time to do a quick check for mold:
- Touch the inside of the reservoir to see if it feels slimy.
- Give it a smell test, looking for an earthy, mildewy odor.
- Check for spots of mold throughout the reservoir and tube, paying particular attention to the underside of the cap, in the mouthpiece, and around the seams.
If there are any signs of mold, you’ll want to remove it before using your CamelBak again.
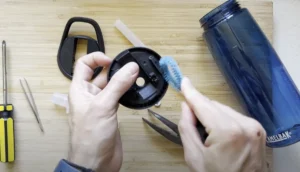
Step 6: Clean And Dry Your Bladder
Ideally you should wash your bladder out after every use, but if you’re only drinking water you can probably get away with just rinsing it for now and washing it after every few uses.
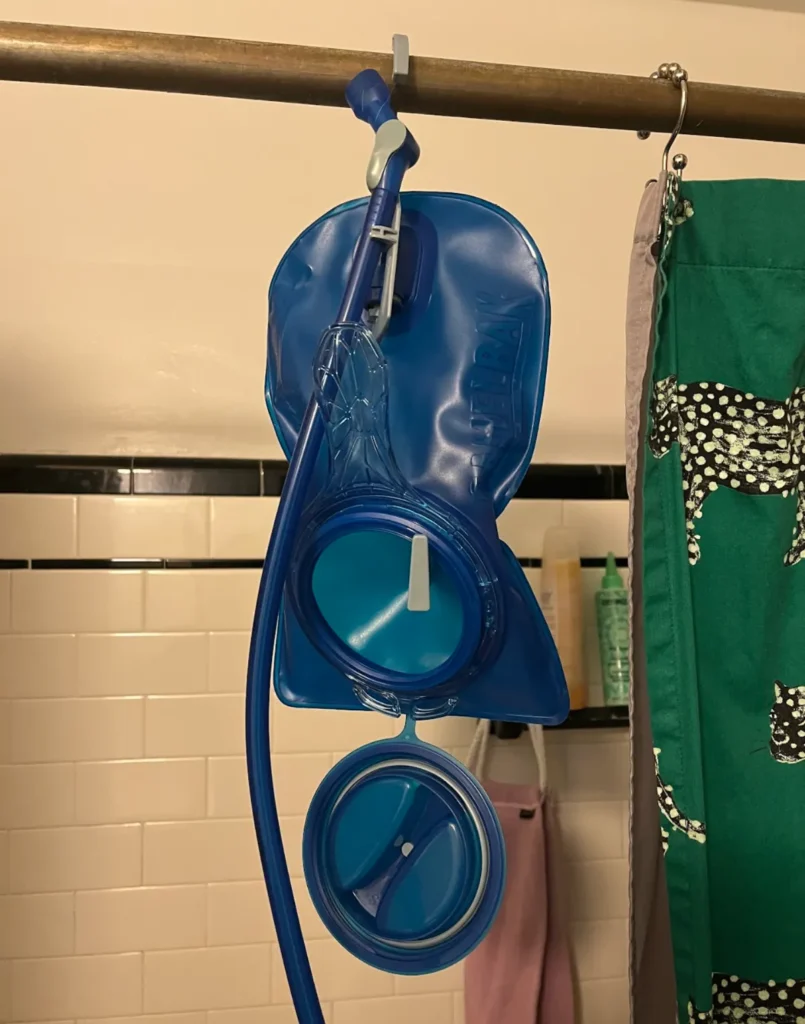
But just as important (if not more important) than washing your bladder is drying it correctly.
Leaving any moisture in your bladder when storing it can lead to a lot of mold growth. The best and easiest way I've found to dry my CamelBak is to hang it up using the hanger that comes in the CamelBak Crux Cleaning Kit.
This cleaning kit is well worth the cost as it has an extra long straw brush for cleaning the drinking tube as well as a larger brush for cleaning the inside of your bladder. Plus the drying hanger is a lifesaver.
Click here for instructions on how to insert the CamelBak bladder from the backpack.
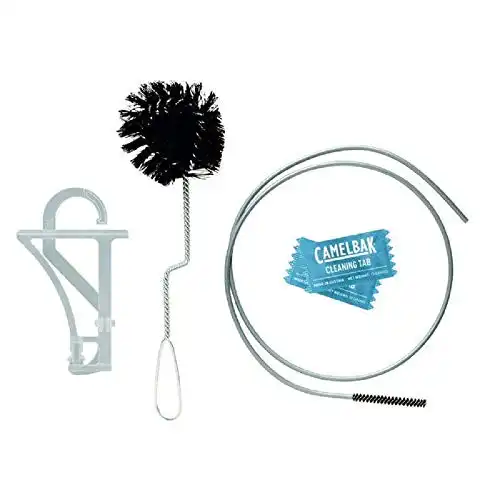
Features a large brush for the reservoir and a extra long straw brush to clean the drinking tube plus CamelBak cleaning tabs which will help clean away any scum. After cleaning use the reservoir drying kit to easily hang your bladder and get it completely dry.
A must have for CamelBak bladder owners.