Using clear ice balls for drinks instead of regular ice cubes is an excellent idea. These ice balls make a striking visual impression and melt slower than ice cubes, allowing you to enjoy your expensive whisky’s full flavor profile.
However, once you've taken the time and effort to make or buy crystal clear ice balls you need to store them correctly to ensure they don't stick together or absorb bad tastes/smells.
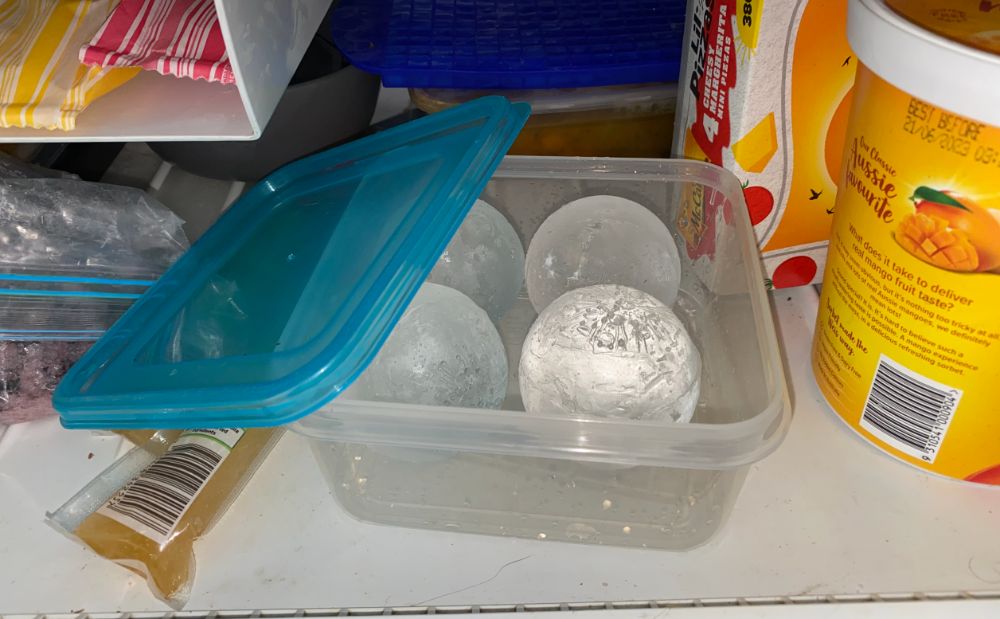
When storing clear ice balls keep them in a freezer as cold as possible – under 0ºF/-18ºC. Keep them in a airtight bag or storage container so they don't absorb bad smells and keep them towards the back of the freezer and avoid stacking too many on top of each other so they don't stick together.
If you're just making clear ice balls at home them a simple ziplock bag or tupperware container will do the job, whereas if you're storing a large volume of clear ice balls in a restaurant or bar then having a shelving unit to store the ice balls in single layers in your walk in freezer is a good idea.
In this article we are looking specifically on how to store clear ice spheres once you've made them. If you're interested in learning how to make clear ice balls then please refer to my guide of the best clear ice sphere makers or my guide on how to make clear ice for beginners.
1. Place Separated on a Tray for the First 24 Hours
If you're using an ice press to create your clear ice balls from another piece of clear ice or your receiving clear ice balls from a vendor you'll first want to place them on a tray in your freezer for approximately 24 hours and ensure the balls aren't touching each other.
When ice spheres are first made or delivered they usually have a thin layer of water on the outside.
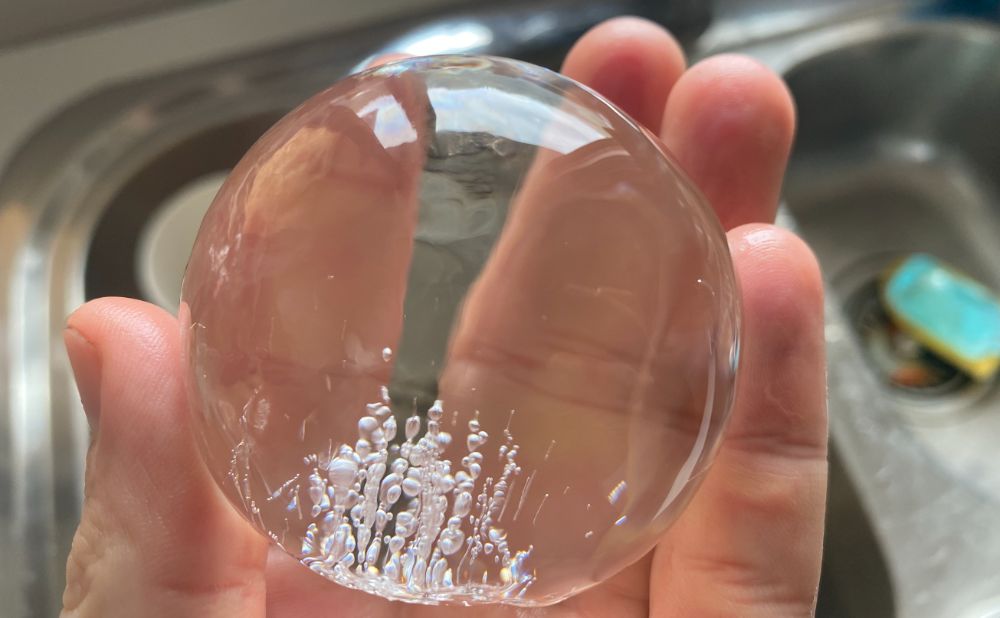
If you put them straight into ziplock bags altogether then they have the potential to refreeze and stick together. This makes them harder to get apart but can also ruin the smooth appearance of the ice balls.
To avoid this place them on a tray, separated and not touching, for 24 hours to fully freeze them and bring them down to temperature. Once you have done this then you can pack them together using one of the methods mentioned below and the chances sticking together should be small.
Click here for more tips on how to stop ice from sticking together.
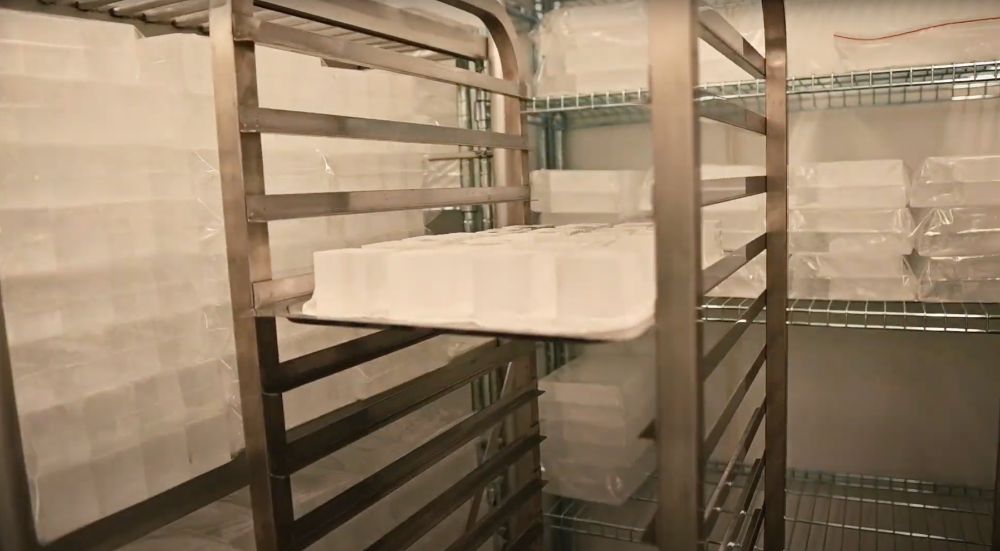
Below you can see a commercial company making clear ice cubes. While these aren't spheres, you can see that once they make them they place them separated on a tray for 24 hours to allow the ice cubes to fully freeze and come down to temperature before putting them in a ziplock bag and stacking them on top of each other.
This stops the ice cubes from refreezing together and will make them easier to get apart when you do need them and will also meant hey present better too.
2. Keep Them at the Back of the Freezer
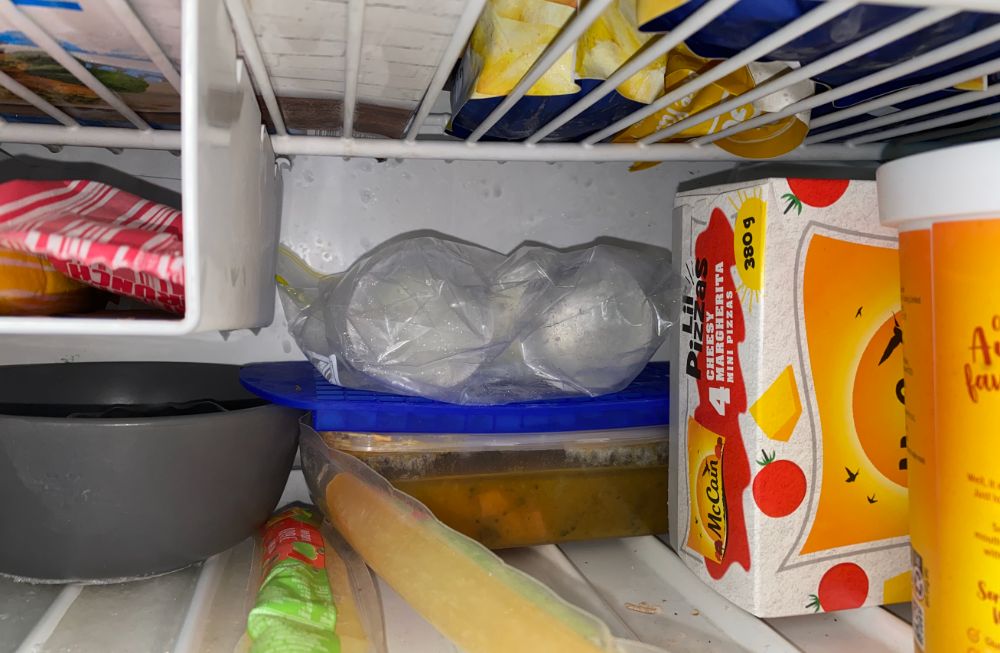
Keeping your ice balls in the coldest part of your freezer is vital. The back of your freezer is typically the coldest place in your freezer. The lower the temperature, the lower the risk of the balls slightly melting and then refreezing and sticking together.
Avoid storing your ice balls near the freezer door as you increase the risk of them sticking together each time you open the freezer.
3. Transfer the Ice Balls to Ziploc Bags
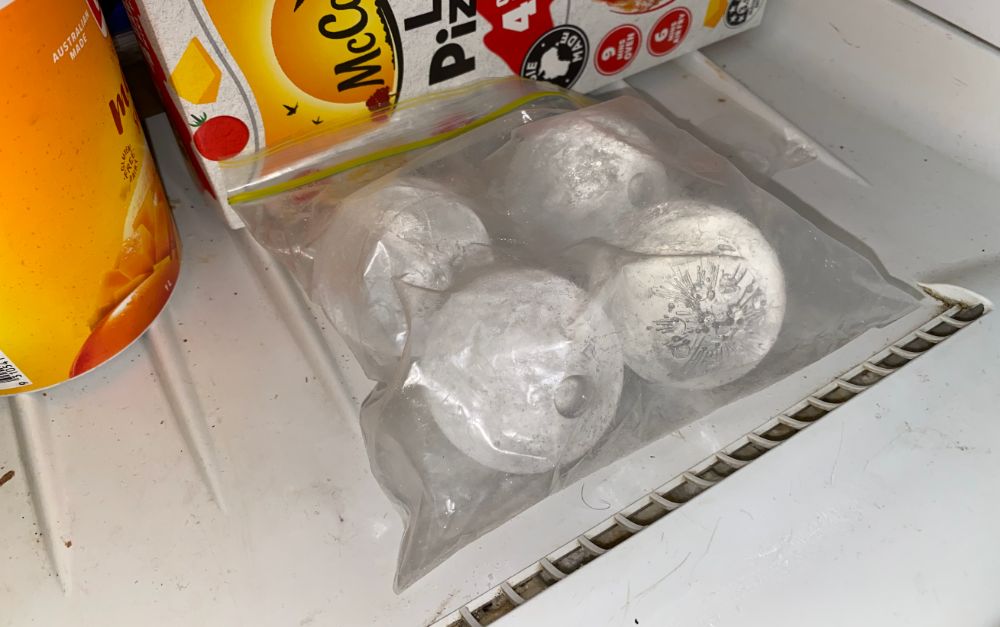
After your ice balls have been in the back of your freezer for a day, transfer them into Ziploc bags and tightly seal the bag closed. These are one of the best ways to store ice cubes in a freezer and it's what commercial clear ice manufacturers do after their ice has sat on trays for 24 hours to fully freeze.
Ice is porous and can easily take on the smells and flavors of the other items in the freezer (or even your fridge), which is not a tasty prospect if appreciating your drink’s gentle taste notes is important to you.
A sealed Ziploc bag is robust and an effective barrier to keep your ice balls tasting pure when they melt.
I do notice that when I store my ice balls in a ziplock bag the bag tends to get small ice flakes inside which cover the bag but also begin to cover the ice balls making them not look as good.
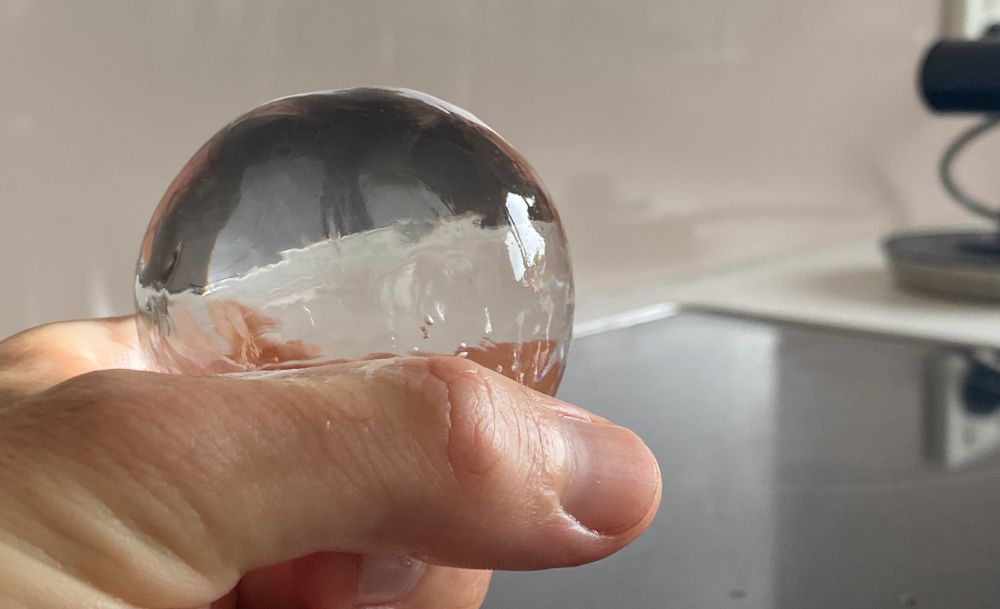
However, a similar solution to fix this is to simply run your ice balls under water before putting them in your drink. It'll get rid of any ice flakes and leave your ice ball looking crystal clear.
4. Use a Tupperware Container
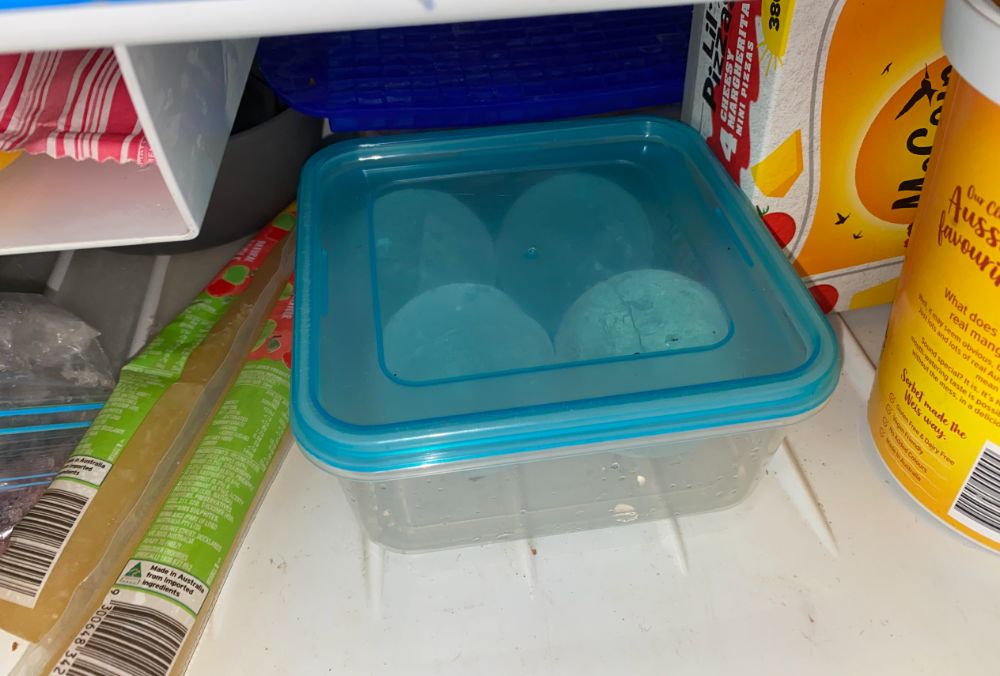
If you don’t like using a Ziploc bag to store your clear ice balls because you’re avoiding single-use plastic, consider using a Ziploc bag alternative, like a tupperware contain.
Choosing a plastic airtight container allows you to reuse it for future ice balls. It’s a great option, provided you ensure that the ice balls are well spaced out and that the container is large enough to seal shut.
What I like about these containers is it makes it really easy to stack multiple layers of ice balls on top of one another without the risk of them sticking together. You can also use one container of ice balls first (keeping the oldest ones on top to ensure they get used first) before opening up other containers.
This ensures you constantly have fresh ice spheres available and they are easy to access and store in your freezers.
A paper bag also makes an excellent alternative, but it doesn’t create an airtight space. Bits of paper can also stick to the ice, so opt for a paper bag with a waxy coating to make it easier to peel away from the ice balls.
5. Consider a Portable Freezer
Storing clear ice balls at the back of your freezer is vital if you want them to turn out beautifully. But if you’re sick and tired of unpacking your freezer to get to your ice balls each time you make a drink, or if you need to store a large amount of ice balls, you can use a portable freezer instead.
Using a portable freezer gives you easy access to your ice balls and allows you to set the temperature as low as you like. If you buy a mini freezer solely for your ice balls, you won’t have to store them in Ziploc bags as you don't have to worry about other smells from the freezer permeating into your ice.
6. Store On a Tray Rack To Avoid Stacking
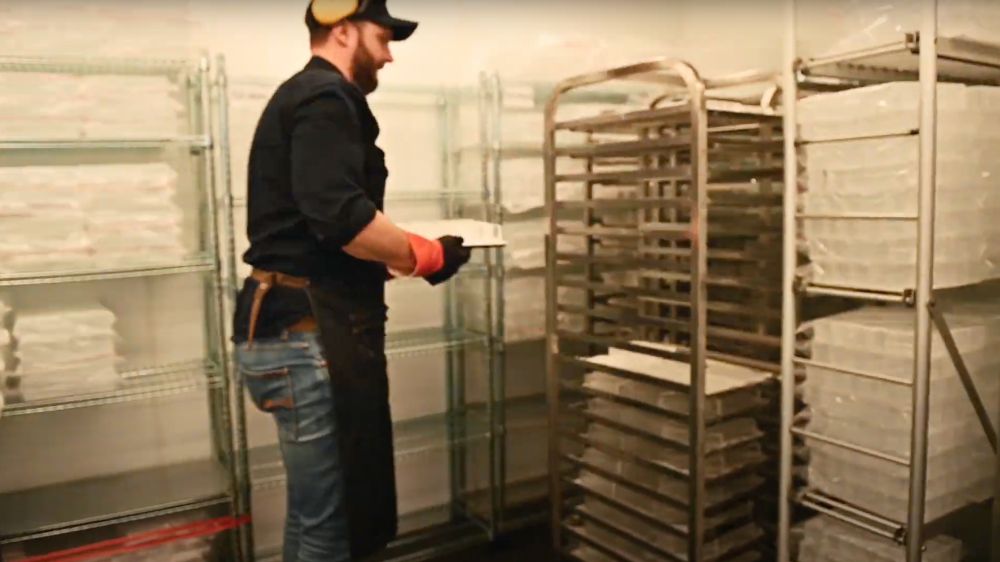
If you're a commercial company using A LOT of ice balls then getting a commercial tray rack for your walk in freezer could be a great investment for you.
You can use them to store singular ice balls as they completely freeze or to store stacks of ice balls in ziplock bags in a convenient way.
Tips for Making Clear Ice Balls
I’ve explained how to store clear ice balls correctly, and now I’d like to share some valuable tips for making clear ice balls:
Water Type Matters
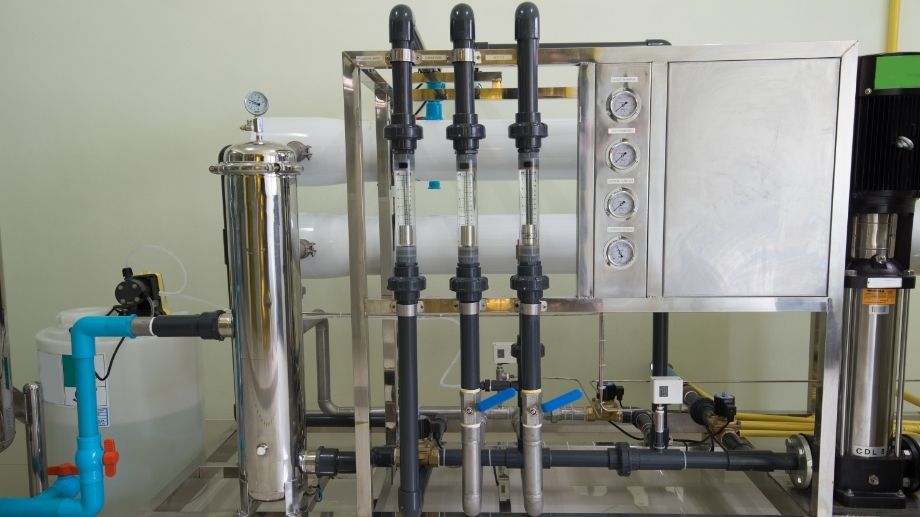
You can make clear ice balls with any water, but water can vary in taste一as any keen water drinker will tell you.
If you don’t typically drink your tap water due to the taste, don’t use it to make ice balls because it will affect your drinks’ taste. If you enjoy the taste of a specific bottled water brand, consider using that.
Distilled water is an excellent choice because it tastes better and doesn’t contain the same minerals and chemicals as tap water that contribute to ice ball cloudiness. So you'll get clearer ice and better tasting ice.
By distilling or softening water you can also remove the minerals from hard water that cause a white residue to appear on some silicone molds. Given many clear ice sphere molds are made from silicone this is usually a good step to take if you can.
Before you fill your mold, boil the water to remove any air bubbles and dissolve any lingering impurities. Allow it to cool a little before pouring it into your mold, as boiling water could melt the plastic.
Use a High-Quality Mold
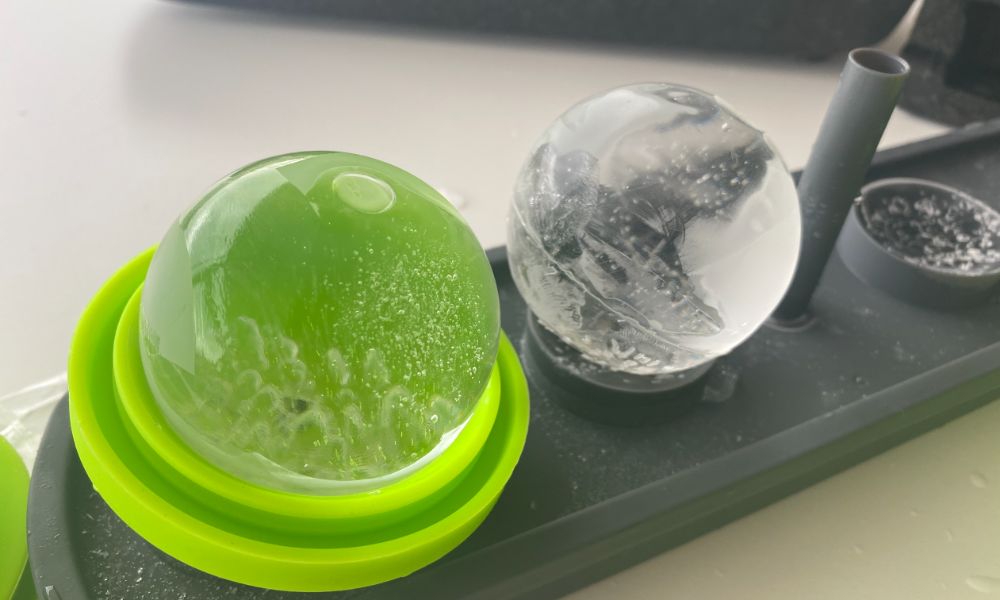
Your ice ball mold’s quality can affect the outcome. For the clearest ice balls, use a high-quality mold that’s BPA-free and forms a perfectly spherical shape.
I personally use Tovolo Leak-Free Sphere Ice Molds (Amazon) which work pretty well and don't take up too much space in my freezer. But they aren't perfect and do create ice balls with some minor bubbles in them.
For higher quality molds check out my list of the best sphere ice cube trays.
Take the Ice Balls Out of the Freezer in Advance
There’s nothing worse than taking your perfectly-formed clear ice ball out of the freezer, only to see it crack as you pour your whisky over it.
To prevent unsightly cracks, take your ice ball out of the freezer ten minutes before preparing your drink. This allows it to temper, making it less likely to crack when you pour the liquid over it.
Final Thoughts
Correctly storing ice balls ensures that they don’t stick together or take on the smells and flavors of other items in the freezer. You can keep your clear ice balls correctly by:
- Placing them on a tray in the freezer for the first 24 hours
- Placing them at the back of your freezer
- Transferring them to Ziploc bags (or an alternative, such as an airtight container)
If you don’t want to unpack your freezer each time you need an ice ball, consider investing in a portable freezer for your clear ice balls.

