One of the biggest questions new skimboarders ask is “how do you actually catch waves skimboarding?”
If you’ve seen the pros on social media riding these amazing laguna beach shore breaks it’s normal to want to jump on a board and be able to do the same thing. But give it a go and you’ll realize it’s actually a lot harder than it looks. But with the right timing and practice you can catch waves skimboard. So how do you to it?
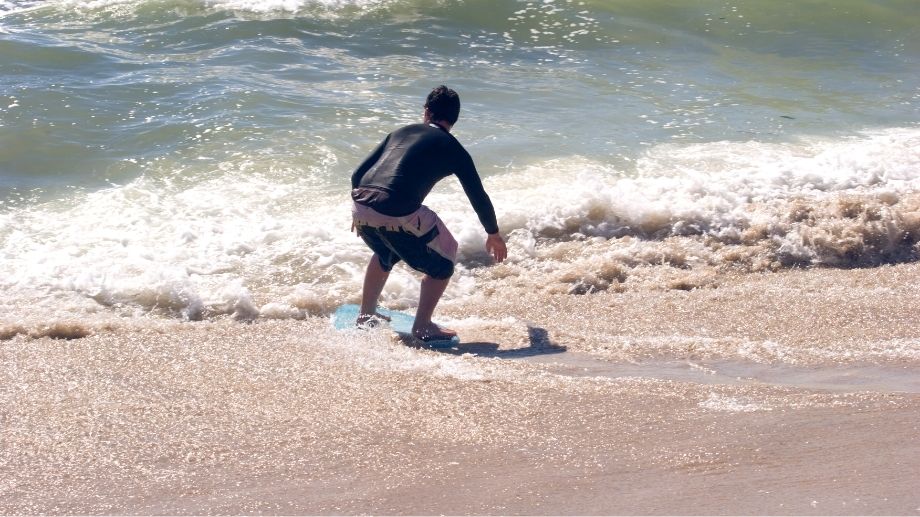
To catch waves skimboard you need to professional board. Sprint and drop onto your board as the water is either rushing out or in with a wave just about to break. Turn into the wave slightly before you reach it ensuring to turn your head and shoulders in the direction you want to go.
To catch waves skimboarding you’ll first need to be able to skim fast and far and be proficient at body positioning and turning your board. Expect it to take some practice and a few sessions before you are able to successfully catch unbroken waves. But once you get the hang of it it’s well worth the effort it took in learning it.
In this article I’ll give you a shortlist of tips to help you catch waves faster and avoid some of the common mistakes gromets make when trying to skimboard waves for the first time.
Board Selection

Before we jump into the practicalities of exactly how to get out to and get on a wave so you can ride it back into shore we need to quickly touch on board selection because this plays a huge role in whether or not you can catch waves.
You need to have the right board in order as the wrong board won’t help you.
In short, it’s nearly impossible to ride waves on a wooden skimboard. You need a larger foam skimboard with a fibreglass or carbon fiber epoxy shell.
If you don’t believe me have a look at the video below. This is Austin Keen, one of the best skimboarders in the world and a professional skimboarder and he is skimming on a day with nice big shorebreaks and even he is struggling to catch waves on a wooden skimboard.
If you want to catch and ride wave skimboarding you need a larger skimboard that is more rigid and more buoyant and this allows you to maintain enough speed to catch the waves.
For this reason foam boards are better than wooden boards. They have a larger surface area and more buoyancy which allows you to maintain high speeds and they can handle more body weight and will just help you catch that perfect wave.
No matter your skill level or the wave conditions, a better board will lead to more waves and better rides.
For riding waves you’ll want to purchase a performance skimboard. I’ve written an entire guide on the best skimboards for beginners if you want to learn even more about board selection and which boards I recommend.
However, in short you can go straight to the tippy top and buy one of the best boards money can buy and get an Exile Carbon Fibre board (I recommend the Hybrid shape) otherwise if you want to save some money you can get the Exile EX0 Skimboard which has the same shape but a less durable and slightly more flexible exterior shell.
If those all feel a bit pricey for you then something like the Driftsun Skimboard (Amazon) gives you a good quality board that won’t break the bank. The major benefit of the Driftsun is that it comes with a back kicker traction pad and an arch bar. These alone would usually cost you around $50-$80 so given the fact they come on the board this makes it even better value for money.
Whatever board you get you’ll want to make sure you either get skimboard traction pads or you wax your skimboard properly so you have enough feet grip in order to successfully ride large waves.
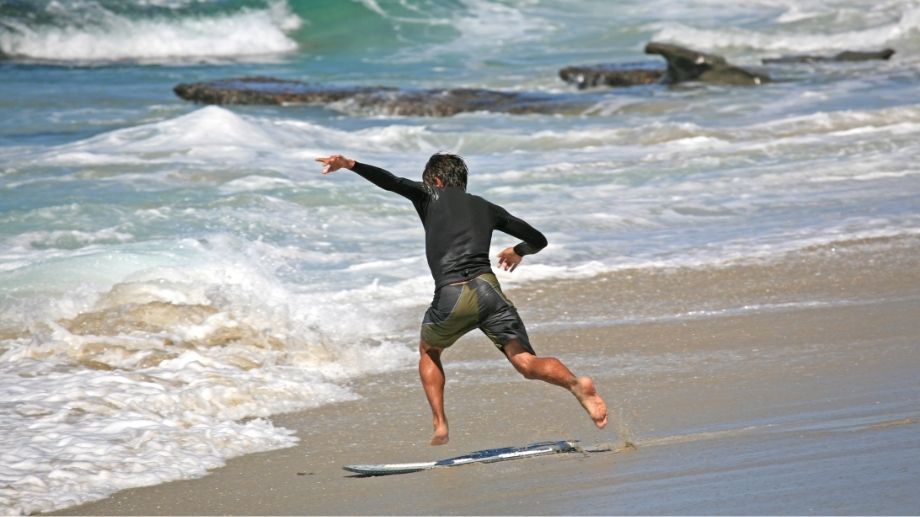
Master The Basics
In order to catch waves skimboarding you first need to have mastered the basic of running and getting onto your skimboard using the one step drop or the monkey crawl method.
You should be able to get onto your board at 90-100% sprinting speed. If you aren’t there yet and need help learning how to start skimboarding and building up your speed then check out my complete guide to skimboarding for beginners.
This covers everything from beach selection, how to start skimboarding, techniques for more speed as well as skimboarding tricks and how to maintain speed and skim farther out to waves.
Click here to read the completely guide on how to skimboard for beginners
Assuming you know how to skimboard and are proficient at getting onto your board at top speeds and side slipping we can now talk about exactly how to skimboard waves.
Beach Selection
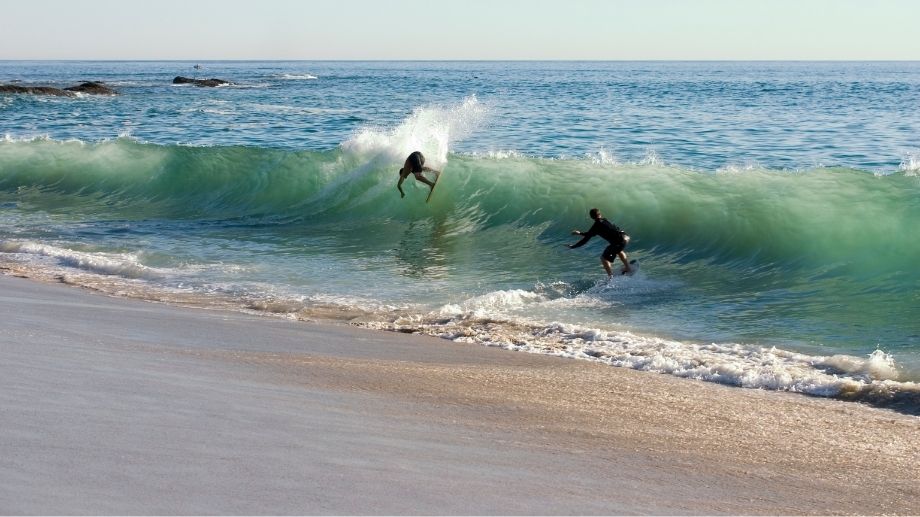
Laguna Beach is famous for skimboarding for a reason. It’s an ideal beach for skimboarding for a few different reasons. By learning about this we can learn how to pick the right spots to begin catching waves in our local area.
Shorebreaking Waves
When surfing you generally paddle out past the shoreboard and are catching waves pretty far out. This is one of the big differences between surfing and skimboarding.
Because, with skimboarding, you’re using your running and skimming speed as the only wave of getting onto the waves the waves can’t be very far out the back.
They need to be close to shore so you can reach them and ride them. Thus you want a beach with decent sized shorebreaking waves.
My local beach sometimes has shorebreaking waves and sometimes doesn’t. So different days and different conditions determine when I can skimboard and when I can’t.
While low tide is usually ideal for starting to skim on sand and thin water, it usually isn’t the best for catching waves as the waves break too far out. This will depend on your beach but usually mid to high tide seems to be best for me.
Slanted Entry
When you have a beach that slants down towards the ocean this can be great for skimboarding as you can use the hill and gravity to help you get and maintain speed to catch waves.
It also tends to create heavier shorebreak waves which are great for skimboarding.
If the beach is completely flat then you’re skimming into flat water and relying on 100% of your own speed and power in order to get to and catch the waves and this can be more difficult and more tiring.
Wave Frequency
A big part of catching waves on your skimboard is having the right type of water before the wave you want to catch. Having the right wave to actually catch is also important too.
This comes with timing and practice but ultimately you want a series of 2 waves to come into shore at the right timing.
The first wave sets up the water that you’re going to skim on. The wave might comes up and then the water will draw out exactly as the next wave (the one you’re going to catch) is coming in.
You can then use this momentum of the water drawing out to get faster speeds and get to the wave easier.
Alternatively, a wave may push water in and you’ll do a water drop onto this water rushing in in order to catch the wave behind it.
Sometimes the timing isn’t right and you got still or dead water just sitting there as you try to get to your wave. This will kill your speed and will make catching waves a lot harder or in some cases virtually impossible.
So looking for this correct timing with waves is really important.
Big, Steep, Powerful Waves
Another great thing Laguna Beach has is fairly big, steep and powerful waves. Big waves are better for skimboarding than little weak waves.
The bigger the wave the more power it is going to give you. Power and speed are important as they keep you on the wave and allow you to ride it.
If the wave is too small, to full/fat or too weak then it won’t give you enough momentum to ride the wave and you’ll end up falling off the back.
Steep and powerful waves help you perform sharp turns and also give you enough speed and momentum to ride the wave back into shore.
Sometimes you can’t control this as it depends on your local beach and where you live but where possible seek the bigger waves.
We’ll also talk about how to catch smaller waves on a skimboard a bit later in this article for those of you who are at beaches with smaller swell. It’s still possible you just need to approach it a bit different.
But first we’ll look at how to catch waves on a skimboard if you have decent sized shorebreak waves you can ride.
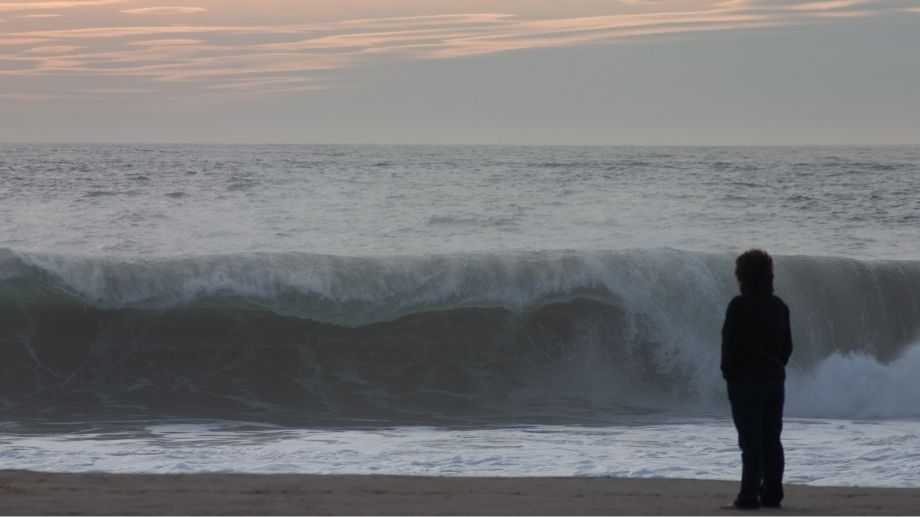
When To Skim Out To Waves
A HUGE part of catching waves on a skimboard is timing the waves.
We talked earlier about the ideal situation being when a pair of waves comes in. The first waves sets up the water for you to skim on and then the second wave is the one you catch.
There are two key times when you want to be running out and skimming towards that second wave.
As The Water Comes In
When the first wave is pushing water up the beach you can run out and do a water drop on this water that is rushing in and skim out to the wave behind it.
This can be good as you can get deep in the water fairly quickly and catch the wave breaking behind the water.
As The Water Draws Out
The second time to go for it is when the water from the first wave is being drawn back out towards the ocean.
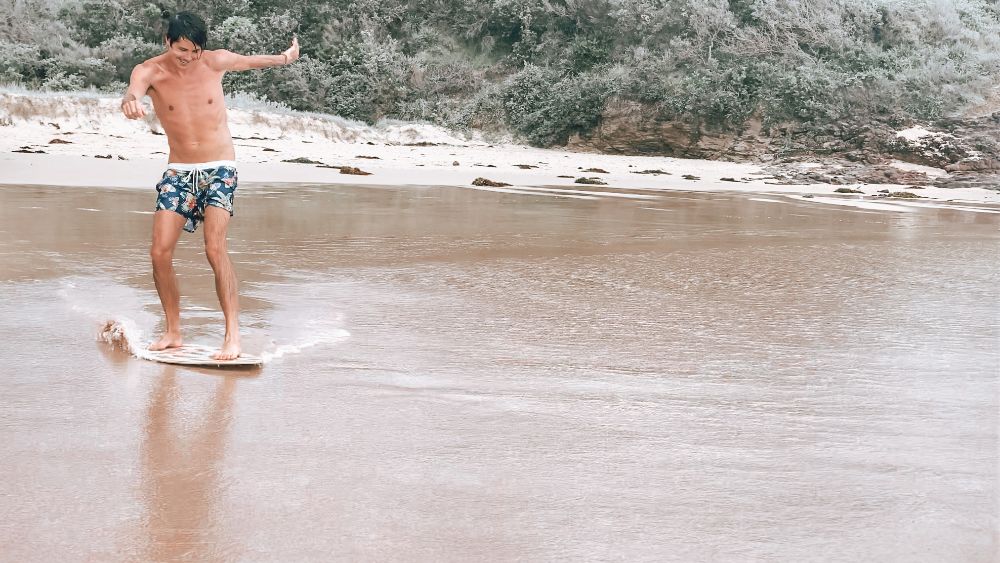
This can leave you with wet sand where you can do a one step drop and use the direction of the water flow to help you reach and catch the next wave.
You can start by sand skimming and then skim into deeper water towards the incoming wave.
Still or Dead Water
You want to try to avoid still or dead water. This is water that is just sitting there and doing nothing.
For some reason (and I’m not 100% sure why) this water can be harder to skim on. It seems to sap all of your speed and momentum away really quickly, making it hard to get on waves.
You can still skimboard over dead water but it makes things hard so if you can get the water as it’s rushing in or out that’s ideal.
Timing The Breaking Of The Wave
Not only do you need to time the water rushing in or out but you also need to time when you’re going to reach the wave and what it will be like as you reach it.
Usually you have a 1-2 second window or “sweet spot” where the wave will be ridable.
Go to early and the wave won’t be breaking and won’t be steep enough and you’ll just fall off the back of the wave and it’ll break in front of you.
Go too late and the wave will either be already broken or will be just about to break in a wave that makes it unable to be caught.
So you need to time the wave so it is nearly about to break but so you have enough time to turn in the wave and be riding the wave as it breaks.
Understanding this timing comes with practice and you have to think ahead and predict how the wave will break because you need to start running 5-10 seconds before you actually reach the wave.
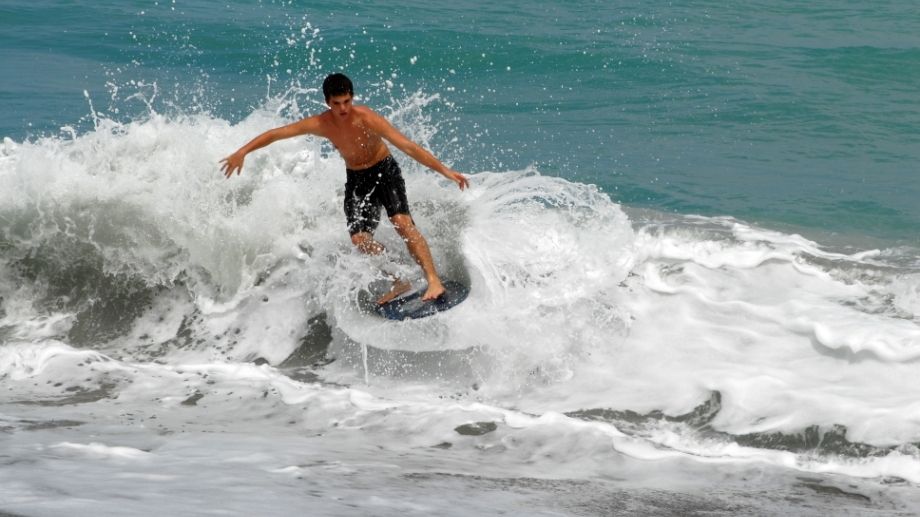
Turning Onto The Wave

Assuming you’ve done everything right in terms of your run, your drop and your timing you still need to turn onto the wave.
Here you’re basically doing a complete 180º turn in a very short time frame in order to transfer your momentum onto the wave and ride it back into shore.
When turning onto the wave you’ll want to get down low with your knees bend and your bodyweight leaning over the board.
Use your head to look to where you want to go and get your shoulders to turn and lead the way. You’ll need to swing your shoulders, arms and torso into the turn as well as adjust the pressure on your feet in order to make the board turn.
Remember the back and the rails of the board are your steering wheels here. You don’t have fins to drive your direction like surfers do.
This means you’ll want to have your back foot right at the back of the board applying weight to this back foot as well as the side of the board you want to turn into the wave. Skimboard traction pads are better than wax in these situations as it gives you a lot more control, especially with your back foot.
My Biggest Tip For Turning Into Waves – Look Where You Want To Go
The biggest mistake I made when trying to do these turns into waves (and on waves) was I was looking behind me because I wanted to see the awesome spray that I generated as I turned.
This caused me to fall of basically every single turn and miss a lot of waves as a result.
The best advice I got (which I now pass onto you) is to use your head to focus on where you want to end up.
Look ahead and trust that your shoulders, body, feet and ultimately your board will go in that direction.
Another great piece of advice is commit to the turn. Don’t have ass it or pussy foot it, lean into it and trust in your speed and board to make the turn.
Push hard with your feet to get the board’s rails to grab in the water and make the turn and if your board slips out from under you or digs in too much and completely stops then adjust for the next time around.
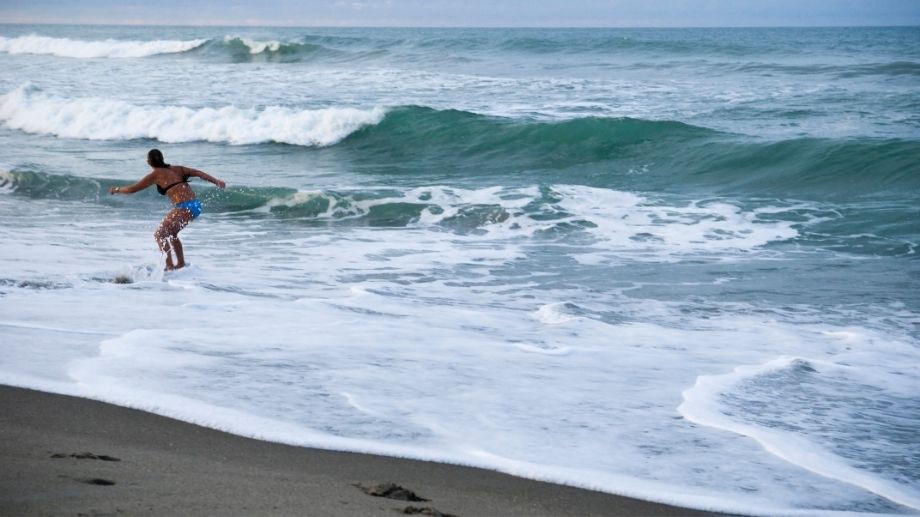
How To Skimboard On Smaller Waves
Skimboarding on smaller waves can be a bit trickier than skimboarding larger more powerful shore breaks.
Often you lose too much speed turning into the wave and the wave doesn’t carry enough power to carry you along once you’re on it. This can cause you to fall off the back of the wave or simply go over it.
The thing smaller waves sometimes have going for them though is that they are much closer to shore than larger waves so it is possible to ride them on a skimboard.
For smaller waves timing and entry direction are very important.
Timing Smaller Waves
When timing smaller waves it’s really vital that you catch them at their apex just as they are about to break. You need to waves to be as steep as possible when you reach them
Entry Direction – Diagonal
Usually when catching a wave you’ll skim our directly towards it and then use your body to turn 180º and catch the wave back into shore.
However, this requires the wave to have enough power to carry you back into shore as you tend to lose a lot of momentum in your turn.
With smaller waves you’ll want to try to approach the wave diagonally or from a sideways direction rather than straight on. This means you’ll have to turn less and you’ll be able to maintain your momentum.
Maintaining your momentum is key as this will allow you to ride the wave back into shore.
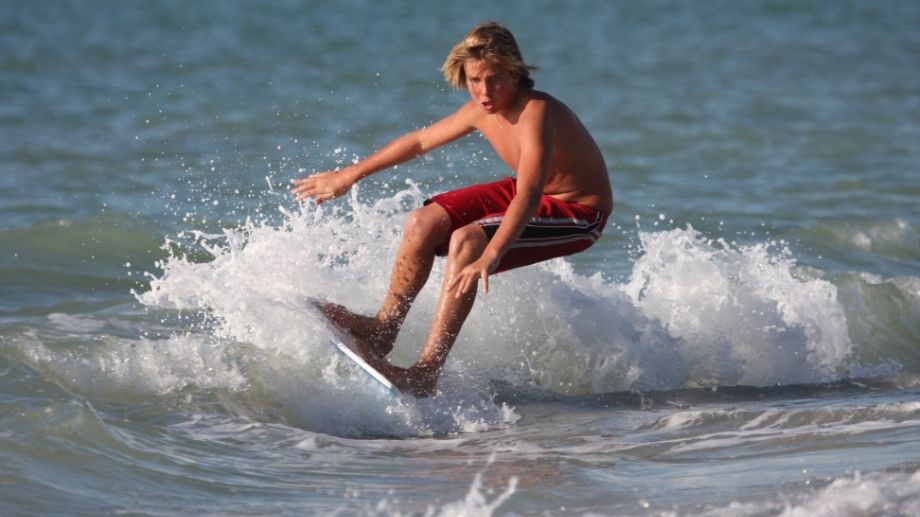
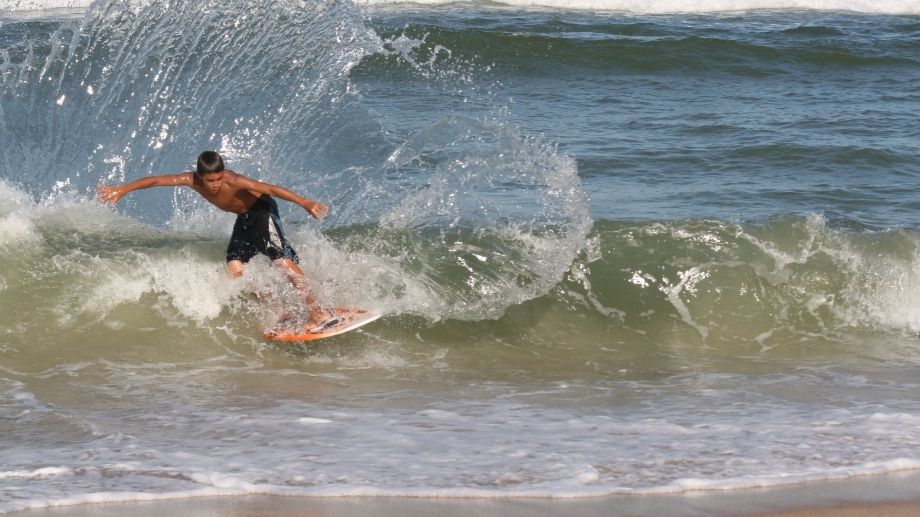
How To Carve and Turn On a Wave When Skimboarding
Once you’ve got yourself onto the wave on your skimboard you’ll want to continue carving on the wave, making sure you stay in the sweet spot or picking up speed to make it into the barrel.
Like all things with skimboarding learning how to accurately turn and carve on the wave takes practice.
However, an important thing to remember when surfing a wave on your skimboard is that you don’t have fins like a surfer does. Surfers use their fins to guide their board through the water and turn easily on the wave.
When skimboarding your rails are your fins. This means you often want to have a lot of weight on your back foot to dig the rear rail into the wave to make turning easier. When the back of your board is inside the wave it can act as a good turning point.
You’ll also want to use your weight on your inner or outer rails in order to turn and stay on the wave.
When riding a steep wave if you don’t dig your inside rail into the wave you’ll find your board will simply slip out from under you.
All of this is pretty intuitive as you begin catching and riding waves on your skimboard. Just know that turning can be more difficult than on a surfboard.
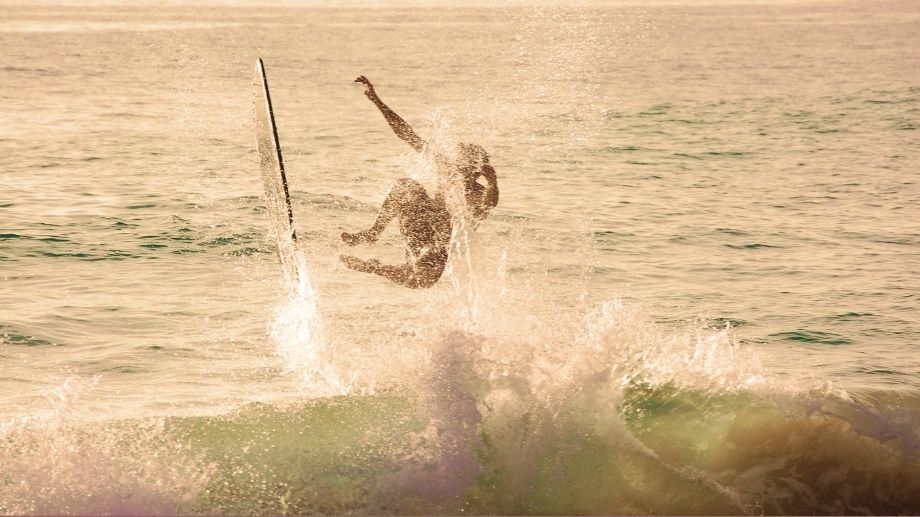
How To Get Air When Skimboarding

You can get air on a skimboard simply by skimming out over a wave and using it like a ramp. This is extremely fun to do. It’s one of my favorite parts of skimboarding…I mean who doesn’t love flying even if it’s just for a second.
This is also a good way to practice getting air and trying to keep your board on your feet. To do this simply treat the wave like a ramp and do what we discussed in the guide on how to skimboard and do tricks.
Approach the wave knees bent and as you hit the wave lift your weight off the board by straightening your legs and moving up like doing a jump. If you completely jump at the apex of the wave you’ll go flying high but your board won’t.
To keep your board with you you’ll then want to bend your legs as you go into the air trying to keep the board with you. This takes timing and lots of practice. You can also hold onto your board to keep it at your feet.
Practice, Practice and More Practice
Practice is key when it comes to learning how to skimboard waves. The more repetitions you get the better you’ll become. It doesn’t come down to “talent” you’re born with but rather hard work, dedication and determination not to give up.
Try to get as many wave attempts in as you can in every session. When people are sitting and resting or talking…be running and skimming and trying.
When the weather is yuk and conditions are bad and everyone is staying home…put on your wetsuit and try to catch the slop.
Remember that a little bit of practice regularly is always going to be better than one single long session. So even if you only have 15-30 minutes to practice go ahead and get some reps in.
The more you practice the better you’ll get and eventually you’ll be riding waves into shore, getting barrels and doing skimboarding tricks just like the pros do.
Oh and remember to have fun with it!
Common Questions

Here are a few common questions that people ask about skimboarding waves:
How do you get on waves on a skimboard?
To get waves on a skimboard you need to skim out quickly to a wave and then turn sharply into the wave maintaining as much momentum as possible to ride the wave back into shore. The fast you run, the better your drop and the better you turn the more likely you are to catch the waves.
Can I surf on a skimboard?
You can’t surf on a skimboard like you can on a surfboard by paddling into a wave. Instead you need to sprint and jump onto your board to gain speed and then turn sharply onto the wave. For this reason skimboarders can only surf waves relatively close to shore.
Can I surf waves on a wooden skimboard?
No wooden skimboards are not made for riding waves. They are too small, flexible and not buoyant enough to catch waves, they lose too much speed. A professional grade foam and fiberglass/epoxy/carbon fiber skimboard is needed if you want to surf waves on a skimboard.