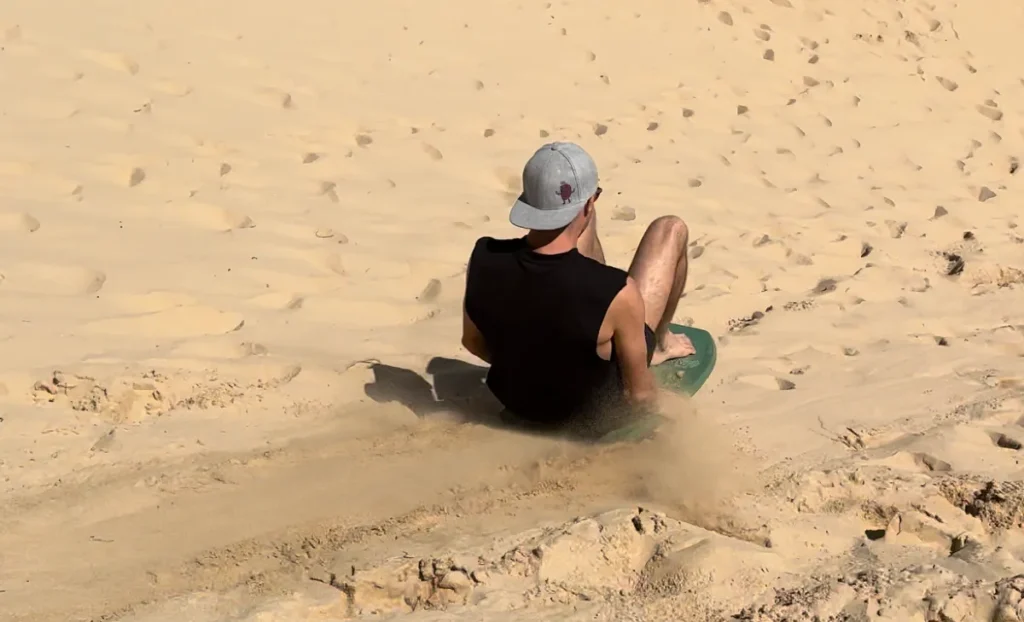
Sand sledding is quickly growing in popularity in areas with dunes big enough to ride. And it’s no surprise why, it’s actually really fun. I love taking my kids to the local sand dunes on the weekend and its also a really good workout.
The problem is, it’s tough to find a decent sand sled for sale. Normal sleds and saucers don’t work great and you’re honestly wasting your time with easy DIY options like cardboard.
While it’s a bit of a project, making your own DIY sand sled is often your best bet. It’s fairly affordable too:
- Choose a material for your sled, ideally something fairly rigid like a thin sheet of hardwood.
- Round off the edges of the board, particularly the front.
- Curve the nose and tail upward by about 15 degrees.
- Make the bottom of your sled slick using wax and, if your base material isn’t slick enough on its own, adding a thin layer of sheet laminate to the bottom.
- Optionally, attach a seat pad or handles for comfort and, if you used hardwood, clearcoat your sled to make it last.
Really, there’s no one best way to make a DIY sand sled. It depends a lot on your budget, the tools you have available, how comfortable you are working with different materials, and how much time you want to put into it.

A lightweight hardwood board with a heavily waxed layer of sheet laminate on the bottom will work the best, but it also takes by far the most time and effort.
Repurposing a large (unused) litter box, skateboard deck, boogie board, snowboard, or skimboard all work well enough for a lot less effort.
You can check out my deep dive on what to use for sand sledding to learn more if you don’t want to go all out and make your own from scratch. Personally me and my kids have a lot of fun simply using a boogie board and a fiberglass skimboard to go down the dunes.
Step 1: Choose The Right Material For Your Sand Sled

When deciding on a material to use for your sand sled, there are a few qualities you should look for:
- The material should be rigid enough to not flex under your body weight. If it flexes, it can create drag and slow you down quite a bit. A small amount of give is manageable, but the less there is the better.
- The material should be reshapeable enough that you can curve the nose of the sled upward so it doesn’t stick in the sand and send you toppling forward.
- The bottom of the sled should be slick enough to minimize friction and let your board glide smoothly across the dunes. You can (and should) always add a layer of sheet laminate to the bottom to help if you’re using a non-slick material like wood.
I recommend using a lightweight hardwood ply, like a ½” thick sheet of maple, oak, or birch.
Start with a piece that’s roughly 48”x20”, going a bit larger or smaller depending on the size of the rider. If you don’t have a table saw to cut it, most Home Depots and Lowes will do it for you as you buy it.
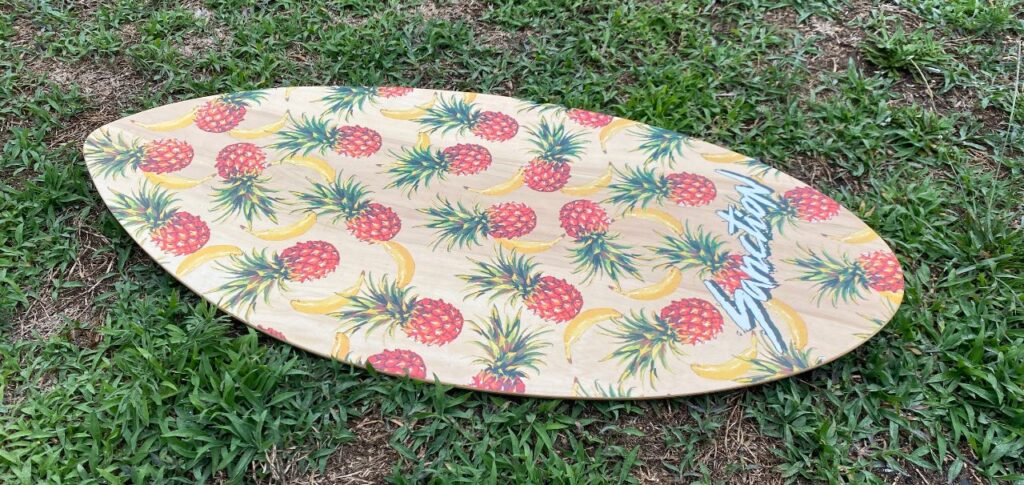
Step 2: Shape Your Sand Sled
Now that you have your material cut and ready, it’s time to start shaping your board.
The goal is to have something close to a fully rounded nose and a less-rounded tail with a flat back.
If you’re using wood, saw your board into its general form, then sand the edges to finalize its shape and remove any jagged or splintered areas.
Step 3: Curve The Nose And Tail
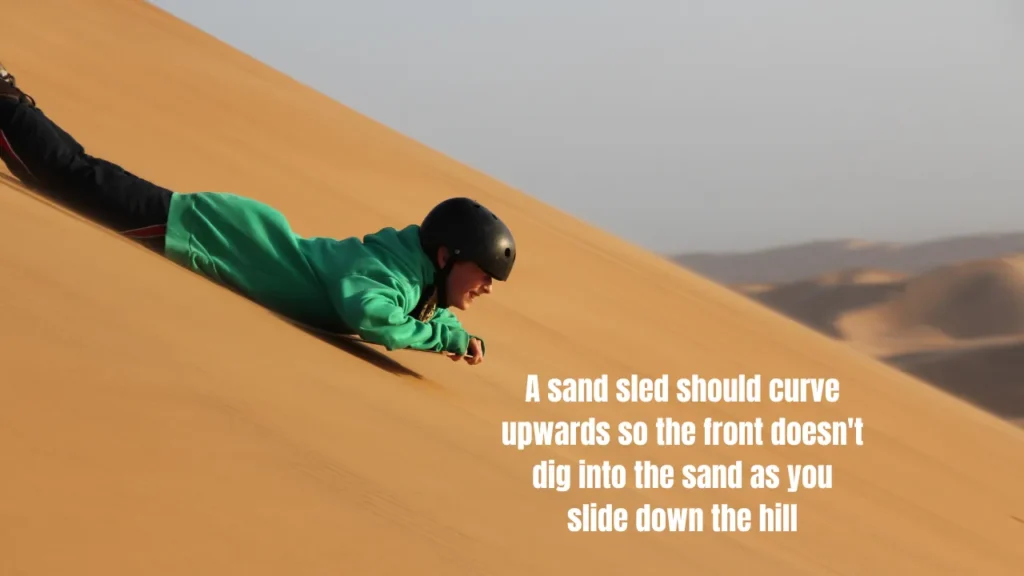
Ideally, you want about a 15 degree upward curve at the nose and tail to prevent your sled from digging into dunes if you hit a bump or lean forward too far.
The easiest way is to soak your sled in water for around 48 to 72 hours with the middle of the board weighted down. I used a couple 45 lb plates, but anything heavy enough to prevent it from floating should work.
Leave about 6 to 8 inches of the nose and 4 to 5 inches of the tail unweighted. You’ll notice that as the wood softens, the nose and tail will begin to curve upward — which can be further helped along gently by hand.
When you reach your target of 15 or 20 degrees, remove the board from the water and let it fully dry.
Step 4: Clearcoat Your Sand Sled
To make your sled last longer and be more resistant to the elements, apply a thin layer of sealant to the entire board.
The easiest way is to pick up a can of high gloss clearcoat, sand your sled with a fine grade sandpaper, rub away any sawdust with a damp cloth, and spray each surface of your sled following the instructions on the can.
Step 5: Make The Bottom Of Your Sand Sled Slick
This is where things start to get a little more pricey and, while it’s not absolutely necessary, can help your sand sled slide much better.
Sand creates A LOT of friction and while surf wax can go a long way in helping you slide down the hill a rough material like plywood will create too much friction and you won’t slide very far.
I’ve seen many kids taking wooden skimboards to the local dunes only to get stuck and go absolutely nowhere while we slide down super fast with a laminate based boards.
- Cut a piece of Formica sheet laminate to the shape of your sled, leaving a couple inches of overhang on all sides.
- Sand the bottom of your sled with a rough grade sandpaper so the laminate sticks better.
- Wipe away any sawdust with a damp cloth and let the sled fully dry.
- Using a strong epoxy glue, attach the laminate to the underside of your sled.
- Once the glue dries, use a razor knife to cut away any excess.
- Wax the laminate base of your sled with a thick coat of all temperature wax. Reapply as needed.
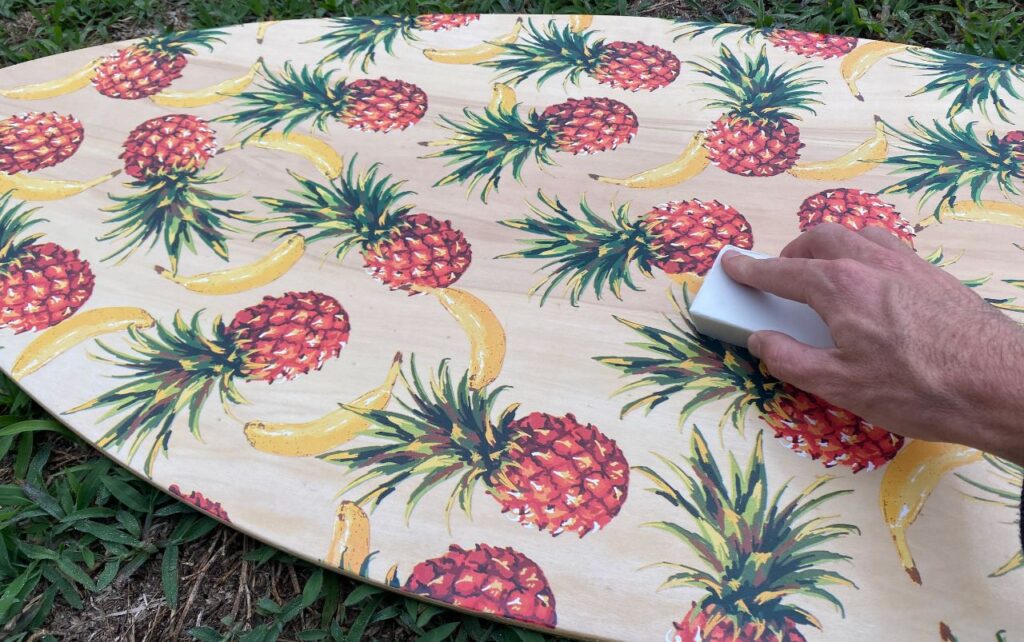
If you don’t want to add laminate, you can just heavily wax the bottom of your sled instead. It’ll still work okay, just not nearly as well as with a laminate base.