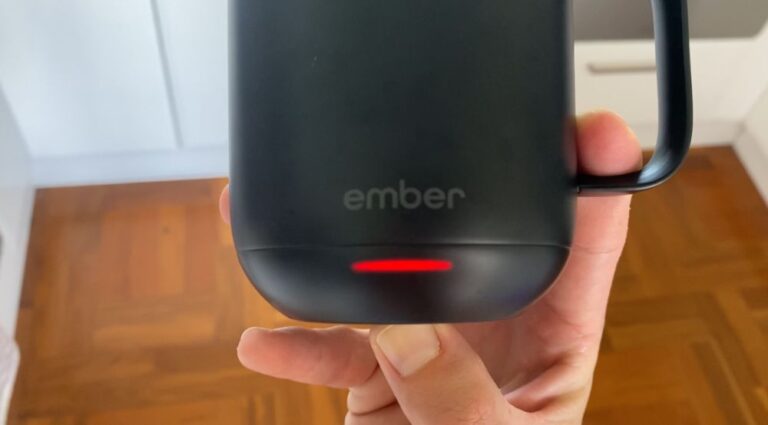
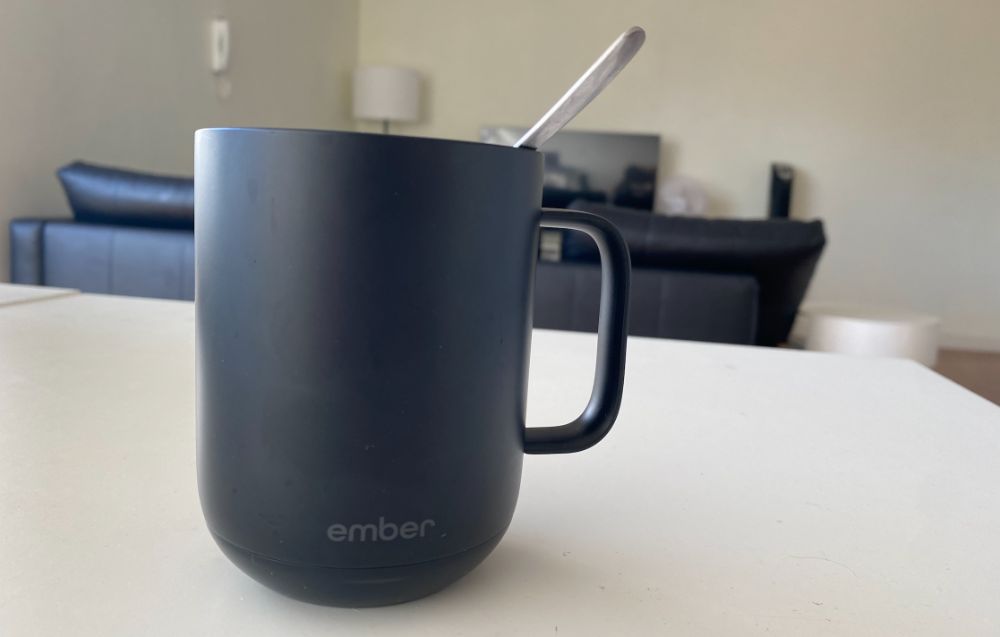
The Ember Mug is great. It’s a battery powered heated mug that keeps your coffee or tea hot for hours at a time.
I’ve owned my Ember Mug for a few months now and absolutely love it. But as good as the Ember Mug is there are actually ways to make it even better.
In this article I want to share with you 12 Ember Mug tips to help you get more out of your Ember Mug.
1. Get A Lid For Your Ember Mug
One of the major downsides of the Ember Mug is that it doesn’t come with a lid and Ember doesn’t sell any lids for it.
While I mostly drink my coffee on my balcony in the sun or at my work desk occasionally I want to take my Ember Mug with me on the way to school pickup or dropoff or when I am running errands.
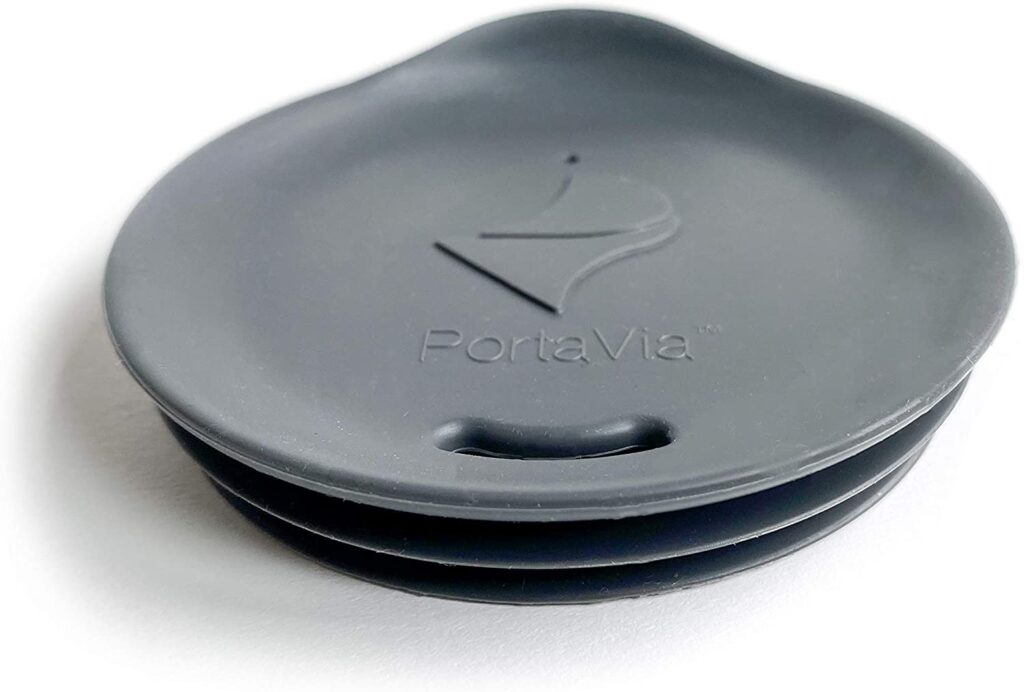
Did you know you can actually get lids that fit on the Ember Mug and turn it into a travel mug?
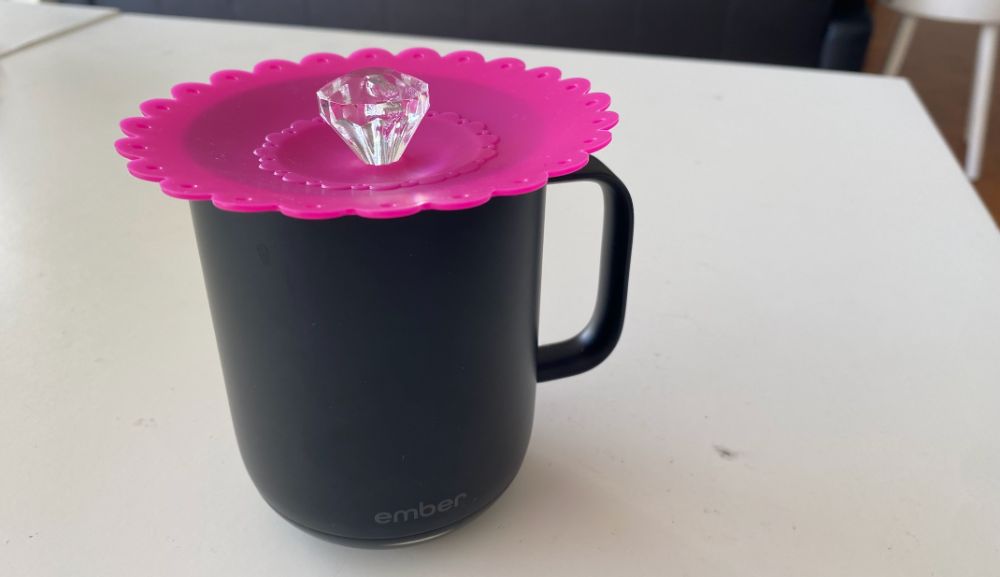
I’ve done a full article on Ember Mug Lids which you should check out for all the options out there but the best one I have found is the Portavia silicone lid which fits snuggly into the Ember Mug (as well as other mugs) and is great to drink from.
It’s super affordable and just adds that extra level of convenience to your Ember Mug.
See the latest price of the Portavia Ember Mug Lid at Amazon
2. Cover The Lid To Keep Your Drink Hotter and Save on Battery Life
When you’ve got hot coffee or tea in your Ember Mug there is going to be steam coming off it.
This steam actually contains a lot of heat and losing the steam makes your drink colder, meaning the Ember Mug needs to work harder to keep your drink at the perfect temperature.
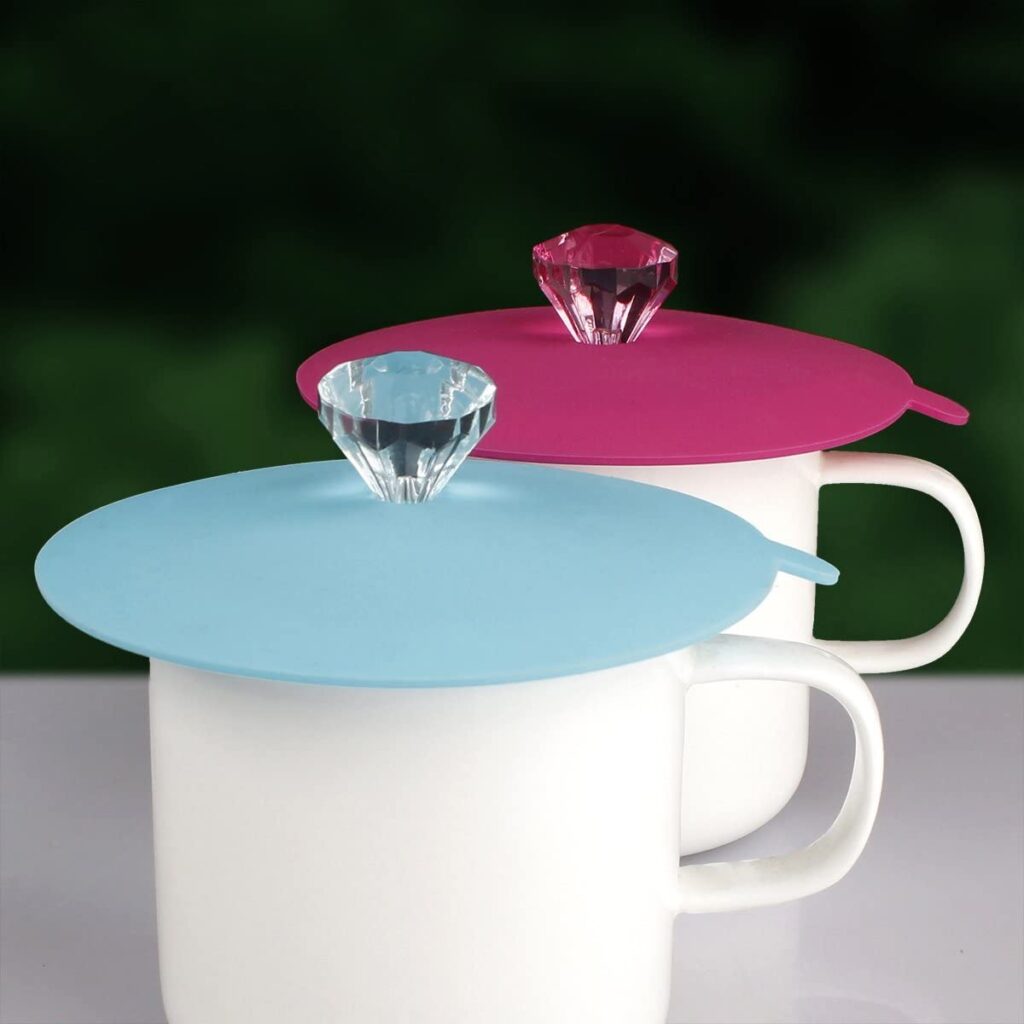
By simply covering the lid of your drink and trapping the steam you keep your drink hotter and the Ember mug won’t use as much battery.
I bought a cheap silicone cover which also makes the mug leak proof as I walk around or while it sits on my table.
See the latest price of the Silicone Leak Proof Mug Lid at Amazon
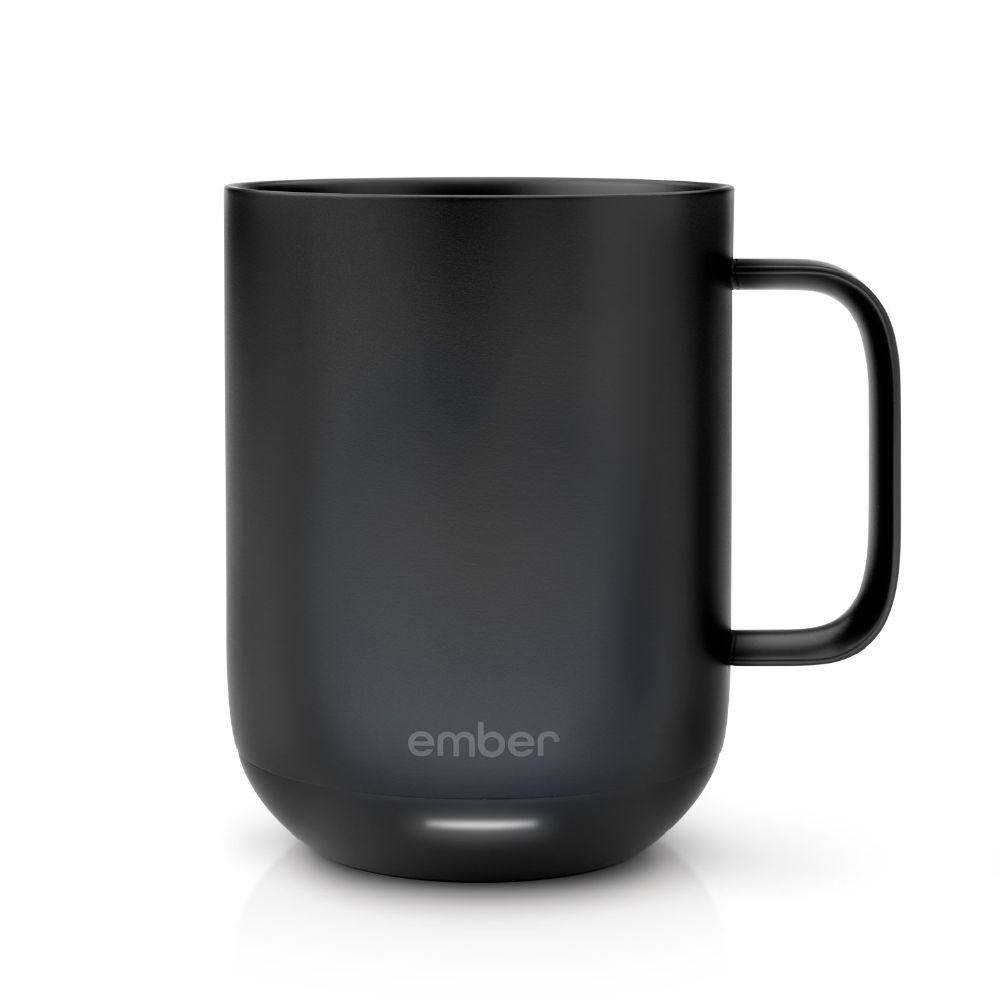
3. Get The Black Mug To Avoid Stains
Like all ceramic mugs the Ember Mug is prone to stains from tea and coffee, with tea seeming to be the worst culprit.
If you’re undecided between the black Ember Mug and the white Ember Mug then one of the advantages of the black mug is the fact that it doesn’t show stains as quickly or as easily as the white mug. Making it look new for longer.
See the latest price of the Black Ember Mug at Amazon
4. Remove Tea and Coffee Stains with Baking Soda and Citric Acid
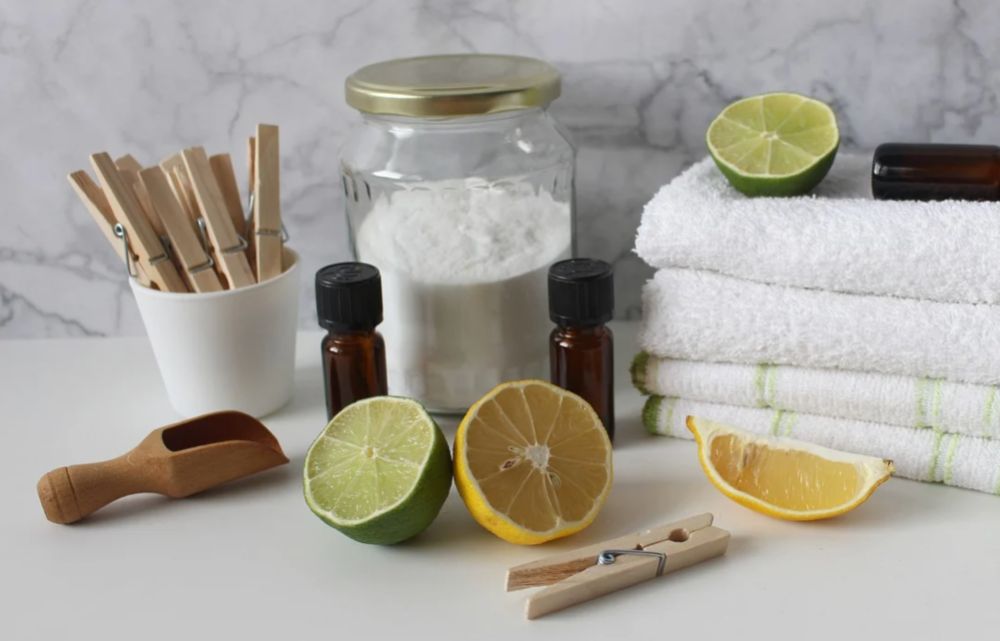
If you do happen to get some stains in your Ember Mug then it is possible to remove the stains.
There are a lot of different ways to remove coffee and tea stains from your Ember Mug. I’ve covered all the different options in my article on how to remove tough stains from your Ember Mug but below is what I think is one of the better options.
Baking Soda and Citric Acid
Fill up the Ember Mug with warm water and put in one teaspoon of baking soda followed by 1 teaspoon of citric acid. You will get a bubbling effect.
The solution will clean away most tea stains by itself but I would also advise using a soft cloth to wipe your Ember Mug as it fizzes to get the most stain removing power.
The below video shows just how effectively this can work on tea stains:
5. Don’t Use Metal Spoons With It
The Ember Mug is actually made from stainless steel and it has a hardened ceramic coating over the metal.
This is great for stopping the metal from imparting any flavors into your drink (which my best friend swears she can taste but I can never taste it).
However, this ceramic is prone to chipping or delaminating and if you aren’t careful a metal spoon can cause this to happen more quickly.
If you’re using a metal spoon to stir sugar or honey just try not to scrape the metal on the mug itself or if you can use a plastic or wooden spoon (or wooden dowel) instead as this is less likely to cause any issues.
Below is a video with some good care tips for the Ember Mug to ensure it looks brand new for as long as possible.
6. Choose a Lower Temperature To Make Battery Last Longer
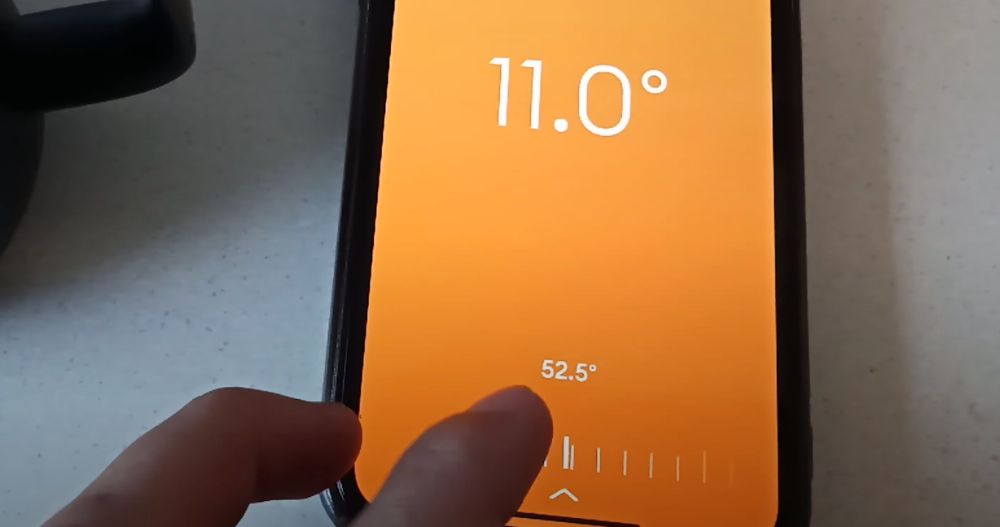
While the Ember Mug 2 battery is said to last 1.5 hours and the Ember Travel Mug battery is said to last 3 hours this is based off a temperature of around 135ºF (57ºC).
If you put your Ember Mug on a lower temperature the battery can actually last longer as it doesn’t need to keep your drink as hot.
The same is true for the opposite. If you try to keep your drink at a higher temperature then the battery won’t last quite as long.
7. Don’t Try To Heat Drinks In Your Ember Mug
The Ember Mug is designed to keep drinks hot but it’s not very good at heating up cold drinks or even room temperature drinks.
In fact drinks under 100ºF (37.8ºC) it won’t even register and the Ember Mug will say it’s empty even when it isn’t.
The Ember Mug temperature range is between 120-145ºF (48.9-62.8ºC) and ideally you want your drink to start in this range or even hotter.
Trying to heat up a cold drink is possible and I managed to do it in the video below. But it took a whopping 40 minutes and it used the entire battery of the mug so it’s not recommended.
8. Pre-Heat The Mug With Boiling Water To Save Battery
When you pour coffee or tea into a cold Ember Mug the walls of the Ember Mug will immediately take some heat out of your drink.
Now if you’re using boiling water for tea this won’t be an issue as you want your drink to cool down. But if you’re filling up your Ember with barista made (or at home made) coffee that exactly the right temperature already you don’t want the walls of your cup sucking out the heat.
To avoid this simply fill up your Ember Mug with boiling water and leave it to sit for 30-60 seconds. Then tip out the boiling water before adding your drink.
The boiling water will warm up the sides of your mug so they won’t take any heat away from your drink. This means the Ember Mug heater won’t need to kick in as quickly and so the battery will last a little bit longer.
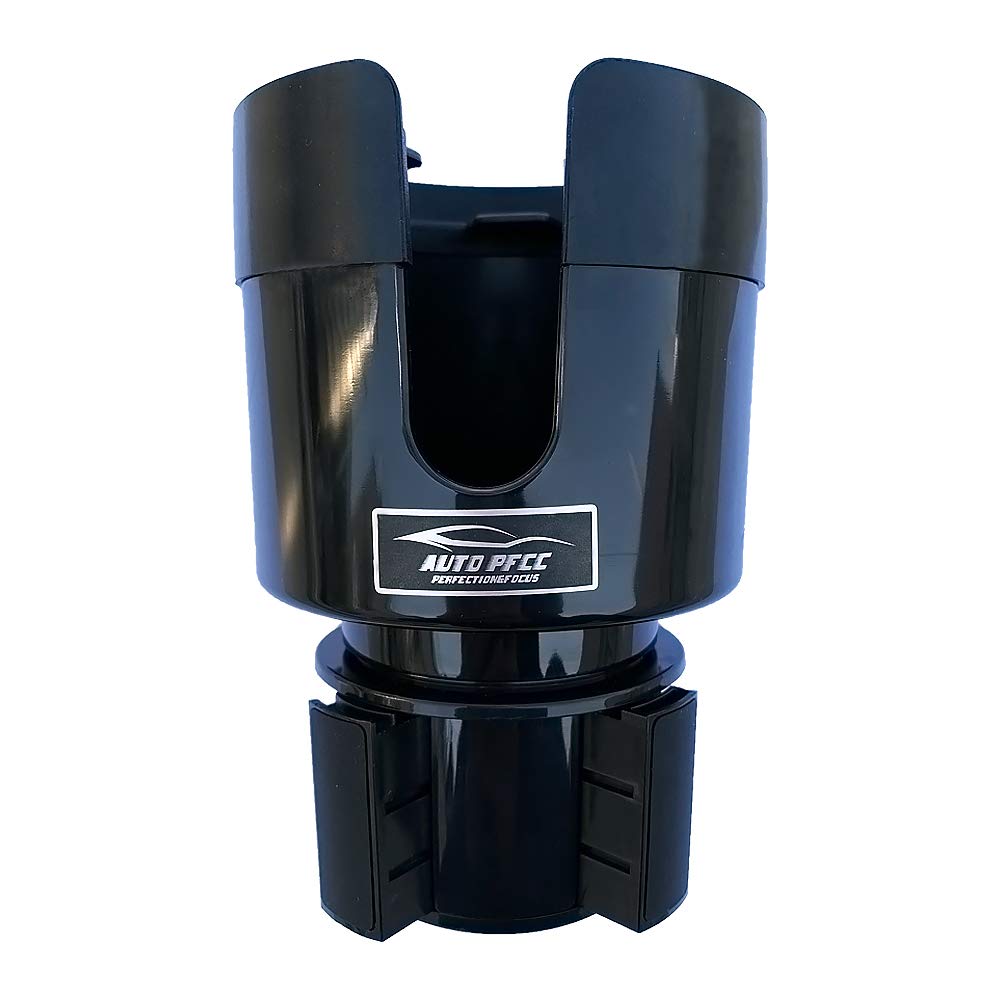
9. Get a Cup Holder Expander So You Can Take Your Mug With You In The Car
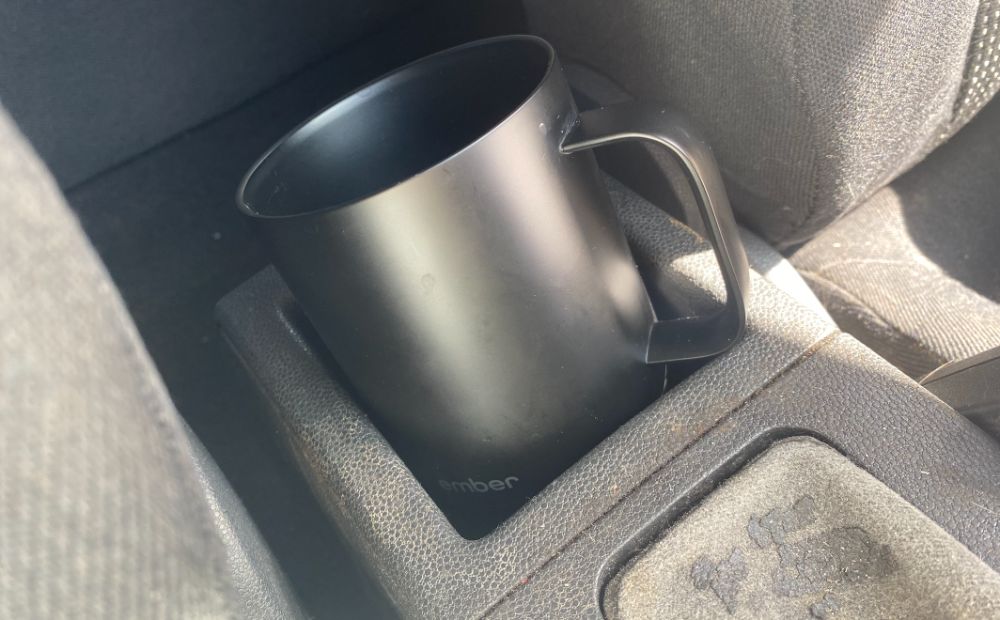
While the Ember Mug is too wide and the handle is too big to fit in any ordinary car cup holder you can but cup holder expanders that can fit an Ember Mug (and it’s handle) easily.
This allows you to more easily take your Ember Mug in the car with you. Combine this with a lid like mentioned below and all of a sudden your Ember Mug can be a travel mug for your car.
I’ve done a full article on the best car cup holder expanders but below is my recommendation for the best expander for the Ember Mug.
See the latest price of the PFCC Cup Holder at Amazon
10. Charge Your Ember Mug In Your Car
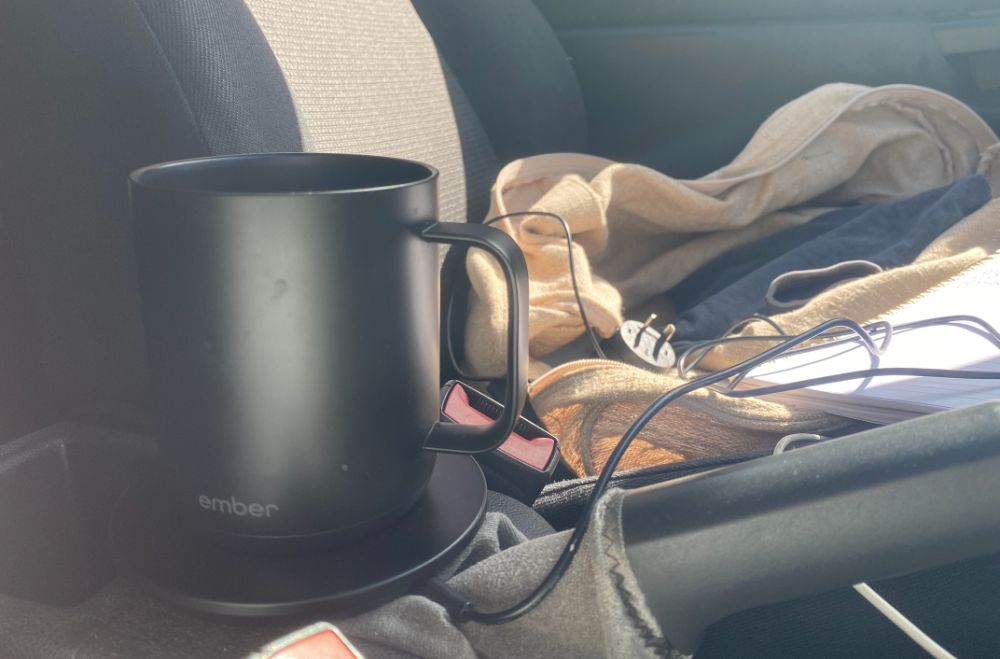
The Ember Mug doesn’t come with a car charger but the charging coaster actually runs off DC power which is the same power your car battery uses.
In order to make this work you’ll never to get a converter that’ll up the voltage from your car battery and a DC plug that fits in your Ember Charging Coaster.
These are pretty cheap and easy to get. I’ve done a full article on how to charge your Ember Mug in the car which you can check out or click one of the links below to see the prices of the car chargers that work with the Ember Charging Coaster.
See the latest price of the CYD 65W Powerfast Car Charger at Amazon
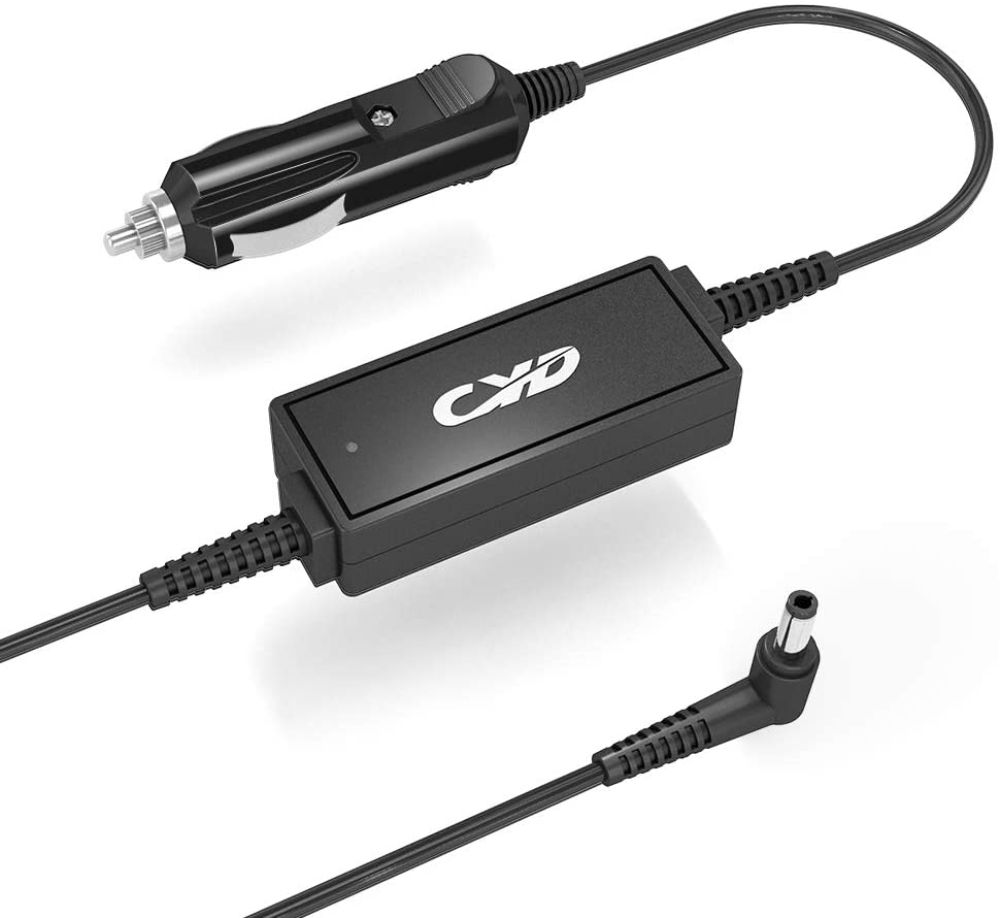
See the latest price of the Universal Laptop Car Charger at Amazon
11. Invest In Multiple Chargers (eg. One For Work One For Home)
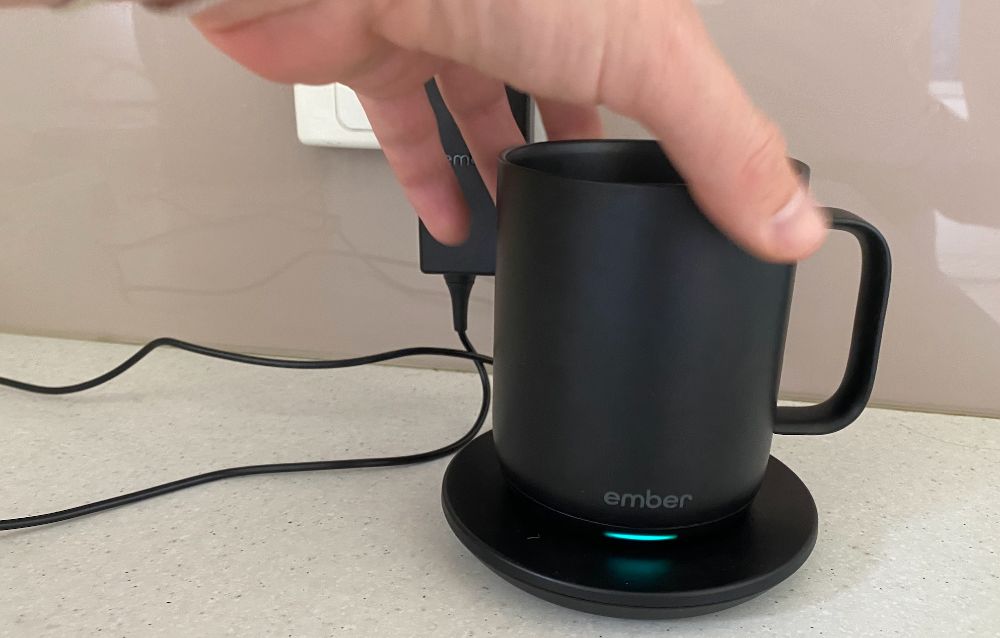
While they don’t come cheap having multiple Ember Charging Coasters can make like way easier. Especially if you drink multiple cups of tea or coffee per day.
Have one at home and one in the office or get an extra one of the car or your lounge room. Wherever you use your Ember Mug most.
See the latest price of the Ember Charging Coaster at Amazon
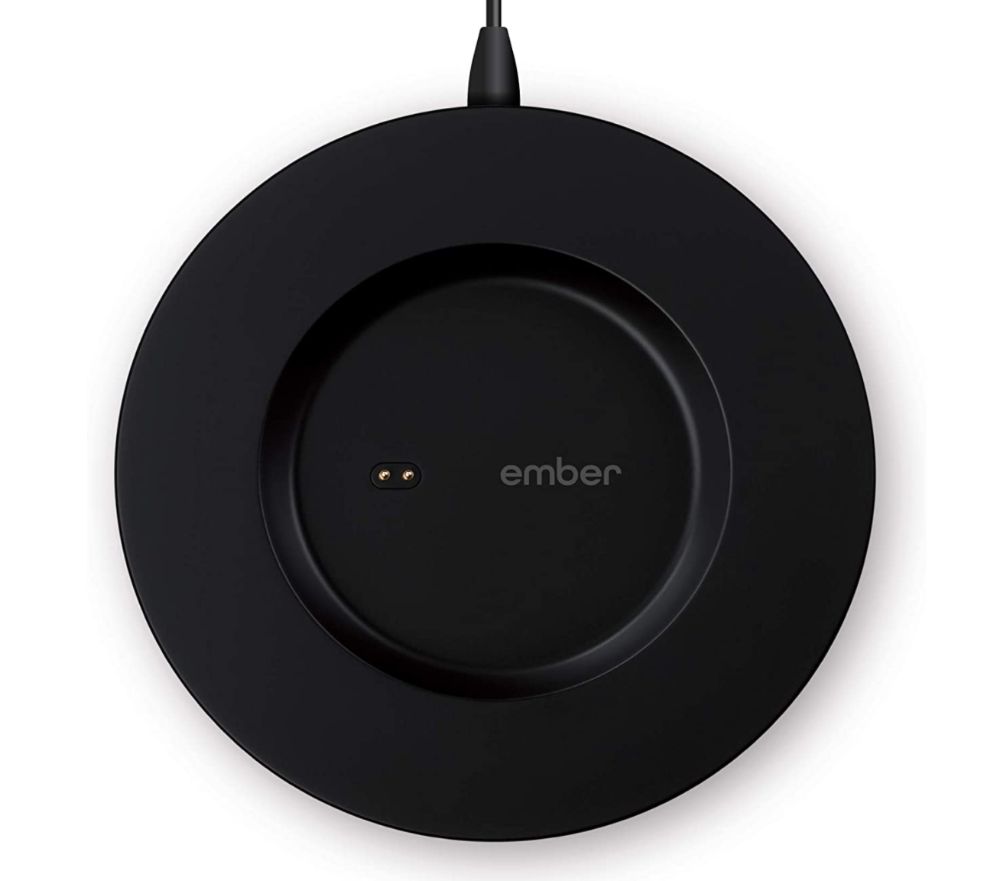
12. Dry The Base Before Putting It On The Charger
The Ember Mug 2 and Ember Travel Mug 2 are both waterproof but it’s still important to dry the base of the mug before putting it on the charging coaster.
This is because the charging coaster itself is NOT waterproof.
So after washing your Ember Mug make sure to leave it to dry or dry it will with a cloth before putting it on the charging coaster.
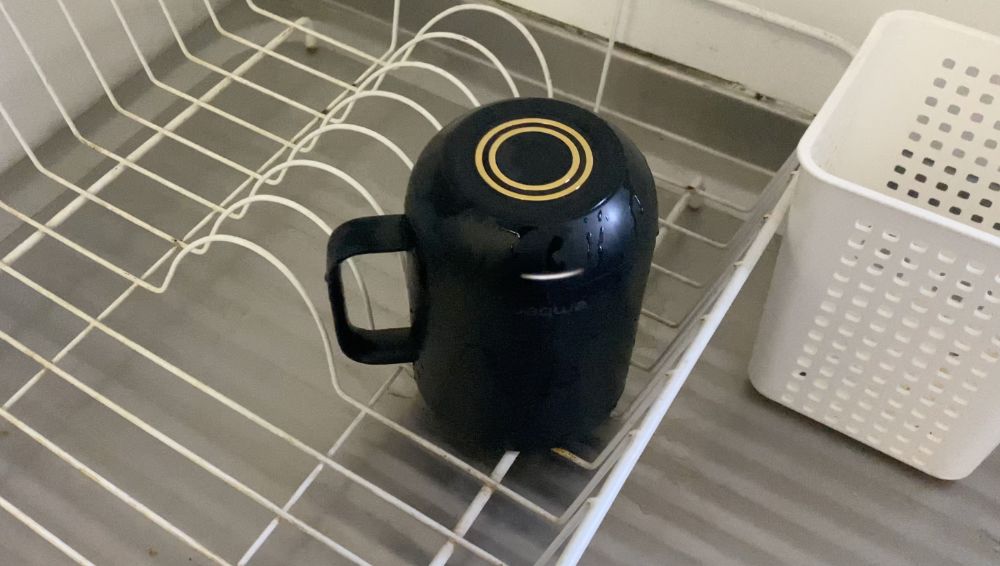
BONUS TIP: The Ember Mug Is Actually Tested For The Dishwasher
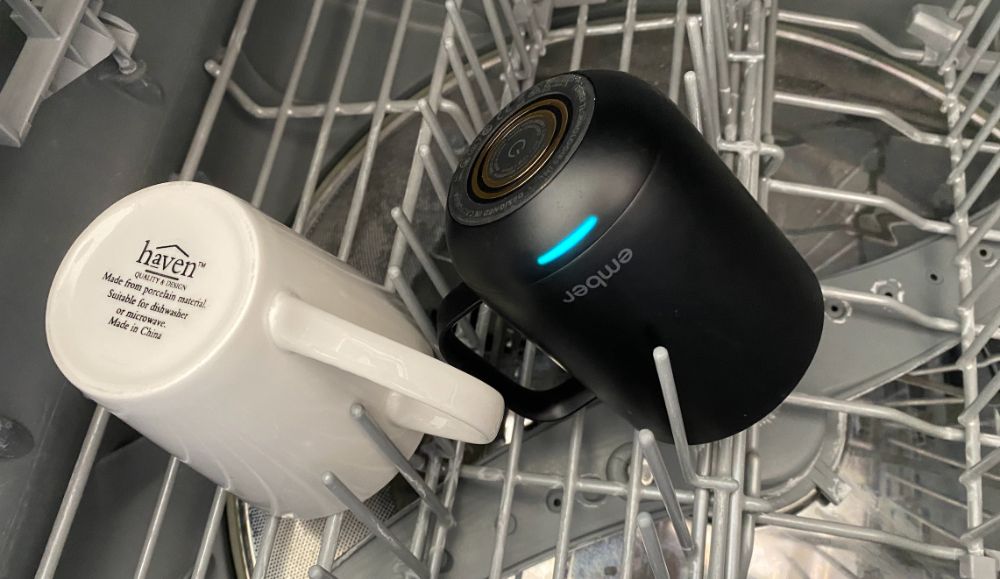
This is here as a bonus tip because the Ember Mug is marketed as “not dishwasher safe” however they are IPX7 rated and waterproof AND the founder of the company has said they’ve been tested in the dishwasher.
In this interview with the founder of Ember – Clay Anderson – and around the 19m17s second mark he says this:
Yeah, so we’ve tested it, it does survive the dishwasher. But we do market it as hand wash only just to, you know, for the finish and such
Clay Alexander – Founder of the Ember Mug
So while I still don’t recommend you wash it in the dishwasher if it does end up in there accidentally don’t freak out. It’ll probably be just fine.