So you have purchased a Cuisinart ice cream maker and want some tips and tricks on how to get the most out of your machine? No problem.
Here we break down a variety of helpful tips and hacks to ensure you are making the perfect batch in no time.
For the best results with your Cruisinart ice cream maker ensure you pre-freeze the outer bowl 24-48 hours before and also pre-chill your ice cream base otherwise your ice cream might not freeze. Don't overfill the machine and only add in mix ins towards the end of the ice cream making process.
For more helpful hints and tips then please keep reading!
1. Completely Freeze Your Bowl For 24-48 Hours
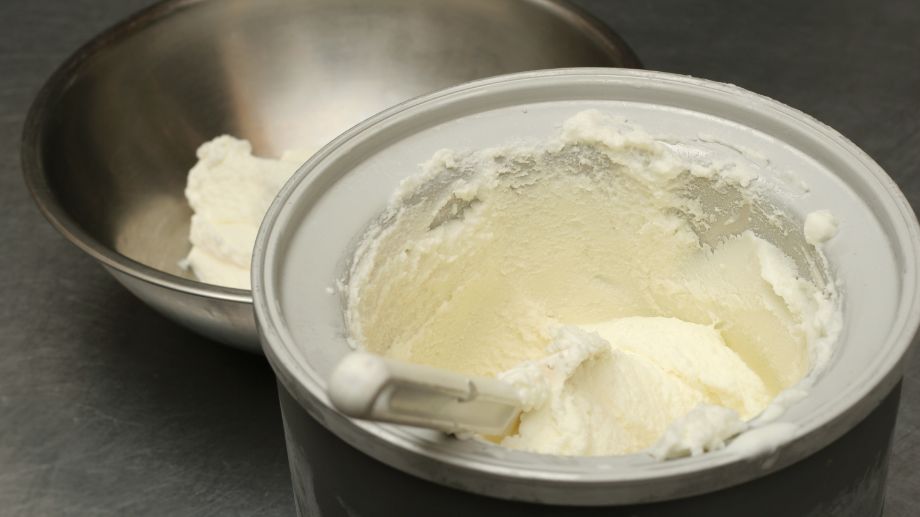
The most important tip that I want you to take away from this article is that you MOST freeze your ice cream bowl for at least 24 hours before you begin making ice cream.
If you don't then you will end up with a sloppy mess!
I did see some people say 5-6 hours is enough but for most people it will take the full 24 hours or more for the outer bowl to get down to the cold temperature of your freezer (which is around 0ºF/-18ºC).
Please ensure that your freezer bowl is completely frozen before you begin. Not freezing the outer bowl for long enough is one of the main reasons your homemade ice cream isn't freezing properly.
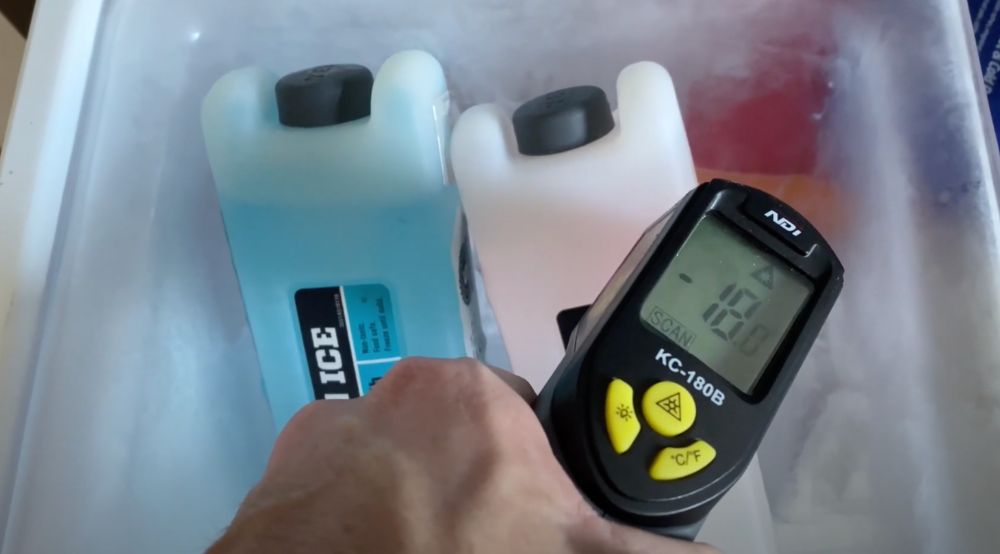
To check whether the bowl is completely frozen you can give it a shake. If you hear liquid sloshing around inside then the cooling liquid is still not frozen properly. You can also use a infrared thermometer on it, you want to see that the temperature of the bowl is 0ºF/-18ºC (having it at 32ºF/0ºC is NOT cold enough).
You can see the type of thermometer I am talking about in the image below or you can also grab a thermometer like this at Amazon if you want to check your ice cream bowl yourself (or measure the temperature of other things).
I recommend that you place the freezer bowl in the back of your freezer where the temperature is coldest and most constant.
Place the freezer bowl on a flat surface in an upright position for a nice even freeze!
Top tip: Leave your freezer bowl in the freezer at all times. This trick means you will always have it ready for immediate use.
2. Remember To Pre-Chill Your Ice Cream Mix
When making your ice cream mixture you often need to heat and cook it for a time so that it thickens enough to be turned into icecream.
However, if you are to simply put this hot ice cream mixture straight off the stove and into your ice cream maker then your ice cream is unlikely to freeze at all as it started out too hot.
Even room temperature ice cream mixture can have trouble freezing.
So whenever you make an ice cream mixture make sure to put it in the fridge for a few hours before trying to turn it into ice cream to ensure it's near freezing temperature when you begin and your ice cream forms quickly.
You can see these instructions given in the Cuisinart instructional video below:
Note: If you need to chill your ice cream mixture quickly then place it in a metal bowl and place that metal bowl on top of a bed of ice and salt. This salt ice mixture will quickly cool down your ice cream base and make it ready for the machine. Just don't leave it too long or it might freeze. This is a great way to make ice cream faster than just leaving it in the fridge to cool down.
3. Only Remove the Bowl From The Freezer When Your Ice Cream Base Is Ready To Be Churned
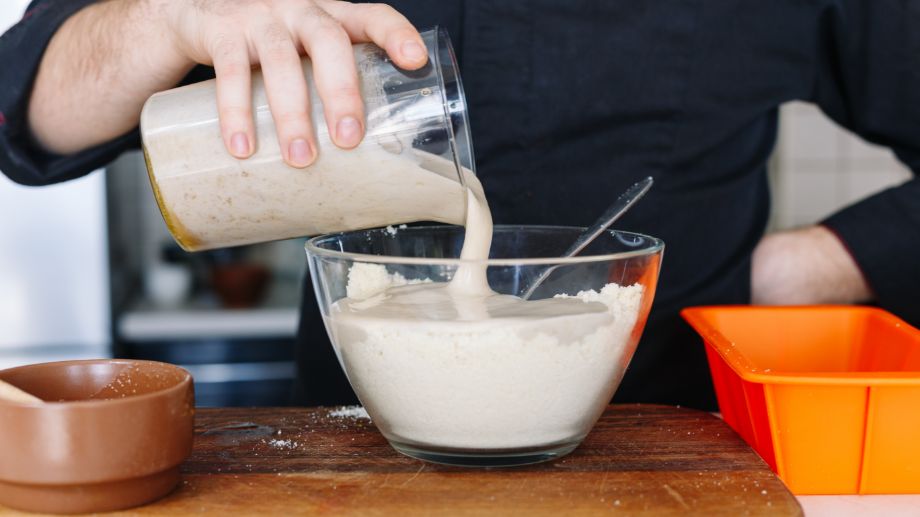
The Cuisinart bowl will begin to defrost and warm up immediately after being removed from the freezer.
Making ice cream can take more time than you would think and if you are a slow chopper or take time preparing your ice cream base then your bowl could be half melted by the time you come to create your ice cream.
So it's important that you leave the outer bowl in the freezer right up until you're ready to churn your ice cream.
Top tip: Make sure you have all the ingredients you need for your recipe fully prepared before assembling the ice cream maker to ensure perfect results.
Want to know exactly how long homemade ice cream takes to make?
4. Chop Ingredients Finely
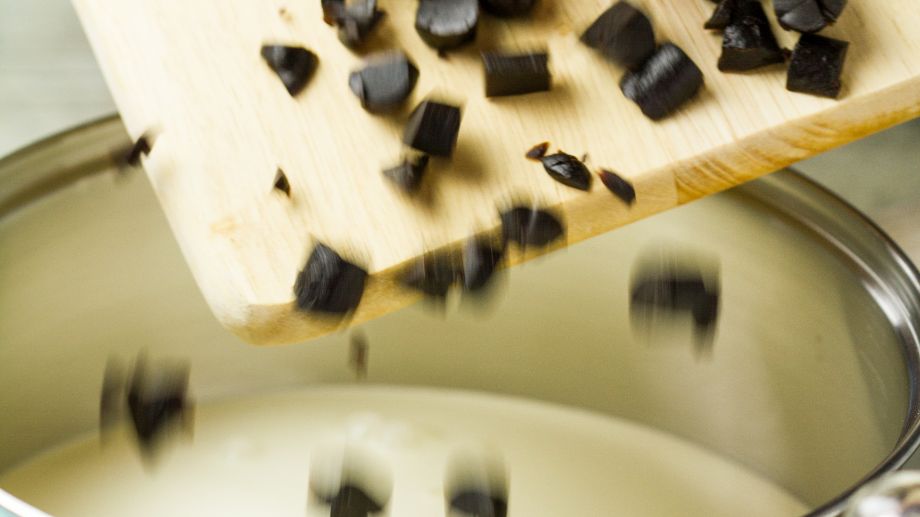
Any nuts or strawberry pieces etc. should be no larger than a chocolate chip.
Why?
Because the Cuisinart will turn them into solid rocks if you add large chunks to the machine.
So unless you want to chip a tooth… chop finely!
Also, large pieces can take longer to cool down and this can cause issues getting the right consistency for your ice cream and can even cause it not to freeze properly.
I cut fruit pieces super small then sprinkle them with sugar and let them sit for half an hour until they are a little syrupy. Then I pour them into the Cuisinart during the last five minutes of the churn.
Be warned you must reduce the sugar in the ice cream mixture by an equal amount so as not to ‘over sugar’ the overall dessert if you copy my method.
Top tip: Avoid adding any large chunks to your mixture as these will freeze solid and be too hard to bite into.
5. Only Add In Your Mix Ins Towards The End Of The Ice Cream Making Process
Mix ins don't need to be churned as long as the ice cream mixture does and so they shouldn't be put into your ice cream until the last few minutes of the churning process, when your ice cream starts to become thick and creamy like soft serve.
A couple of minutes is enough for the Cuisineart ice cream maker to mix your items all the way through the ice cream but you're not wasting the cooling power on mix in that's don't need to be churned.
6. Experiment With Different Recipes and Add-Ins
One of the best things about using a Cuisinart Homemade Ice Cream machine is the ability for you to make any flavor you want.
Get online and try lots of different recipes and flavors and experiment with different mix ins too. Candies, nuts, cookies, chocolate…anything you can think of.
Also, some recipes will work better than others with your Cuisinart machine and it can take time to work out which recipes are the best for your machine.
Have fun with it and expect your recipes and ice cream making skills to improve with time. While your first batch will be yummy, if you keep experimenting and learning your ice cream will only get better (and more interesting) with time.
7. Pop Your Ice Cream In The Freezer For a Few Hours After It's Made
After you churn your ice cream it'll have a soft serve like consistency, not quite as hard as regular ice cream you buy from the store.
You can go ahead and eat it like this but you'll notice it will melt extremely quickly and that isn't ideal – especially on warm summer days.
The is because the ice cream maker cannot make your ice cream as cold as the temperature of your freezer. After being made your ice cream will be close to melting temperature and should be placed in the freezer for a few hours to bring it down to the 0ºF/-18ºC that ice cream is usually kept at.
Storing any ice cream you don't want to eat right away in the freezer will also help your ice cream last longer before it goes bad.
8. Don't Overfill Your Machine
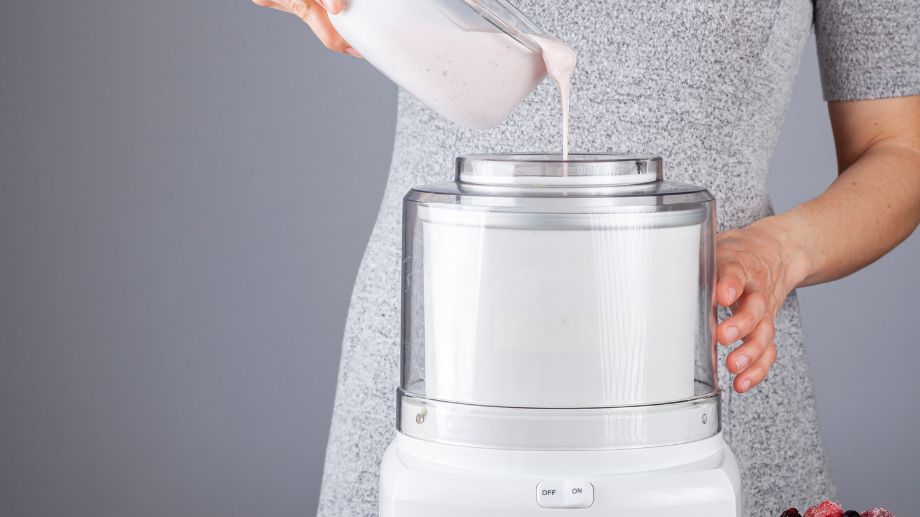
Another one of the biggest mistakes that people make when making ice cream is they overfill their ice cream maker. I know it's tempting to do as why not make as much ice cream as you can? However, this can lead to your cuisinart ice cream maker not being able to freeze your ice cream effectively.
This is because the outer bowl only has so much cooling power before it stops working.
Always leave at least 2cm of space at the top of the freezer bowl as the ingredients will expand during the freezing process.
Your recipe should compensate for this expansion in volume.
Cuisinart Ice 21 – 1.4 L
Cuisinart Ice 100 – 1.5 L
Cuisinart Ice 30 BCU – 2 L
These might be the capacity for some of the most popular Cuisinart models but you cannot fill to full capacity of the machine… only about ¾ full.
Top tip: Each Cuisinart ice cream maker can only handle so much liquid. Adding more will extend the churn time or prevent your ice cream from freezing entirely. Over-filling will also increase the risk of spillages. Check manufacturer's guidelines for your system to avoid overfilling.
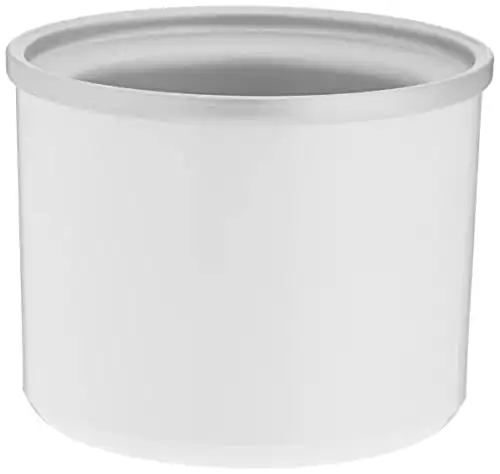
If you want to make more ice cream then it's a good idea to invest in an extra outer bowl or 2. This way you can make multiple batches at once.
Invest in an exra couter bowl for your Cuisinart Ice Cream Maker so you can make multiple batches of ice cream at once.
Fits ICE-20/21 Ice Cream Maker
9. Churn For Longer (But Not Too Long)
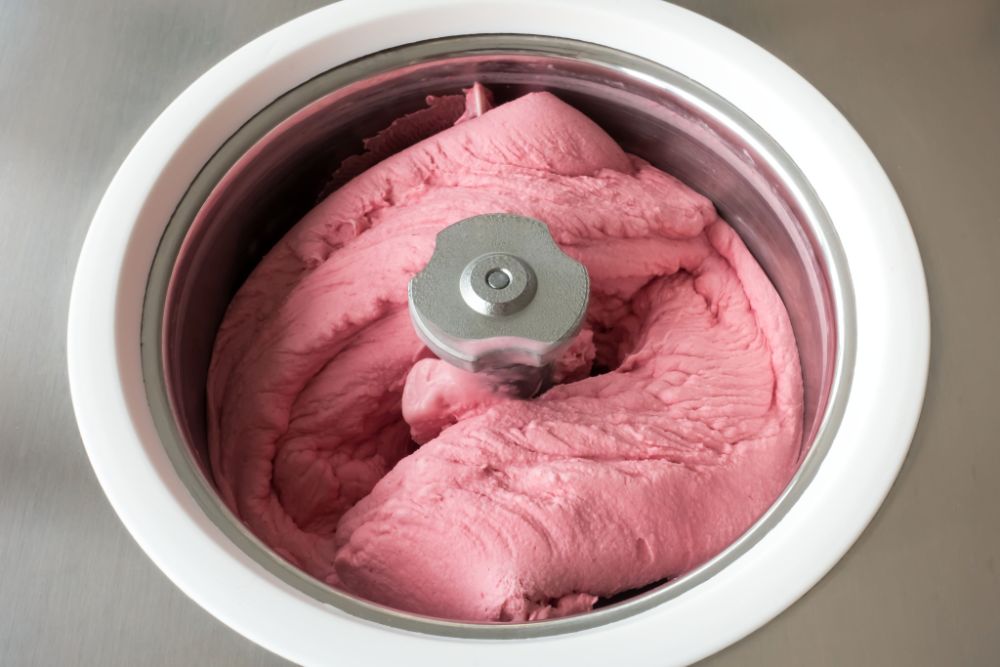
I recommend leaving the Cuisinart to churn for 20-30 minutes, rather than the manufacturer's recommended 15-20 minutes.
Personally I did not find this long enough to reach the desired consistency and numerous other people have reported the same. However, this does depend on a variety of factors like your recipe, freezer temperature, temperature of your ice cream base, amount of ice cream you're making etc.
You can click here to learn exactly how long to churn ice cream for and how to know precisely when it's ready…no matter what machine you use.
If the frozen dessert is stuck on top of the mixing arm, stop the machine and use a rubber spatula to scoop the mixture off the arm back into the freezer bowl.
Top tip: I regularly scrape down the sides of my Cuisinart at the 20 minute mark to ensure no mixture sticks to the bowl. Then continue to churn for a further 5-10 minutes checking regularly.
10. Store Your Ice Cream Properly After Making It
Never store frozen desserts in the freezer bowl. Desserts can stick to the side of the freezer bowl and could damage your bowl.
I recommend transferring to a flat and wide freezer safe, plastic airtight container.
Though you could consider using an old ice cream tub if you don't have anything more suitable.
Top tip: Don't store ice cream in the freezer bowl.
The best way to store homemade ice cream is in an airtight container and ideally put plastic wrap over the top of the ice cream so it's not exposed to the outside air of your freezer which can cause freezer burn or allow your ice cream to absorb the flavor of last night's garlicky leftovers…yuk!
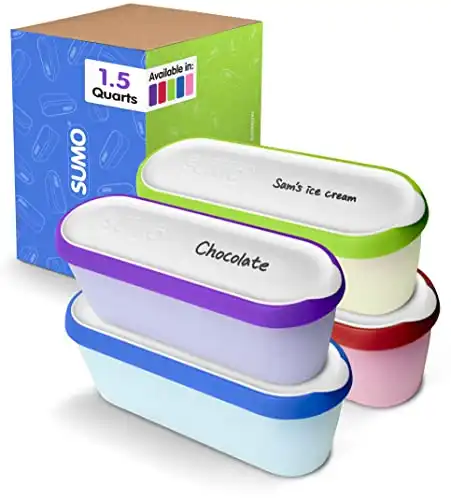
You can also get containers that are specially designed for ice cream and these are great for storing your homemade ice cream until dessert time.
The conveniently stacking ice cream containers are great for homemade ice cream. Their long length makes ice cream easy to scoop and they are insulated with a lid that locks on tight.
These ice cream containers are dishwasher safe for easy cleaning and are backed by a lifetime guarantee.
11. Don't Forget to Dry The Outer Bowl Before Refreezing
You must clean the freezer bowl, lid and mixing arm by hand washing in warm soapy water and drying thoroughly before storing.
Never put your Cuisinart parts in the dishwasher or use abrasive cleaners or utensils as this can damage the freezer bowl.
Do not put the freezer bowl in the freezer if it is wet. This will result in ice forming on the bowl and potentially damaging it.
Top tip: Wipe your Cuisinart freezer bowl totally dry after use with a soft towel before storing in the freezer.
12. Wrap The Bowl in a Plastic Bag
Often you'll want to just leave your ice cream freezer bowl in the freezer for extended periods of time so it's ready when you need it. But doing this can cause the bowl to absorb bad smells and flavors that can get imparted into your ice cream when you make it.
Obviously you want to avoid this.
A great way to prevent freezer burn is to wrap the freezer bowl in a plastic bag before placing it in your freezer. This will also keep any nasty smells and odors from sticking to the bowl.
When it comes time to make your ice cream pull out the bowl and take it out of the bag and it should be good to go. After cleaning and drying place it back in the bag and back in the freezer to store for future use.
Top tip: Cover your DRY freezer bowl in a layer of plastic wrap or a plastic bag before storing in the freezer for convenience.
13. Watch Those Substitutions
You may substitute double cream for lower fat creams etc but be mindful that this may alter the water content of your batch.
Using lower fat substitutes may change the taste, consistency and texture of the desert and can even stop the ice cream from freezing.
When substituting ingredients you will need to experiment with quantities and timing in order to achieve the desired consistency.
Or ideally if you plan on using a substitute, or if you're like me and want to use plant based milks and creams, then find a recipe specifically for your ingredients. Don't just swap out full fat cream for a low fat or plant based alternative and think you'll get the same results…you likely won't!
Top tip: Full fat cream is about 59% water whereas skimmed milk can be up to 90% when substituting one for the other. Be mindful of this.
14. Invest In A Spare Outer Bowl To Make More Ice Cream At Once
Sometimes you want to make more than one batch of ice cream at a time or more than the 1-2 quarts that the Cuisinart ice cream maker allows.
You might just think you can throw the outer bowl in the freezer for 1-2 hours after using it and go again but this will rarely work and more often than not your ice cream won't freeze.
A good solution to this is to purchase an extra outer bowl or 2. It's cheaper than buying a second machine and you'll be able to store multiple in the freezer at once and make multiple batches at the same time.
Invest in an exra couter bowl for your Cuisinart Ice Cream Maker so you can make multiple batches of ice cream at once.
Fits ICE-20/21 Ice Cream Maker
Summary
It is best practice to store your thoroughly dry freezer bowl in a plastic bag.
Do not take it out of the freezer until you have fully prepared your ingredients and are totally ready to begin the ice cream making process.
Churn your ice cream for 20 minutes before scraping down the sides and churning for a further 10 minutes. I recommend churning your Cuisinart for slightly longer than the recommended churn times.
Don't over overfill your machine, remember your Cuisinart must have a 2cm gap at the top for it to function optimally when the liquid inside freezes and expands.
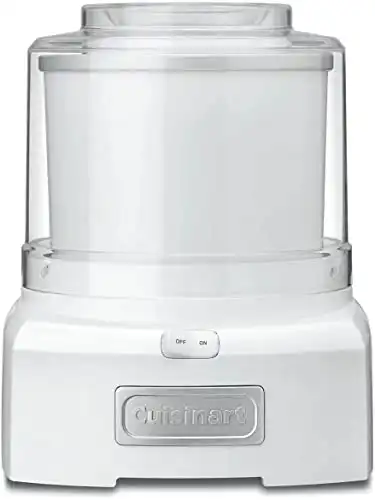
Frozen Yogurt, Ice Cream and Sorbet Maker. The double insulated freezer bowl eliminates the need for ice and makes frozen treats in 20 minutes or less.

