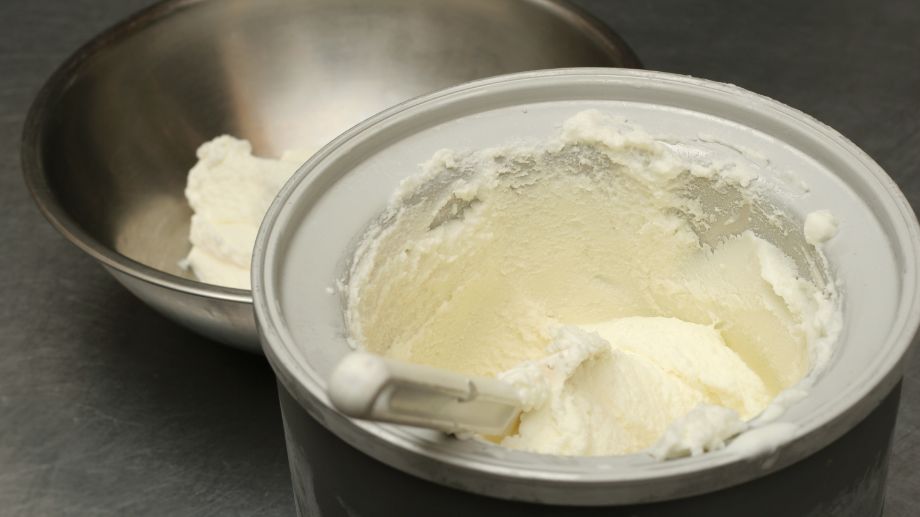
Is it just me, or is there something even more delicious about homemade ice cream…unfortunately it doesn’t keep as well as the stuff you buy at the store.
Store-bought ice cream is usually sealed shut by machine and contains preservatives and stabilizers to prolong its life. So how can we achieve the same long lasting results without the heavy equipment or chemical stabilizers?
Homemade ice cream will keep in the freezer for about two weeks if stored in an airtight container. Ice cream is best stored in a container that is wide, flat and made from freezer-safe plastic. Layer plastic wrap over the surface of the ice cream before you seal it shut to give it extra protection from freezer burn.
Signs that your ice cream is no longer fresh are a grainy or gooey texture. If your ice cream has a layer of crystals over the top then it's time to toss it in the trash.
Keep reading for more handy tips and tricks on how to store your cool creamy ice cream properly.
This article breaks down the five best ways that you can store your homemade ice cream to ensure it maintains optimal taste and texture.
Choose Your Container Wisely
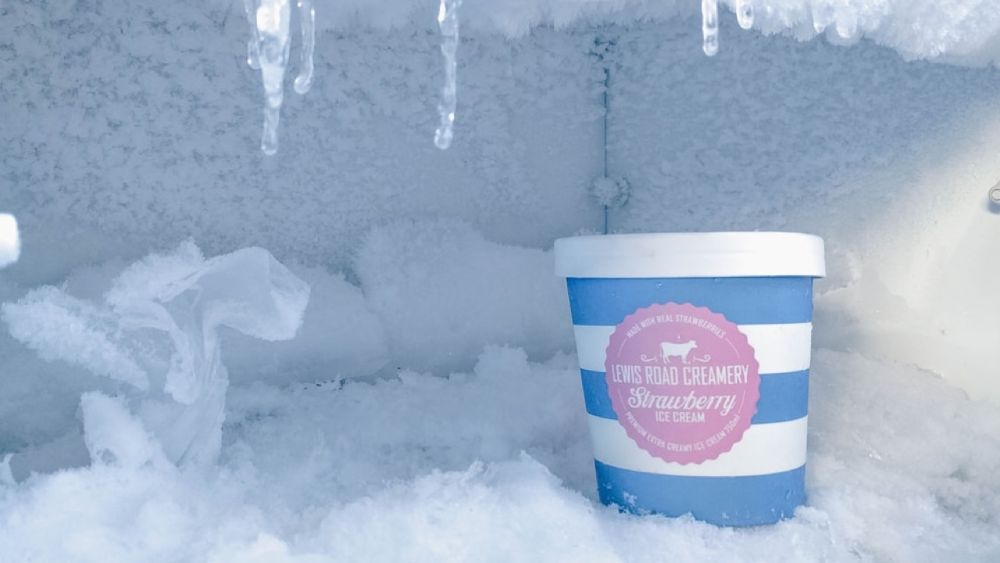
It is important to choose the correct container to ensure your homemade ice cream does not spoil. I recommend using plastic, ceramics or glass. All of these options will help to keep air away from your ice cream, which is important to ensuring it does not spoil.
An airtight container will protect your homemade ice cream against freezer burn and it will stop your ice cream from absorbing other flavors from your refrigerator. Sometimes ice cubes can taste like garlic because they absorb smells from last night's leftovers and the same can happen to your ice cream.
Who wants their delicious strawberry ice cream to taste like last months left over Curry? Yuck!
Glass or ceramics are a good option for food safety as plastic containers can release chemicals when frozen just as they can when heated.
A glass or plastic airtight container are the most suitable options.
It's also essential that your ice cream is stored in a freezer-safe container.
Plastic (and glass or ceramics) not rated for low temperatures can crack. Spilling your cool and creamy creation over the inside of your freezer. However, pretty much all tupperware style containers these days are freezer safe.
Finally something wide and flat will make for easier scooping! So factor this in too when choosing the best container.
Regardless of which container you choose homemade ice cream usually goes bad in around 1-2 weeks unless you add preservatives, so try to eat it within that time frame so you don't have to throw it away.
1. Tupperware
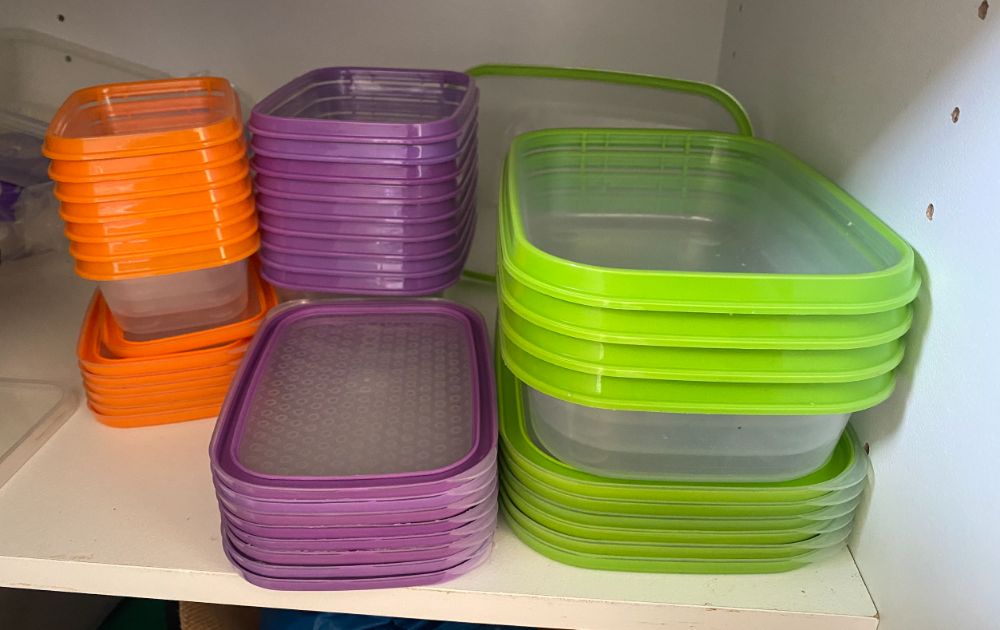
Tupperware seems like the obvious choice to place in the freezer, it ticks a lot of boxes.
- Airtight
- Plastic
- Freezer-safe (double check yours to be sure)
- Wide and flat options available
- Cheap
- Most people already have them available at home
Have you noticed that store bought ice cream manufacturers place a film lid over the top of commercial ice cream?
This is a great tip that we want to replicate at home.
Be sure to layer plastic wrap over the top of your ice cream before placing on the lid to really extend the shelf life and protect from freezer burn.
2. Speciality Ice Cream Containers
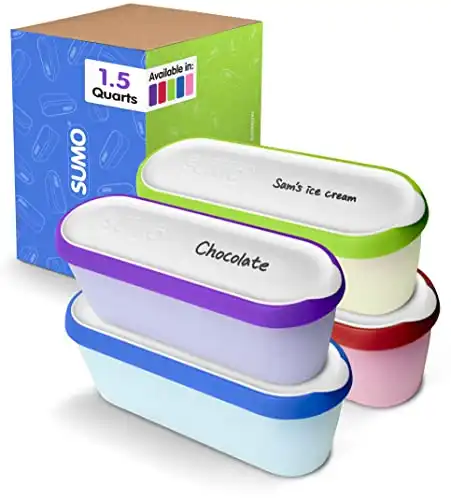
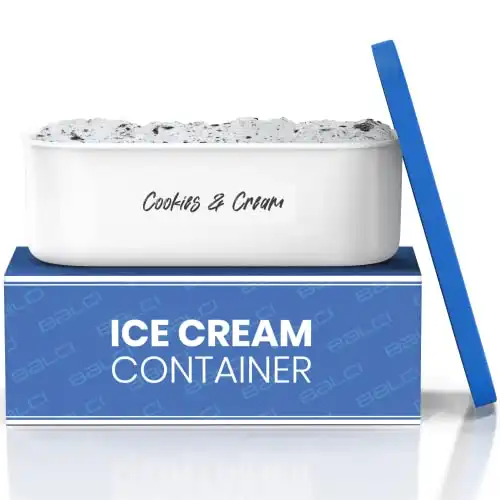
There are a number of premium brands that make ice cream containers specially for homemade ice cream or you can even get some cheaper disposable options from Amazon that are great for your kids or guests.
So if ice cream making is a hobby you plan on undertaking regularly it may be worth investing in some speciality tubs.
Sumo and Balci make high quality products that meet a lot of our specified criteria.
They are airtight, plastic and freezer-safe.
Most are also dishwasher safe to ensure an easy clean up too!
Perfect Reusable Freezer Storage for Homemade Ice Cream Tubs for Sorbet, Frozen Yogurt and Gelato!
- 2 Quart Capacity
- Flexible Silicone Lids
- Long Scoop
- Stackable
3. Old Ice Cream / Yogurt Tubs
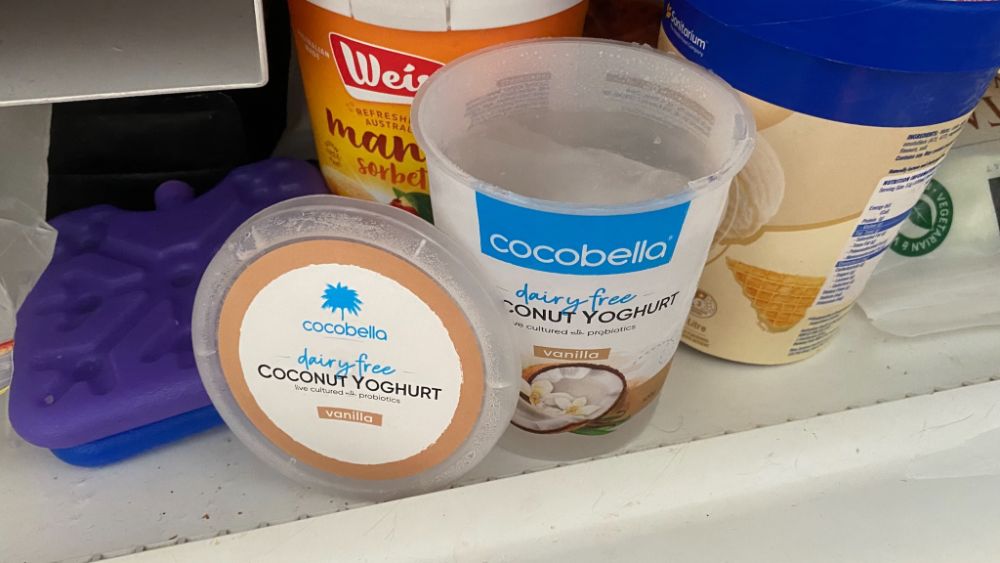
Another easy option that most people will have in their home already.
Old ice cream tubs or yogurt tubs make the perfect size container for the job.
When you bought these items at the store they probably had a plastic seal keeping the contents safe, this will no longer be the case.
Perhaps consider wrapping your ice cream in a carrier bag before placing it in the freezer to keep any nasty smells and flavors away from your batch….or place a layer of plastic wrap as suggested above!
Old ice cream tubs or yogurt tubs are great when they are made from plastic, however if they are made from cardboard these can be difficult to wash and reuse. These are also a great way to make ice cubes without a tray.
4. Metal or Silicone Pans (ideally with a lid)
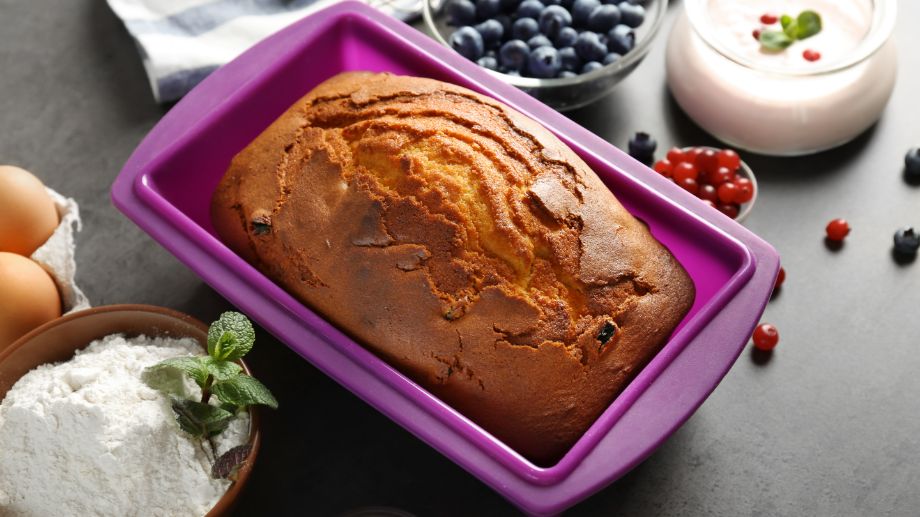
Okay the other options are great but if you have created a mammoth batch for ten party guests then those options are not going to cut it… right?
No problem.
Deep metal cooking pans are a great option for storing large batches.
They will freeze quickly and keep unwanted smells and flavors out too.
If you place a large elasticized silicone lid over the top then you can create an airtight seal and protect your ice cream further. But if they don't come with a lid just use plastic wrap over the top of the ice cream and this should do the trick.
Silicone trays can absorb smells so make sure you get rid of the smells from your silicone baking pans before you put ice cream in them, otherwise they can ruin the flavor of your ice cream.
5. Vacuum Insulated Container
This is a great option if you plan on taking your homemade ice cream out on an adventure and you want to be able to keep ice cream frozen without a freezer.
Thermos like the Yeti or Hydro Flask don't just keep food hot, they will keep your ice cream nice and cold too and will keep it frozen for hours at a time.
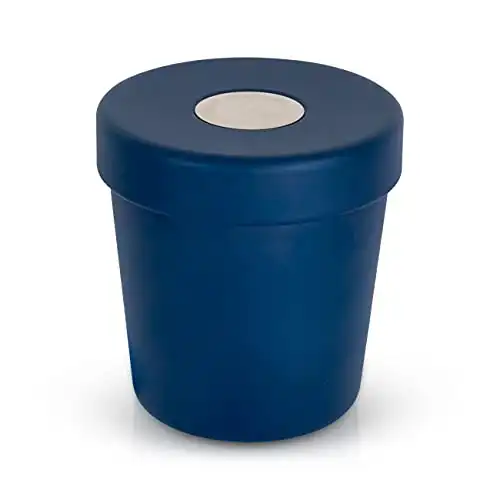
You can even get vacuum insulated containers like The Ice Cream Canteen (at Amazon) that are designed to perfectly fit a bucket of ice cream, making it easy to pack and go.
Store in the bottom of your cooler with lots of ice whilst you are on the road and your ice cream can stay frozen for 8+ hours or even longer!
This vacuum insulated double walled stainless steel container is specifically designed to fit a 1 pint bucket of ice cream and keep it frozen for up to 4 hours at a time by itself or up to 8 hours inside a cooler.
Extra Tips and Tricks
- Freezer burn happens when moisture gets into the air and then refreezes on top of your ice cream. While freezer burn won't harm you, it can have a negative effect on the taste and texture of your batch. For this reason we want our freezer to be cold enough but not too cold and ideally cover your ice cream with a lid or with plastic wrap to protect it from bad flavors.
- Homemade ice cream will typically last about two weeks in the freezer and should be stored at 0°F (-18°C) or colder. Always make sure your freezer is at the appropriate temperature.
- Avoid storing your ice cream on the door of the freezer as this will be the most affected by temperature fluctuations. Instead place at the back when the temperature is the most stable.
Summary
So, the best option for storing your homemade ice cream is a container which is ….
- Flat
- Wide
- Plastic
- Freezer safe
- Airtight
If you have something at home which matches this description, then use that!
Some other suggestions include using a specialized ice cream tub if you plan on making ice cream regularly.
Alternatively if you need to freeze ‘on the go’ and wont have access to a freezer, then a vacuum insulated flask submerged in ice would be a great option.
If you have made a large batch consider using a deep large metal pan / dish covered with an elasticised silicone lid.
Finally, use old ice cream tubs or yogurt tubs as a last resort as these do not fit the criteria listed above.
Want to know some more common homemade ice cream mistakes?

