I love my CamelBak bladder and use it regularly for hikes, but one of my least favorite things about it is the cleaning process.
It's tricky to clean at the best of times and it's the last thing I want to do when I get home tired from a long day on the trail.
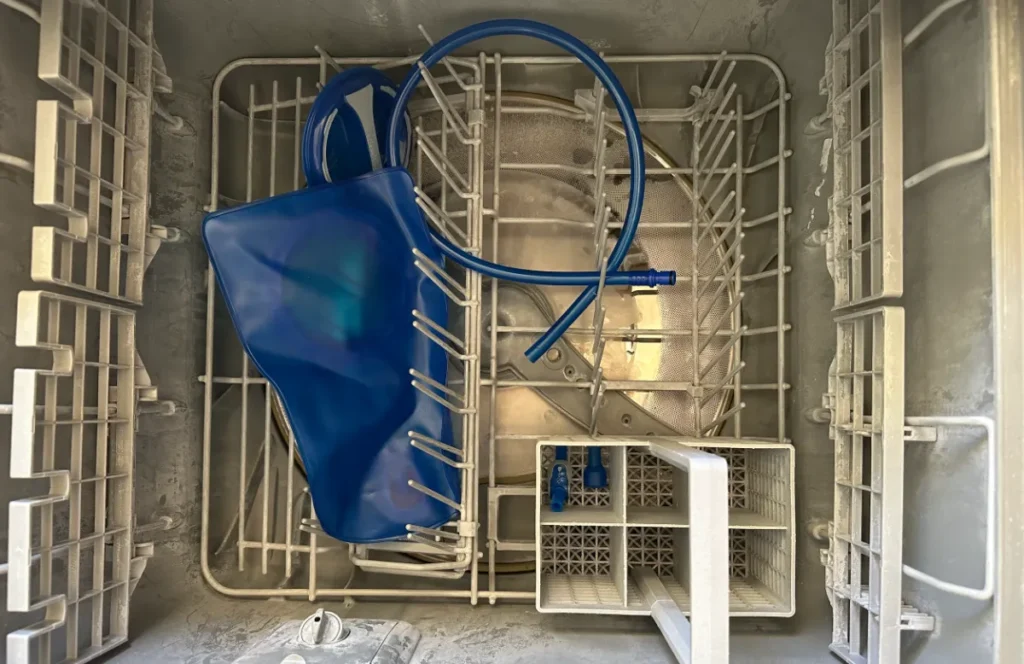
I know I can put my CamelBak water bottles in the dishwasher but what about my bladder? Can I throw that in there too and save myself from having to hand wash it every time?
Yes, CamelBak bladders are dishwasher safe. They are made from TPU and can handle the high heats of the dishwasher (top rack is advised). However, the dishwasher is unlikely to clean your bladder properly and definitely won't clean the drinking tube effectively. Handwashing is recommended.
The dishwasher will really struggle to get inside the reservoir effectively so it's not going to clean it very well. The bladder also tends to fill up with dirty dish water and not dry properly so when you pull it out it can sometimes look pretty disgusting.
Still it can be a great way to clean the outside of the bladder and give the inside a rinse before treating it for mold. Just don't expect it to fully clean everything.
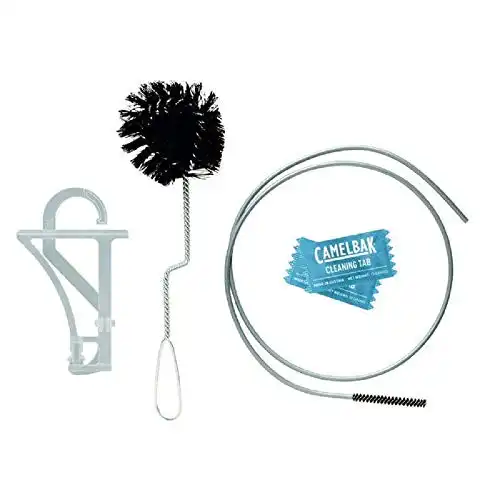
Instead, you're better off hand washing the reservoir using a CamelBak Crux Cleaning Kit with CamelBak cleaning tabs, baking soda, vinegar or bleach solution.
Features a large brush for the reservoir and a extra long straw brush to clean the drinking tube plus CamelBak cleaning tabs which will help clean away any scum. After cleaning use the reservoir drying kit to easily hang your bladder and get it completely dry.
A must have for CamelBak bladder owners.
While I wish the dishwasher was the ideal solution to save me the time and effort of cleaning my CamelBak – unfortunately it just doesn't do the job properly.
But, if you learn to properly wash your CamelBak reservoir it doesn't actually take too long to clean. Do it regularly and you’ll prevent mold and unpleasant tastes and keep your reservoir safe to use for years.
The Dishwasher May Not Damage Your Reservoir, But It’s Still Not Recommended
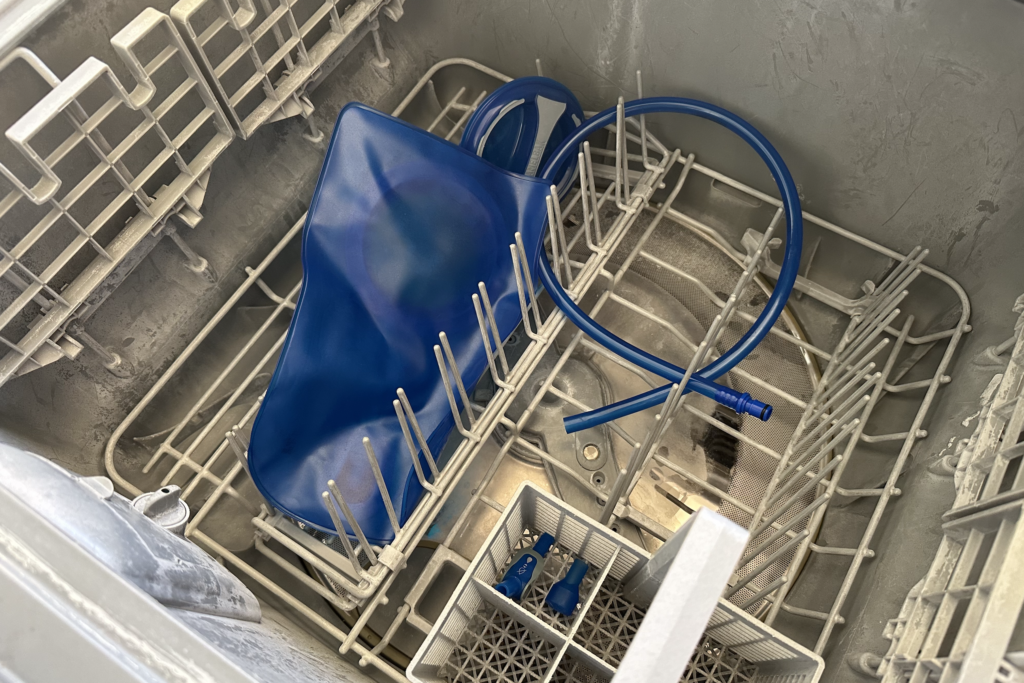
Many people recommend running a CamelBak bladder through the dishwasher to kill off any bacteria. It's a good idea as dishwashers do get pretty hot when they are doing their wash and dry cycle and it could stop mold from growing in your CamelBak.
I myself have placed various water bladders in the top rack of the dishwasher without any issues in the past.
You may want to consider turning the bladder inside out when placing it in the dishwasher. With some brands this is easy but I find it difficult with most CamelBak bladders.
You can wash your hydration bladder in the dishwasher as it is safe to do so. Make sure you are cleaning it inside out, so you will need to pull the inside out so as to get a better clean and disinfect it. You can also hand wash with water and soap and rinse in the washer.
Delmar Miles – SourceOutdoor
There’s enough evidence for me to say that you likely won’t cause serious damage to your CamelBak bladder if you run it through the dishwasher, but that doesn’t make it good for it or recommended.
CamelBak officially recommends hand-washing your water bladder using mild cleaners such as soap and water, diluted vinegar and water, or baking soda and water.
The company sells a hand-washing accessory kit, such as this Crux cleaning kit, and even offers cleaning tabs designed to make hand-washing your reservoir simpler.
The CamelBak Bladder Warranty Doesn’t Cover Dishwashing
CamelBak expects customers to maintain their water bladder using the recommended advice.
Since the company doesn’t advise customers to toss the bladder into a dishwasher, CamelBak isn’t likely to cover a bladder that’s been regularly cleaned this way.
While the company may not be able to tell that you cleaned your reservoir in the dishwasher, you’re safer cleaning it by hand if you value the Lifetime Warranty protection that comes with CamelBak reservoirs.
Clean Your CamelBak without Any Special Tools
If you take your CamelBak out for a hike or a bike ride and you don’t have all the special tools for cleaning it, you can still effectively clean your reservoir to prevent mold growth.
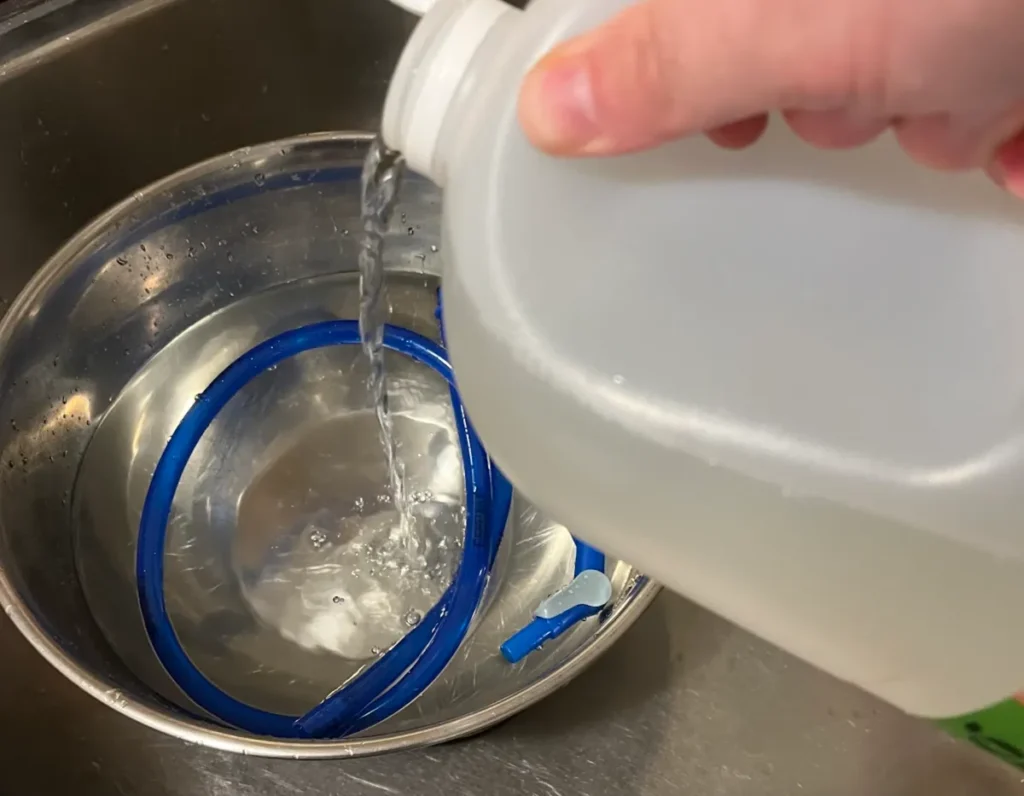
Start by creating a 1:1 solution of vinegar and warm water or a mix of 3 drops of bleach to each liter of warm water.
Now, pour in your solution, seal the bladder and slosh it around heavily.
You'll also want to place the bite valve and tube into bowls of the vinegar or bleach solution – making sure the tube is completely filled so that it kills all mold.
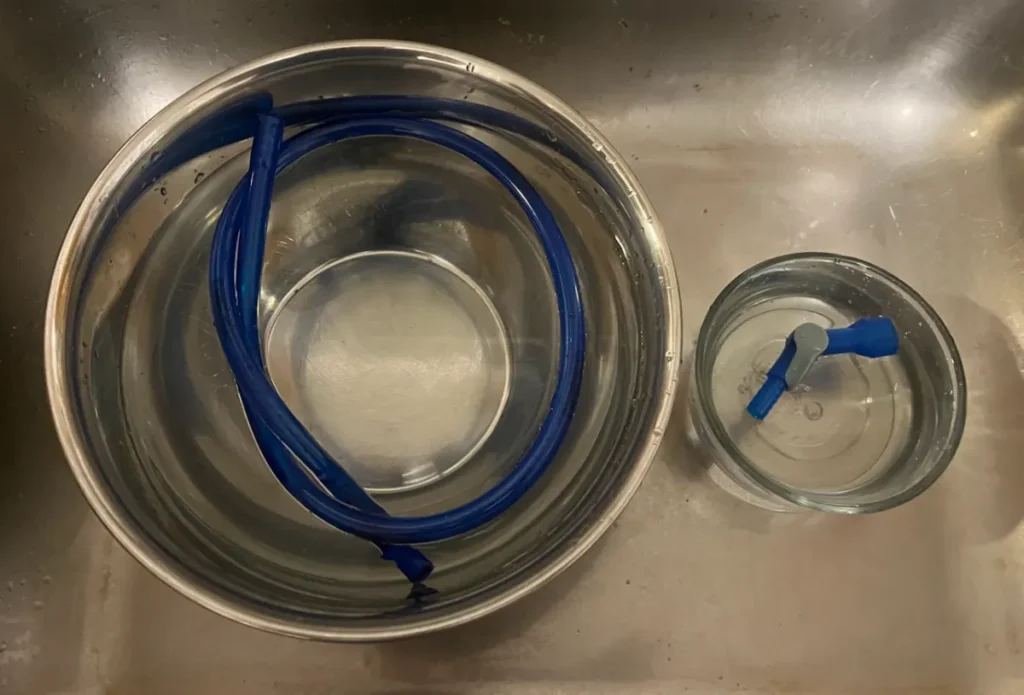
Let the bladder sit for 5 minutes for bleach or 30-60 minutes for vinegar, then pinch the end of the water tube to allow the solution to run out.
Thoroughly rinse the bladder several times, and let your rinse water run through your hose and the drinking nozzle to finish the cleaning process.
Also use a cleaning brush to clean the inside of the bladder and use a straw brush to clean the drinking tube. If you don't have the CamelBak Crux Cleaning Kit (which comes with the long straw cleaner) there are ways to clean your CamelBak drinking tube without a brush. It's just a bit trickier.
Do this each time you use the bladder or every few times, and you’ll keep it clean over time.
Consider Getting a CamelBak Cleaning Kit
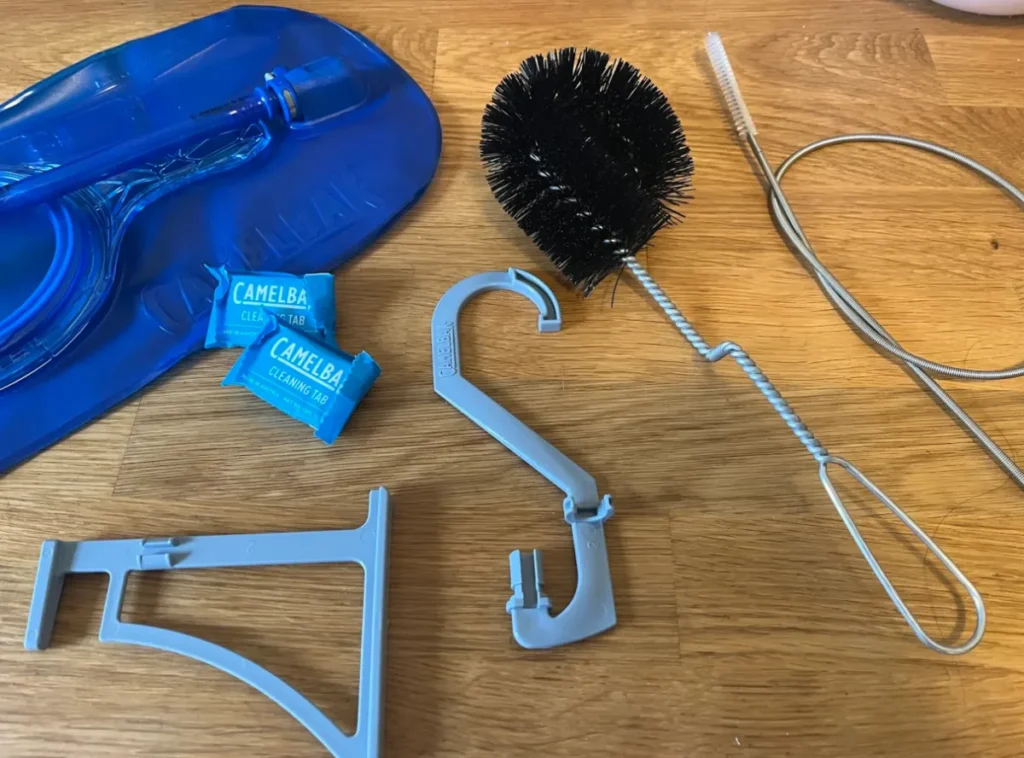
If you faithfully clean your CamelBak reservoir using bleach or baking soda solution, like the method described above, you likely won’t have to scrub your bladder that often and bottle brushes can do the job fairly well.
If you want to make life easier for yourself, it’s helpful to have a Camelbak cleaning kit to do the job.
A good cleaning kit has a bladder brush for cleaning the sides of the bladder, a long narrow brush for cleaning the drinking hose, and a hanger attachment for vertically hanging the bladder to dry.
With this kit you can remove light mold, scrub away any potential debris or minerals from hard water, and keep your bladder clean.
The kits are affordable, and they make maintaining your CamelBak reservoir easier. Well worth the investment.
Features a large brush for the reservoir and a extra long straw brush to clean the drinking tube plus CamelBak cleaning tabs which will help clean away any scum. After cleaning use the reservoir drying kit to easily hang your bladder and get it completely dry.
A must have for CamelBak bladder owners.
Use the CamelBak Tabs to Clean Your Reservoir
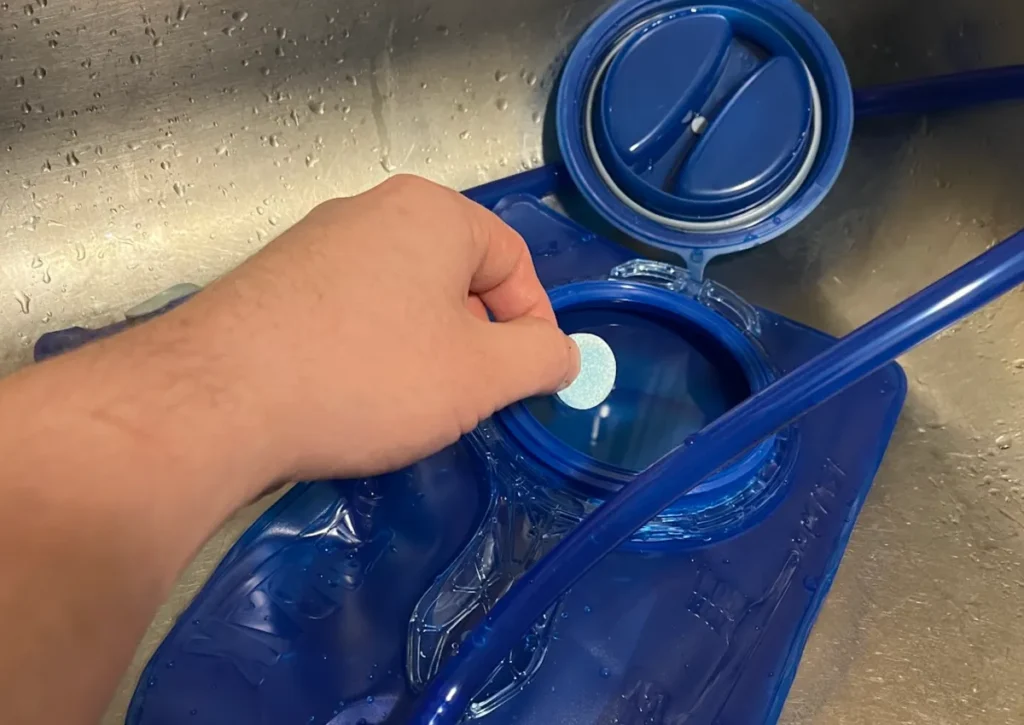
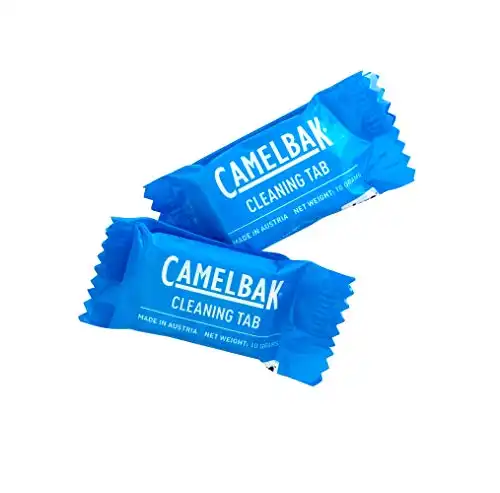
The CamelBak cleaning tablets offer a convenient and easy way for you to clean your reservoir whenever it needs a deep cleaning.
To use the tablet, add warm water to mostly fill the reservoir and drop in a tablet (or two for the larger reservoirs).
Pinch the end of the drinking hose and tip it to allow the solution to flow out the end.
Allow the solution to remain in your bladder and the drinking hose for 30 minutes before rinsing it out.
CamelBak sell their own tablets which work great or there are some other cheaper options as well. Check out the best cleaning tablets for CamelBak bladders.
These self dissolving tablets are designed specifically for CamelBak bladders and bottles. They reduce residual taste and odor and leave no odor, film or residue.
Clean with Denture Tablets Instead
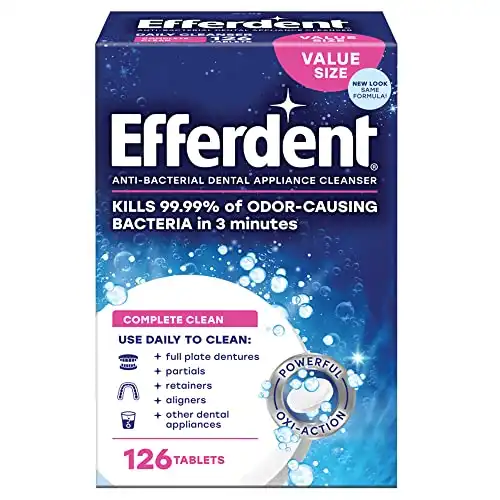
For a more low-cost cleaning solution that offers the convenience of CamelBak tablets, try cleaning your water bladder with denture cleaning tablets.
Insert one or two of these tablets into warm water within your bladder and use them just as you would the CamelBak tablets.
Denture tablets can be found at most local pharmacies and are affordable and effective for disinfecting water bladders, water bottles, and more.
Kills 99.99% of odor-causing bacteria in 3 minutes while being gentle and non-abrasive. Can remove stubborn stains in hard to reach places and gives you and odor-free clean.
Properly Drying Your CamelBak Bladder is Essential
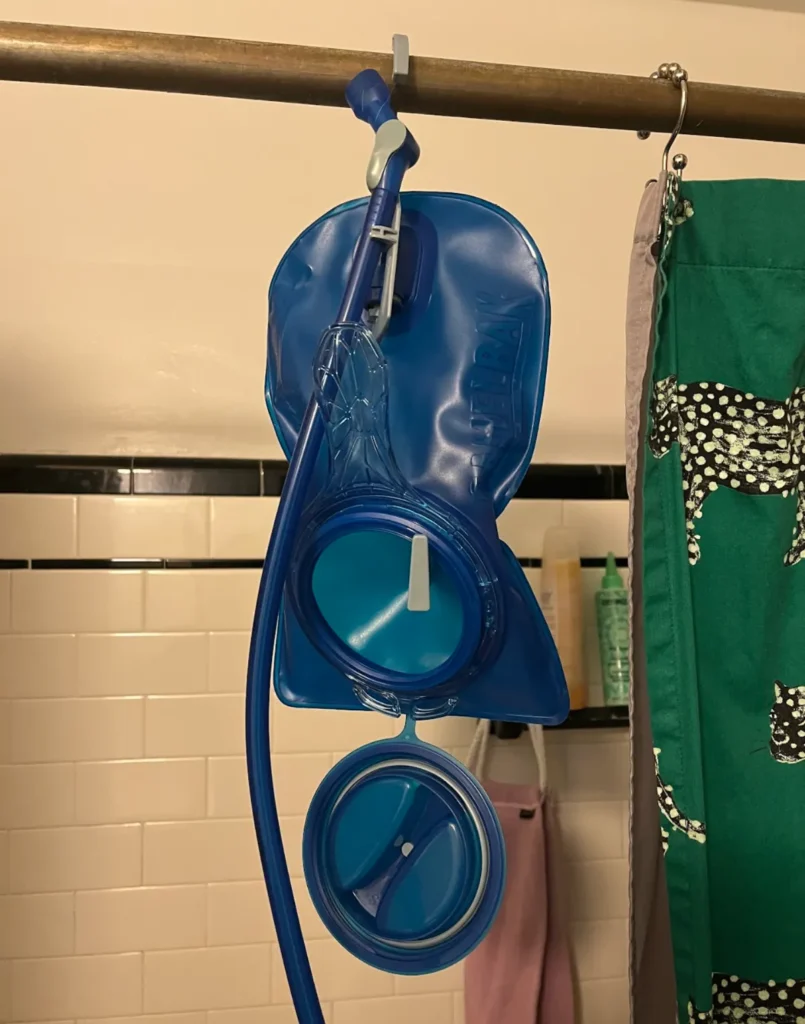
After fully cleaning your CamelBak, you must dry it completely. Only fully drying your bladder will prevent mold growth.
The simplest way to dry your bladder is to hang it with the cap removed. Hang the bladder so its opening is down and water can drain out.
Let the bladder hang up for a day or two to dry fully, and then store it with your gear until you’re ready to use it again.
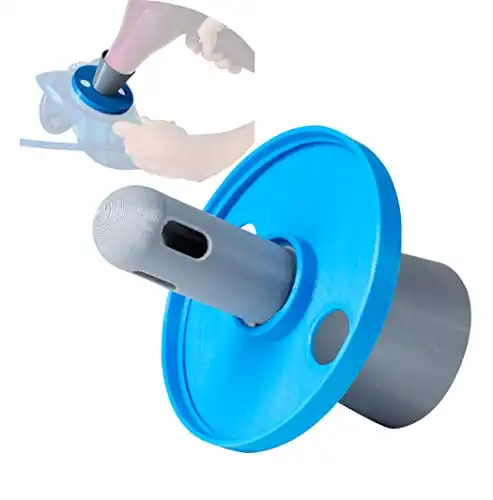
You can also invest in hydration bladder dryers which sit inside your bladder and wick away any remaining moisture or you can get hair dryer attachments which allow you to manually dry the bladder in just 5-15 minutes.
Why Freezing Your Bladder is a Convenient Maintenance Strategy
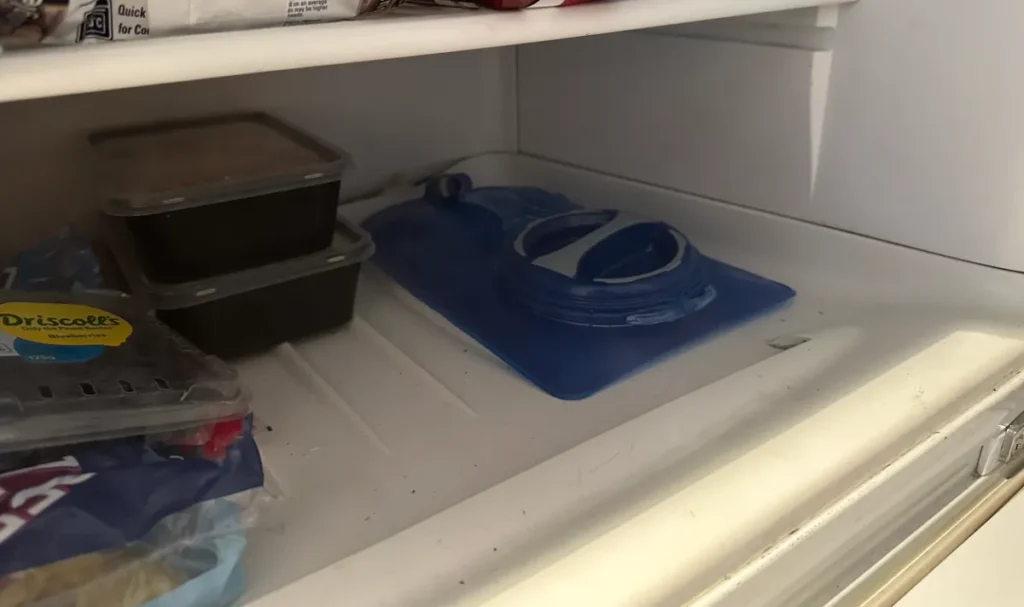
While effectively cleaning and drying your hydration bladder is often enough to prevent the growth of mold over time, freezing the bladder ensures you won’t have any trouble.
If you want to guarantee you don’t get any microbial growth in your CamelBak bladder, consider washing it out, drying it, and then storing it in the freezer until you’re ready for it again.
This solution is particularly convenient for anyone with enough freezer space to not mind having a bladder or two stored in there until they’re needed again.
Even a poorly cleaned bladder won’t develop mold in the freezer for a very long period of time, and you’ll have an easier time keeping the bladder clean over time by using the freezer for storage.

