I love my CamelBak and it comes with me on many trails but one of the major downsides of CamelBak bladders is the fact that over time they can begin to grow mold and get a musty smell and even give your water a musty taste.
You don't need me to tell you that having mold grow in your CamelBak is a bad idea and terrible for your health.
While you can remove mold from CamelBak bladders it's much easier to avoid mold in the first place.
After having to clean mold one too many times I learned the best ways to keep mold from ever forming in your CamelBak.
1. Clean Your CamelBak Properly After Each Use
If you're anything like me then the idea of pulling your CamelBak out of the bag and giving it a good wash after you've just come off a full day hike isn't something you look forward to.
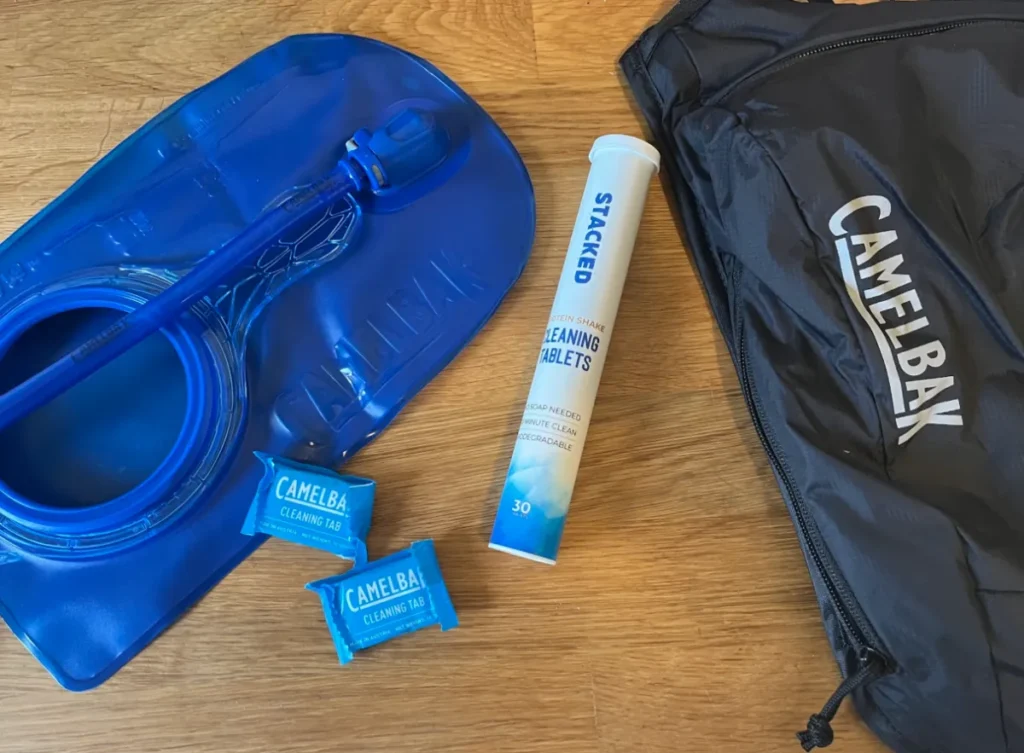
I thoroughly dislike cleaning my CamelBak bladder but I know the importance of doing it and after investing in the CamelBak Crux Cleaning Kit it has become a lot less of a chore and much easier to get done.
The cleaning kit comes with an extra long straw brush for cleaning the tube as well as a thick brush that makes cleaning the inside of your CamelBak pretty simple. You can clean the drinking tube without this straw but it's pretty difficult and time consuming to do.
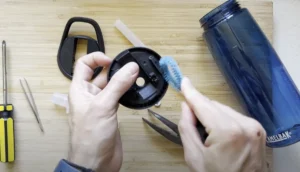
I like to squirt some dishwashing liquid into my CamelBak and fill it up with warm water. I'll then push some soapy water through the drinking tube before detaching it to give it a good scrub. I also make sure to detach the CamelBak mouthpiece and clean those parts individually too.
I think scrub the inside of the bladder and give everything a good rinse before hanging it to dry using the plastic hanger provided in the CamelBak Crux Cleaning Kit.
All up the entire process only takes me 2-3 minutes. Do this every time you use your CamelBak and you'll go a long way to avoid any mold growing.
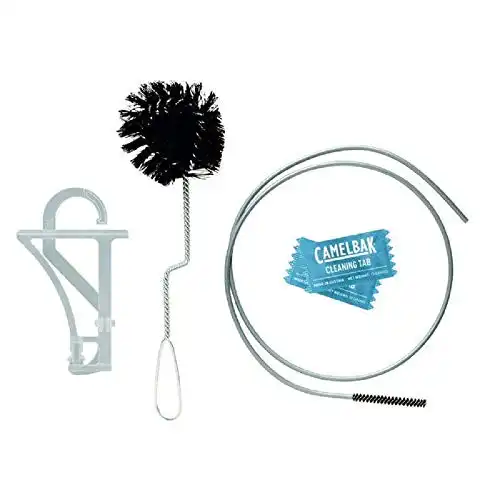
Features a large brush for the reservoir and a extra long straw brush to clean the drinking tube plus CamelBak cleaning tabs which will help clean away any scum. After cleaning use the reservoir drying kit to easily hang your bladder and get it completely dry.
A must have for CamelBak bladder owners.
If you want something to give your CamelBak a bit of a deeper clean (maybe you've waited a few days to clean it) then the CamelBak cleaning tablets can do a good job and are a bit more intense than soapy water.
Click here to read my full guide on how to clean a CamelBak properly.
2. Dry Your CamelBak Properly Before Storing
Alongside regular cleaning the absolute most important think you can do to avoid mold growing in your CamelBak is to thoroughly dry it.
Mold struggles to grow when your bladder is extremely dry. So ensuring your bladder completely dries on the inside and there is no hidden water droplets is really important.
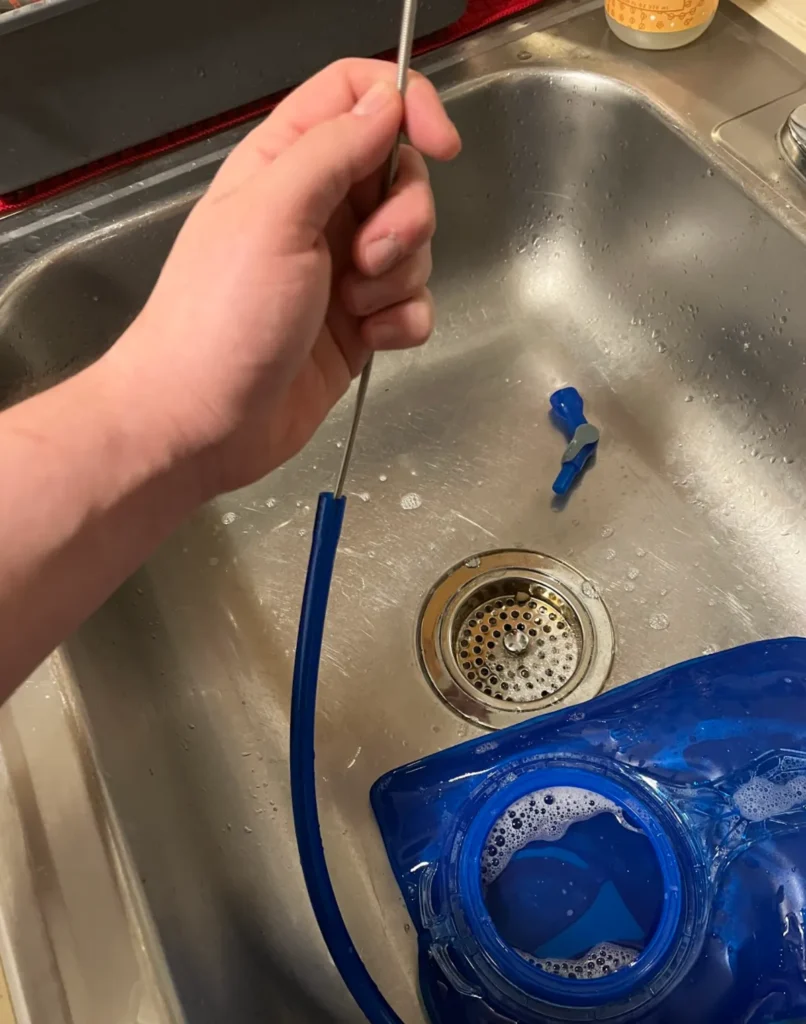
The mistake most people make is they place their CamelBak in their dish drying rack and expect it to dry…it won't. The inside of your bladder will still have some wet patches which the mold will love – and don't even get me started on the tube. That's the hardest part to dry by far.
I personally made the mistake of leaving my tube with water in it expecting it to dry over time. It never did until I hung it up properly.
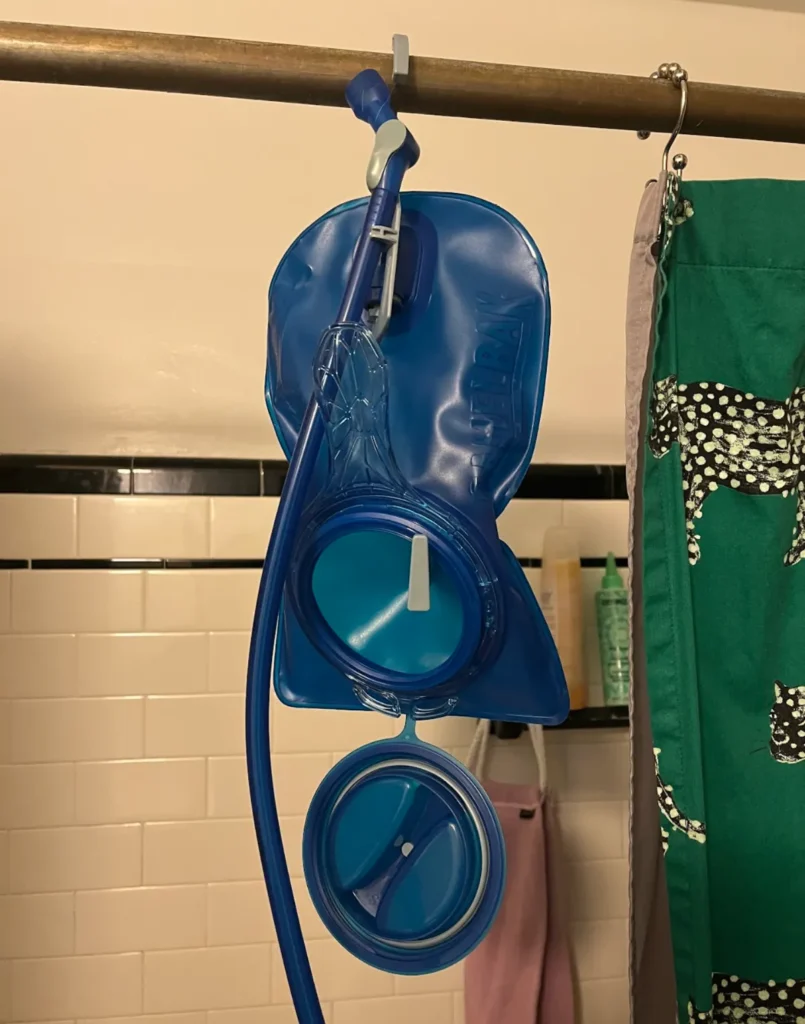
There are a few different ways to properly dry your CamelBak bladder. The easiest is to use the hanger you get in the CamelBak Crux Cleaning Kit. Hang up your Camelbak somewhere with good air flow and make sure to hang your tube as well so the tube dries properly.
Another good tool to passively dry your CamelBak is the Hydration Bladder Dryer Towels.
These towels suck water out of your bladder and then wick it away – speeding up the drying process significantly. Pair this with the hanging rack and your bladder will dry fairly quickly and easily without you needing to do anything.
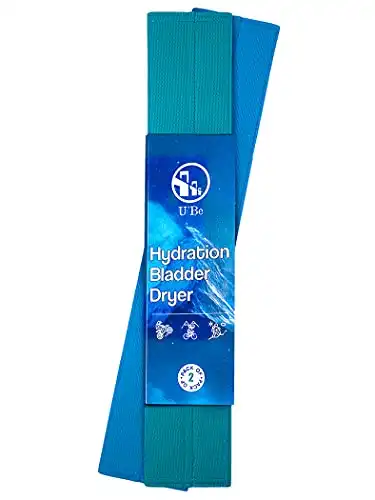
This hydration bladder dryer sucks water out of the bladder and wicks it away. Absorbing 95% of liquid in seconds for a full dry in 5-6 hours. Machine washable and reusable.
A faster way to dry your CamelBak bladder is to use a Hydration Bladder Dryer that clips onto your CamelBak opening and then attaches to any hairdryer to clean the inside of your bladder in just 15 minutes or so.
The plus side of using this method is it will push air through the drinking tube and is one of the best ways to make sure the tube is 100% dry.
The downside of this method is it requires some manual work. You'll need to hold your hair dryer on the cold air setting for around 10-20 minutes to completely dry the bladder.
Another option is to hang it to dry for a day or so and then use the hair dryer for just a couple of minutes to remove any water that has failed to dry.
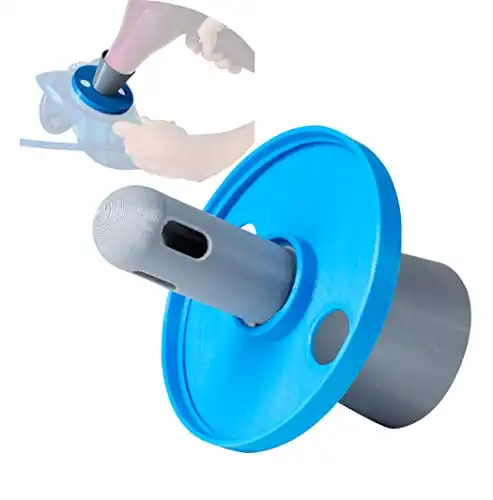
Save all the hassle and difficulty of trying to dry your hydration bladder and hose and avoid mold altogether with this drying kit.
Quickly dry your bladder and drinking tube in just 10 minutes. Attach to your hairdryer and use the cool air setting to use. Simple and easy.
3. Store Your CamelBak in Separate Pieces
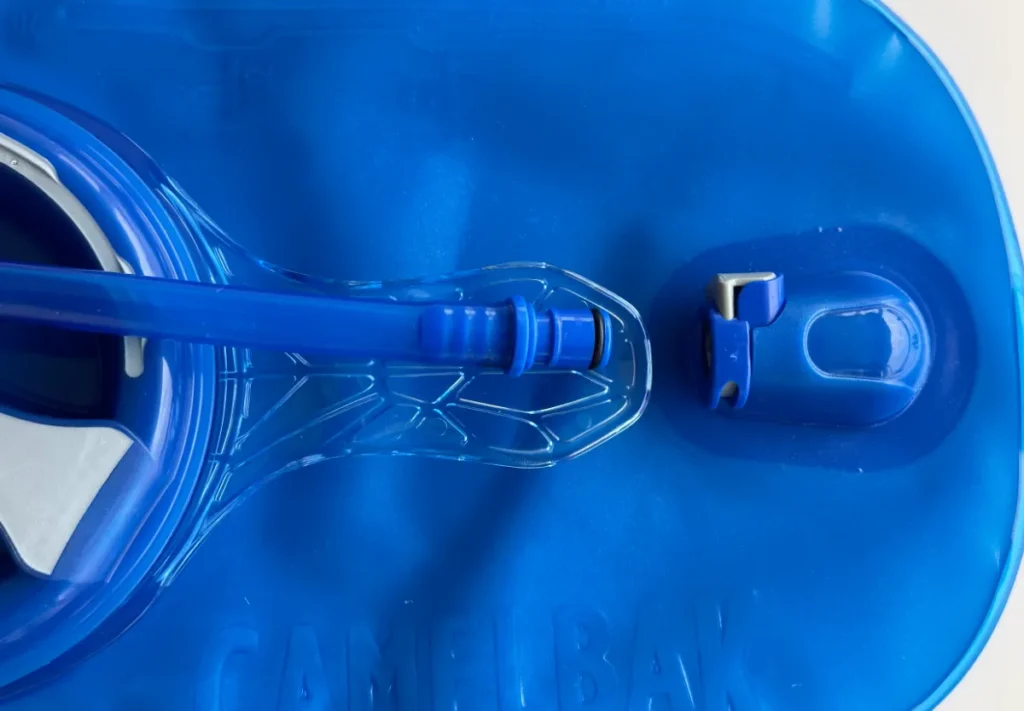
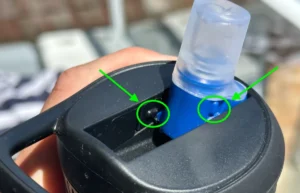
Once you've washed and dried your CamelBak store it in separate pieces and store it with the fill cap open so airflow can get into it.
This minimizes the chances of hidden water between pieces and stops mold growing in these common areas.
It's pretty easy to pull apart the drinking tube and other parts of the CamelBak and just as easy to put it back together when it's time to refill it and hit the trails.
4. Store Your CamelBak In The Freezer
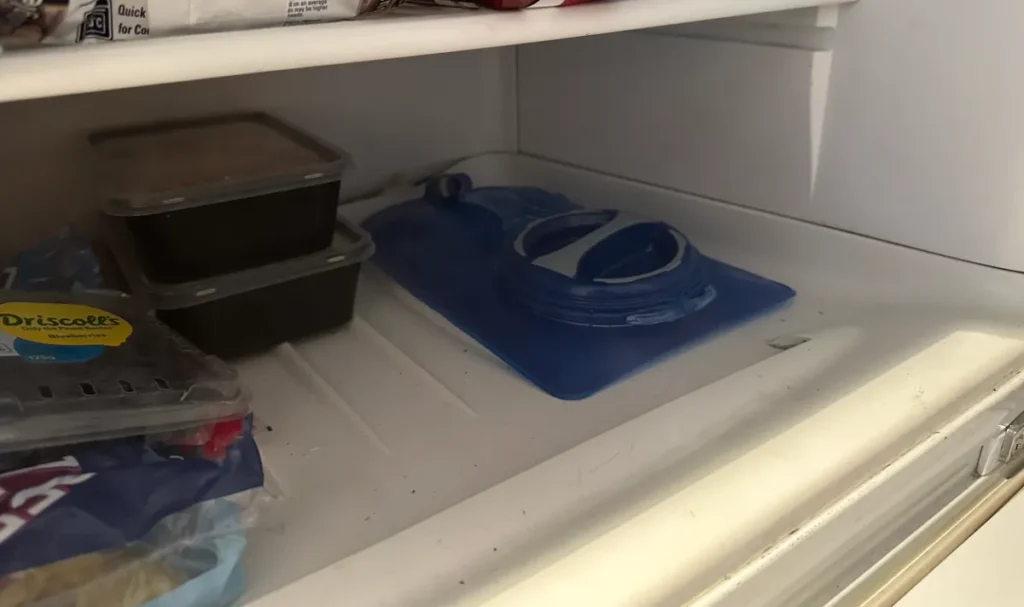
If you're feeling a bit lazy and know you won't have time to completely wash and dry your CamelBak between uses then the next best thing you can do is actually store your CamelBak in the freezer.
Putting your CamelBak in the freezer makes it extremely cold (obviously) and this massively slows the growth of bacteria and mold.
It won't stop their growth altogether but it will slow it by a significant amount between uses/between cleans.
If you know you're going to use your bladder again in the next couple of days and it's going to be hot I suggest filling it up 1/2 to 2/3 full of water and placing it in the freezer.
You'll then have a nice large brick of ice which will help keep the water cold in your CamelBak for hours.
5. Soak Your CamelBak In Vinegar Semi-Regularly
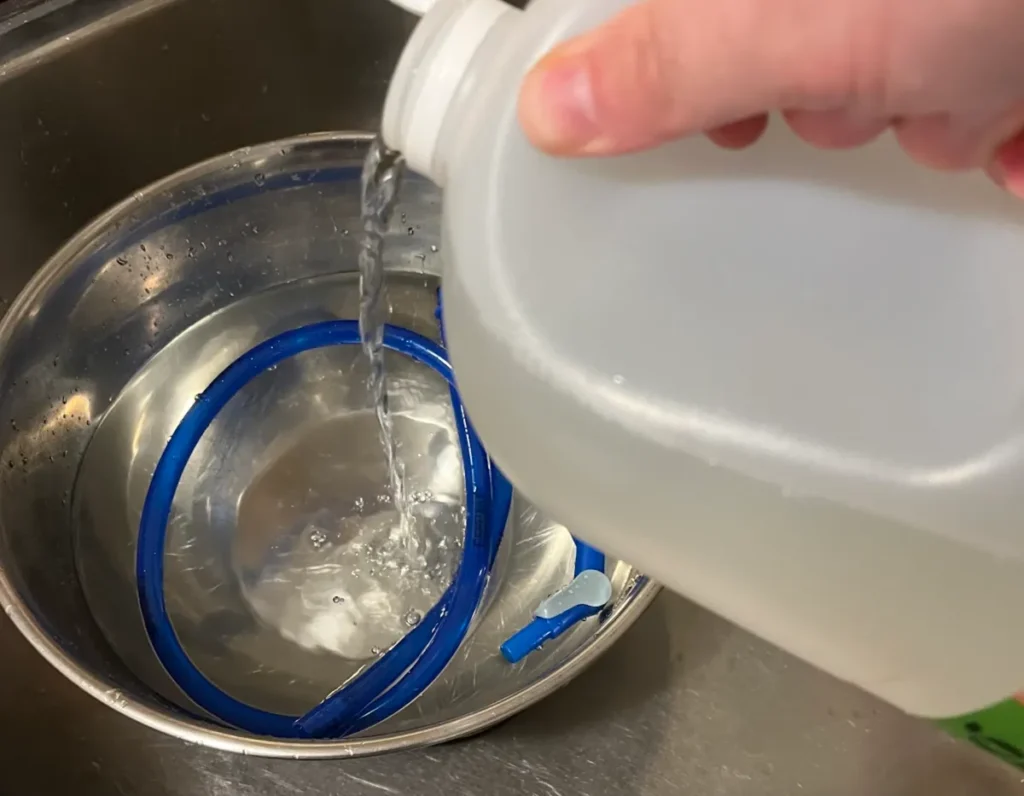
Vinegar is a natural mold killer and so every now and then it's a good idea to soak your CamelBak pieces in a mixture of 50% water and 50% vinegar overnight.
Make sure the tube is completely filled with the water/vinegar solution and place a bowl or something heavy over it and the mouthpiece to keep them submerged during the soaking process.
Also put some of the vinegar/water solution into the bladder itself, shake it around and remove any air. Leave that to soak overnight as well to kill any mold you can't see.
After soaking give everything a good rinse and dry it properly.
Following these 5 steps you should be able to avoid mold growing in your CamelBak bladder completely.