Camelbak bottles have some great lids. My sons love the Eddy+ bite value and the Podium Jet valve. I personally like the ChuteMag lid as it's easy to drink from and even easier to clean.
One of the problems I have with the Eddy+ and Podium bottles is that the lids are complex and have areas that can stay wet and attract mold over time. I really don't want to be drinking mold and you shouldn't either.
But how exactly do you remove mold from a Camelbak mouthpiece?
If your Camelbak bite valve or jet valve has mold you can remove it by removing the valves, disassembling the lid and soaking everything in vinegar or bleach to kill the mold. Then use a small bottle brush to scrub the mold off before drying and reassembling.
If you suspect mold in your Camelbak lid it's really important you take the necessary steps to clean it so the problem doesn't get worse and your bottle doesn't make you sick.
Here's exactly how to pull apart and clean the mold from your Camelbak lids.
How To Remove The Mouthpieces
Before you can begin cleaning, you will need to remove the mouthpieces from the bottles so you can really get in those nooks and crannies.
The Eddy+ Bite Valve
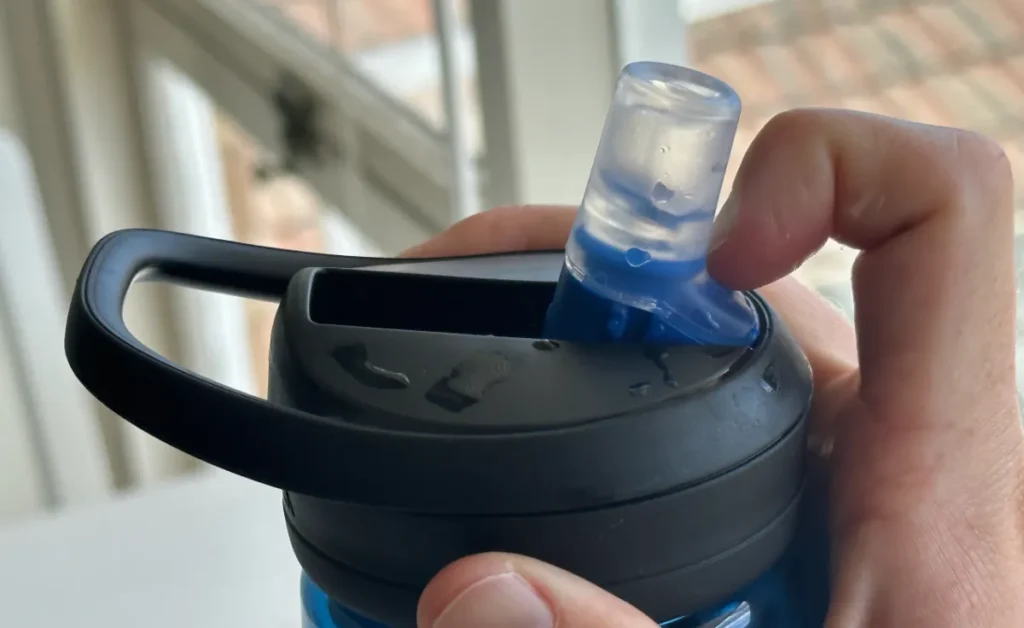
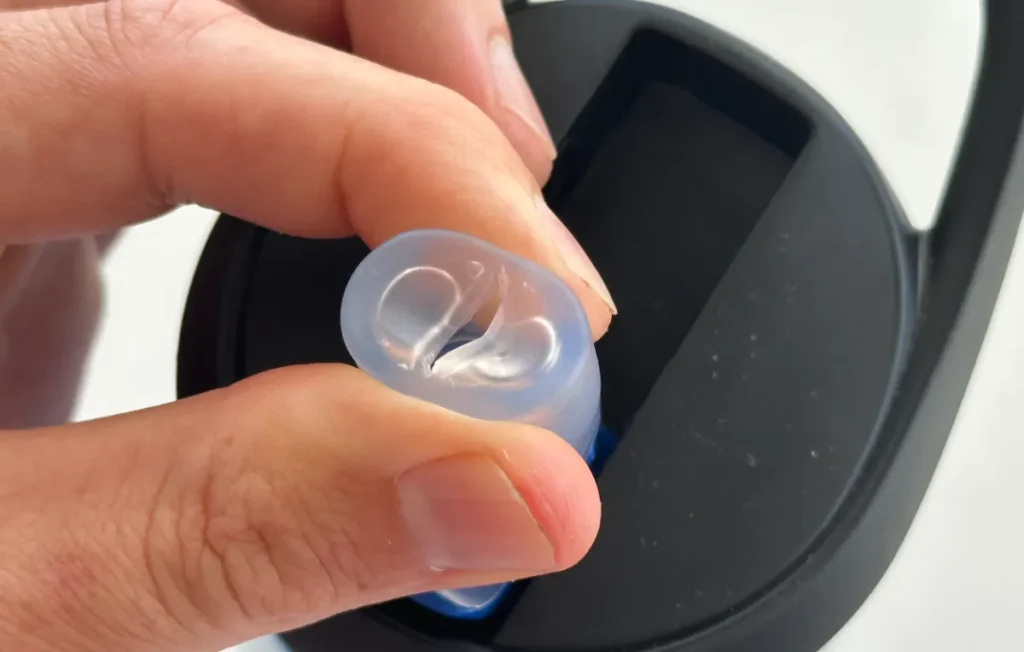
The Eddy Camelbak comes with a bite valve that is very easy to remove. Simply use your fingers to push the bite valve off. This shouldn’t take much effort as it's meant to just pop off.
The pulling apart of the lid itself so you can get into all the nooks and crannies is much more difficult and that's why I've created an easy to follow video guide showing exactly how to do it with the latest model Eddy+ lid.
To pull the lid apart you need to do the following process:
- Take the lid off the bottle and remove the straw by pulling it away from the lid
- Remove the bite valve with your fingers by pulling it off firmly. It should pop off easily
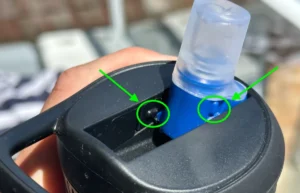
- Use a sharp, strong knife to dig under the small round plastic dowel in the side of the center of the lid and lever the dowel out.
- Remove the dowel with your fingers or a set of thin pliers
- Push the lid backwards towards the handle and it will click out
- Remove the flexible rubber piece attached to the folding part of the valve by squeezing the top and pushing it down into the plastic piece
- Now pull on the plastic piece so the rubber comes away from it
- Use pliers to pull the rubber piece out.
If you have an older model, the process of removing the valve differs a bit.
Here’s how to remove the older bite valve:
- Detach the straw from the bottom of the valve by pulling it off.
- Using your fingers, push the top of the bite valve down until it is halfway through the lid.
- Flip the lip upside down, and using your fingers, pull the valve through the bottom of the lid.
If you are having trouble removing the valve, I suggest soaking the lid in hot water for 5 – 10 minutes to soften the rubber.
Sometimes when I remove the valves, I also accidentally remove the air valve. If this happens to you, check out my article on how to fix the air valve.
The Podium Jet Valve
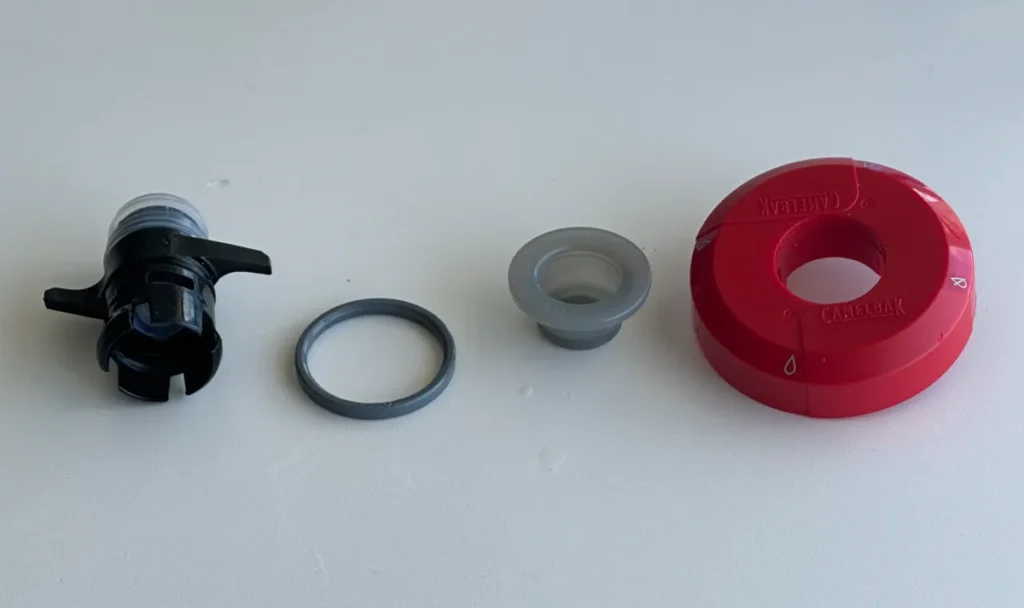
The Podium Camelbak water bottles come with a self-sealing jet valve, and this, luckily, is easier to remove than the bite valve, which makes cleaning them a whole lot easier.
However, it's still a multi-step process so I've also created a full video on exactly how to do that.
To remove the mouthpiece:
- Unscrew the lid
- Underneath the lid, you will need to remove the stopper cap that says “remove to clean”
- Remove the retainer ring
- Twist the mouthpiece into a locked position.
- Compress the tabs and pull the mouthpiece out
- Use a blunt butter knife to remove the rubber mouth piece
- Use a blunt butter to remove the rubber O-ring
- Pop the jet valve out by levering it out with your butter knife
The Hydration Packs
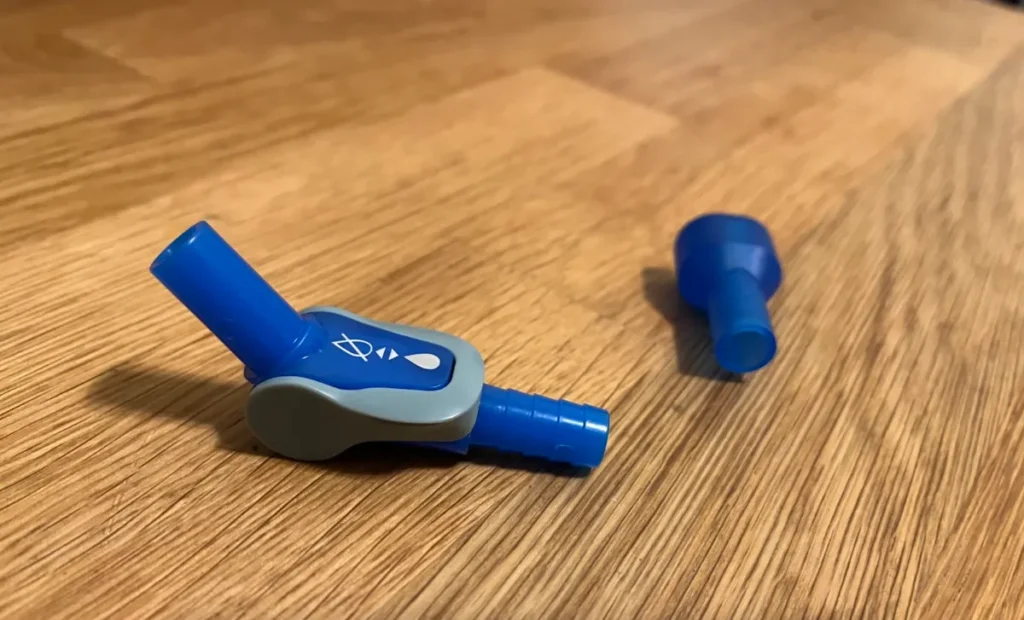
Camelbaks hydration packs use reservoirs and also have the Camelbak bite valve for easy drinking. The valve just pops off fairly easily so you can clean the mouthpiece and tube.
Use your fingers and some pulling (some twisting if it's stubborn). The valve should pop off without too much difficulty.
If you are struggling to remove the valve and it feels really stuck then soak it in hot water for 5 – 10 minutes to soften the valve.
Once you take it off give the parts a scrub and then soak them in a mixture of 50% water and 50% white vinegar for at least 30-60 minutes or overnight if they are particularly nasty.
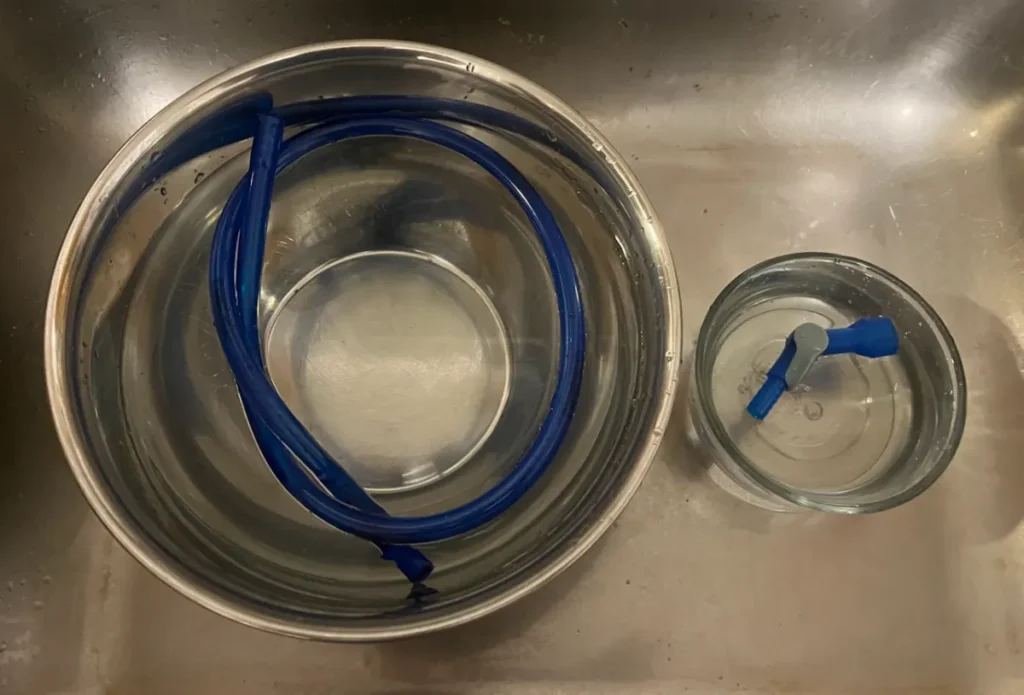
The vinegar should kill the mold in the mouthpiece.
After soaking give it a good rinse and make sure to dry each of the CamelBak parts before reassembling.
How To Remove Mold From Camelbak Mouthpiece
To clean and remove mold from these mouth pieces and lids you'll want to use a multi-step process.
First, you want to kill the mold using vinegar, bleach, baking soda or cleaning tablets. It's really important to kill all the mold so it doesn't grow back.
Secondly, you want to scrub away the mold. Here you need to make sure you get into all the small crevices and hard to reach spots where moisture can stay and mold can hide.
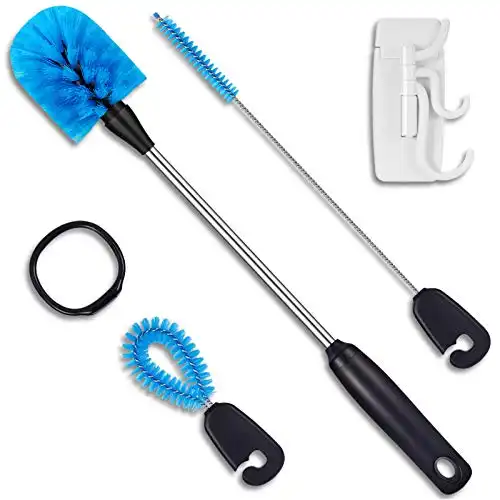
Cleaning the mold from the mouthpieces of your Camelbak products will be a lot easier if you use a small scrubbing brush.
I personally use and recommend this affordable 3-in-1 bottle brush kit from Amazon as it has a good bottle brush for cleaning your bottle but also a straw brush and smaller brush for getting into those hard to reach areas.
Three tools in one. Includes a long bottle brush, straw brush and detail cleaner (great for cleaning inside lid gaskets). Comes with organizer ring and storage hook,
Here are some ways you can clean mold from your mouthpiece.
Vinegar
My main cleaner of choice is vinegar, because it's natural and it's a mold killer.
It also doesn't hurt that this stuff is dirt cheap and most of us have it tucked away in our kitchen or laundry cabinets.
To clean the mold, you will need to:
- Fill up a bowl with one part vinegar and one part water
- Place in all the components of the mouthpiece and lid. This includes lid pieces, straws, or tubes.
- Soak for 30-60 minutes or overnight for the best results
- After soaking, use a small bottle brush to scrub down all parts of the valve and all grooves of the lids and accessories. Give it a good scrub and pay close attention to hard to reach places
- Rinse thoroughly and air dry before reassembling
- Repeat the process for stubborn mold
Make sure that you use white vinegar and not brown. Brown vinegar stinks.
Trust me. You do not want your bottle smelling vinegary. Yuck!
Bleach
Standard household bleach is strong enough to cut through the mold in the mouthpieces and is great at cleaning those hard-to-reach places on the bottles.
While bleach is recommended by many water bottle companies for deep cleaning I tend to only use it sparingly as it can be slightly corrosive to plastic. Also, you don't want the concentration of bleach to be too high.
How to clean using bleach:
- In a sink of warm water, add a splash of bleach
- Place in the valves and all the accessories like lids, straws, and tubes in the sink to soak for 30-60 minutes
- Scrub the inside of the valve and lid with a very small bottle brush. Pay close attention to hard to reach areas
- Rinse thoroughly
Camelbak Cleaning Tablets
Camelbak also sells cleaning tablets to help you deep clean your Camelbak bottles and hydration packs.
The Camelbak cleaning tablets come in 10-gram packets, and it is recommended that you only use half for smaller bottles.
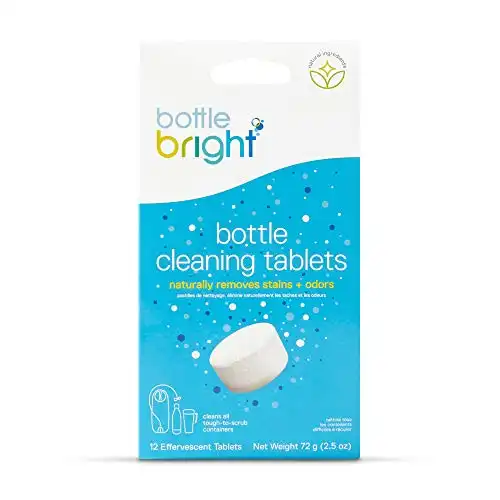
The main ingredient in cleaning packs like these is citric acid or some other form of cleaner so any bottle cleaning tablet will do the trick. I personally like and recommend these Bottle Bright cleaning tablets from Amazon as they are affordable, come in packs of 12 and have loads of positive reviews so you know they aren't fakes.
All natural, safe, free of odor and harmful ingredients. This is perfect for cleaning tumblers and water bottles giving them a fresh look and smell. No scrubbing required. Made in the USA
How to clean mold using the tablets:
- Fill up a bowl with warm water and place in all pieces of the valves and lid
- Drop the tablet into the water
- Wait for the tablet to dissolve completely
- Scrub the valves extremely well with a small brush
- Rinse when done and leave to air dry before reassembling
Denture Tablets
Denture tablets are an good alternative if you don't have the Camelbak cleaning tablets. They use pretty much the same ingredients and they are relatively inexpensive and easy to come by at your local pharmacy or supermarket.
The dental tablets work in the same way and are great for cleaning stubborn mold. You may need some more elbow grease with this method.
The cleaning process is exactly the same as the one you would use when cleaning with the Camelbak tablets or Bottle Bright tablets.

