I love my CamelBak bottles because they are durable and easy to use. My kids love the bite valve and jet valve lids and it helps them to drink more water everyday.
While CamelBak’s are made primarily for water sometimes I’ll use them for smoothies for me and the kids or throw coffee in one when I’m on the go.
More than once I’ve found these bottles days later in the bottom of school bags or rolling around in the back seat of car. Having had time to crust over the lids can sometimes be hard to open.
But there are a few simple tricks to help get any stuck CamelBak lid open.
Easy tricks to open your stuck Camelbak lid include:
- Opening any lid features such as lids or straws in order to release the pressure
- Soaking and rinsing your bottle with hot water
- Coating your lid in dish soap in order to break down any stickiness
While these methods aren’t guaranteed fixes, you should find that at least one of them does the trick in opening your stuck Camelbak Lid.
What Causes My Camelbak Lid to Get Stuck?
Camelbak water bottles are leakproof and have a number of different lids featuring fun and unique designs.
While the secureness of Camelbak’s bottles is very convenient, it can also lead to pressure building up in the bottle that may make the lid harder to open.
This pressure will be made even worse if carbonated or fruity drinks such as sports drinks are left in your bottle, as bacteria will grow producing gas that will amplify the buildup and can cause your lid to be stuck.
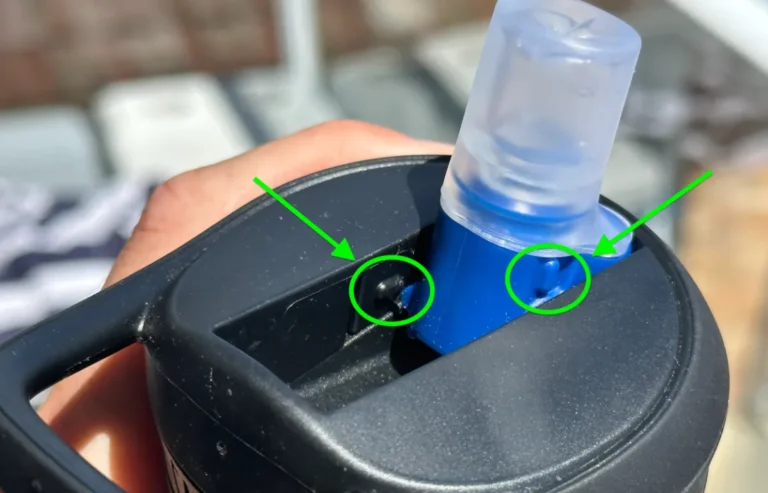
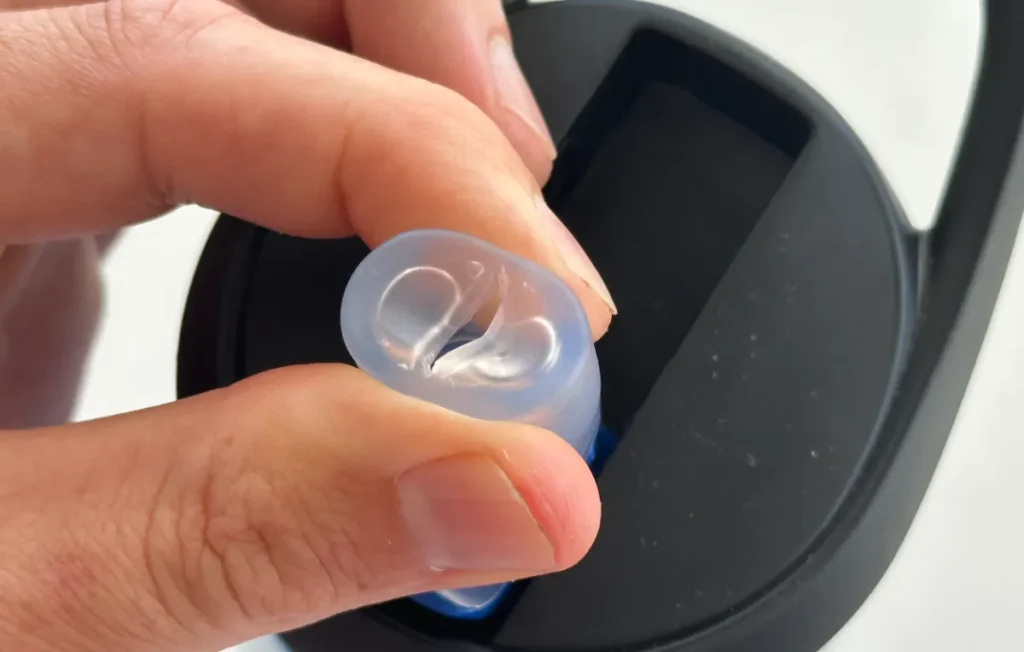
My kids love their Eddy bottles and use them nearly every day but if we didn’t stay on top of cleaning them we may end up with a sticky or clogged mouthpiece that would enable pressure to build up inside.
Other reasons for a stuck lid include sticky drinks jamming up the threads in your lid, an over-tightened or cross-threaded lid, or any other unknown reason.
So what can you do to fix your stuck Camelbak lid?
1. Release the Pressure
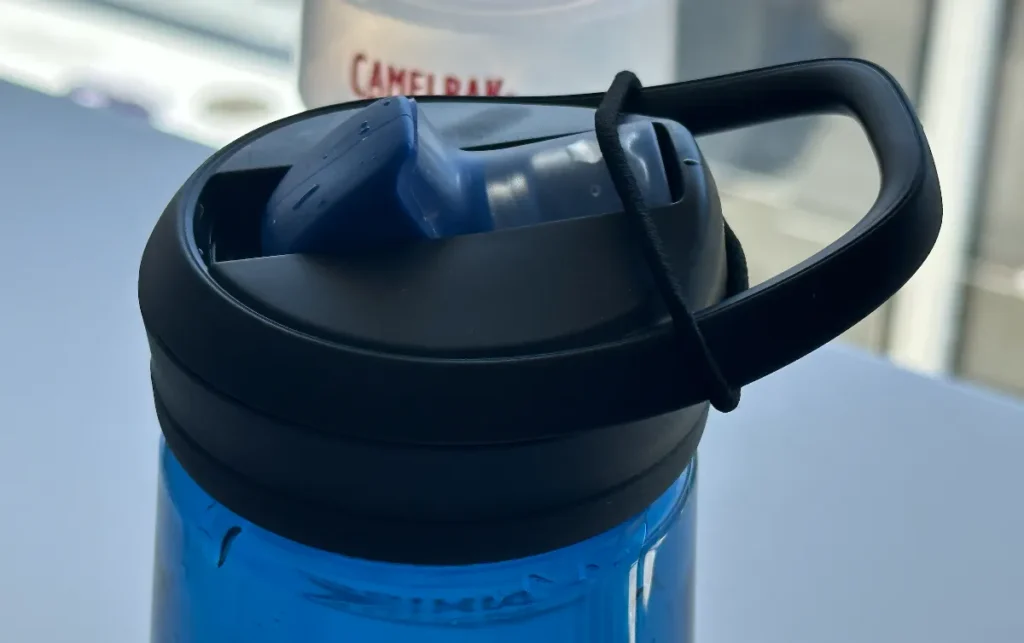
Camelbak bottles feature several different lids such as the Chute magnetic top or the Eddy mouthpiece lid.
Pressure in your bottle will create an upwards force on the lid and make it harder to open.
Dirty lids and waterways can also become clogged and enable this pressure to build.
Tops, mouthpieces, straws, and any other mechanism can easily be used to release any pressure. Opening the valve or removing the magnetic top will release any pressure that has built up inside your bottle and likely make it much easier to open.
In the case of the Eddy, any pressure built up would more than likely force itself out through the straw and I don’t believe it would get to the point of making your lid completely stuck.
However, it is a spill-proof lid and additional jams or stickiness could allow that pressure to compound.
Using these features to release pressure is not only an effective solution but it’s also one of the easiest, so it’s definitely worth a shot.
2. Use Hot Water
Hot water will work especially well on the stainless steel Camelbak bottles, and it can help open the plastic ones too.
Fill a bowl or sink with hot water and put your Camelbak in the water upside down.
After a moment, a steel Camelbak will expand due to the heat, which should make the lid easier to open. Soaking a plastic Camelbak may help to deteriorate any gunk or dirt jamming up the threads in the lid.
Running hot water over the seam of your lid may also help to clear up any stickiness.
Even if hot water does not fix your stuck lid it may loosen up any stickiness and make it easier to open with another method.
3. Soak it in Dish Soap
Dish soap is an excellent degreaser, I even use it to strip the wax off my car a few times a year, and it works great for breaking down gunk.
Take some dish soap and rub around the seam where the lid of your Camelbak meets the bottle.
It’s very important to get the soap in between the lip of the lid and the bottle as this will let the soap break down any stickiness that could be jamming up the threads.
Give the soap a moment to soak and then try twisting and if that doesn’t work rinse the soap off with hot water.
This will hopefully clear out enough crap or lubricate the lid enough to twist off.
4. Use a Towel (And Possibly Pliers)
Take a towel and cover the lid of your Camelbak, then grab and twist the lid.
The towel will allow you to get a better grip on the lid and prevent any friction pain to your hand.
If that isn’t enough you can try taking a large pair of pliers and gripping the lid over the towel.
Obviously you’re going to want to be sure to use an old towel that you don’t mind messing up and make sure it’s thick enough to prevent the pliers from causing damage to your lid.
Try to turn the lid with your pliers and hopefully this will give you enough force to get it open.
5. Use Rubber Gloves
Similar to a towel, using rubber gloves will give you a better grip while turning your lid and ease any biteback to your hand.
Put on a pair of rubber gloves, grip the bottle firmly, and try to twist the lid off.
If it won’t seem to budge, try and apply some downwards force while twisting as this will counter any upwards force created by built up pressure.
6. Tap The Lid
For this method you’re going to want to use a tool such as a rubber mallet, the handle of a sturdy utensil or you can even be crafty and use the kitchen counter.
Using your tool of choice give the lid of your Camelbak a few taps, being gentle not to damage any protruding features such as the mouthpiece.
If you own a Camelbak with a protruding handle, use it to get more torque on your taps.
Remember that if you’re looking at your Camelbak with the handle pointed away then you’ll want to tap the RIGHT SIDE of the handle as this will turn it counter clockwise and unscrew the lid.
This trick can help knock any stickiness loose or even help correct a cross threaded lid.
Get yourself a Rubber Mallet on Amazon.
7. Place it in the Freezer
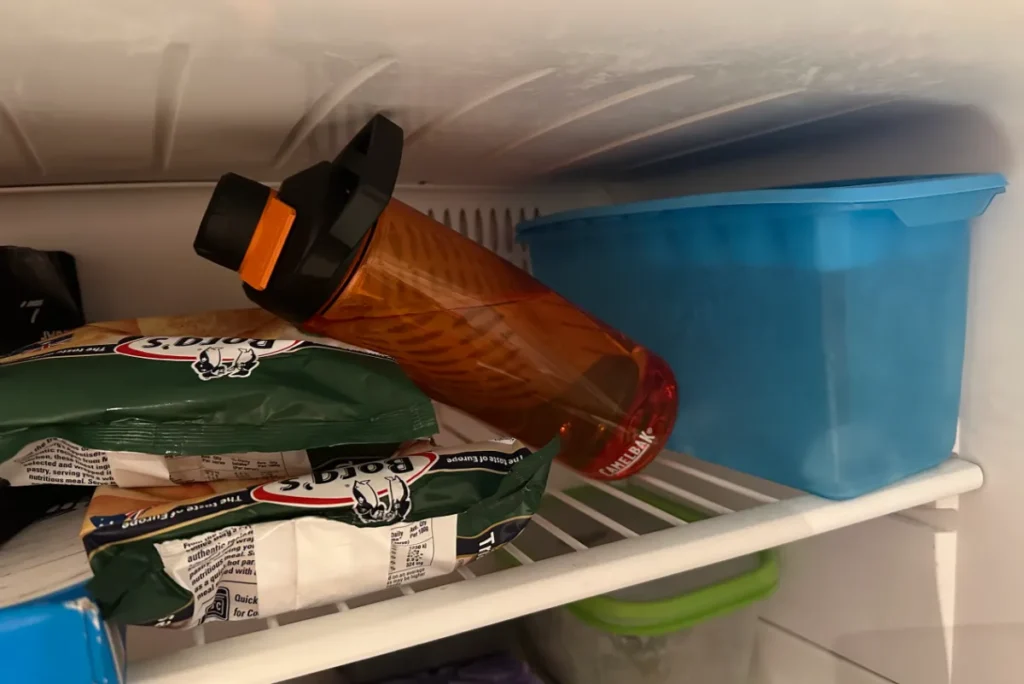
Put your Camelbak in the freezer.
This will convert any gas into liquid and ease up any pressure against the lid.
If you have a stainless steel Camelbak the vacuum insulation will make this process a bit longer. Allow one or two days for the heat to transfer.
Afterwards take your bottle out of the freezer and give it a turn.
A towel may come in handy here to help get a better grip if your bottle is still chilled, and you can add any of the above methods if your lid is especially stuck.
8. Drill a Hole in the Lid (Last Resort)
If none of the previous methods worked for you, this solution will save you from buying a new bottle but will not save your lid.
Using a drill, make a hole in the top of your Camelbak lid releasing any pressure inside and allowing you to twist it free.
The obvious downside is that you’ll have to get a new lid.
Replacement lids on Amazon go for around $10 and below and you can also try submitting a warranty claim, although I assume it would not be considered under their policy.
Proper care and cleaning can help to prevent your lid from getting stuck, click here to learn more about how to properly take care of your water bottles.