It is incredibly frustrating to discover your ice cube trays were turned into an artist palate for oil paints. Even worse, to find out that somebody “borrowed” them and your chances of their return is near zilch.
Thankfully, you do not have to hang on until Amazon Prime delivers more trays before you enjoy ice coffee or whiskey on the rocks. We’ve put together 12 ways to make ice cubes without an ice cube tray. Some of these methods even make better ice than regular ice cube trays.
#1: Baking Trays/Molds
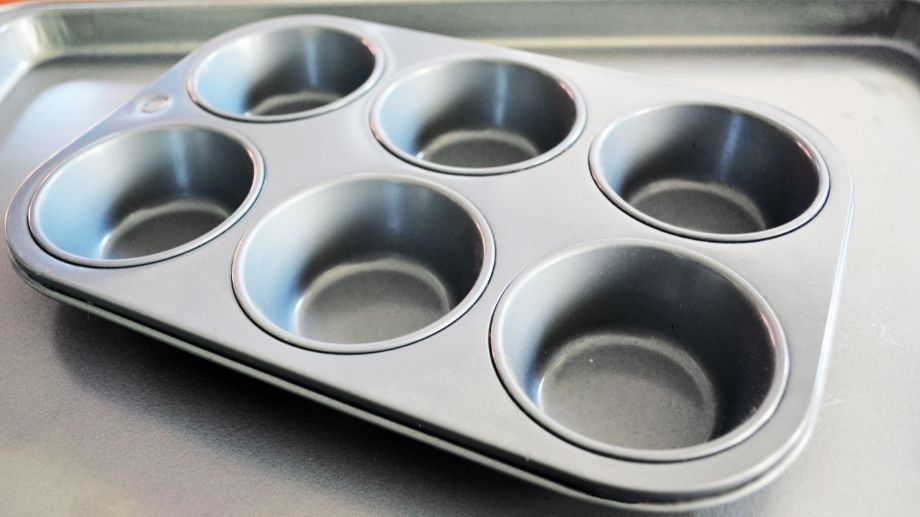
The easiest alternative to making tray-free ice cubes is to use your baking trays. These could be stainless steel baking trays or it could be silicone mold trays.
If you have silicone molds that you use to make candies, chocolates, candles and soaps then these can be used too. These fun shaped candy silicone molds make amazing ice trays and the ice blocks are way more fun than the regular rectangles you usually get.
All you have to do is:
- Ensure the mold is clean and free from oils or food remains
- Add water to the desired level
- Pop it into the freezer
- Wait until the water has turned into ice
These often turn out incredibly cute. You might even prefer the new ice cube shapes once they’re done.
#2: Ziplock Or Freezer Bags
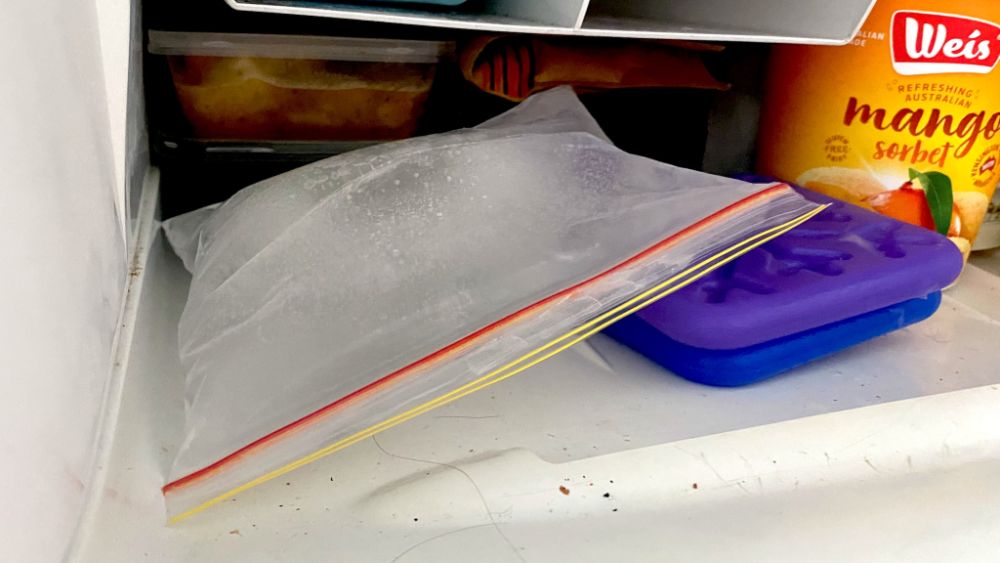
Ziplock freezer bags can be a great way to make some large blocks of ice even when you have nothing else to put your ice in.
- Mostly fill a Ziplock or freezer bag with water.
- Place the water-filled bag flat inside the freezer.
- Wait a few hours
- Remove the bag and smash until you have broken the ice chunks or blocks.
With this method you can leave the bag over the ice so as it melts it won’t leak everywhere. These are great for school lunches or coolers to keep things cold.
However, if you actually want to eat the ice or put it in the drinks you’ll usually need to break the bags in order to get the ice out. Or you’ll need to wait for the ice to melt a bit.
If you want smaller ice cubes you’ll also need to break up the ice blocks into more manageable chunks. We talk about how to cut ice in our beginners guide to making clear ice.
#3: Nugget Maker or Ice Machine
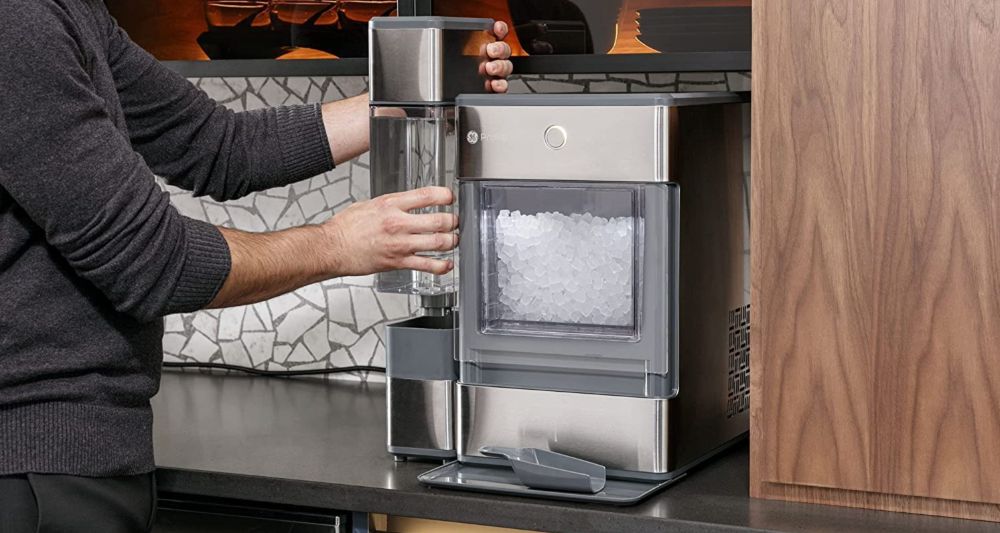
The Nugget Ice Maker takes forward planning and costs more than most of our suggestions. But this is great for a home bar.
You don’t need to install a massive fridge-freezer with an icemaker nearby, nor do you need to deal with emptying and refilling ice trays. The nugget ice maker will make small cubes of ice all day long and you’ll have ice whenever you need it.
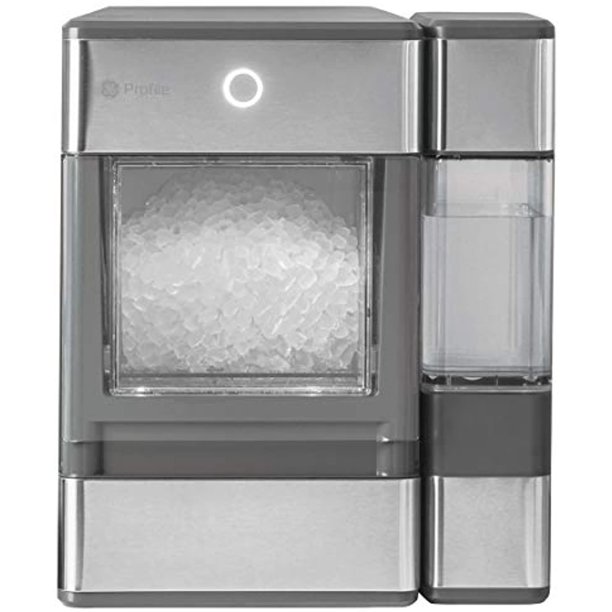
See the latest price of the GE Opal Nugget Ice Maker at Walmart
(or compare the the latest price of the GE Opal Nugget Ice Maker at Amazon)
#4: Egg Carton
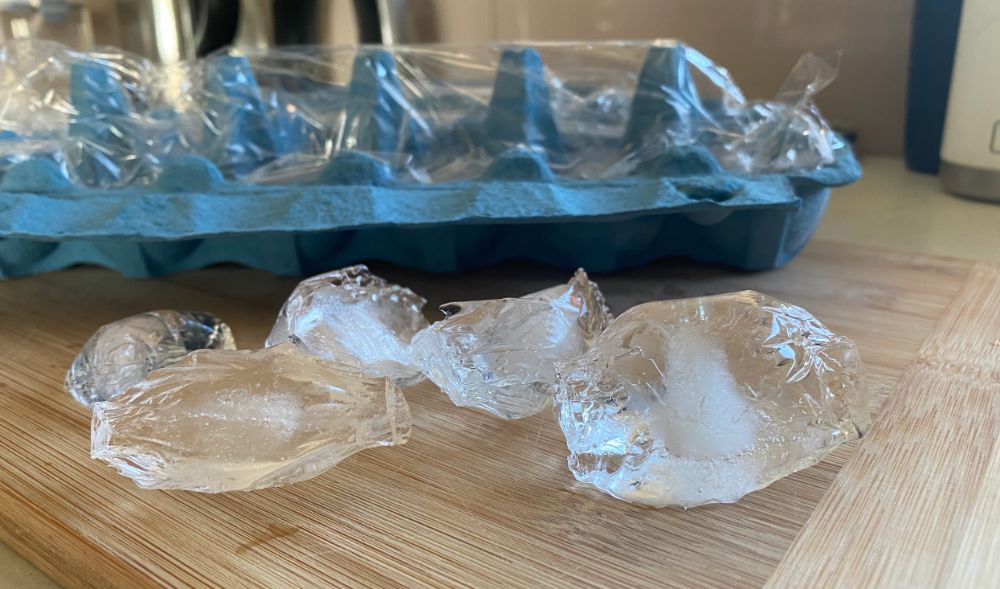
The egg carton method can work great if you’re in a pinch. It also makes ice cubes that aren’t too big so they’ll still fit into your drinks.
Here’s how to make ice cubes with an egg carton.
- Take the egg carton and detach the lid, leaving you with only the bottom “bumpy” side
- Line the bottom with aluminum foil to make it water proof
- Carefully add water to the egg holes
- Carefully set into the freezer
- Wait for ice to freeze
#5: Measuring Spoons
Unless you have a ton of measuring spoons, this method isn’t going to produce a lot of ice cubes. However, the few you make will be done well and in a pleasing shape.
- Fill measure spoons most of the way up with water
- Set in the freezer, carefully
- Wait
#6: Solo Cups
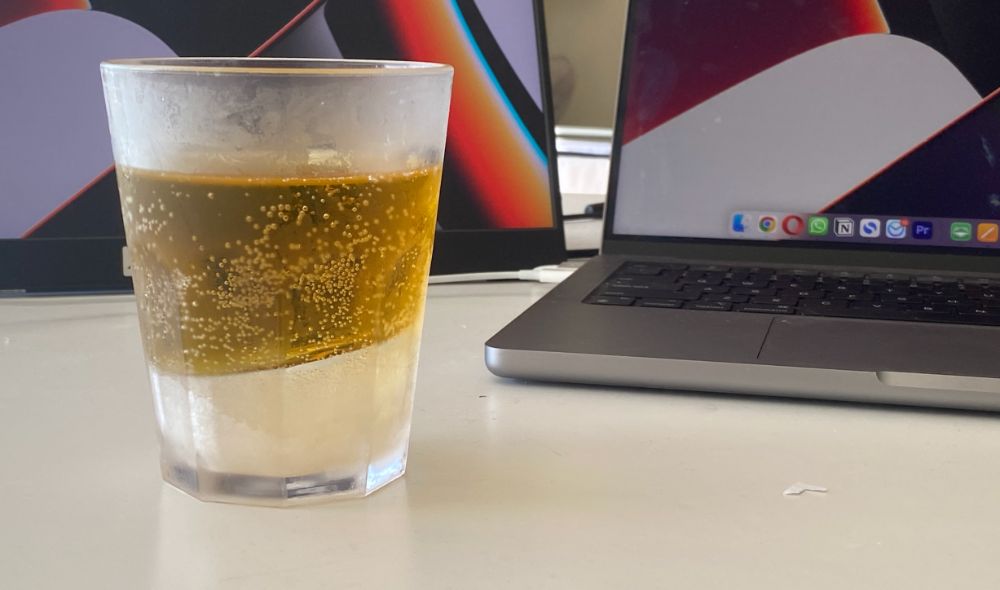
The solo cup method isn’t so much about producing ice cubes as much as it is giving you a chilled drink. Essentially, you are turning your solo cups into pre-made ice vessels to decant your drink into and enjoy.
- Fill the bottom of the solo cups about a quarter of an inch with water
- Add fruit or mint leaves if desired
- Set in freezer
- Wait
- Once frozen, pour drinks directly into your chilled solo cups
The ice at the bottom of the cups will chill your drink
#7: Reusable Ice Cube

Reusable ice cubes may sound odd at first, but it is just like reusing a glass. Once you are done, wash them and then pop them back into the freezer until next time. People who get frustrated at ice watering down their drink loves these handy reusable cubes.
Reusable ice cubes come in a wide variety, including:
- Colorful cubes that scream summer fun
- Plain, clear cubes that look like real ice cubes from a distance
- Sophisticated metal cubes for whiskey and other adult drinks
Reusable cubes are not always cube-shaped. You can have some fun by trying:
- Faux-lemon & orange ice slices
- Holiday shapes, such as this set with pumpkins, skulls, and bats
#8: Paper Cups
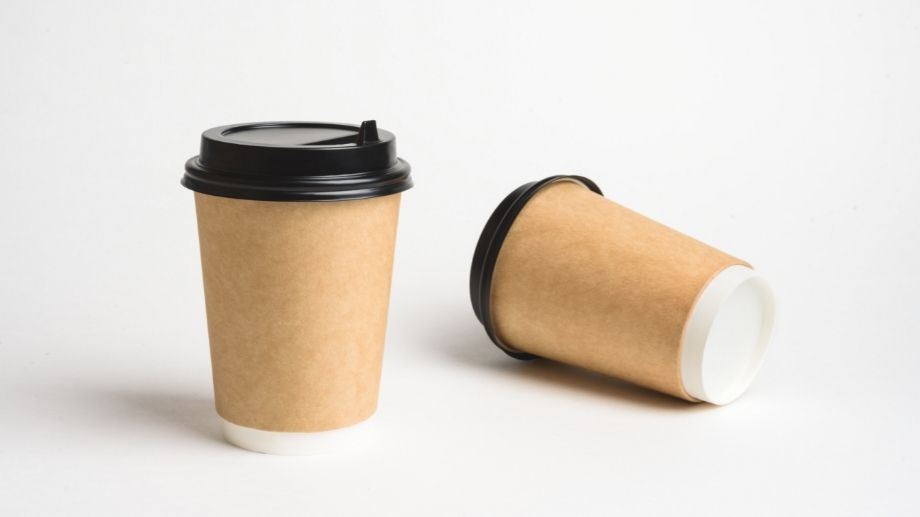
If you’ve got some leftover coffee cups or some cheap paper cups in your cupboard you can use these to make ice cubes.
This is another method that is excellent for adding fruit or mint leaves to achieve additional flavor.
- Obtain paper cups
- Fill to the desired level
- Drop in fruit or mint leaves if desired
- Wait
- If the ice doesn’t slide out, peel the ice-free by tearing the cup
#9: Built In Ice Maker
Getting yourself an automatic icemaker as part of your fridge freezer set is another expensive option that requires forward planning.
That said, they are super handy and easy to use once it is set up. That is, so long as it is nearby.
#10: Shot Glasses
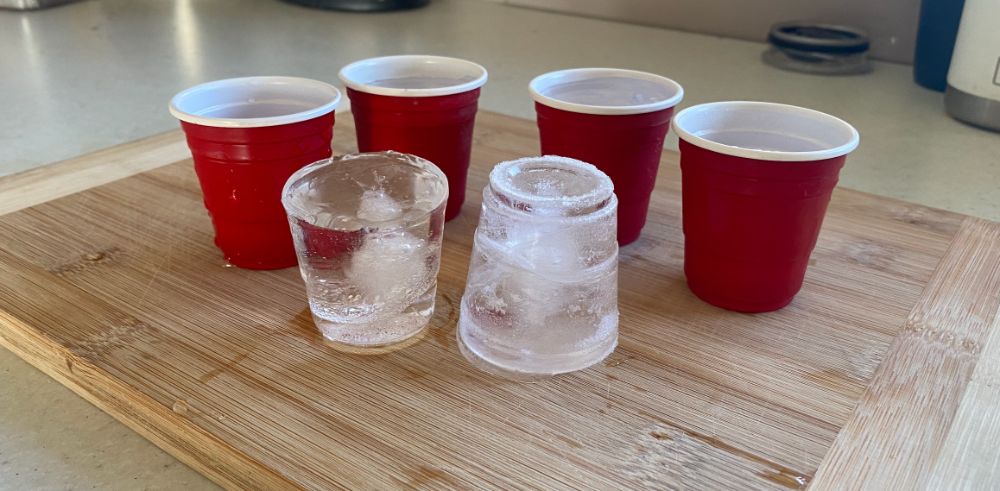
Shot glasses make nicely shaped ice blocks for your drinks. However, you might have some issues releasing them from the glass.
Like with the cupcake pan, you can run them under water to melt the ice a tad to ease release.
- Ensure your shot glasses are room temperature and no warmer
- Fill most of the way up with cold water
- Set shot glasses in the freezer, but don’t cover them
- Wait
You can get some cheap shot glasses at Amazon if you don’t already have some. Plastic shot glasses can be a way to make ice cubes in bulk because you can get hundreds of them for cheap.
#11: Yogurt Pots
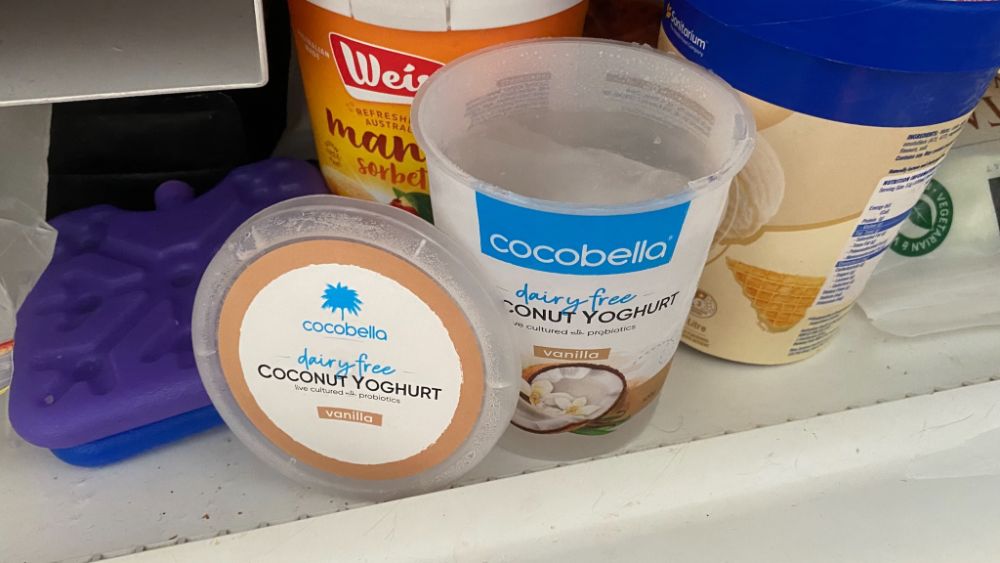
Those little, individual-sized yogurt or pudding pots can make a lovely ice cube perfect for outsized glasses and water bottles. A nice thing with this method is the pots are flexible, so it is easier to “push out” the ice.
- Clean empty yogurt or pudding pots
- Fill the pots most of the way up with water
- Set the pots into the freezer
- Wait