The Ember Travel Mug is a battery powered heated travel mug that works to keep your coffee, tea or other drinks at the perfect drinking temperature. But how do you use the Ember Travel Mug?
How do you charge the mug, adjust the temperature, connect with the app (if you even need to) and wash it and clean it when you’re done?
The Ember Travel Mug is designed to be easy to use but if you’re having trouble working it out this step-by-step guide should be helpful.
1. Charge Your Travel Mug
Before taking your Ember Travel Mug to your local coffee shop or filling it with your home made brew you’ll first need to charge it.
The Ember Travel Mug contains two lithium ion batteries that give you about 3 hours of battery life, keeping your coffee at a consistent temperature.
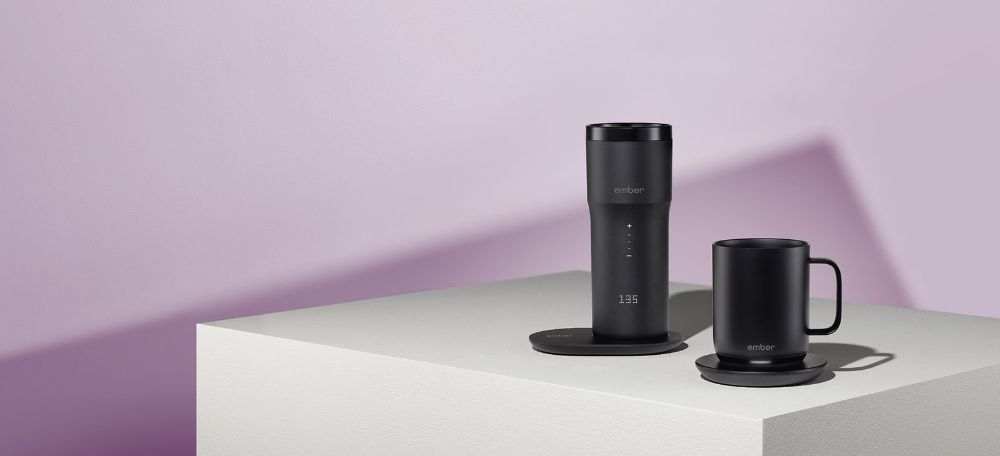
To charge the batteries set up the charging coaster by plugging it into the wall and turning it on.
Then place your empty Ember Travel Mug on the charging coast.
You can place it in any position. The two gold prongs on the charging coaster will touch the golden rings on the bottom of your mug to charge it.
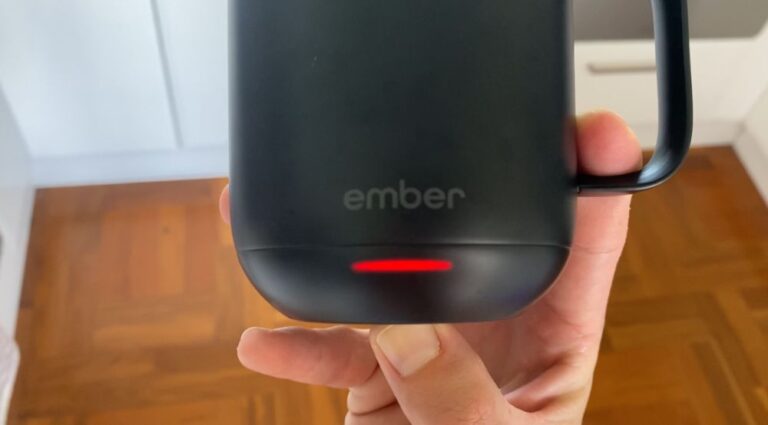
By pressing the Ember logo on your travel mug you can cycle through different displays and see how charged your mug is.
It takes approximately 2 hours to charge the mug from 0% all the way up to 100%
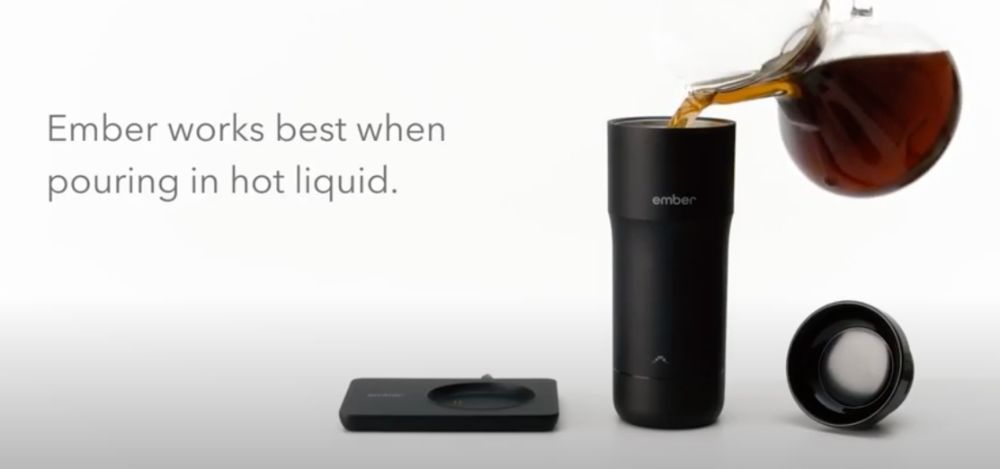
2. Fill Your Ember Mug With HOT Coffee
The Ember Mug doesn’t need to be turned on prior to filling, in fact it’s smart enough to turn itself off when it’s empty.
You’ll want to fill your Ember Mug with hot coffee, not cold coffee.
If the drink inside your Ember is under 100ºF (38ºC) then your Ember Mug won’t turn on. So you need to make sure it’s hotter than this.
Barista made coffee is usually around 130-145ºF (54-63ºC) which works great for the Ember Travel Mug.
3. Make Sure To Screw Your Lid on Tight
Once you’ve filled up your mug with your hot drink of choice screw the lid on tight and make sure that the push button is set to the close position so drink doesn’t spill everywhere.
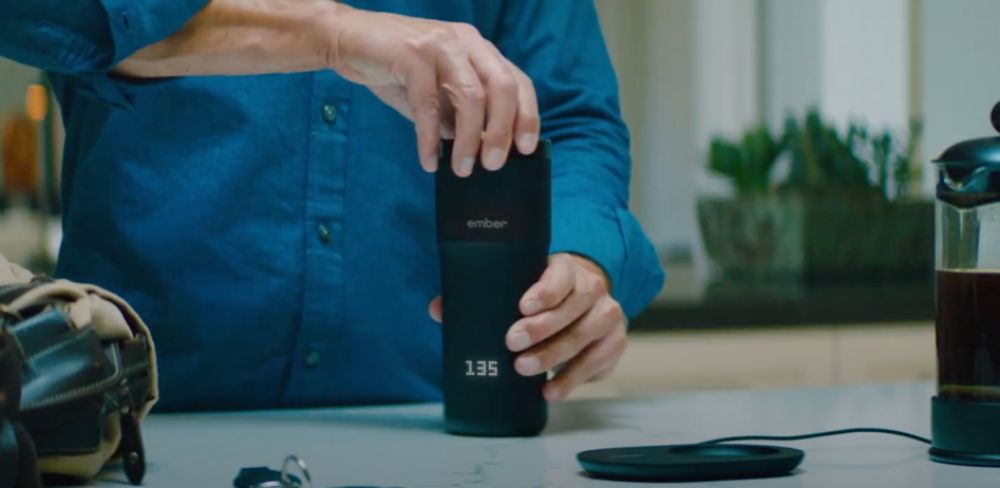
4. Turn On The Ember Mug By Holding The Ember Logo for 3 Seconds

To turn on your Ember Travel Mug (if it didn’t turn on automatically) simply press and hold the Ember Logo for 3 seconds.
When you do this a “HELLO” text will appear towards the bottom of your Mug indicating that it has turned on.
5. Adjust Your Temperature With The + and – Symbols
Adjusting the temperature on your Ember Travel Mug is easy.
Press the Ember logo to bring up the + and – symbols and simply press them to either raise or lower the desired temperature you want for your drink.
The Ember Travel Mug can store your coffee or hot drink at a range from 120-145ºF (50-62.5ºC) which is considered the optimal drinking temperature for most people.
Set your Ember how you like it, remembering that the lower the temperature you set the longer your battery life will last.
However, it’s also good to set it above 140ºF (60ºC) if you’re going to be using it for a long period of time as this is the temperature that the USDA considers it to be safe to keep food at indefinitely to stop bacteria growth.
Please note: The original Ember Travel Mug uses the entire base as a turn dial to adjust the temperature. It doesn’t have the + or – symbols but instead you spin the base to adjust the temperature.
6. Connect To The Ember App
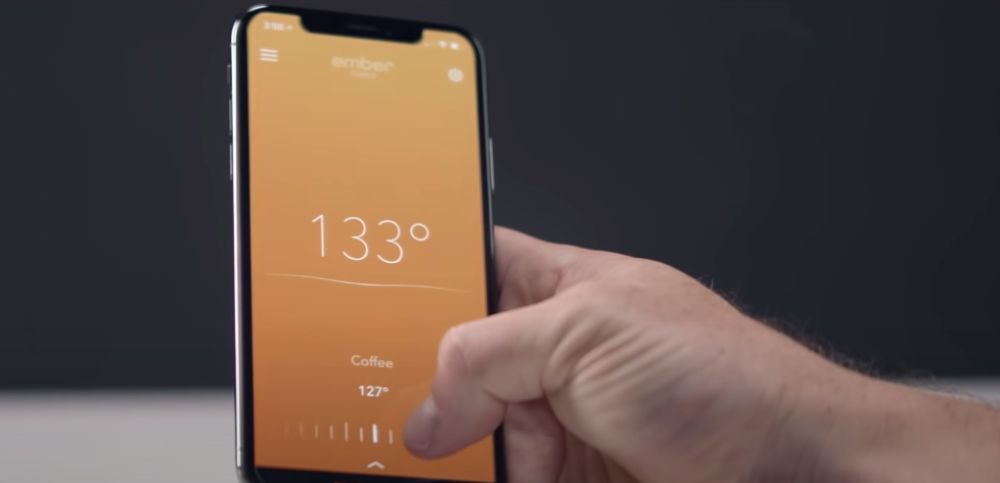
Ember have a handy how to guide on how to connect your travel mug to the Ember app.
It’s pretty easy, simply follow these steps:
- Download the Ember App from the App Store or Google Play Store
- Launch the app
- Click “Let’s Get Started” and select the Ember product you want to pair
- On your Travel Mug press and hold the Ember logo for 6-8 seconds until the text “PAIR” comes up.
- In the app press “Next”
- Your phone will search for and find the Ember mug
- Press connect and Pair on your phone to finish the process
Once you’re connected you can give your Ember a customer name and you can update the firmware if it needs updating.
7. To Power Off Press and Hold Ember Logo for 3 Seconds
If you want to power off your Ember Travel Mug because you’ve finished your drink or want to save energy then you can do so by holding on the Ember logo for 3 seconds.
The text “OFF?” will come up. When this does click the Ember logo again to confirm you want tot turn off your Ember Travel Mug.
Once you click it the text “BYE” will appear and then your mug will switch off.
8. Place on Your Charging Coaster To Keep Hot All Day
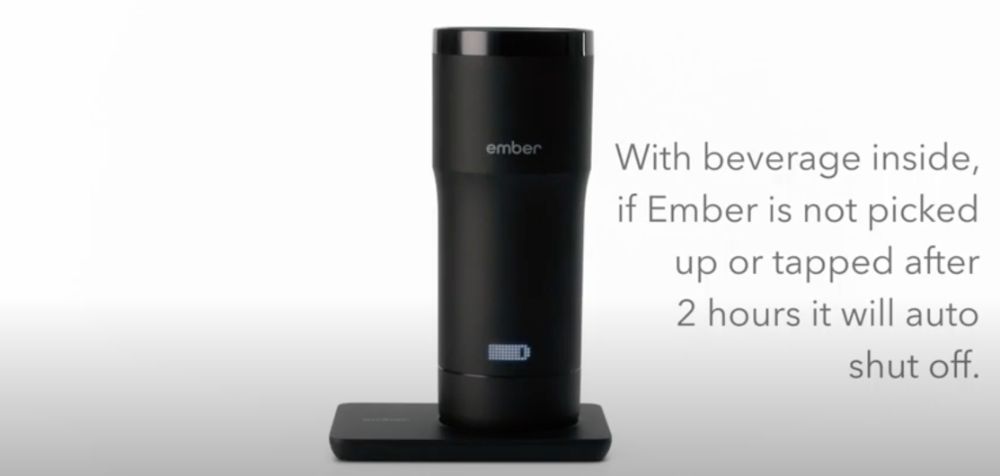
If 2-3 hours of battery life isn’t enough for you then place your full Ember Mug on the charging coaster and it will keep your coffee hot all day long.
It is set to auto turn off after 2 hours if it isn’t touched but by picking it up and having a sip you will reset the 2 hour clock. You can keep your coffee hot all day long using this method as long as you remember to pick it up and take a sip every 2 hours.
IMPORTANT: If you plan on keeping your coffee hot longer than 1-2 hours you should really be setting your Ember to 140ºF (60ºC) or higher. At this temperature or above bacteria struggles to grow so it’ll keep your coffee or drink safe from any nasty bacteria growth that could make you sick.