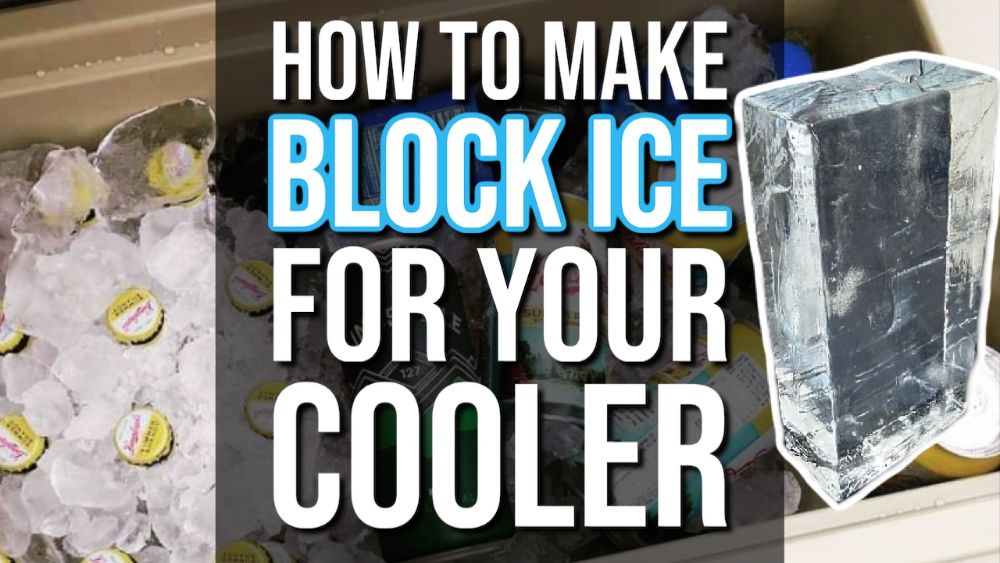
One of the best ways to make ice last longer in a cooler is to use black ice instead of cubed ice. The large blocks melt much slower and last much longer, giving you more cooling time from the same cooler.
But what are some easy way you can make block ice for you cooler?
Block ice is pretty easy to make and as long as you have a freezer and a good container to put the ice it it’s also pretty simple. You’ll need to make sure you prepare your block ice days ahead of when you’ll actually need them as the large size mean they can sometimes take days to completely freeze and get as cold as your cooler.
11 Ways To Make Block Ice For Your Cooler
Making block ice for your cooler is pretty simple to do, but sometimes you just need to be pointed in the right direction as to what containers to use.
Here are 11 different ways to make block ice for your cooler.
1. Buy It
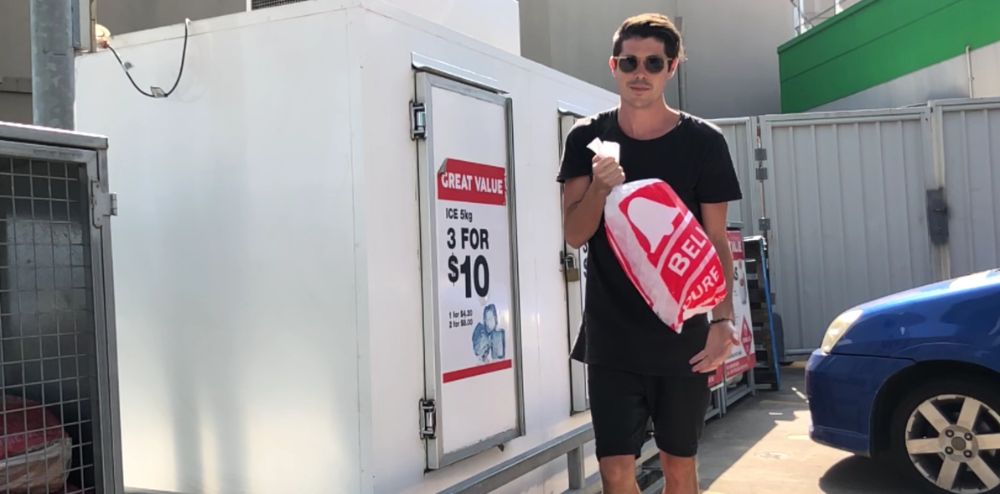
Ok technically this isn’t a way to “make” block ice but many places that sell regular bags of cubed ice also sell bags of block ice so consider purchasing this instead of buying the cubed ice.
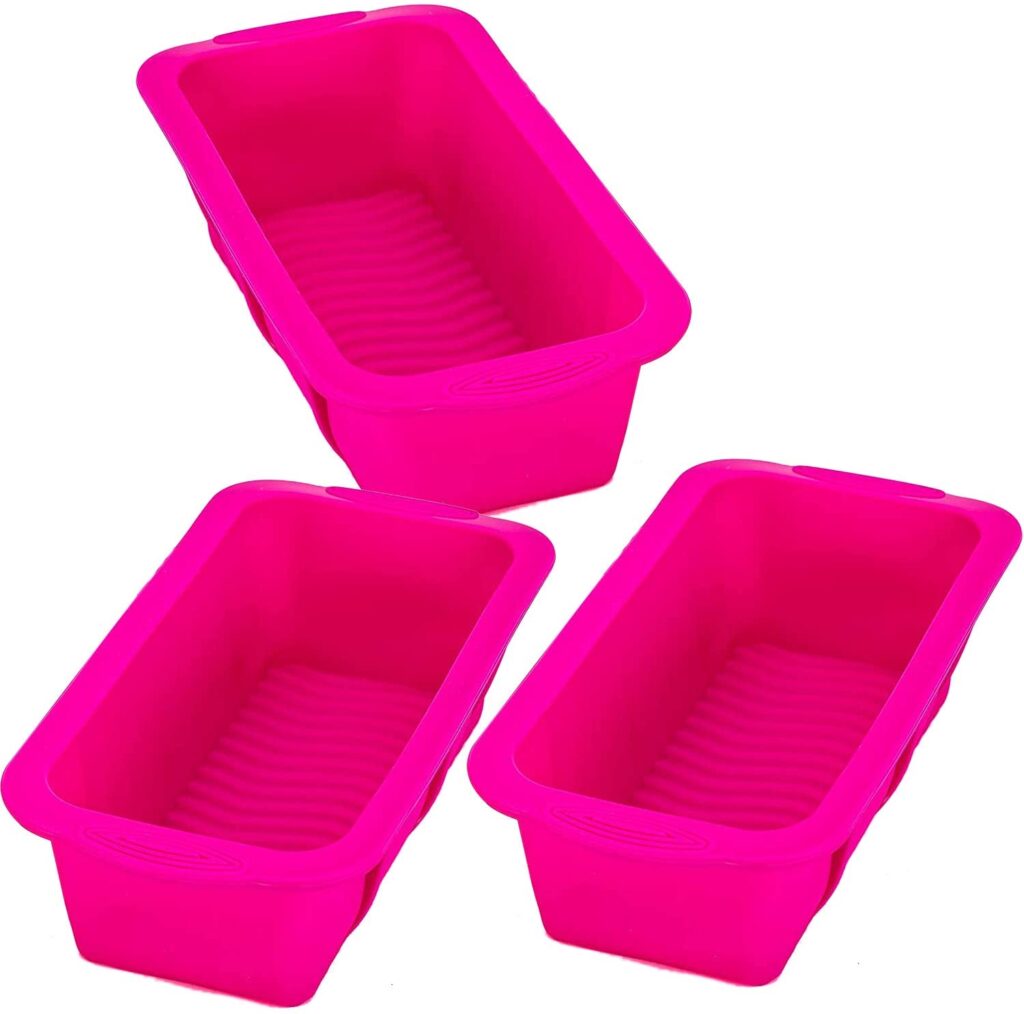
2. Use a Silicon Ice Block Mold
One of the simplest and easiest ways to make large blocks of ice at home in your freezer is to use a silicone ice block mold.
Silicone is ideal for large block ice as it’s strong enough to hold it’s shape but flexible enough that as the ice expands it isn’t going to break.
Once the ice is set it’s also fairly easy to get the ice block out as you can peel back the silicone.
There are small block ice silicone molds but I’ve found that you can get silicone buckets or bread pans that can be used to make large blocks of ice.
Click here to see the latest price of the ice block mold at Amazon
3. Fill Up Balloons
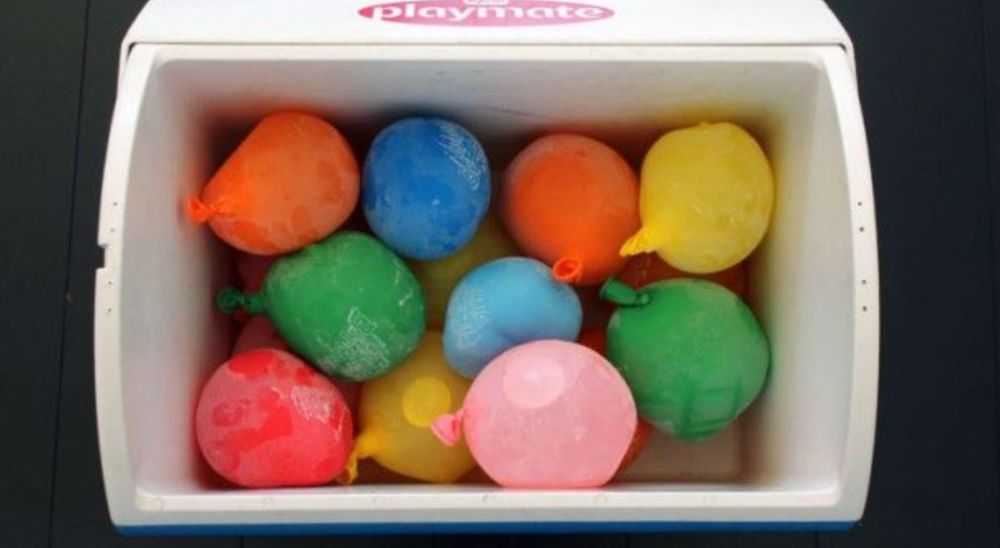
Balloons are one of the simplest (and most colorful) ways of making block ice in bulk. You can buy a bag of balloons for around $1 and make lots of ice blocks.
They aren’t the most space efficient design (squares are better) but one of the big benefits of balloons is that as the ice melts the water is contained and so all the items in your cooler won’t get wet and soggy. Learn other ways to stop items getting wet in your cooler.
4. Use Old Ice Cream Containers
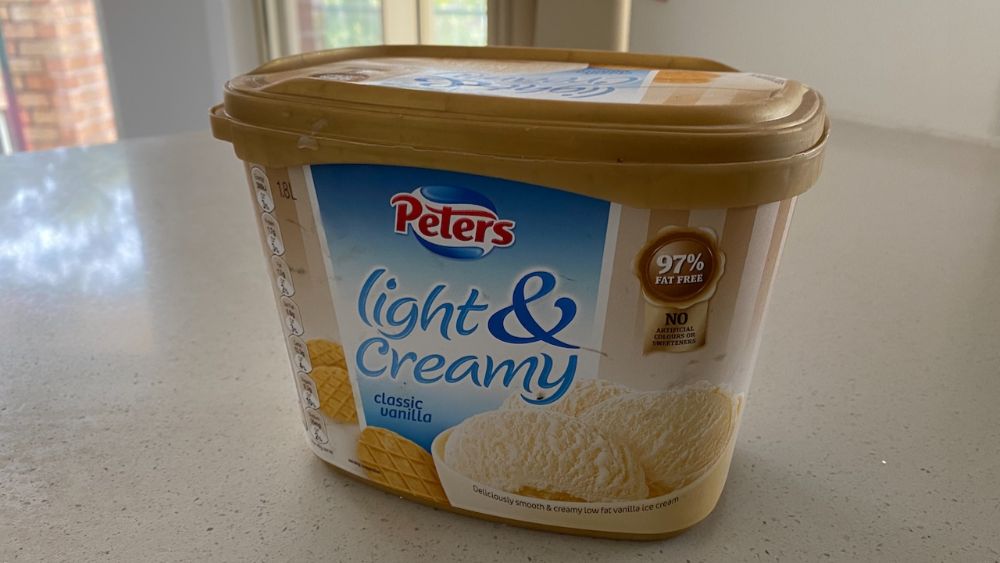
Who doesn’t have old ice cream containers lying around the house? Or let’s face it if you don’t have any right now because you’ve thrown them out you’ll likely have one by the end of the week haha.
They are a great size and range between around 1-4 L (0.25-1 Gal). The plastic is also a bit flexible which means they aren’t likely to break as the ice expands during freezing.
Instead of throwing your old ice cream tubs away give them a wash out and then fill them with water and throw them in your freezer. Only fill them about 80% to allow for some expansion.
When you put them in your cooler keep them upright and even leave the lid on to avoid the water making everything wet. Or you can just empty them out and use the ice block by itself and refill it to freeze another one.
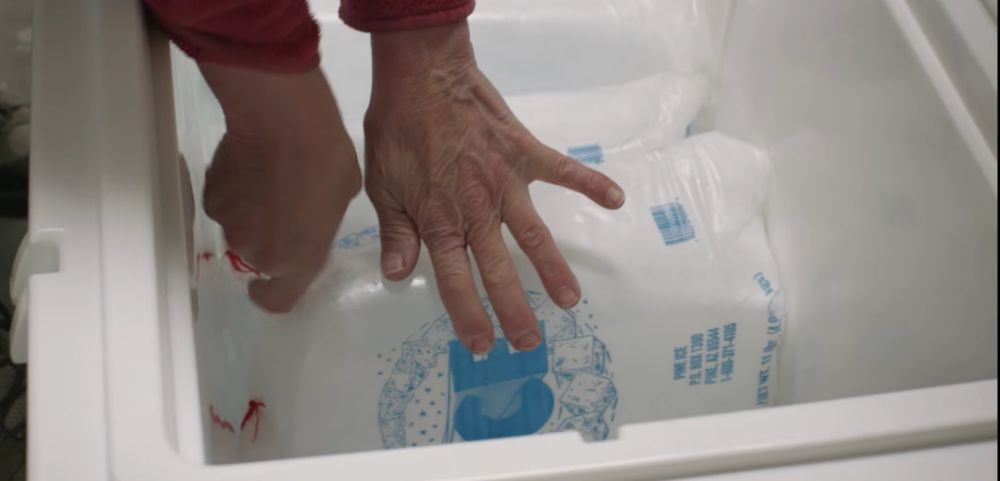
5. Use Empty Milk Jugs, Soda Cans or Water Bottles
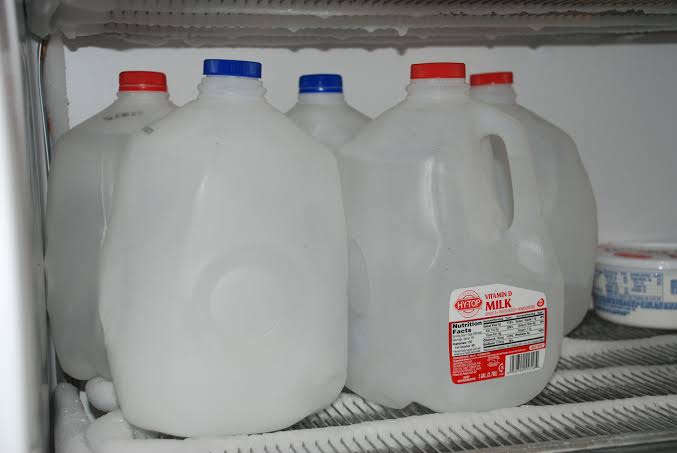
Empty milk jugs, water bottles or soda bottles are an even better way to make blocks of ice for your cooler.
The best things about these is that as the ice melts you’ve got clean, cold drinking water available to you.
Small bottles are great for smaller coolers and day trips and large bottles are great for longer trips and bigger coolers.
You can even purchase those extra large 10-20L (2.5-5 Gal) water jugs and throw them in the freezer for extra large blocks of ice that also double as drinking water on day 3-5+ of your trip or camping holiday.
6. Use a Plastic Bin, Bucket or Container
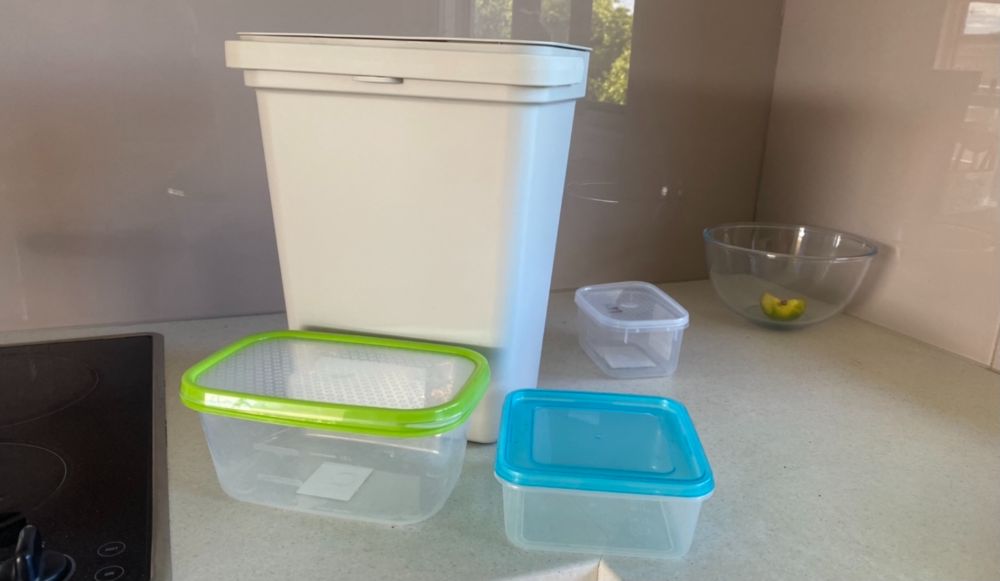
Using a plastic bin or plastic container can be a great way to make block ice for your cooler.
They come in all different shapes and sizes and they are fairly cheap too so you can buy the right size for you needs.
The downside with these are they are usually make from quite rigid and brittle plastic and the ice can break and crack the plastic as it expands.
So if you’re using a large bin or container make sure to fill it up a little at a time and freeze it a bit at a time to allow for that expansion and to reduce the risk of it breaking.
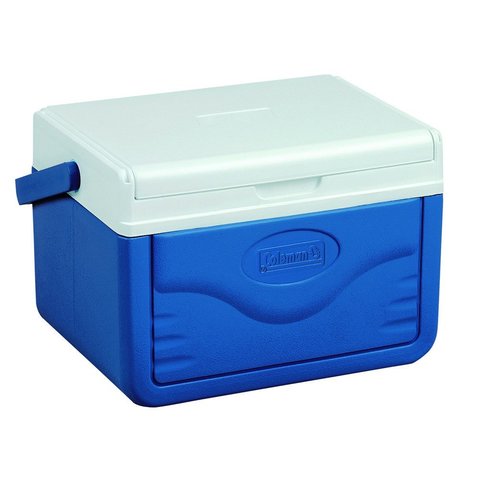
7. Use a Small Cooler
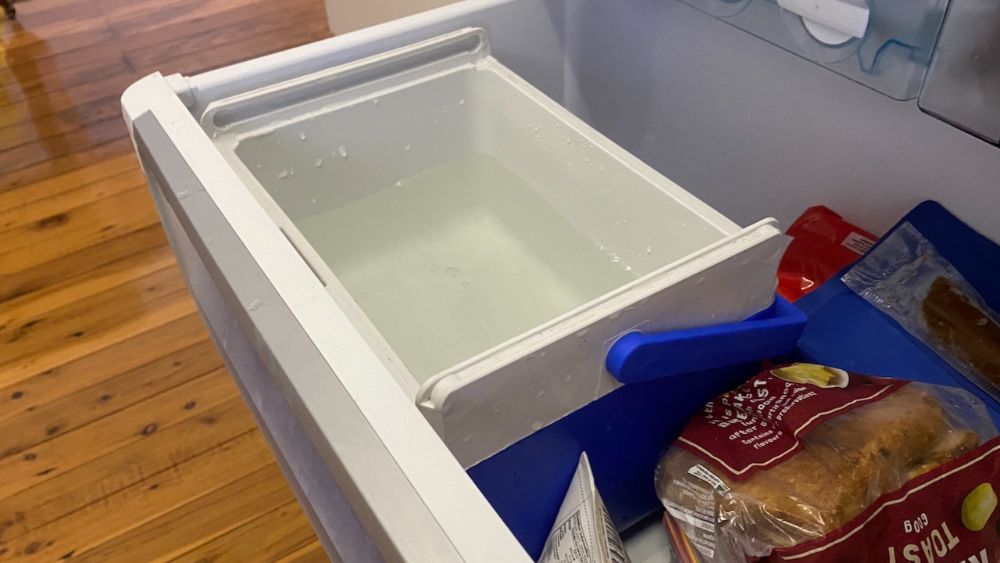
I have a small Coleman Flip Lid 5-Quart Cooler which is an epic little cooler for my lunch or a small picnic.
Filling it up with water and putting it in my freezer allowed me to create a large block of ice that was mostly clear.
Because of the insulated walls the ice block will freezer from the top down and push all the bubbles down to the bottom. If you time it just right you can pull out the ice block before the water with bubbles is frozen and you can get a completely clear block of ice.
See the latest price of the Coleman FlipLid cooler at Amazon
8. Get A Clear Ice Block Maker
If you want to make some clear ice blocks for you cooler (because they look cool and they stay frozen longer than ice with air bubbles trapped in it) then get yourself a clear ice block maker.
You can buy these on Amazon for an affordable price and they work like a cooler forcing the ice to freeze from the top down making the top part of the ice super clear. You can then scrape off the bottom part of the ice to get completely clear ice blocks.
See the latest price of the clear ice maker at Amazon
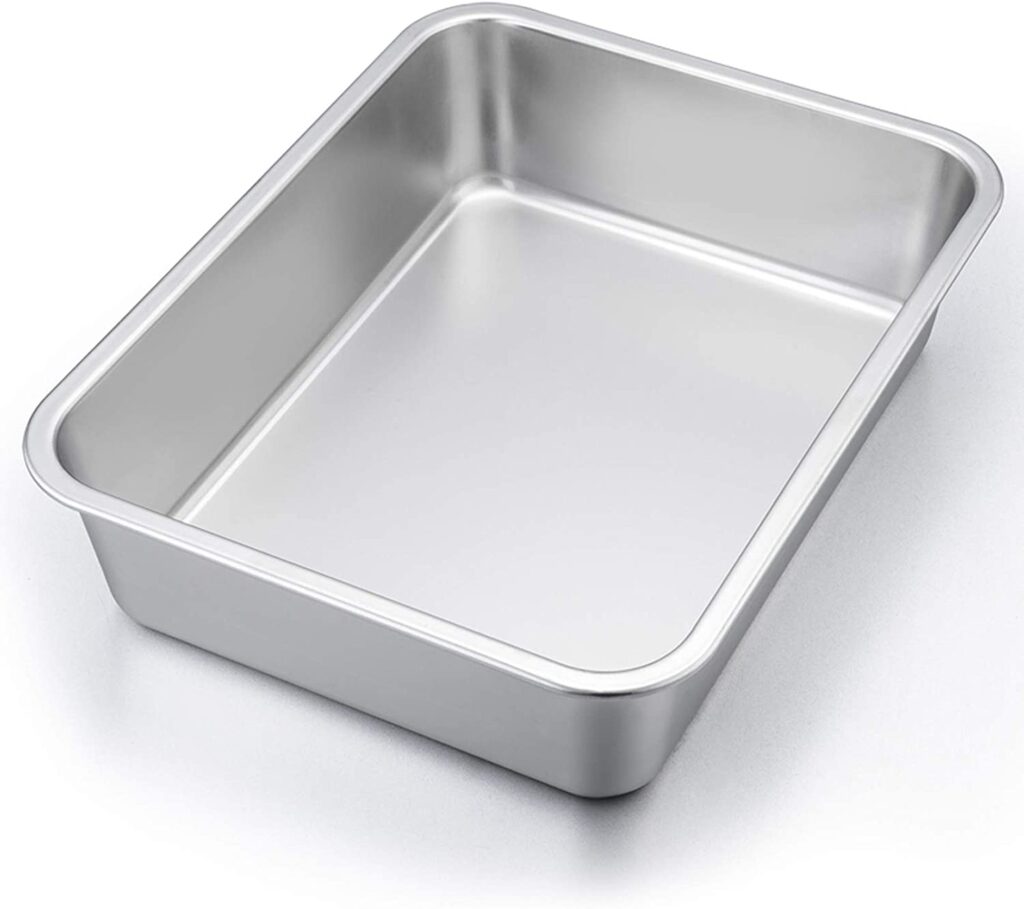
9. Use a Metal Baking Pan
You may not have a silicone bread pan lying around but chances are you do have a metal baking pan that you’ve used to make cake in.
Commercial ice makers use stainless steel to make block ice and you can do the same at home.
Grab the pan you use for cakes or lasagne and pour some water in there and put it in the freezer to freeze over.
See a variety of deep stainless steel pans at Amazon
10. Use a Plastic Bag In a Cardboard Box
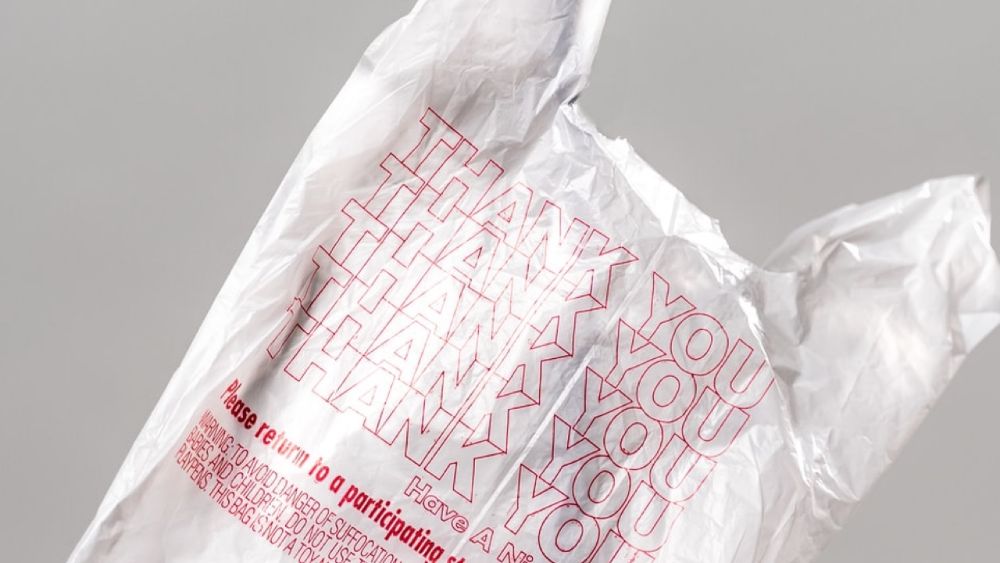
If you are stuck for something to make block ice in then a quick and dirty solution is to get a plastic bag and a cardboard box.
The cardboard box will force the ice into a rectangle shape and lining it with a plastic bag will stop the water from leaking out.
When you’re done you can throw out the bag and box or reuse them for future ice blocks.
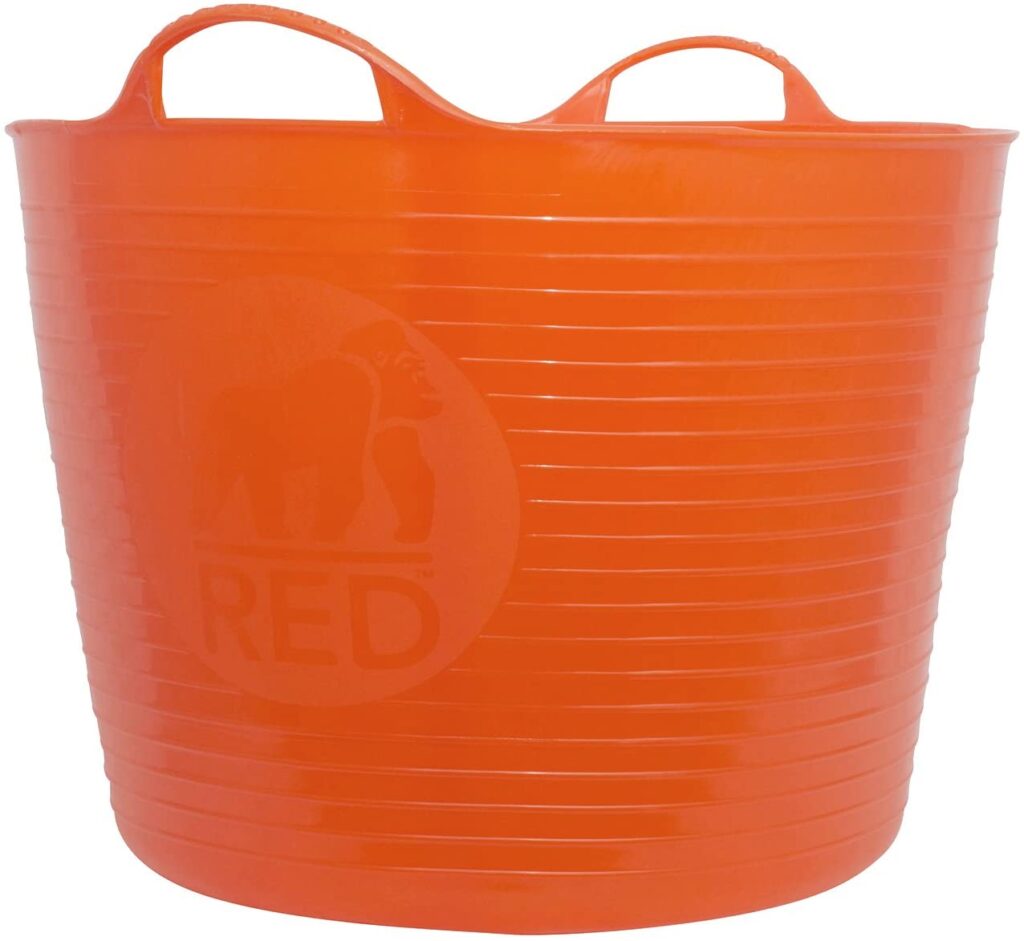
11. Use a Round Plastic Washing Tub
If you’ve got a freezer big enough to house it, and a cooler big enough to fit it, then a large round plastic tub can be a great way to make a HUGE ice block.
I personally have these lying around my house that I use for the washing and dirty clothes and they are only a couple of dollars to buy.
They are also conveniently smaller at the bottom than at the top so getting the ice block out is simple and easy.
See the latest price of large plastic tubs at Amazon
Tips For Making Block Ice For Your Cooler Easier
Well buckeyes isn’t difficult to make if you don’t take some precautions it can be a very messy process.
I don’t want your kitchen or your freezer to be filled up with ice that has splashed everywhere so here are a few tips for making block ice easier.
Use a Pitcher To Fill Large Containers
If you’re filling up a large container to freeze and create block ice sometimes carrying it from the sink to the freezer can leave you splashing water everywhere.
The bigger the container the heavier it will be in the more likely it is to splash water everywhere.
A good idea is to partially fill up the container and place it in the freezer. Then use a jug, water bottle or pitcher to fill up the remaining portion of your container with water.
Use Cold or Iced Water To Speed Up The Process
Because block ice is so large and has such a limited surface area it can take an extremely long time to freeze.
If you don’t want to wait days for your block ice to be ready then starting with cold water from the fridge or placing smaller ice cubes in your water can be a way to speed up the process.
Fill Large Rigid Containers A Bit At A Time
If you’re using rigid and brittle plastic containers that are prone to breaking and cracking then filling them up completely to make block ice is not a good idea.
As the water freezes and expands in all directions it can easily crack and break the plastic container.
To minimize the chance of this happening fill the container partially and allow to freeze. Once this is frozen then put some more water in an allowed to freeze again. Then once that section is done put a bit more in an allowed to freeze etc etc.
By doing it in layers at a time the expansion is less likely to break the container.
Allow Multiple Days For Ice To Set
Making black ice takes a lot longer than making a small amount of cubed ice.
Where is cubed ice may only take a few hours to completely set and maybe 24 hours to get down to the temperature of the freezer at 0ºF (-18ºC) block ice takes a lot longer.
It may be a full day or more before your block ice completely sets and it can take another couple of days until the entire ice block is as cold as the freezer at 0ºF (-18ºC).
So make sure to think ahead and prepare your ice blocks well before you need them.
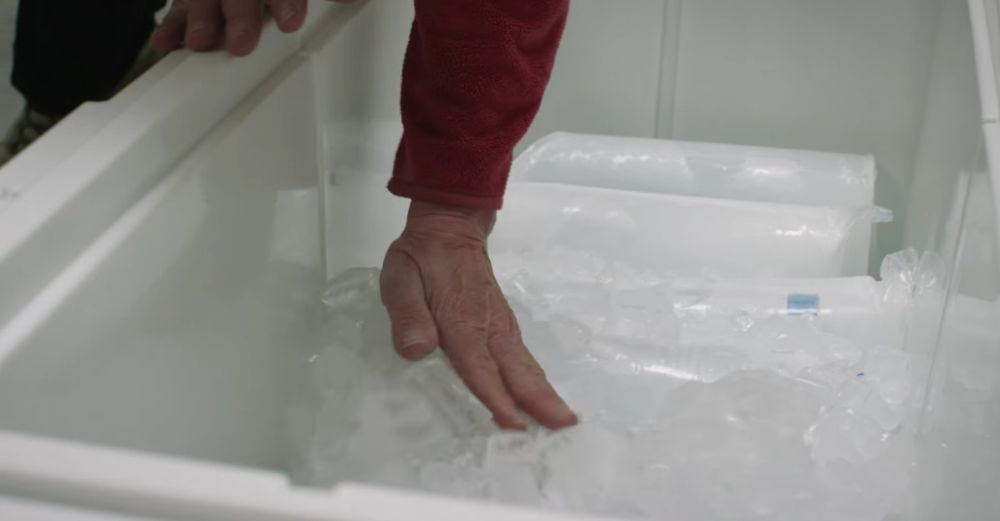
How To Stack Block Ice In Your Cooler
When stacking block ice in a cooler you want to stack the blocks as close together as possible so there is little to no air space between the blocks.
In larger coolers putting the ice blocks on the side is a good way to stack more in to the space.
Then use smaller cubed ice to fill in any gaps between the blocks as well as between the block ice and the cooler walls.
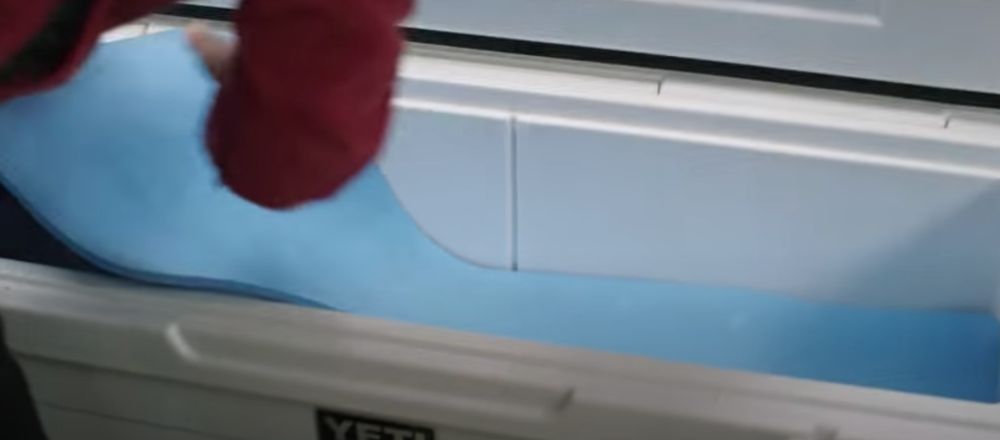
For extended trips where you want to keep ice for as long as physically possible put down a layer of foam over the block ice. This will stop your block ice from being exposed to warm air every time your cooler is opened and thus it will last longer.
Yeti has a great video explaining how to pack a cooler with block ice or check out my article on how to make ice last longer in a cooler.