One of the best (and cheapest) ways to pack your cool and keep things cold for longer is to use ice packs.
Unlike loose ice, ice packs don't make everything wet when they melt and you can also reuse them over and over again making them very cost effective.
However, buying multiple ice packs can get expensive and home made ice packs can be just as good or even better. In this article we're going to look at some of the best homemade ice packs for coolers.
These homemade ice packs will keep your cooler colder for longer and they will make sure all your food stay fresh and your drinks stay cold.
1. Polar Tubes
Polar tubes are great as you can cut them exactly to size for your cooler, making them one of the best homemade ice packs for coolers.
Get some PVC pipe from your local hardware store as well as some end caps so you can seal off the PVC.
- Measure and cut the PVC pipe to size with either a hack saw or PVC pipe cutter
- Add on one end cap using PVC glue/cement and leave to dry for 1 hour
- Fill pipe 3/4 full with water
- Add 1-2 tablespoons of salt (optional)
- Add other end cap, gluing it on.
Adding the glue is optional as no water should really leak out of the end caps if you put them on properly.
Some people prefer to leave the end caps unglued in case they want to change the water at a later date.
Adding the salt to the water lowers the freezing point and can lead to ice bricks that stay a bit colder than regular ice for longer.
2. Frozen Water Bottles or Milk Jugs
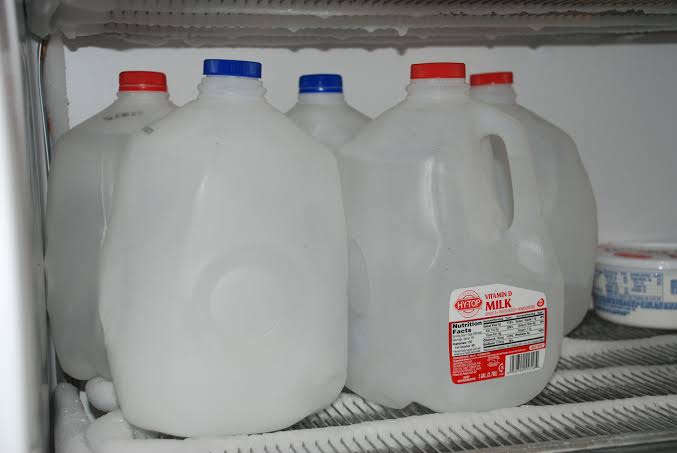
One of the simplest and easiest ways to make a homemade ice brick for your cooler is to fill up water bottles, soda bottles or milk jugs with water and freeze them.
They'll turn frozen solid in your freezer and you can then use them in your cooler.
You can use just a few or make multiple for better results.
Once of the best thing about these homemade ice bricks is that as they melt you can drink the water. So they not only keep everything cold but they save space too.
3. Frozen Balloons
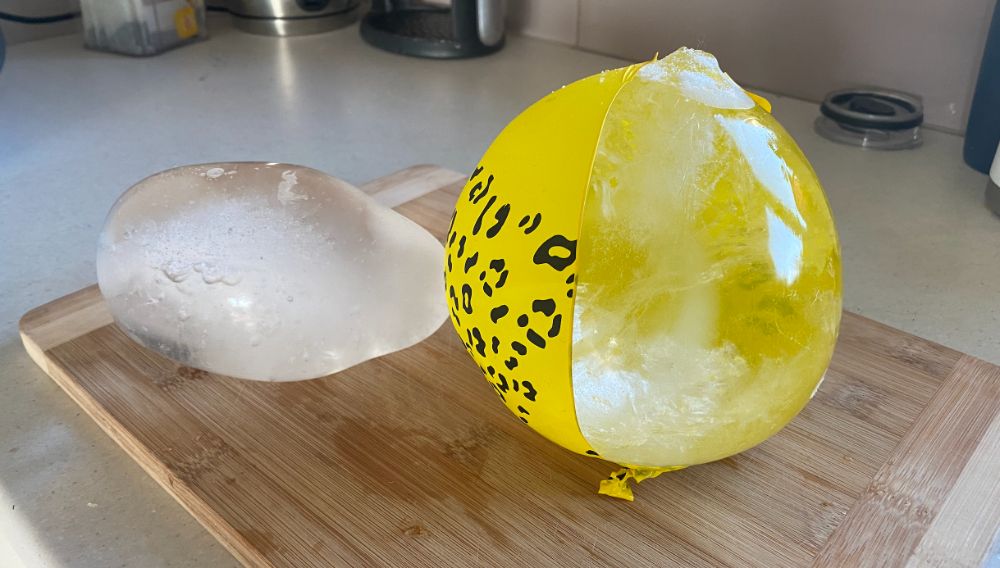
Frozen balloons are another cheap and easy way to make great ice packs for your cooler.
A packet of balloons might cost $1 and you can make multiple ice packs with them.
Fill them up all the way to make large ice packs that'll melt slower or only fill them up partially for smaller coolers.
These can be a lot of fun at parties or even in your kids school lunchbox as they can play with it after they are done.
The spherical shape of the balloons means the ice melts slower than other shaped ice packs and the ice won't make everything wet as it melts.
You can reuse them multiple times or pop them and throw them in the bin when they are finished so you don't have to keep carrying them around.
4. Salt Water Ice Packs
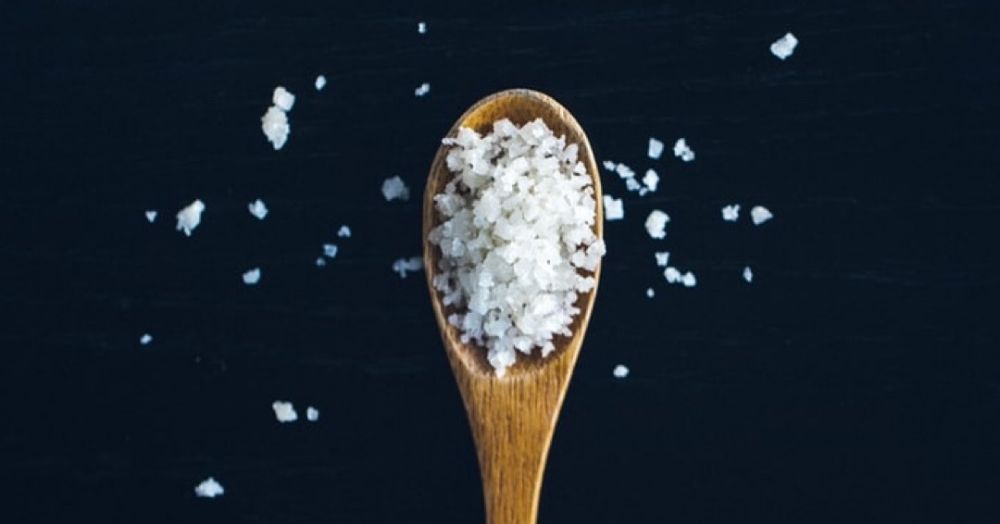
Instead of making ice packs with regular water adding salt to the water can make your ice pack even more effective.
Salt lowers the freezing point of your ice which leads to it melting at a lower temperature.
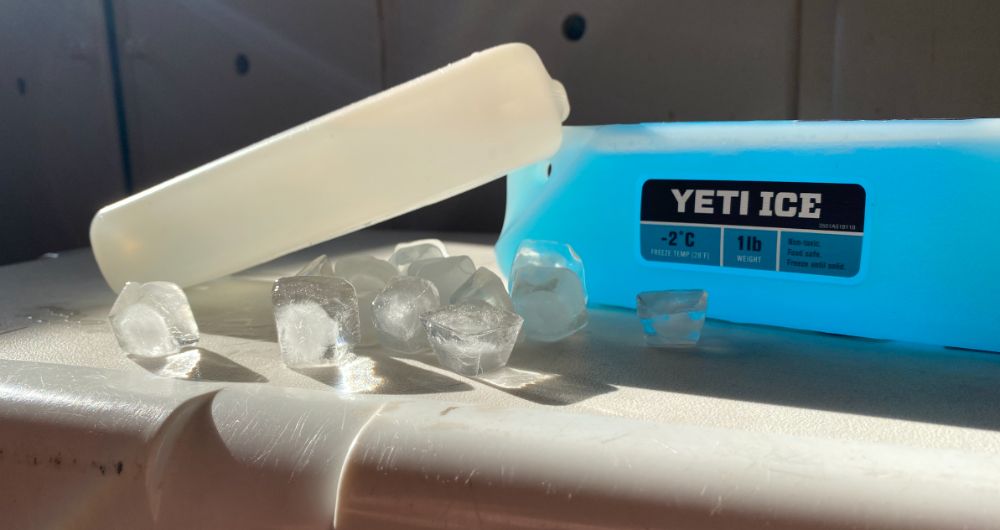
Because of science this means your ice pack is going to stay colder than a regular ice pack. I did a test with this by comparing an ice pack with regular water to a Yeti Ice pack that is designed to melt earlier just like salt water does. You can see the results below:
5. Dish Soap Gel Packs
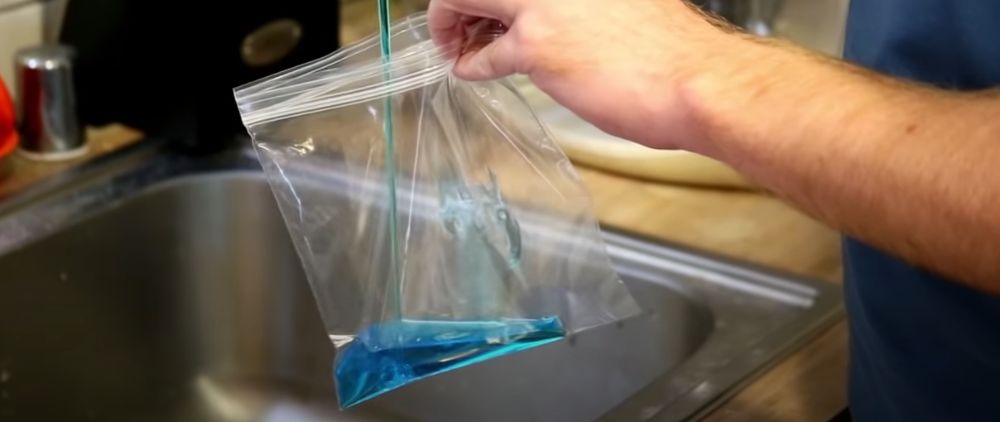
This is a simple and easy way to create a gel ice pack for school lunch boxes.
Simply fill a Ziploc bag with dish soap and place in the freezer.
The dish soap is unlikely to freeze solid and you can make it the perfect size for your lunchbox.
I definitely suggest double bagging this is the last thing you want is dishwashing liquid going all over your food as it melts.
6. Ice Cream Container Ice Pack
You can do this with an ice cream container or really any other container that you can fill up with water and put a lid on it.
Ice cream containers just seem to work because they are large and often end up going in the bin anyway.
Simply fill up the container 2/3 of the way with water and place in the freezer to freeze solid.
Once frozen place in your cooler and put your food or drinks around it to help keep everything cold.
7. Sponge Filled With Water
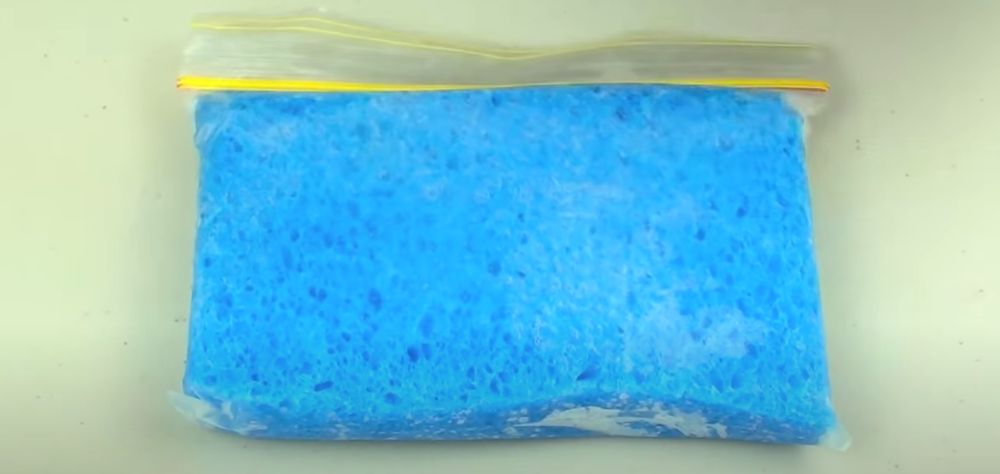
These are the perfect little homemade ice packs for school lunch coolers.
Fill up a sponge with water and then place inside a Ziploc bag to freeze.
Take out of the freezer and throw in your lunch box to keep your food cold on a hot day.
8. Gel Ice Pack (Rubbing Alcohol)
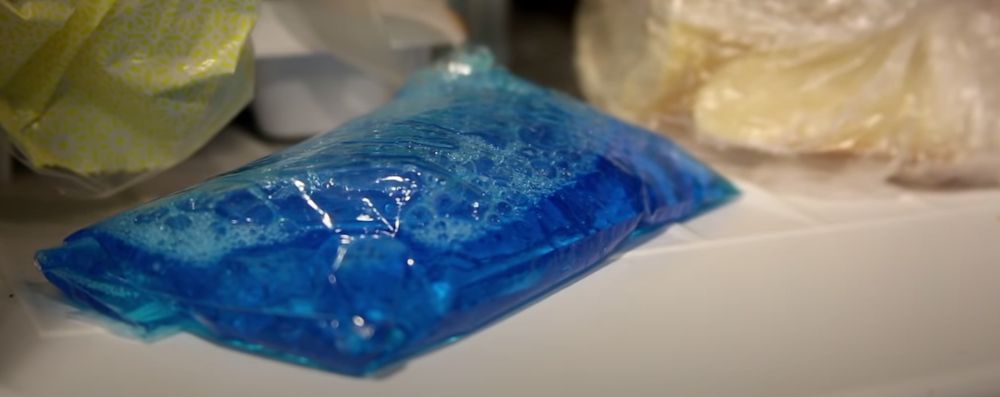
Just like adding salt to the water, I isopropyl alcohol lowers the freezing temperature of your ice pack.
This allows you to make ice packs that get as cold as your freezer but don't actually freeze at all, or at most get a little bit slushy.
You can wrap them around items, squish them into space in your cooler that frozen solid ice couldn't reach and you can reuse them over and over again.
Check out my article on how to make homemade gel ice packs for more details on exactly how to make these.
9. Wine Box Bladder
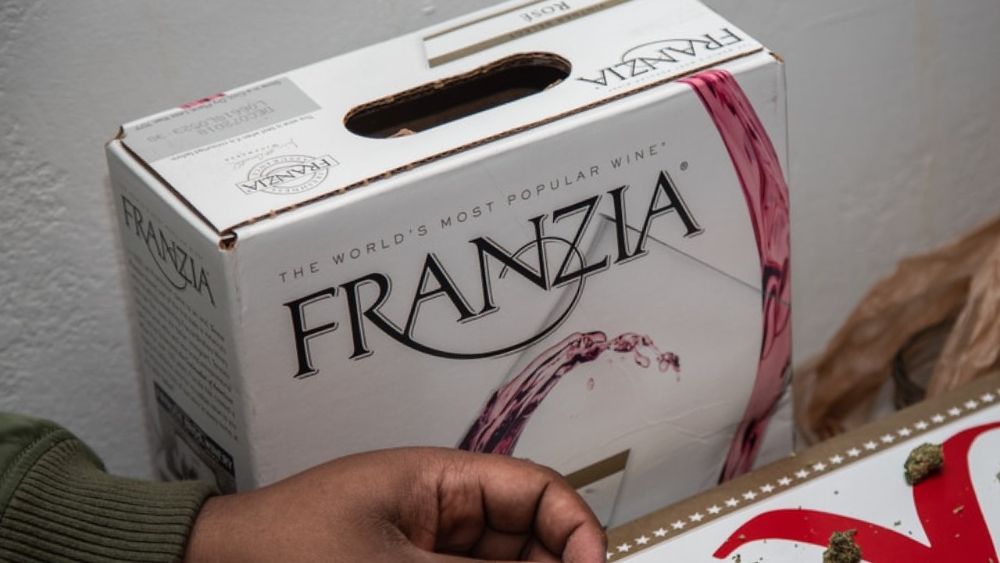
Take a wine box bladder out of the box and fill up with water and freeze to make a large homemade ice pack for your cooler.
Or even better fill up the bladder with a cocktail mixture and some alcohol to both keep your cooler cold and to get the party going.
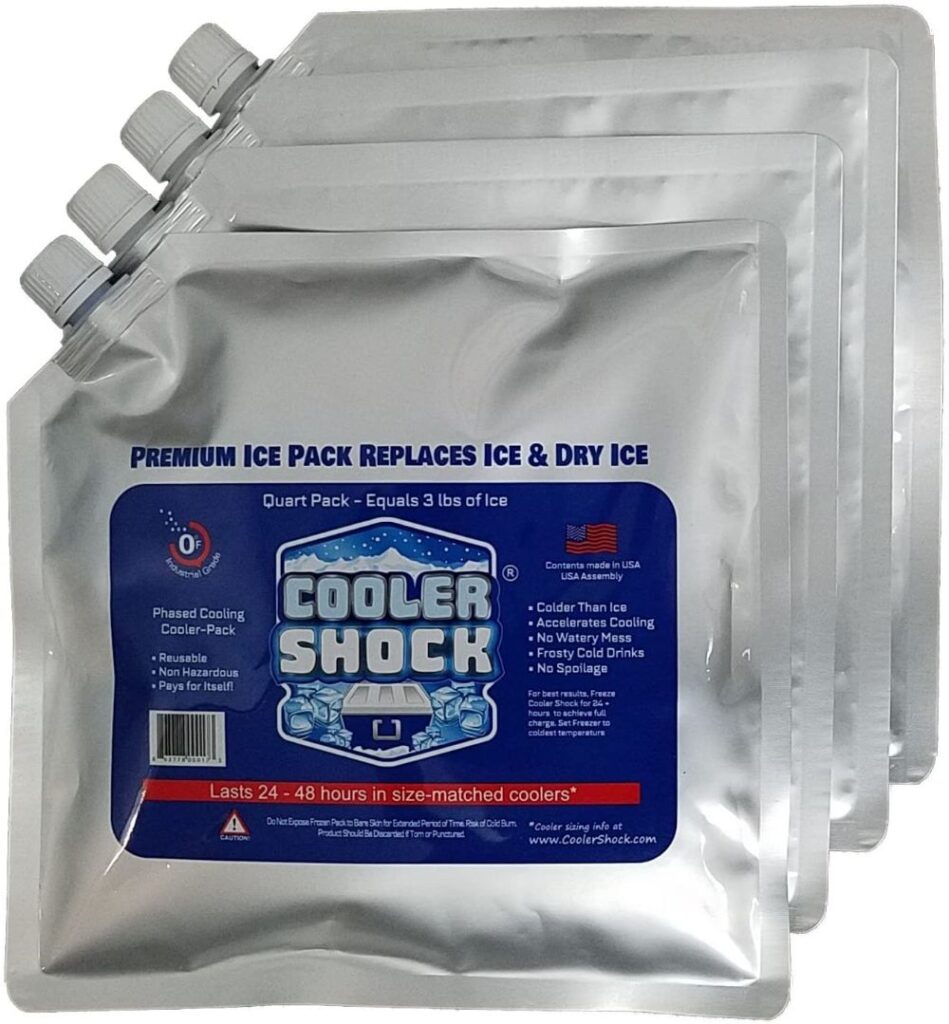
10. Cooler Shock Ice Packs
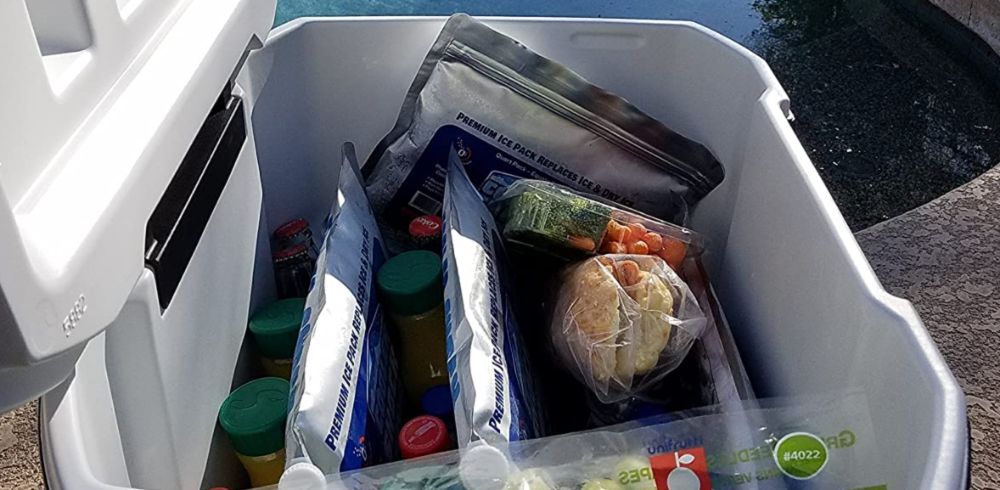
Cooler Shock ice packs are “homemade” in the same way a packet cake mix is “homemade”.
They arrive empty and you simply fill them up with water, give them a good shake so the solution dissolves in the water and then freeze them.
Throw them in your cooler or lunch box and they'll stay colder than regular ice keeping everything in your cooler cold.
These have raving reviews on Amazon and people seem to absolutely love them.
See the latest price of Cooler Shock Ice Packs at Amazon
