The Opal Nugget Ice Maker is a great device but it does require regular cleaning in order to kill and prevent mold as well as limescale buildup that can occur over time.
If not cleaned regularly harmful bacteria can be transferred to our water which can cause all sorts of health problems. You don’t want to be drinking mold! It is essential that you clean your Opal Nugget Ice Maker regularly and one popular way to do this is with bleach.
Cleaning the Opal Nugget Ice Maker can be broken down into four parts. First, you will clean the exterior of the ice maker with a damp cloth and gentle soap. Second, you will clean the ice bin with soapy water, and thirdly, the drip tray. The final step is to clean the water reservoir with bleach.
In this article, I have broken down the steps of cleaning an Opal ice maker with bleach, what things you will need as well as an alternative method for you to try.
Things You Will Need
Before you start cleaning the ice maker, there are a couple of things you will need.
- Two cloths for drying and washing
- Bucket of water
- Gentle soap
- Household bleach
- Gloves (optional but recommended)
Step 1: Clean The Exterior
Before you begin any cleaning, the most important thing to do is unplug the ice maker. Once the ice maker is off and not connected to any electrical outlets.
Simply add some gentle soap to the bucket of water and begin.
How to clean the exterior:
- Using soapy water and a soft cloth, gently clean the outside of the ice maker
- Rinse with clean water water
- Dry the exterior with a dry cloth
Step 2: Clean The Ice Bin
Once you have cleaned the outside of the ice maker, you will need to clean the ice bin.
- Remove all the ice from inside the ice bin
- Using soapy water and a damp cloth, gently clean the interior of the ice bin until clean
- Rise the ice bin with water. Be sure not to leave any soap in the bin as your ice will get soapy.
- Once rinsed, dry the ice bin with a soft cloth
Step 3: Clean The Drip Tray
Next, you will need to clean the drip tray, and this tray is what prevents any water from leaking into the appliance.
How to clean the drip tray:
- Remove the drip tray from the ice maker
- Using the soapy water and cloth, gently wash the tray
- Dry with a soft cloth when clean
- Put the drip tray back
Step 4: Clean The Water Reservoir
Now you will need to clean the important part of the ice maker, the water reservoir, as this is where the most bacteria and mineral deposits collect.
Before you can begin cleaning this part, you will need to make a bleach solution. Use a ratio of 1 teaspoon of bleach to 5 cups of water. This level of bleach will be safe to use without gloves, but you can still wear them if you prefer.
How to wash the water reservoir:
- Remove the water filter from the reservoir and replace it with the intake cap.
- Drain all the water out of the reservoir.
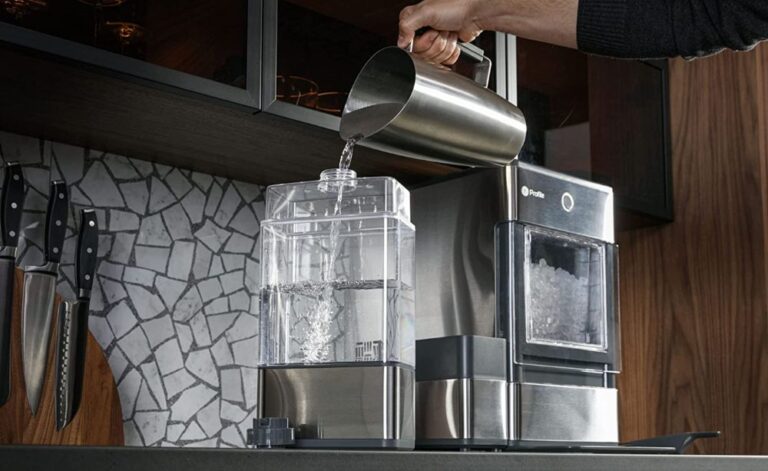
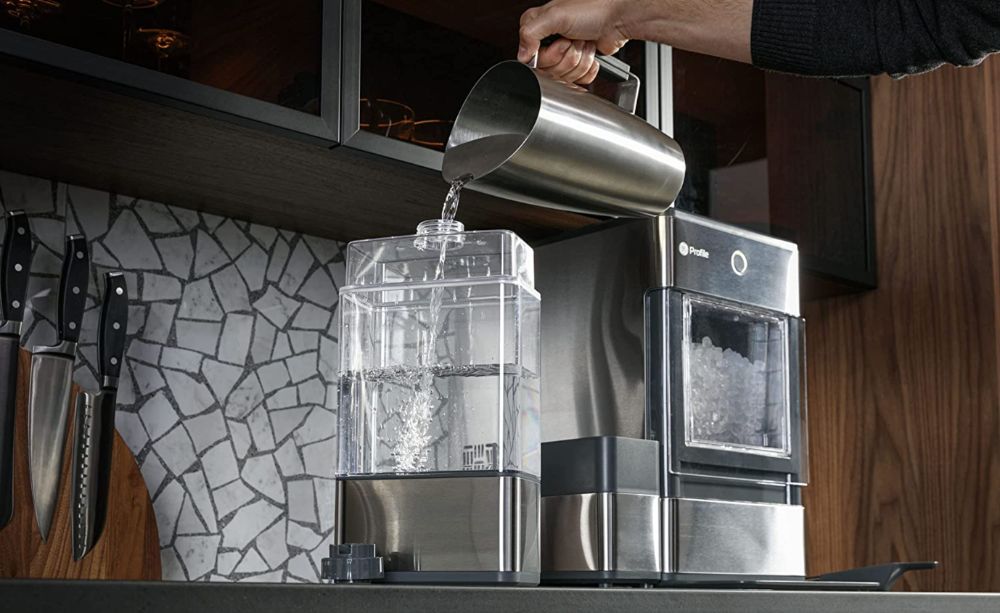
- Pour the bleach solution into the reservoir. You should not fill the reservoir past the fill line found on the walls of the reservoir.
- Plug the ice maker back into an electrical outlet
- Press the “Clean” button. Hold down the button for 3 seconds for the appliance to start.
- The ice maker will wash itself by circulating water through the appliance. You can relax and wait while it cleans itself.
- Once the self-cleaning process has finished, the cleaning light will go off. This process usually takes around three minutes.
- Next, you must unhook the top of the drain hoses. The drain hoses are found at the back of the ice maker. They should unhook by pulling them from the left gently.
- Place the hoses down into a sink or bucket.
- Open the hoses by removing the plugs at the end, and the water should drain into your sink or bucket.
- Only once all the water has drained from the reservoir can you put the plugs back into the hose.
- To rinse the reservoir add 5 cups of water to the reservoir and press the “Clean” button again.
You can repeat this rinse step another two times to ensure there is no more bleach left in the reservoir.
When you are happy with the results, you can place the ice bin back inside and pack the drain hoses back behind the ice maker.
Simply pour in clean water and switch the ice maker on to get a new batch of ice.
Cleaning your Opal Nugget Ice Maker is a really easy task when you follow the above instructions. If you want to learn more, check out my helpful guide on the best ways to clean the Opal Nugget ice maker.
Watch Instructional Videos:
Below you can see videos from GE themselves as well as an Opal owner who shows you step by step exactly how to clean your Opal Nugget ice maker.
FAQ
How often should I clean my ice maker?
You should ideally clean your ice maker every week if you’re using it regularly to prevent a build-up of bacteria.
However, some people only clean theirs less frequently than this. I just wouldn’t leave it too long between cleaning cycles as you don’t want mold to build up.
How will I know if my ice maker needs to be cleaned?
While it is recommended to clean it every week, sometimes there are signs that you may need to clean it sooner.
Signs that you may need to clean your ice maker:
- The ice has a weird odor and taste. Mold and dirt can cause your ice cubes to taste different; check out my guide on why ice can taste like chemicals.
- The ice is cloudy in appearance
- The ice is not as hard as usual
- The ice blocks are smaller than usual
Can I clean my ice maker without bleach or chemicals?
Bleach is a great cleaning solution, but it is a harsh chemical, and sometimes you may not want to use chemicals. Vinegar is a great non-toxic option for cleaning your ice maker.
Use a ratio of 1 part white vinegar and ten parts water to clean your ice maker.